Fuzzy Emerger

IMG_5981-1-2

Tied on a Tiemco 212y #15, the nice segmented body made out of Stretch Flex is hanging in the surface. The dubbing, a mix of Hare’s Ear and Peacock Dubbing is imitating the legs and the CDC and Deer Hair makes this emerger float quite well. Just don’t put floatant on the body.

Good during mayfly hatches and works on a caddis hatch, too.

Captain FuzzyBug’s ready for a new mission

Is it a wetfly? Is it a nymph? Is it a flymph? – It’s CAPTAIN FUZZYBUG!

IMG_5930-1

Sometimes trout like flies, which are presented actively. That happend to me the last time at the river. Dead drift was not what they liked. The „Leisenring Lift“ brought fish and wet fly swing with a little bit shaking.

Normal wetflies often fish to high in the water, especially in spring, when the water is still very cold and the fish are not willing to rise. CAPTAIN FUZZYBUG is weighted and swings deeper in the water column.

The mix of partridge, hare’s ear, ice dub, tinsel and CDC gives this fly the fuzziness and the trouts the illusion of something eatable. It’s a „in case of“-fly which produces takes even if the normal patterns won’t work.

It’s also not complicated to tie, so tie 3-4 and put them in your fly box. You’ll never know when you’ll need the help of CAPTAIN FUZZYBUG! ;-)

Martin Rudin’s Leftover Nymph

11037348_816405895073444_2135846090574177272_n

This is my first try on Martin Rudin’s very nice „Leftover Nymph“. It looks very realistic und is not as complicated to tie, as you may think.

Martin did a nice step by step tutorial on his website. It’s in swedish, but you can see clearly how he ties his fly.

Here is the direct link:

Leftover Nymph

There you will find also other nice patterns! It’s worth to check them out!

Caddis Larva Step By Step

IMG_5634-1

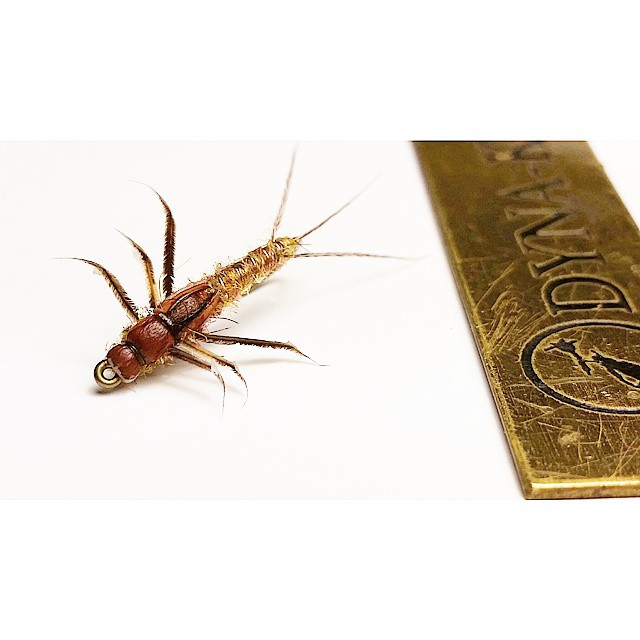
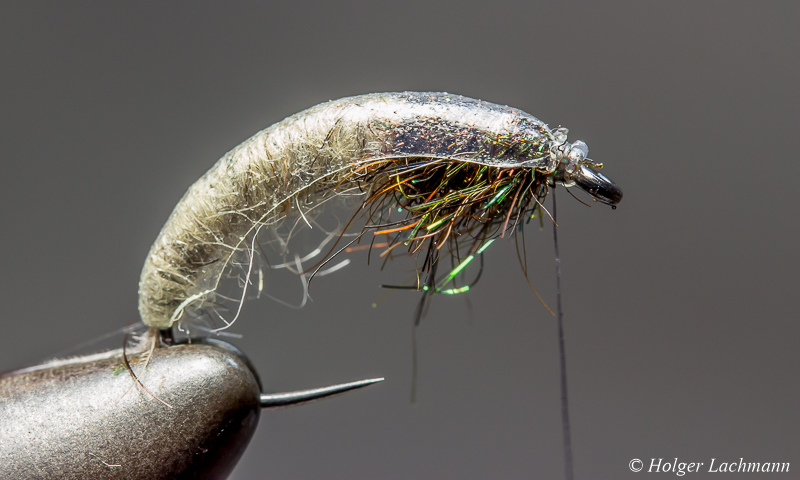
Here we go again! After moving to a new server, it’s time for a new step by step tutorial. This Caddis Larva is a very nice imitation of the original and it’s still quite easy to tie. So, it’s not a drama, when you lose it on the river bottom.

You have to fish this larva deep, that’s why there is a lot of weight in it. It still got a slim body, so it sinks fast to the ground. You will find Caddis in almost every river and it’s an important part of the fish’s menu.The coloration with the brown line on the abdomen is not a must. I just did it to show you what for possibilities you have with ordinary marker pens. It’s tied on a # 10 hook, which sounds pretty big, but the body length is close to the original, just try to keep a slim, natural looking body. Ok, let’s start!

Materials:

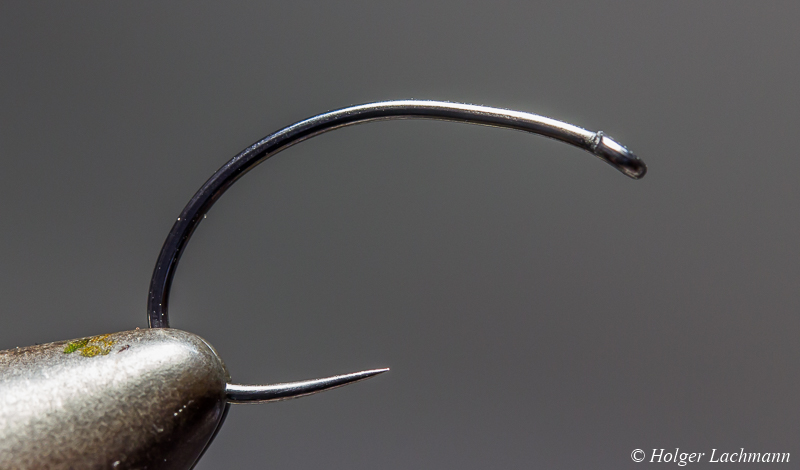
  • Hook: Demmon Competition G601 BL Fly Hook # 10
  • Weight: Lead-Foil
  • Ribbing: Mono 0,10mm
  • Back: Stretch Flex Clear
  • Abdomen: Sow Scud Dubbing Beige
  • Thorax: Siman Peacock Dubbing Brown
  • Thread: G.S.P. 50 D
  • Coloration: Edding 3000 Marker Pens

IMG_5603-1

IMG_5605-1

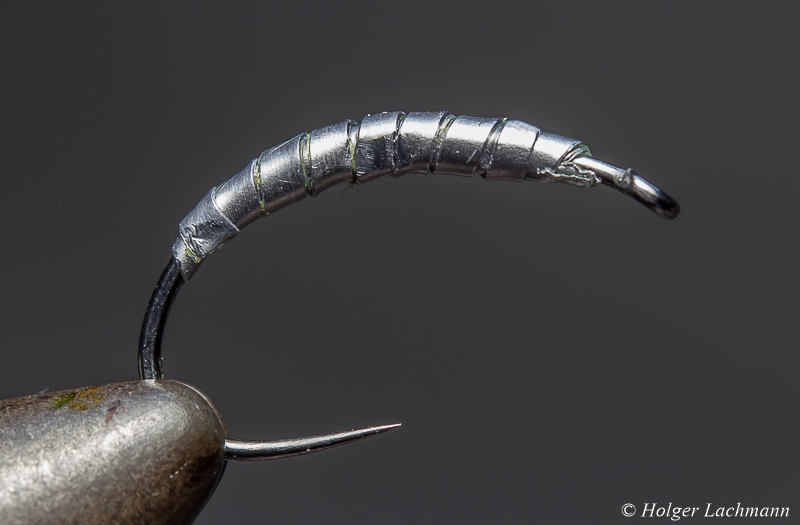
Wind the lead foil in multiple layers around the hook.

IMG_5607-1-2

IMG_5608-1

IMG_5609-1

IMG_5610-1

IMG_5611-1

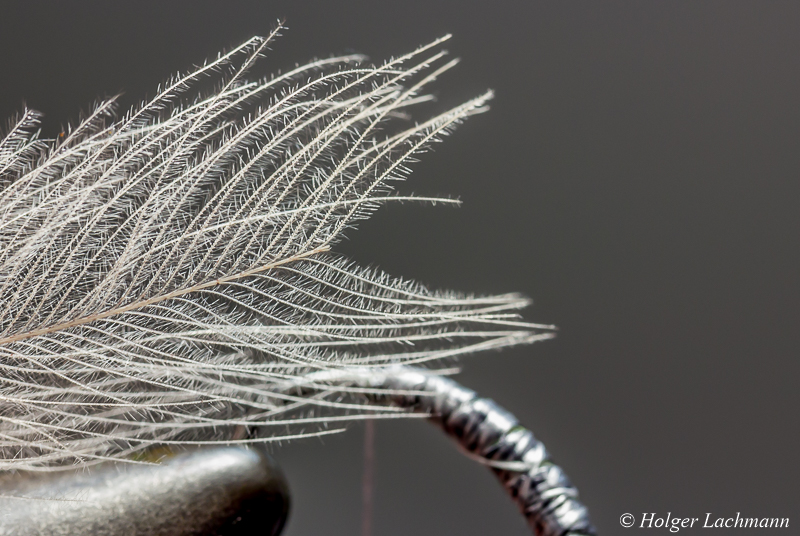
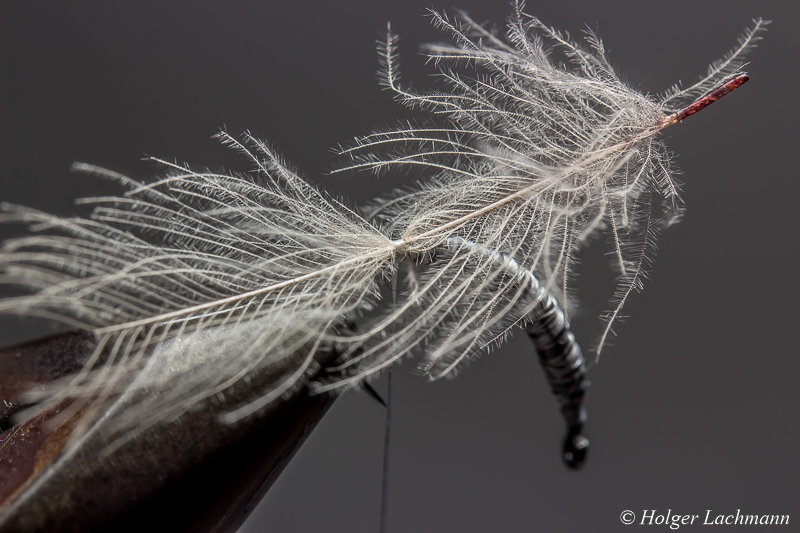
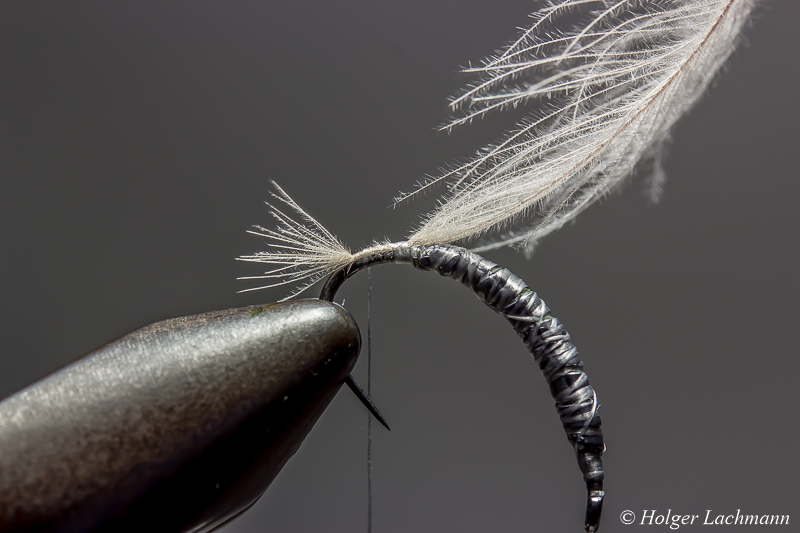
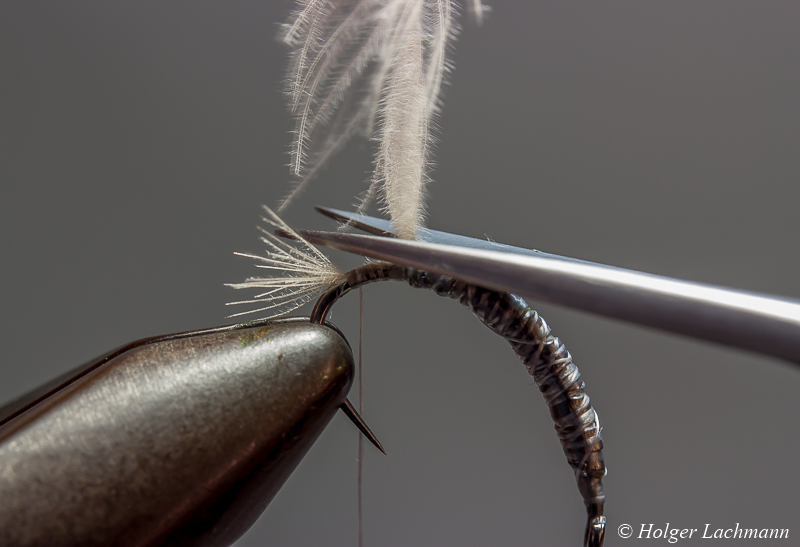
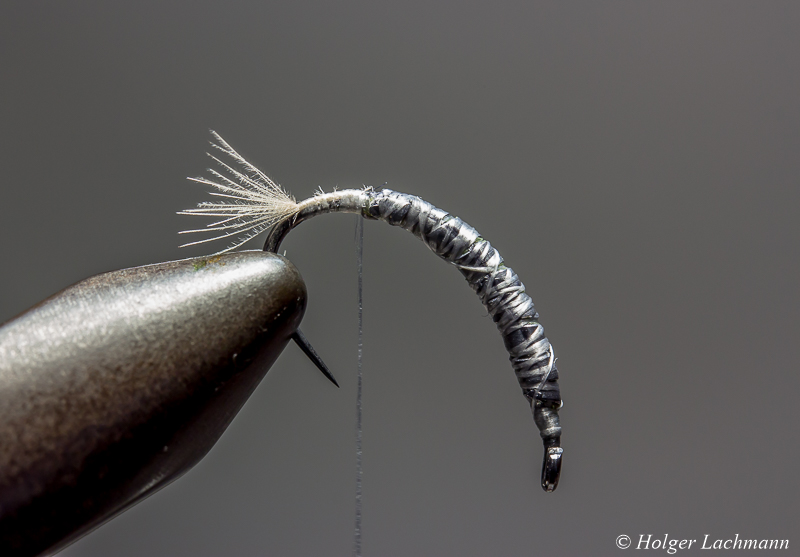
Take a CDC feather and cut out the feather steam on the top and tie the feather in like shown on the pictures to create the little tail.

IMG_5612-1

IMG_5613-1

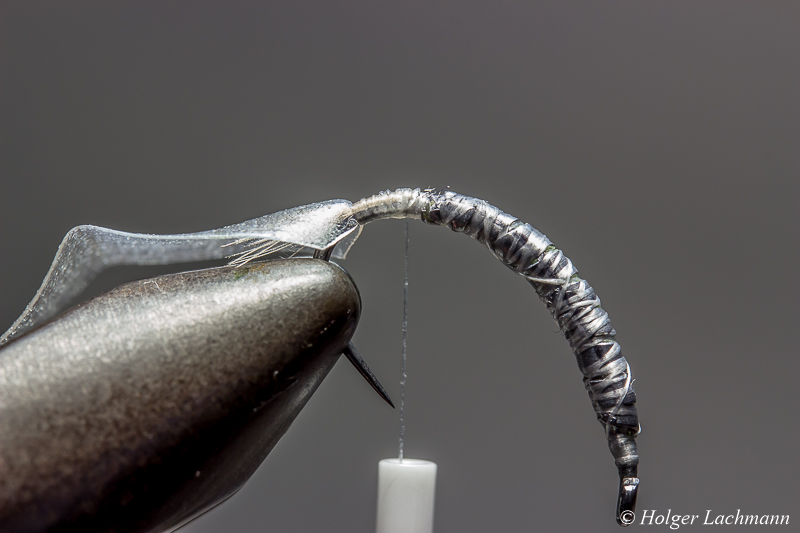
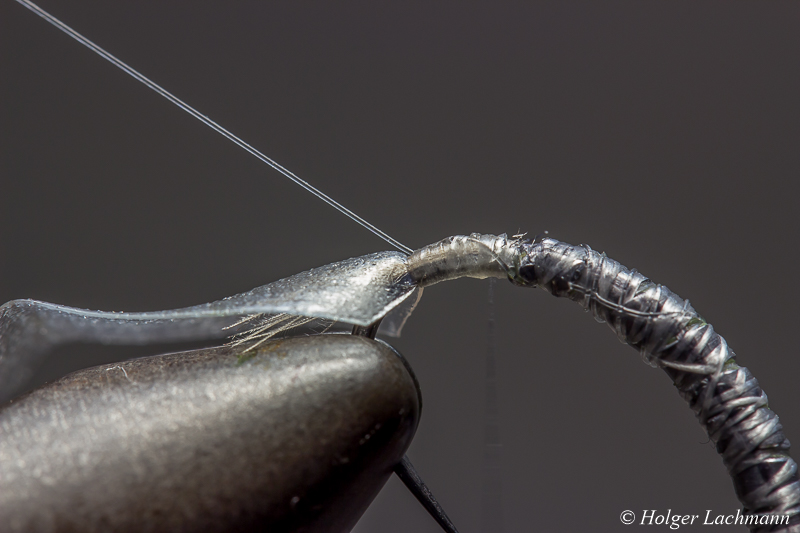
Take the stretch flex and tie it in at the back of the fly. Do the same with the mono for ribbing.

IMG_5614-1

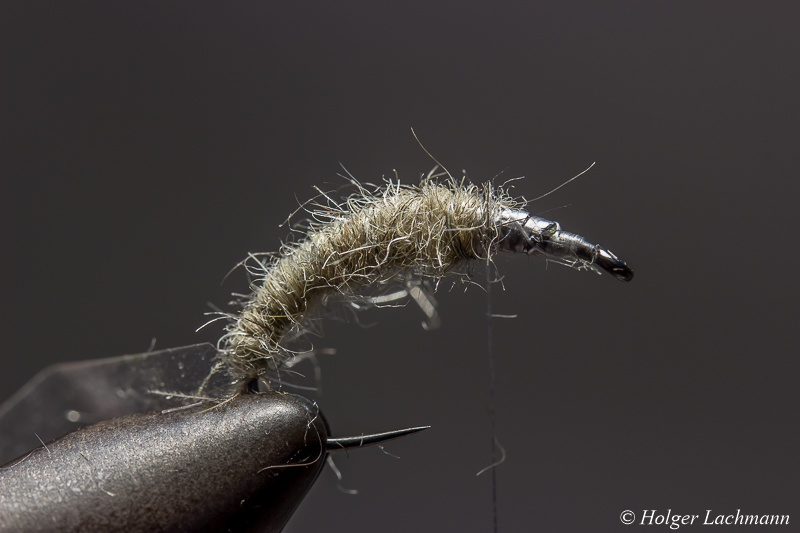
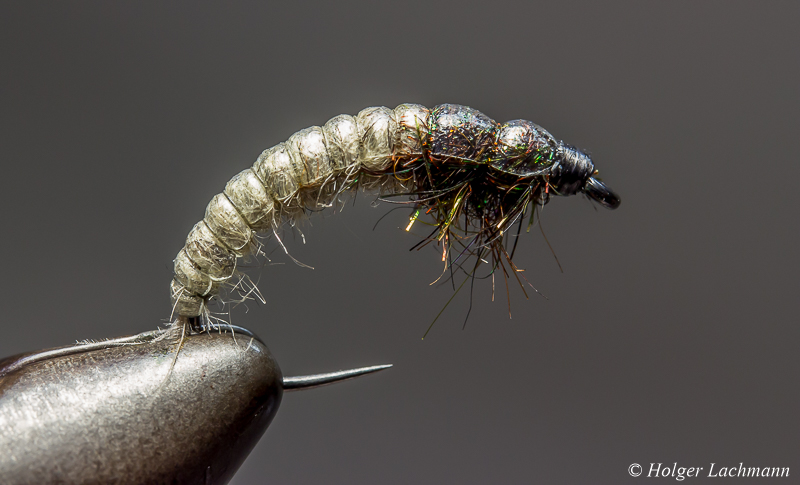
Dub the abdomen on 3/4 of the hook shank with a nice tapering.

IMG_5616-1

IMG_5618-1

IMG_5619-1

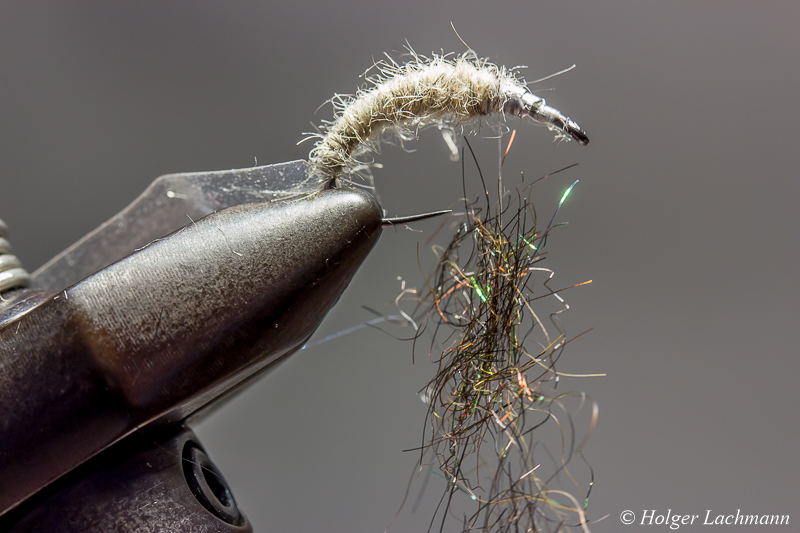
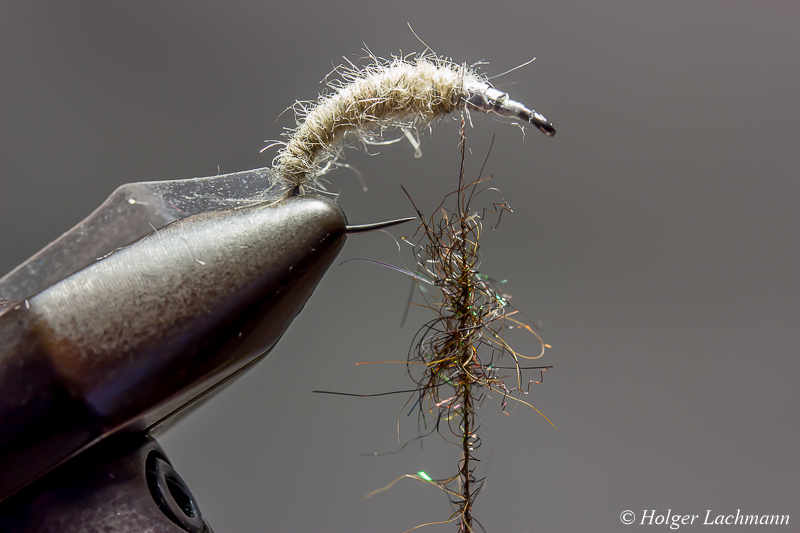
Split the thread with your dubbing needle, put the peacock dubbing in the gap, rotate your bobbin to spin the dubbing and wind it around the hook to create the thorax and the legs in on step. Leave a little bit space for the head next to the hook eye.

IMG_5621-1

IMG_5623-1

IMG_5624-1

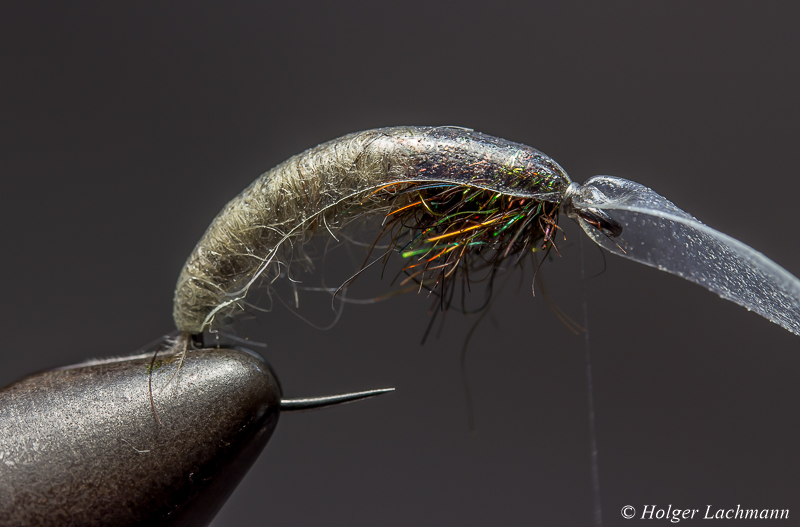
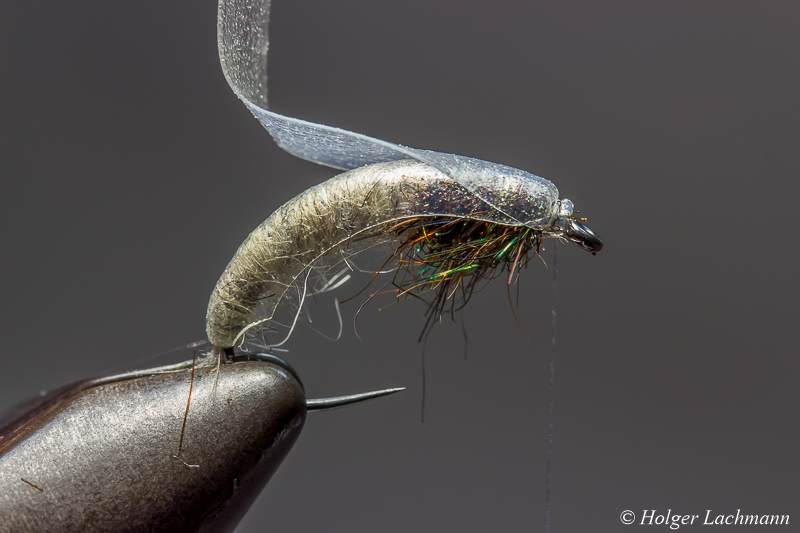
Fold the stretch flex to the front and catch it with your tying thread next to the hook eye. Fold it back, catch it again with your thread and cut away the excess. That’s the easiest way to form a nice head.

IMG_5625-1

IMG_5628-1

Take the mono and ribb the abdomen in small segments and the thorax in two bigger segments. Catch the ribbing with your tying thread and cut it off. Do two whip finish, cut the tying thread and the tying is done.

IMG_5631-1

IMG_5632-1

IMG_5634-1

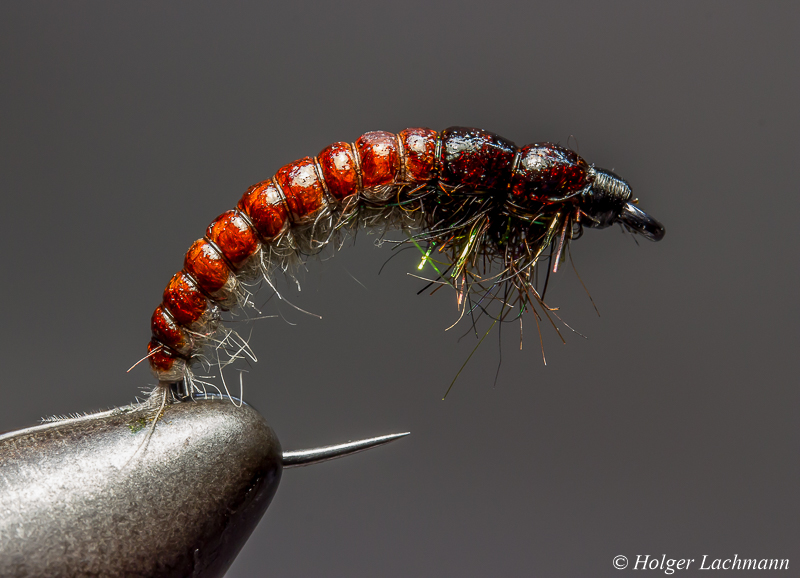
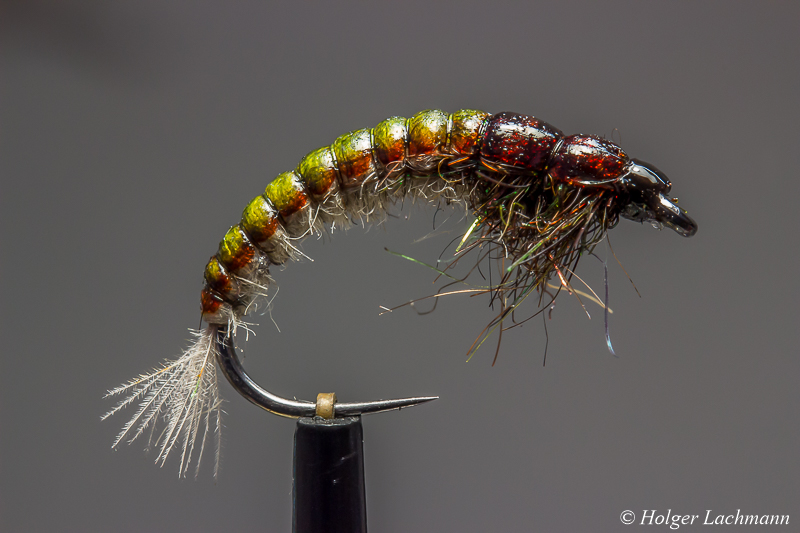
With the marker pens, you can give the larva the coloration of your liking or the spicific colors of the originals in your home waters. Put a drop of varnish on the head and the fly is finished, ready to be presented to the fish of your dreams! :-)

Tight lines!

Wet Fly „Struppi“

I’m not a wet fly guy. If I remember right, I fished wet flies less than 10 times in more than 20 years of fly fishing. I don’t know why, but it was not „my style“. I prefered more natural looking patterns like CDC dries, nymphs and emerger. I know, that wet flies are catching a lot of fish and some also imitate insects like stillborns or drowning duns, but…. I just don’t like to fish them. That’s also the reason, why I don’t have much experience in tying wet flies. I tied less than 12 classical wet flies in my life.

This year I’ll promised myself to give them more often a chance. That means, that I have also to learn to tie them. Most important, I have to know the materials, especially the feathers for the wings and how they react, when you tie them in.

„Struppi“ is one of the first wet flies. It’s kind a freestyle march brown. It’s not a „pretty“ fly, but looks very fishy. I mixed a little bit of Ice Dub into the Hare’s Ear Dubbing and so there are some light reflexes in the body. I ribbed it with mono and the tail and the front hackle is made from partridge. For the wing, I’ve used mottled turkey. As hook I choosed a Kamasan B 405 # 12.

2015-01-10 21.24.41-1

Struppi


Orange Struppi

Orange Struppi

Yellow Struppi


Easy Caddis Larva

That is a simple weighted Caddis Larva. Not too many materials, just a few tying steps and no expensive materials. Just a good fishing fly.

Materials:

  • Hook: Gamakatsu F22 #10
  • Thread: Uni 8/0 Black
  • Weight: Lead Wire
  • Tail: Natural CDC
  • Ribbing: Mono
  • Back: Stretch Flex Clear
  • Dubbing: Abdomen Hare’s Ear mixed with Ice Dub, Thorax Peacock Dubbing Brown
  • Coloration: Marker Pens

IMG_5226-1-2

Dry Fly # 14

Materials:

  • Hook: Maruto D82BL # 14
  • Tail: Coq de Leon
  • Body: SLF Master Class Dubbing Dark Damsel Nymph
  • Hackle: Whiting Rooster Cape Dun
  • Wing: CDC Tan
  • Thread: Uni 8/0 Black

IMG_5199-1


Last flies for 2014

I finished the last flies for 2014 this morning, five sculpins # 6.

I wish everyone a great party and all the best for 2015! I thank you all for the nice comments, emails and support during the whole year! See you in 2015! Tight lines!

Holger

1453429_770637706316930_3395974351753775533_n

X-Mas flies

Used some quiet hours for some tying of nymphs for my fishing in the next year.

Materials:

  • Maruto C47 BL #14
  • Small tungsten beads in copper and black nickel
  • Coq de Leon for the tails
  • Copper wire and mono for the ribbing
  • Pheasant for the abdomen
  • Peacock dubbing brown for the thorax
  • Pheasant for the wing case
  • Partridge for the legs
  • Bug Bond Lite to secure the wing case and the thread

10882193_766968466683854_5850000047819133612_n

Olive Sculpins

Four olive sculpins # 6 weighted with a tungsten bead in the front and again is the head secured with Bug Bond Lite.

Not many materials are used for this sculpin pattern:

  • Hook: Gamakatsu F 314 # 6
  • Weight: Black Tungsten Bead
  • Ribbing: Mono:
  • Dubbing: Olive-Brown with some Ice Dubbung
  • Zonker: Black Barred Olive
  • Deer Hair: Olive/Black/Brown
  • Eyes: 3-D Eyes
  • Resin: Bug Bond Lite

IMG_5137-1

Sculpins

Little sculpins #6 weighted with a tungsten head in the front. The deer hair head is secured with Bug Bond Lite to make it indestructible. I always liked this pattern und and I will always do, because I caught some really nice trouts with it. No matter, if you fish them upstream, in the swing or stripping them in, trouts love ‚em.

It takes a bit to cut the head and it’s always a mess on your tying table, but it’s worth it. At least for me it is. ;-)

IMG_5123-1