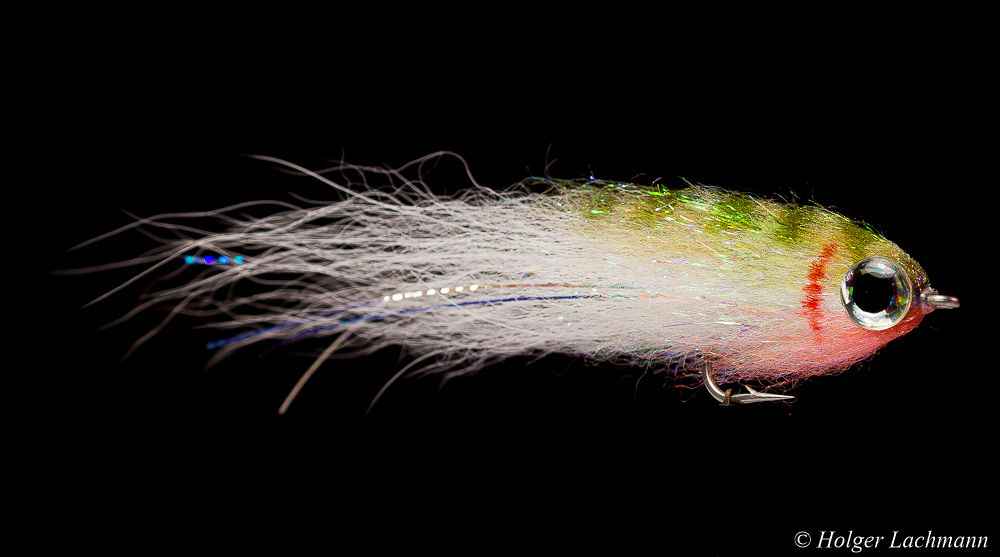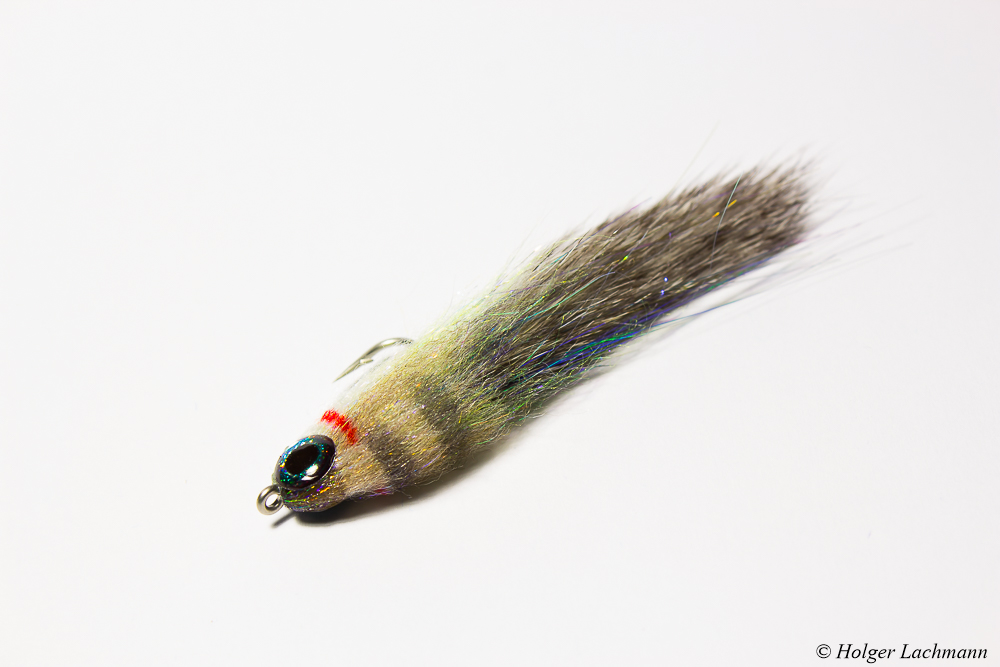
Every spring, the bristle worms (kind of a annelid) swarming in the Baltic Sea and the sea trouts are feeding like crazy on these worms and you really should have a worm pattern in your fly box, because you’ll never now, when the swarming will start. This worm pattern moves fantastic in the water and it’s worth the effort, even if a normal wooly bugger will catch fish. If you have tied one or two, you’ll see, that it’s really easy and fast to tie once you know how.
The first one who showed me this awesome technique to tie these worms was the master fly tyer Andy Weiß, one of the most creative fly tiers in the world and I’m glad to call him my good friend! He showed me a lot of tips and tricks over the years and I had some really cool and funny moments together with him in the last years. Andy, if you read this…what can I say…. cheers my friend!
Ok, back to business!
Here are the materials I’ve used:
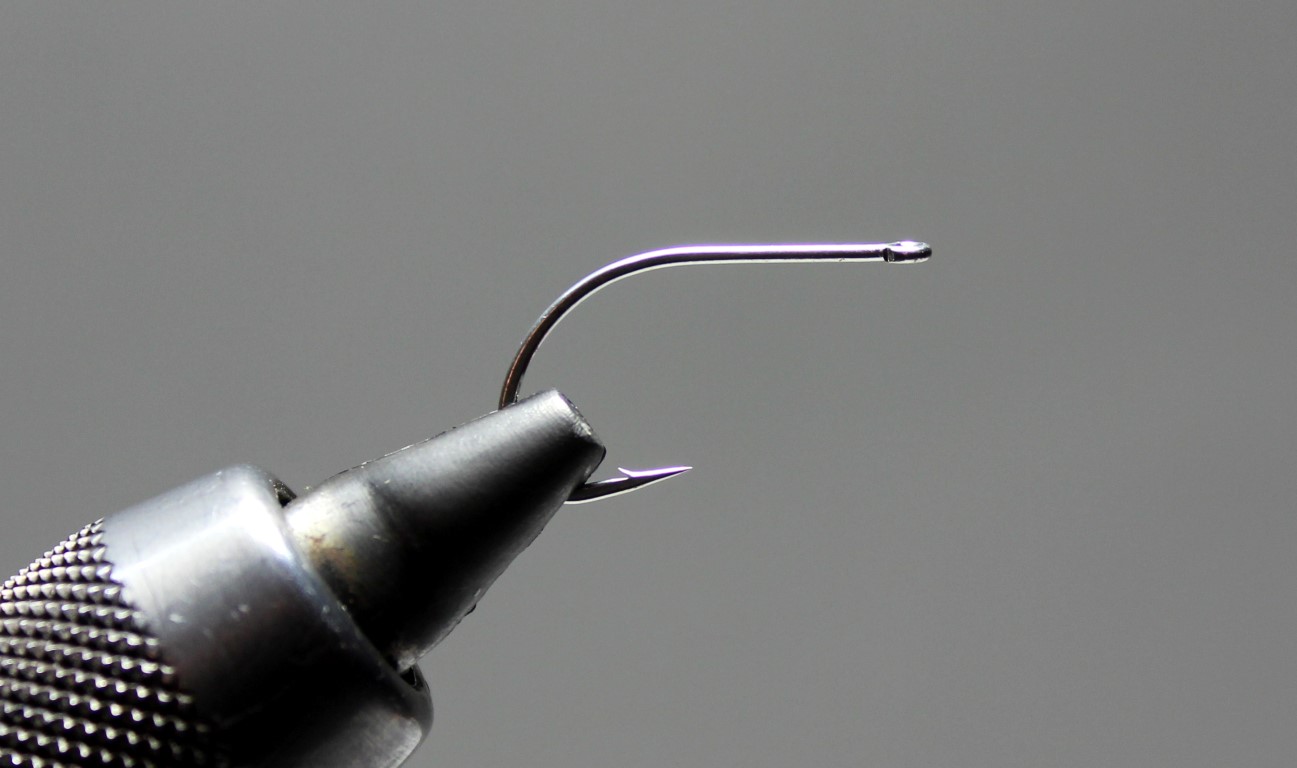
- Hook: Gamakatsu SC 15 #2 and #4 in the back
- Thread: Dyneema thread white and UTC Ultra thread 70 fl. shell pink
- UV-Resin: Bug Bond
- Coloration: Marker Pen pink
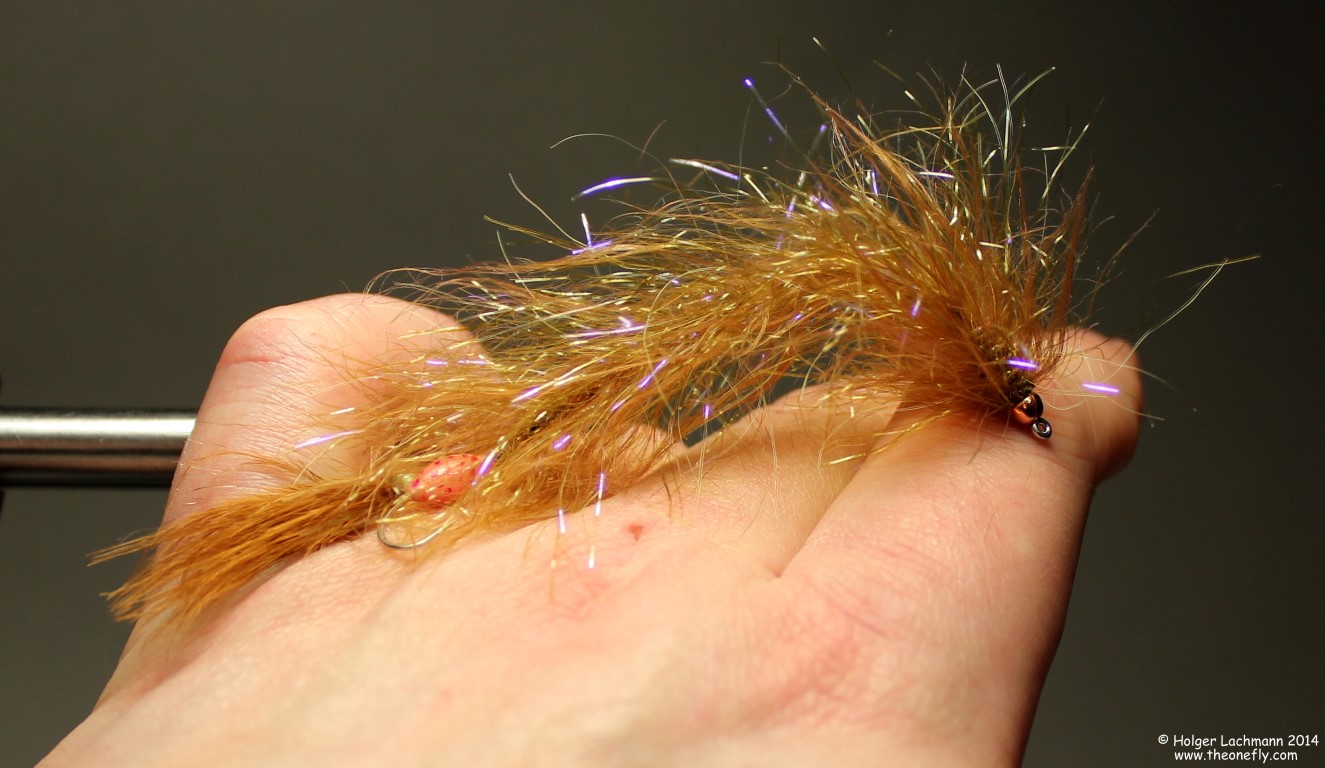
- Tail: Marabou brown
- Body: Dyneema fishing line, UV Polar Chenille olive brown, Worm Wool brown (knitting wool)
- Weight: Tungsten bead
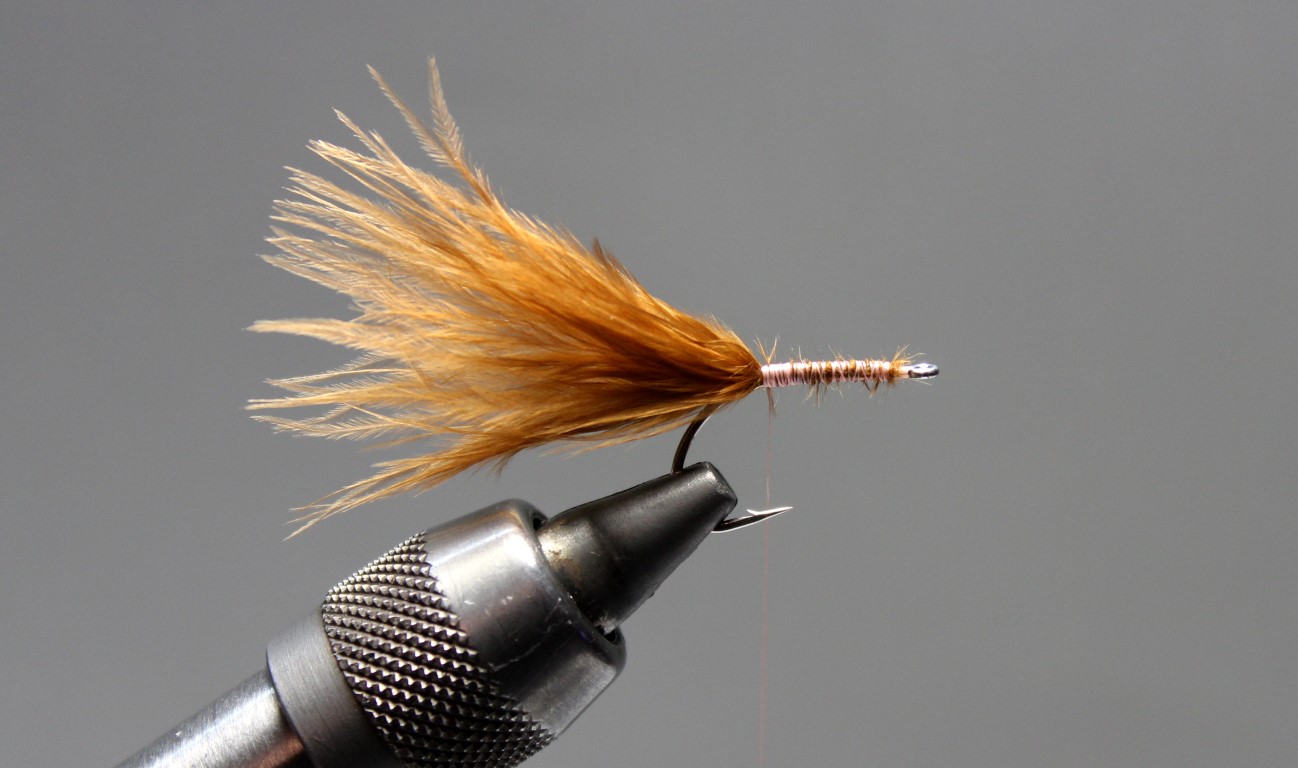
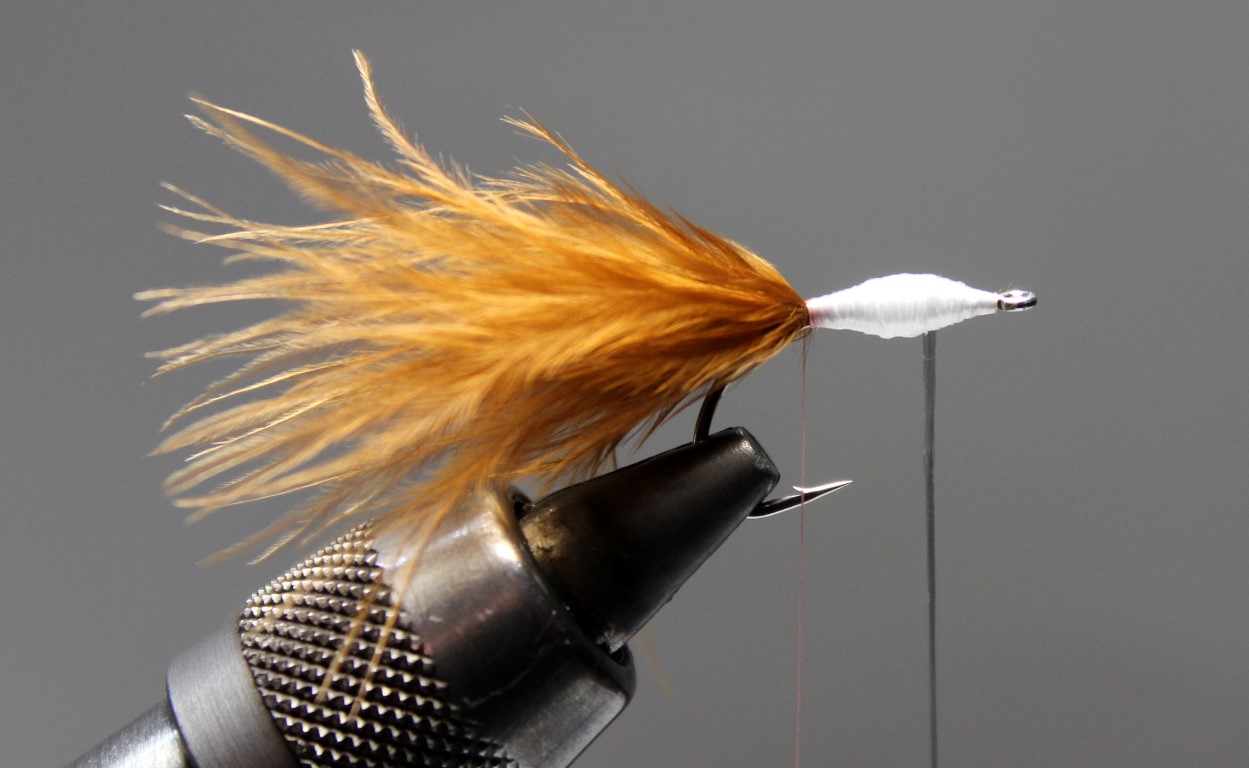
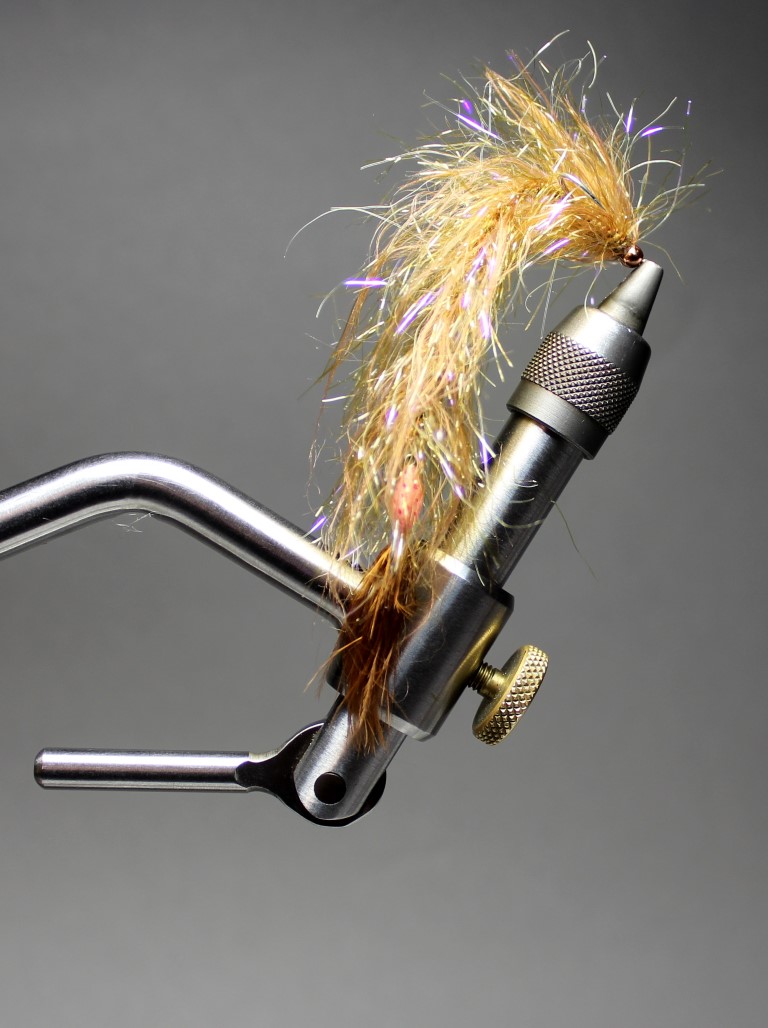
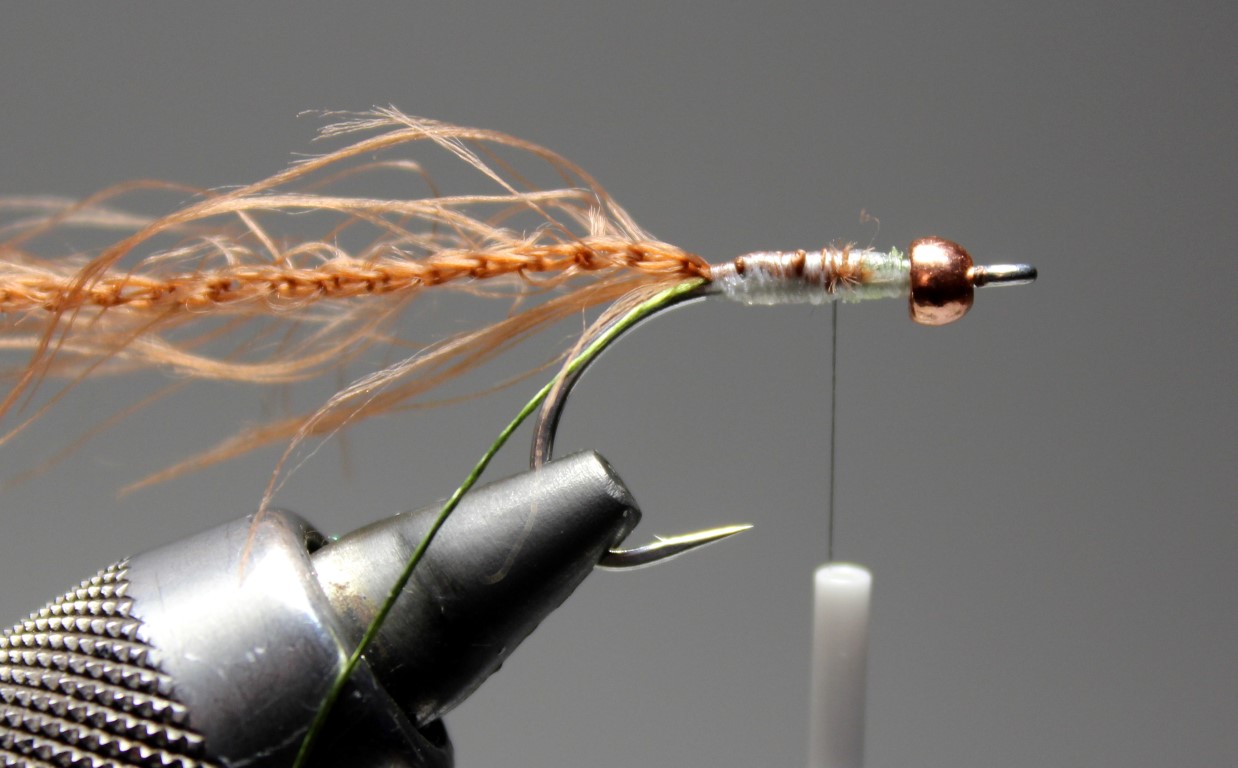
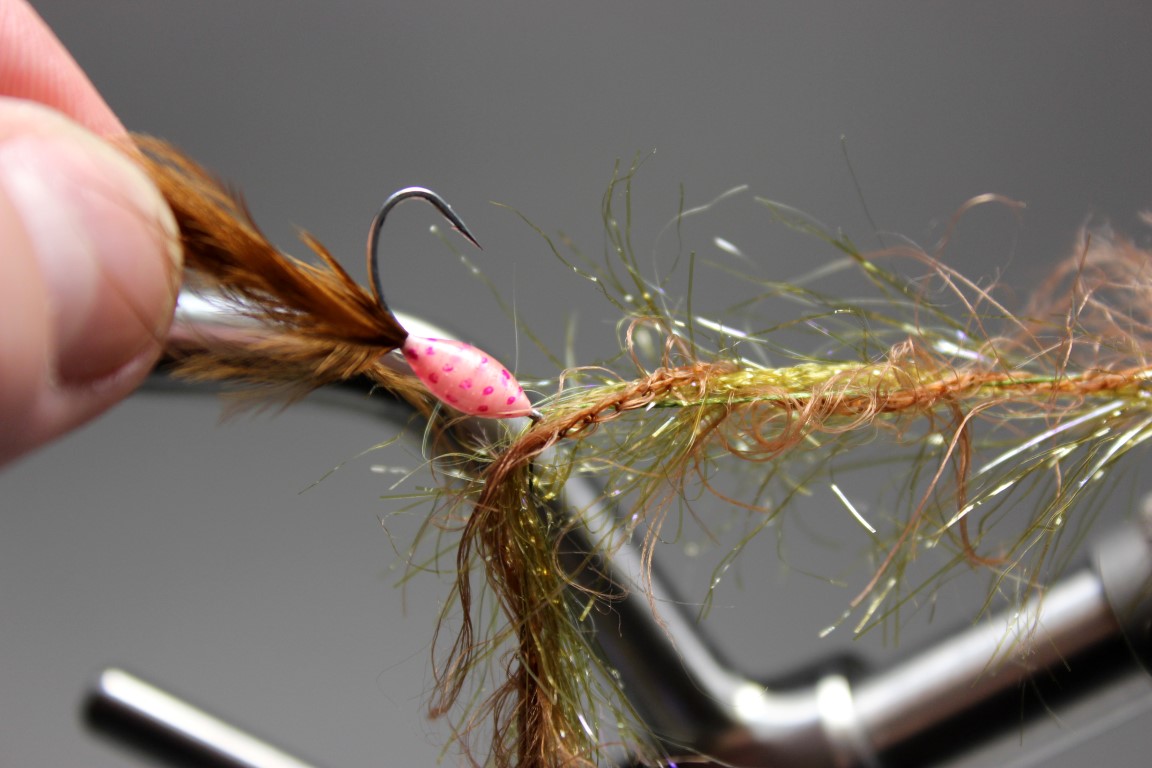
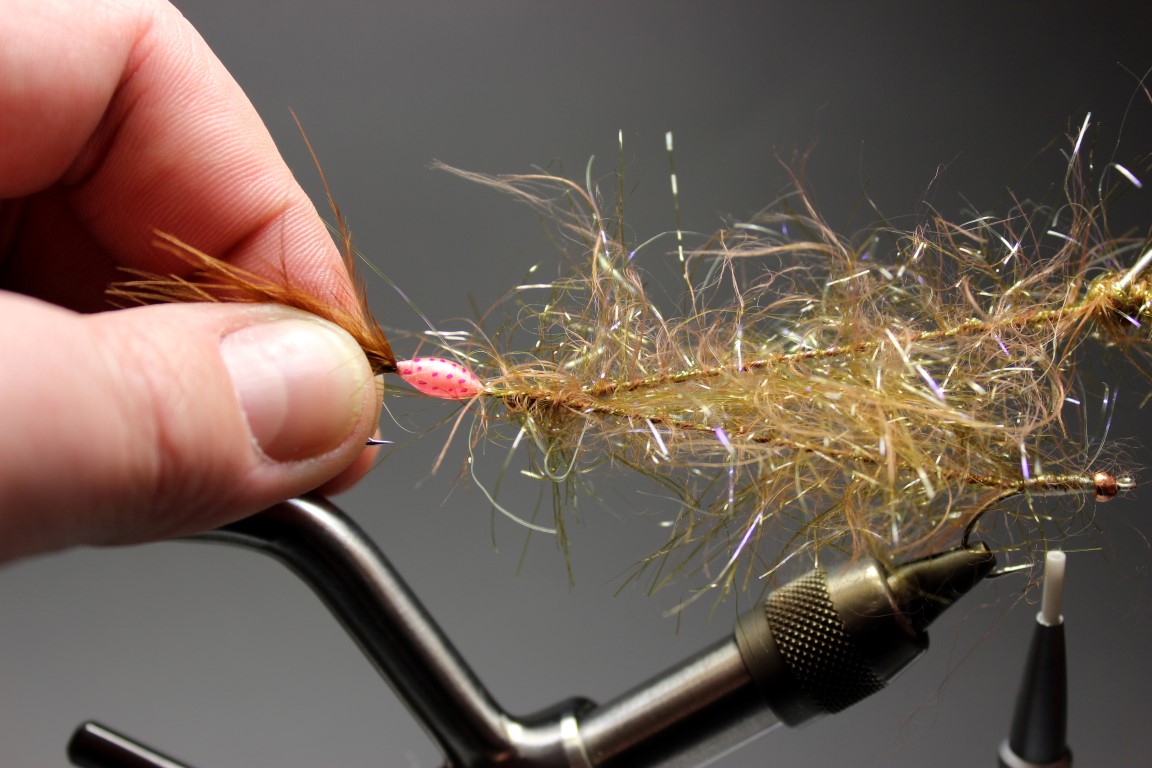
Put the hook into the vise and tie in a bunch of marabou. Build a kind of bubble on the hook shank. It’s easier to do it with a thicker thread instead of your normal tying thread.
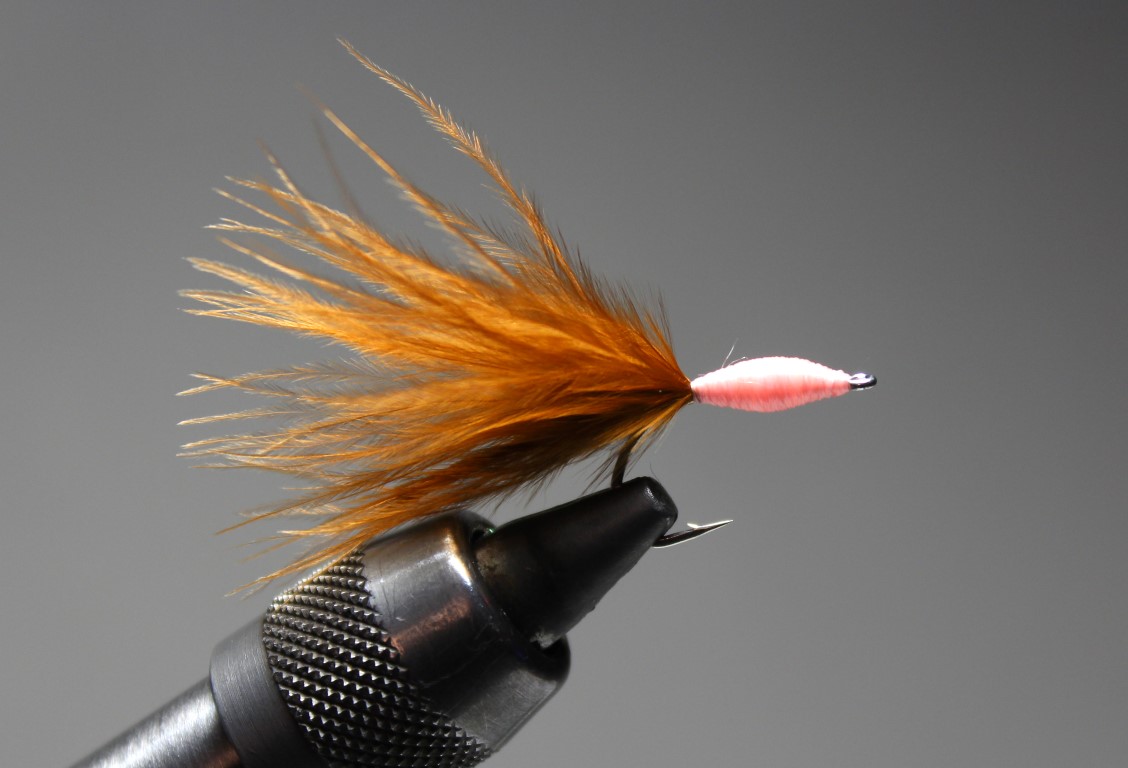
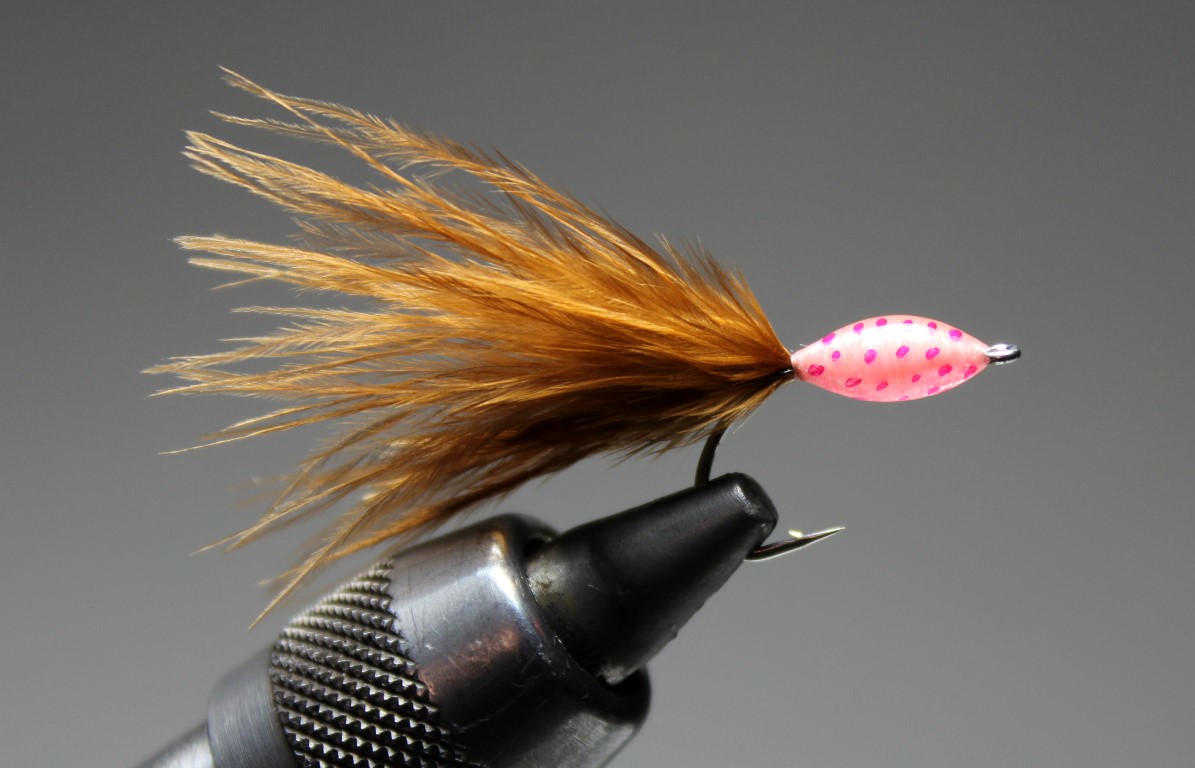
Tie over the white bubble with your tying thread in the color of your choise. Coat it with Bug Bond uv-resin. If you like it a bit fancy, do some small dots with your marker pen on the bubble and secure it with a second thin coating of Bug Bond to get the 3D effect. The bubble should imitate an egg ball and gives the worm a nice bite point.
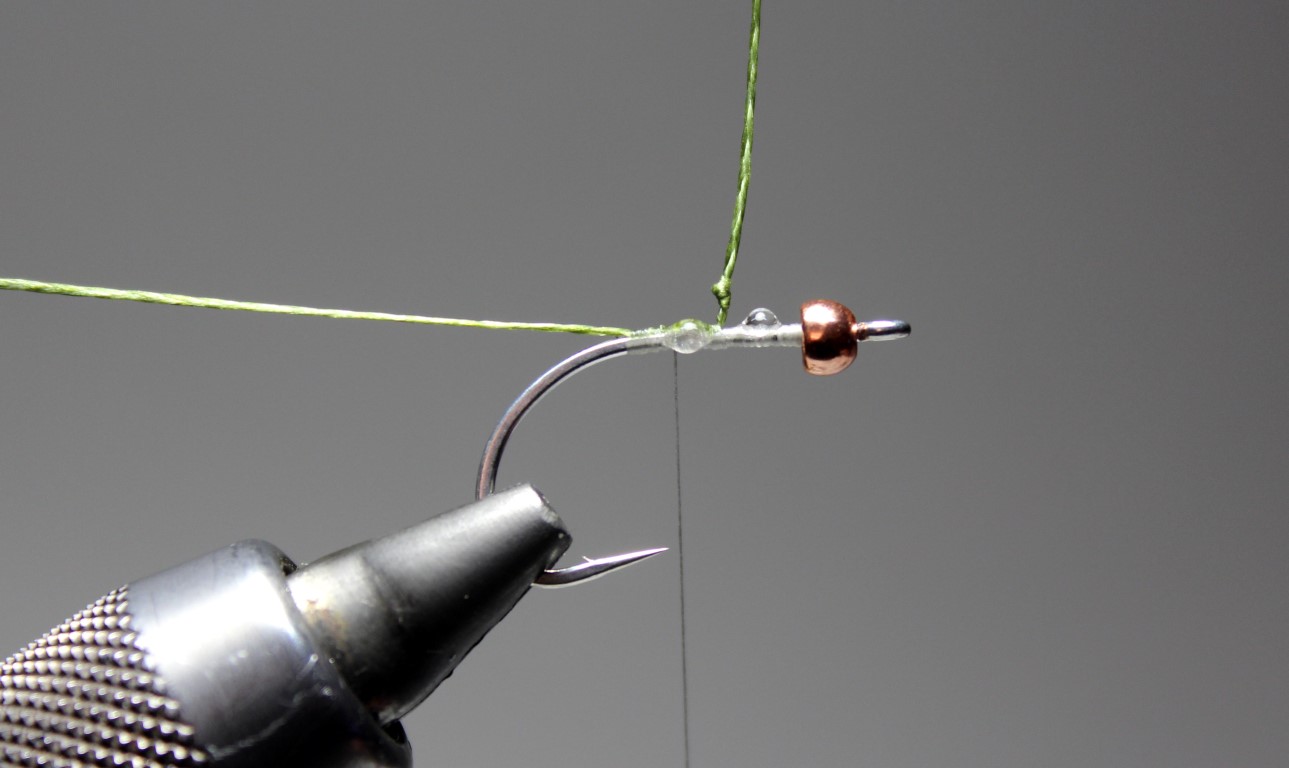
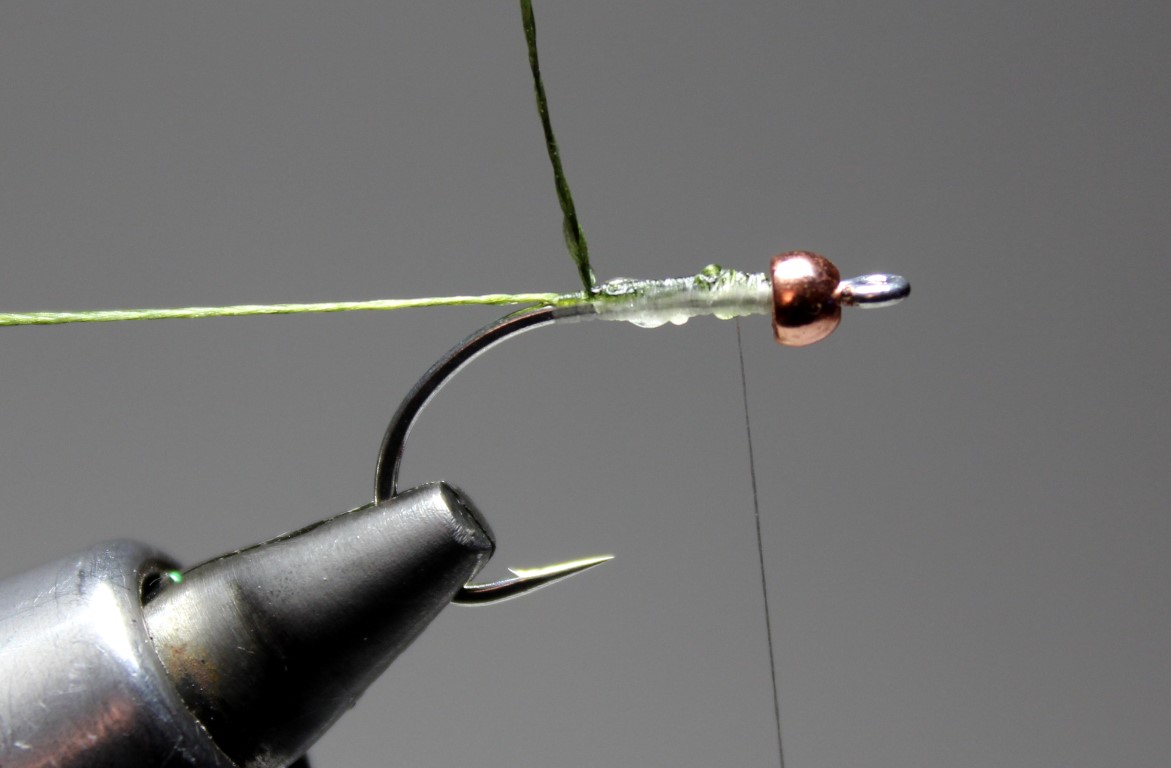
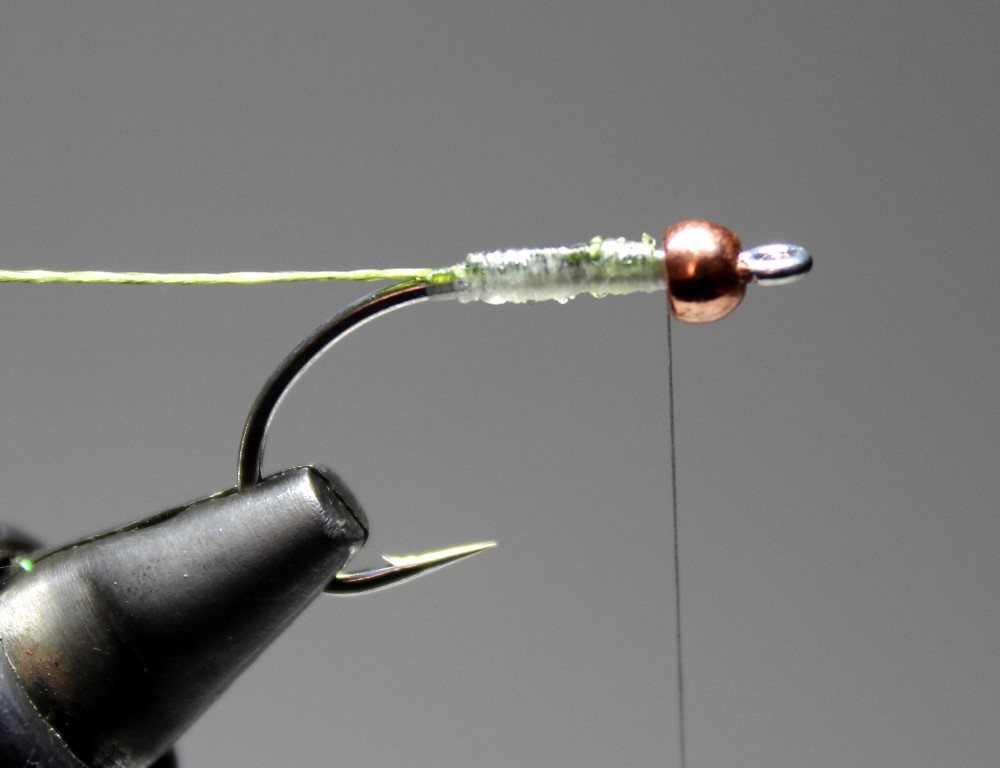
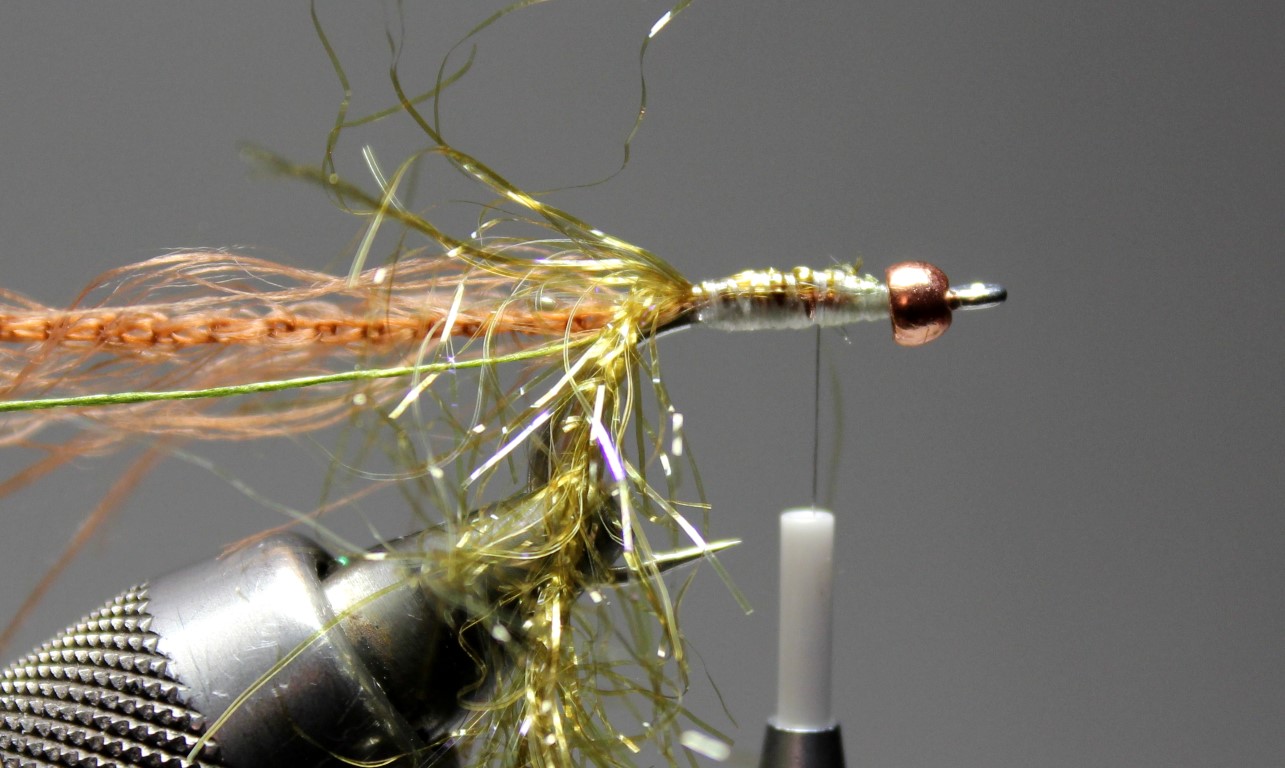
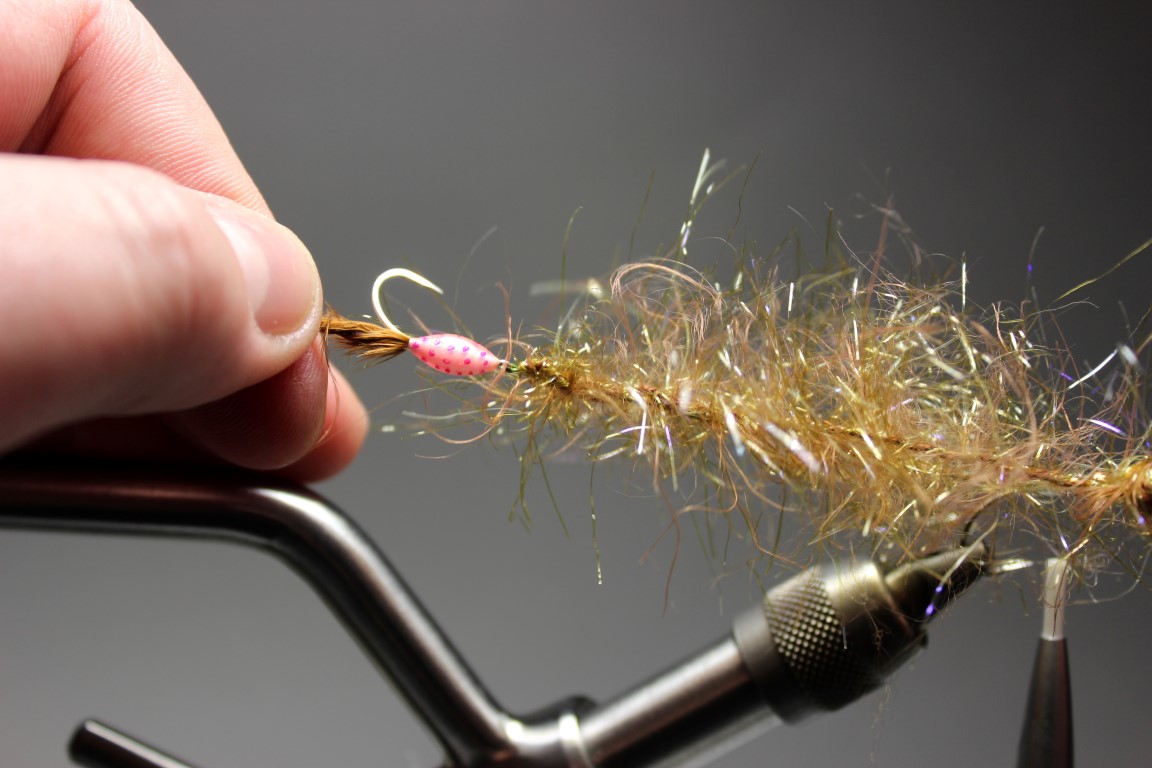
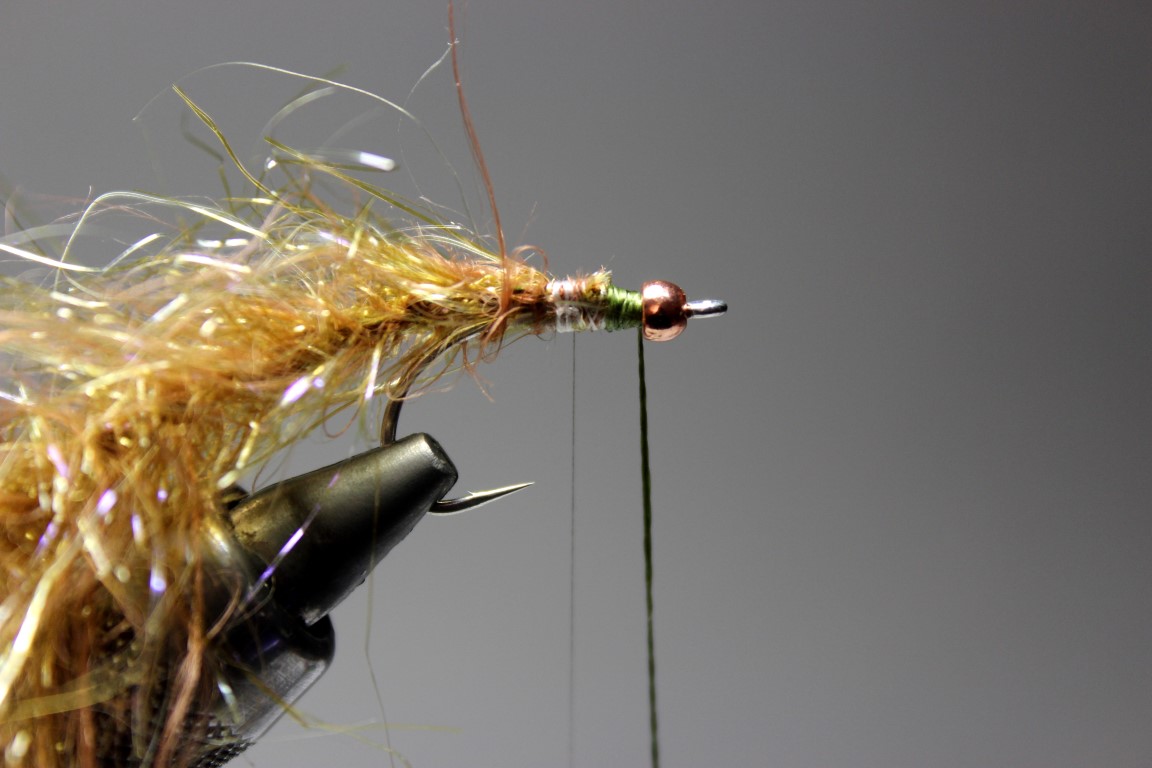
Put the tungsten bead onto the front hook. Do a simple over hand knot in the dyneema fishing line and tie it onto the shank. Secure it with two drops of super glue and keep on tying and fold the dyneema back and forth like shown. No fish will ever destroy this connection!
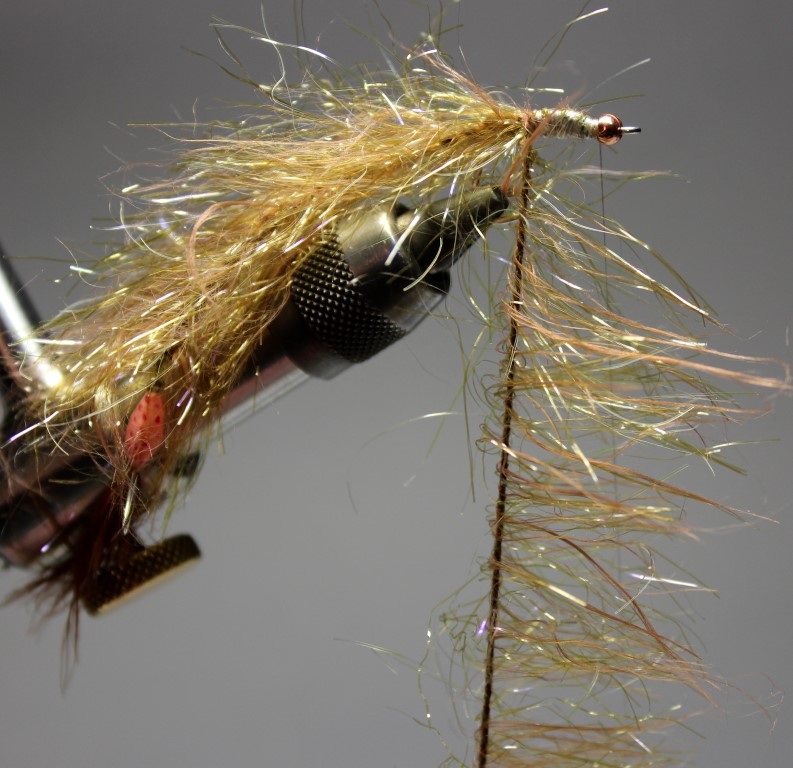
Tie in the polar chenille and the worm wool.
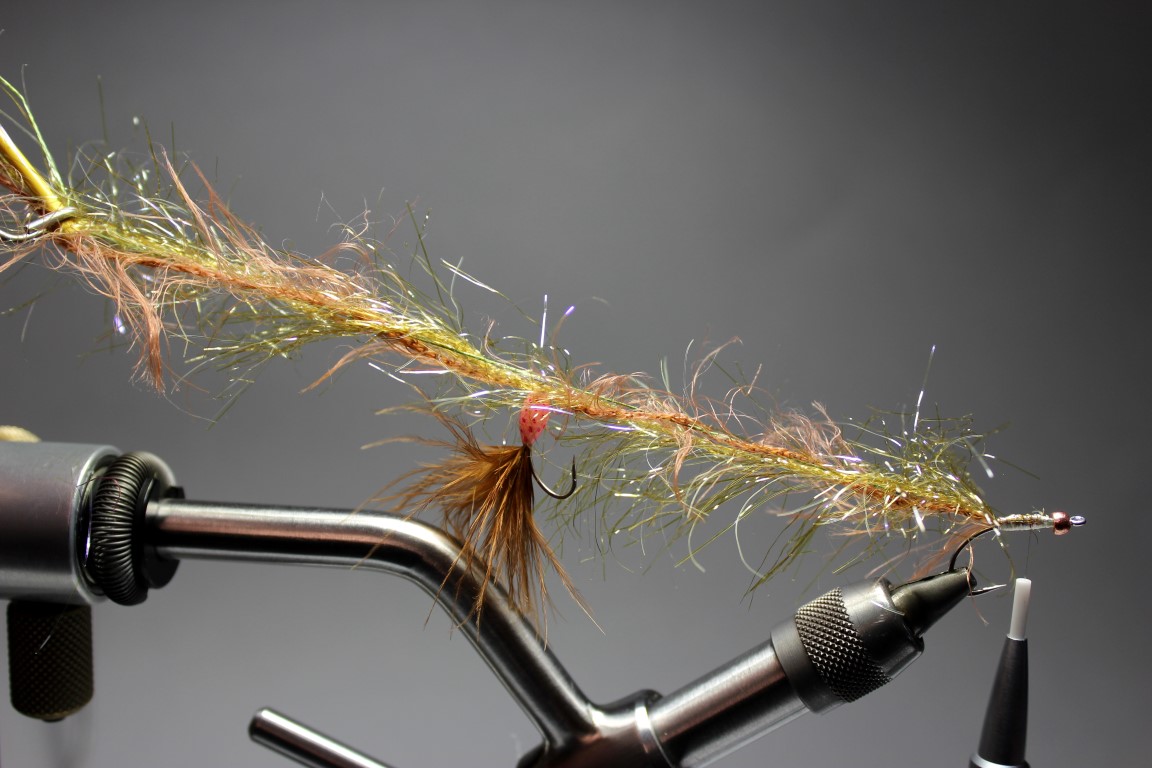
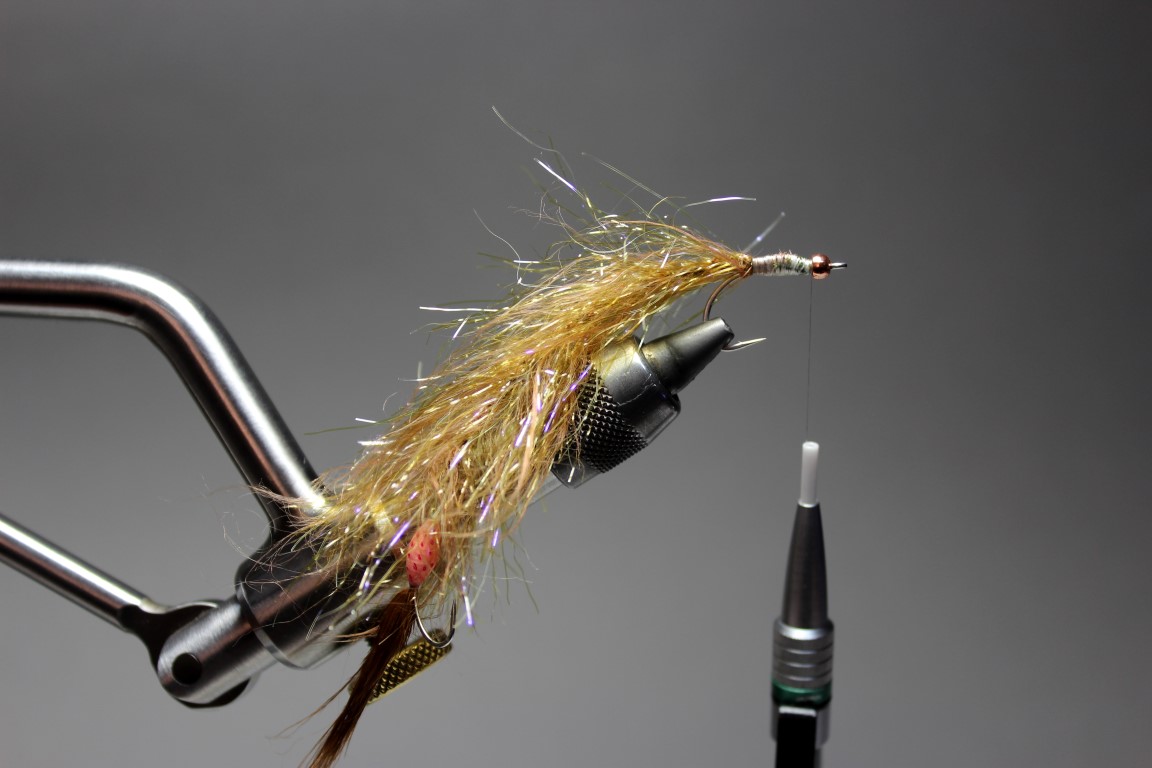
Put the egg hook on the dyneema. That’s how you define the length of the fly. Grab the dyneema, polar chenille and the worm wool and twist it hard.
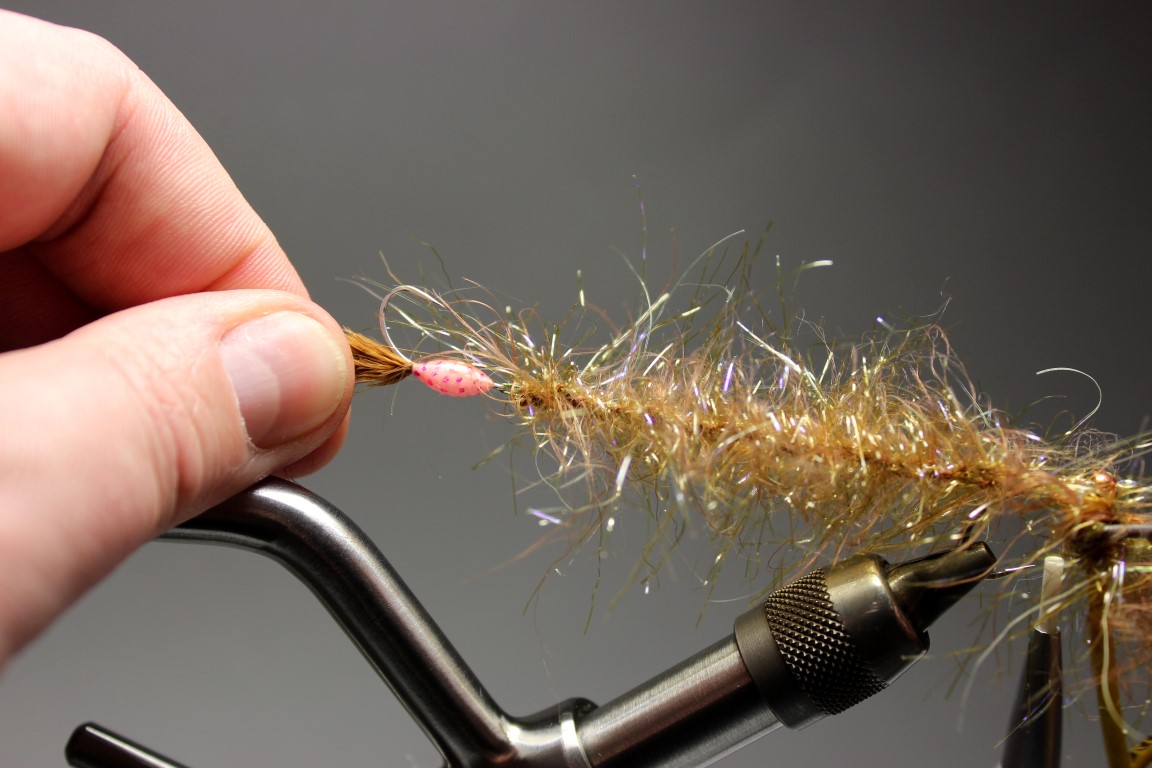
Grab the egg hook and bring the string to the hook eye and let the strings twist into each other.
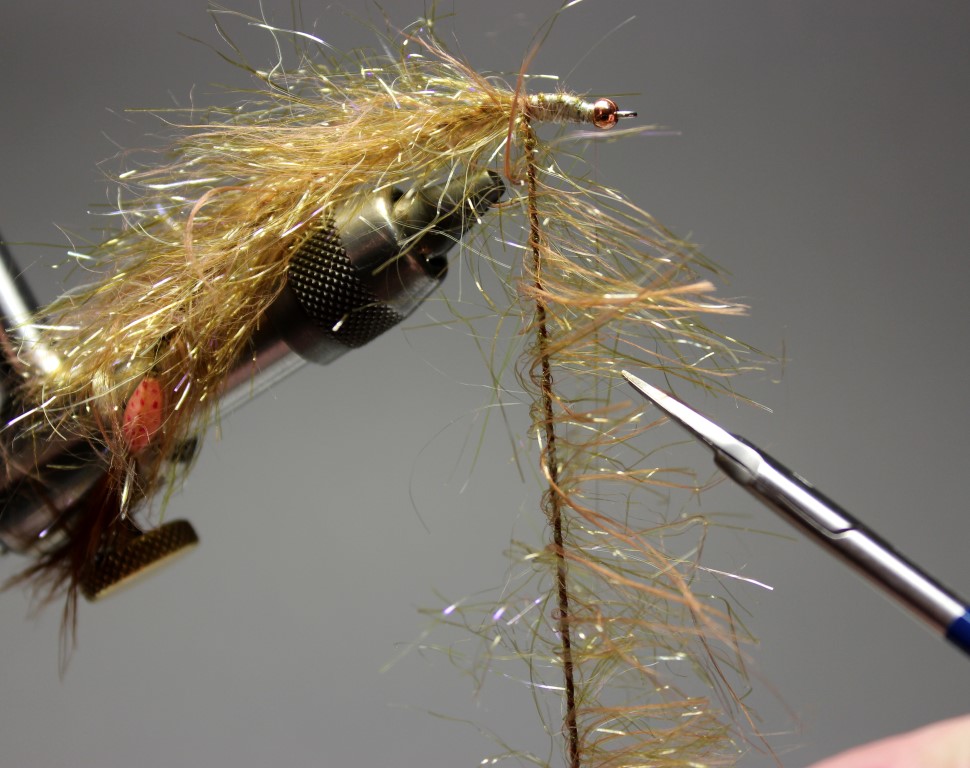
Catch the strings with your thread and cut the polar chenille and the worm wool, but NOT the dyneema fishing line!
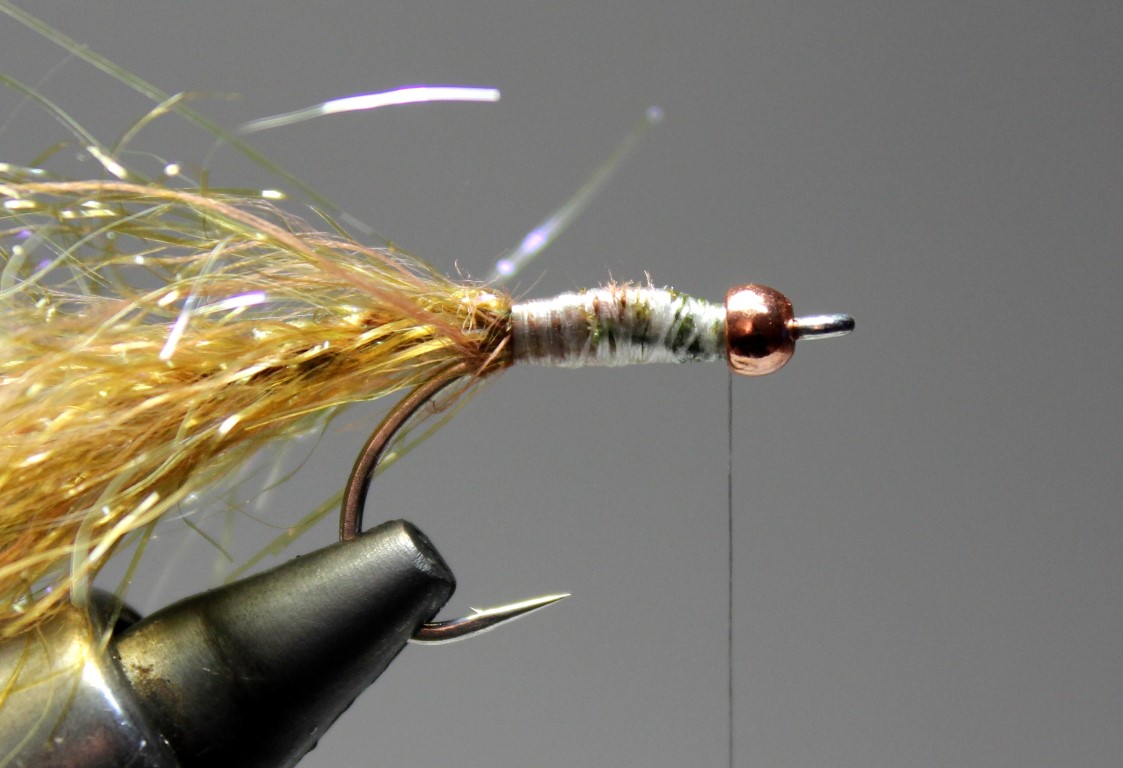
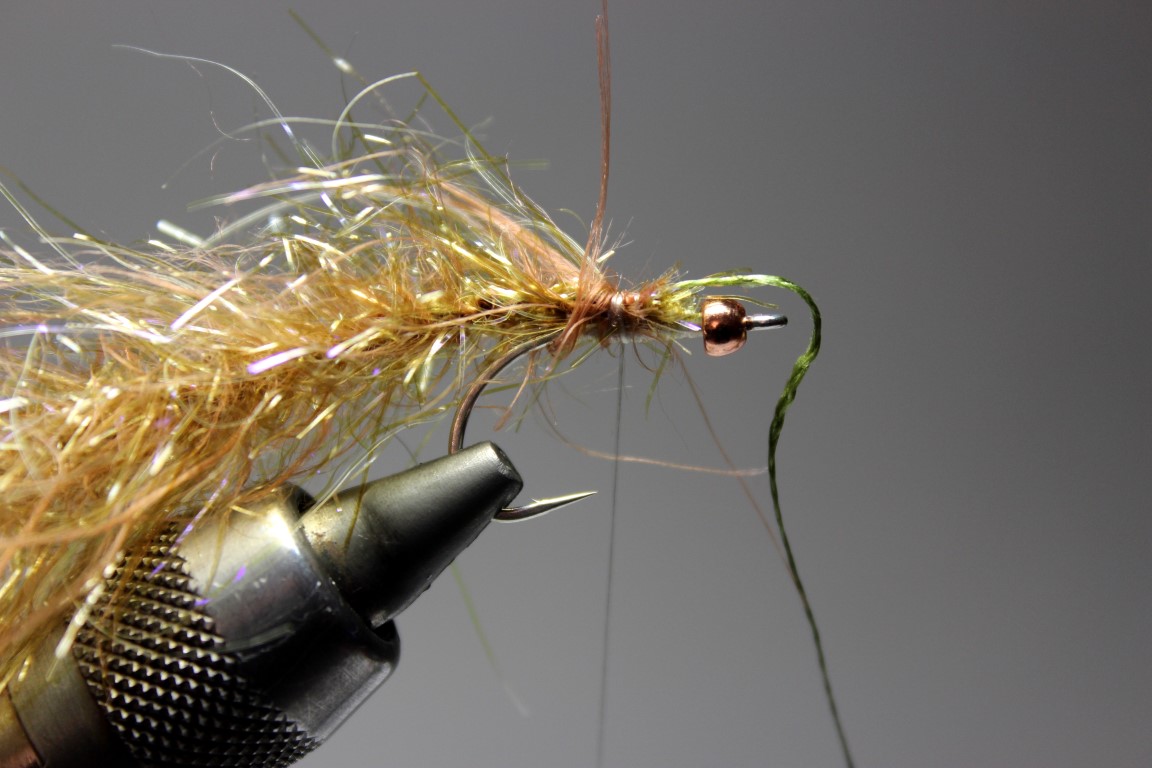
Wind the dyneema fishing line around the hook shank , put a drop of super glue on it and secure it with your tying thread very tight!
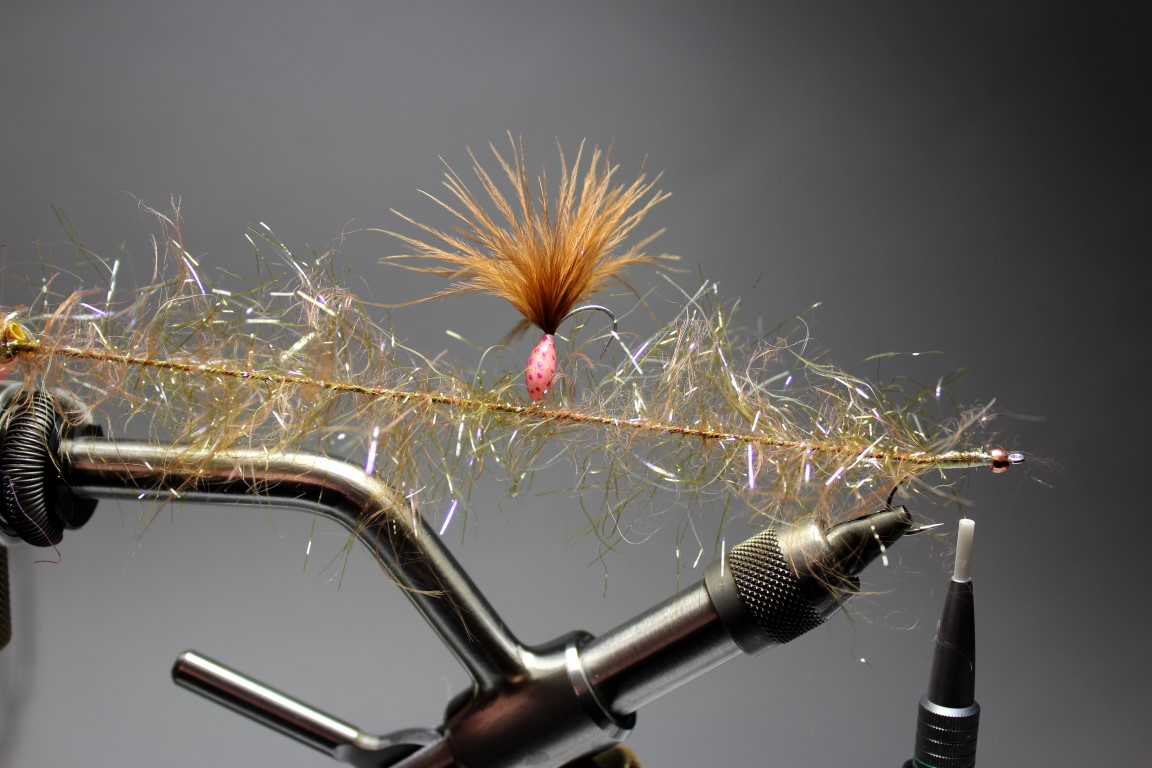
Tie in two another strings of polar chenille and worm wool and twist both strings. Give it a good brush with your velcro. Stroke all fibres to one side.

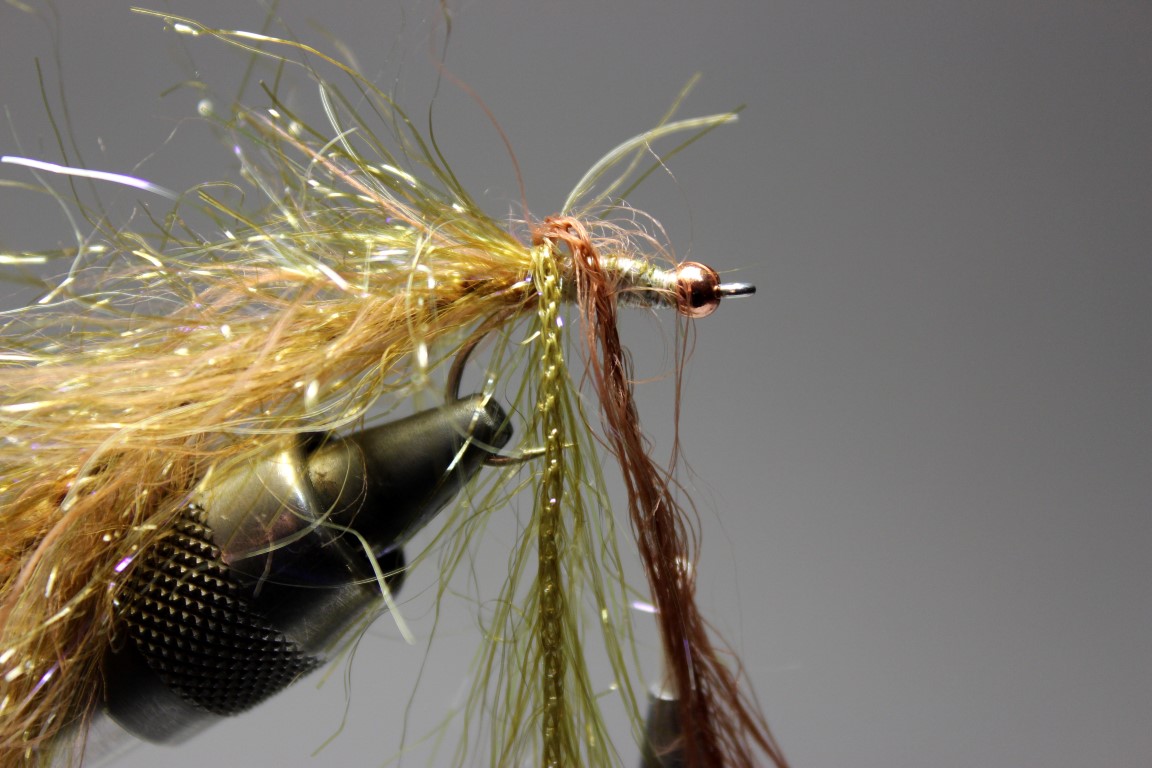
Cut in an angle with your scissors, so the fibres don’t got all the same length. Wind the twisted strands around the shank to the front and catch it with your thread. Cut the strands closely to the bead, do a whip finish and let some thin varnish soak into the front to secure everything.
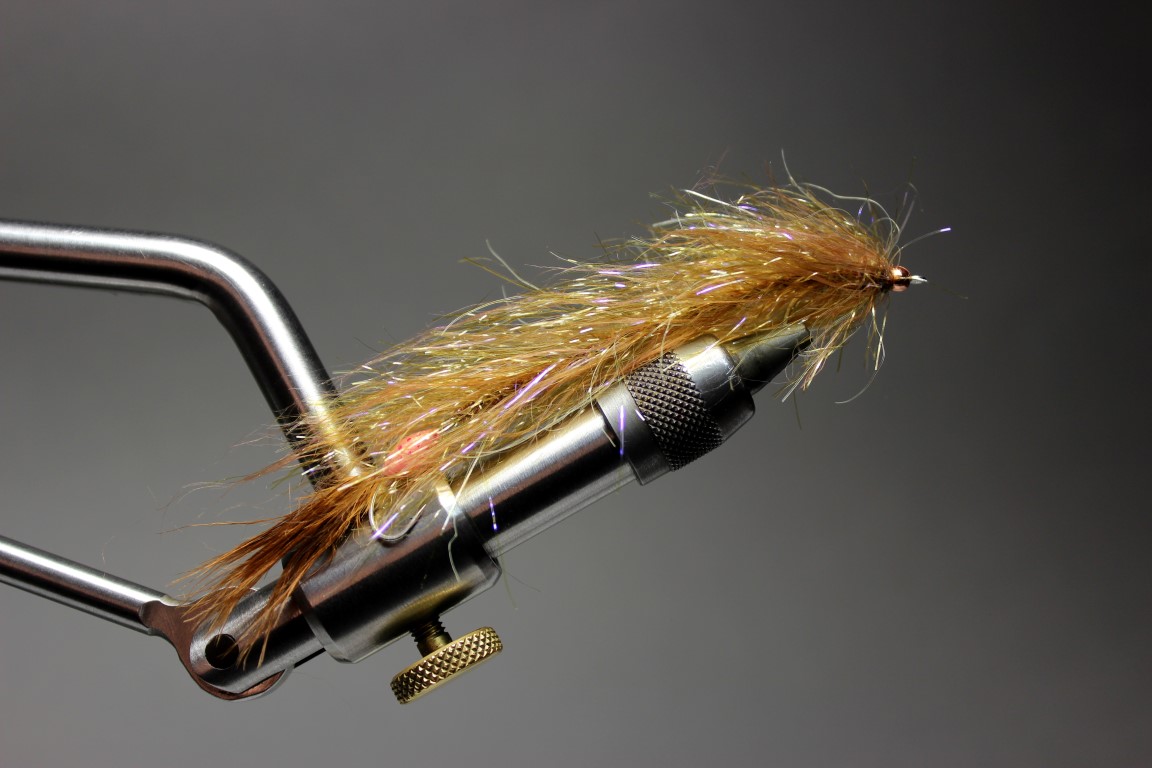
Give the worm a complete brush with your velcro and you’re done! A superb worm fly with a great action in the water and some nice translucency, because of the polar chenille. It’s also a very durable pattern and you can tie it in all colors and sizes you like. If you don’t like flies with two hooks, just cut the hook bend of the front or the back hook close to the body.