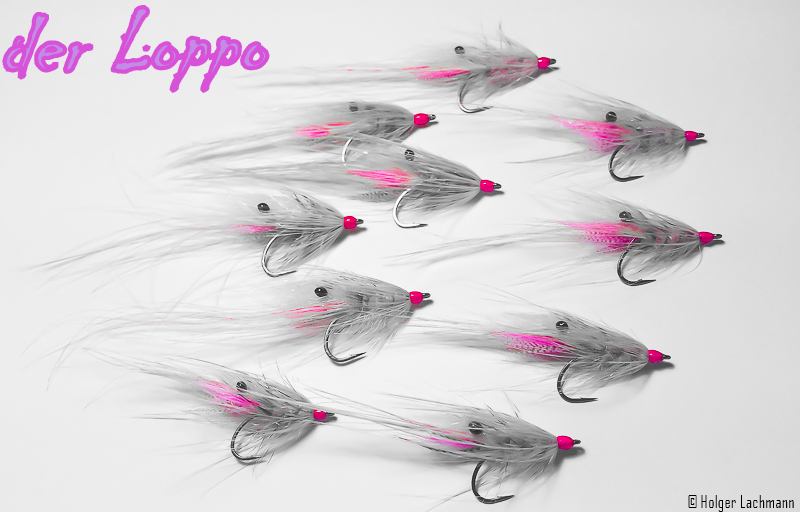
der Loppo
Antworten


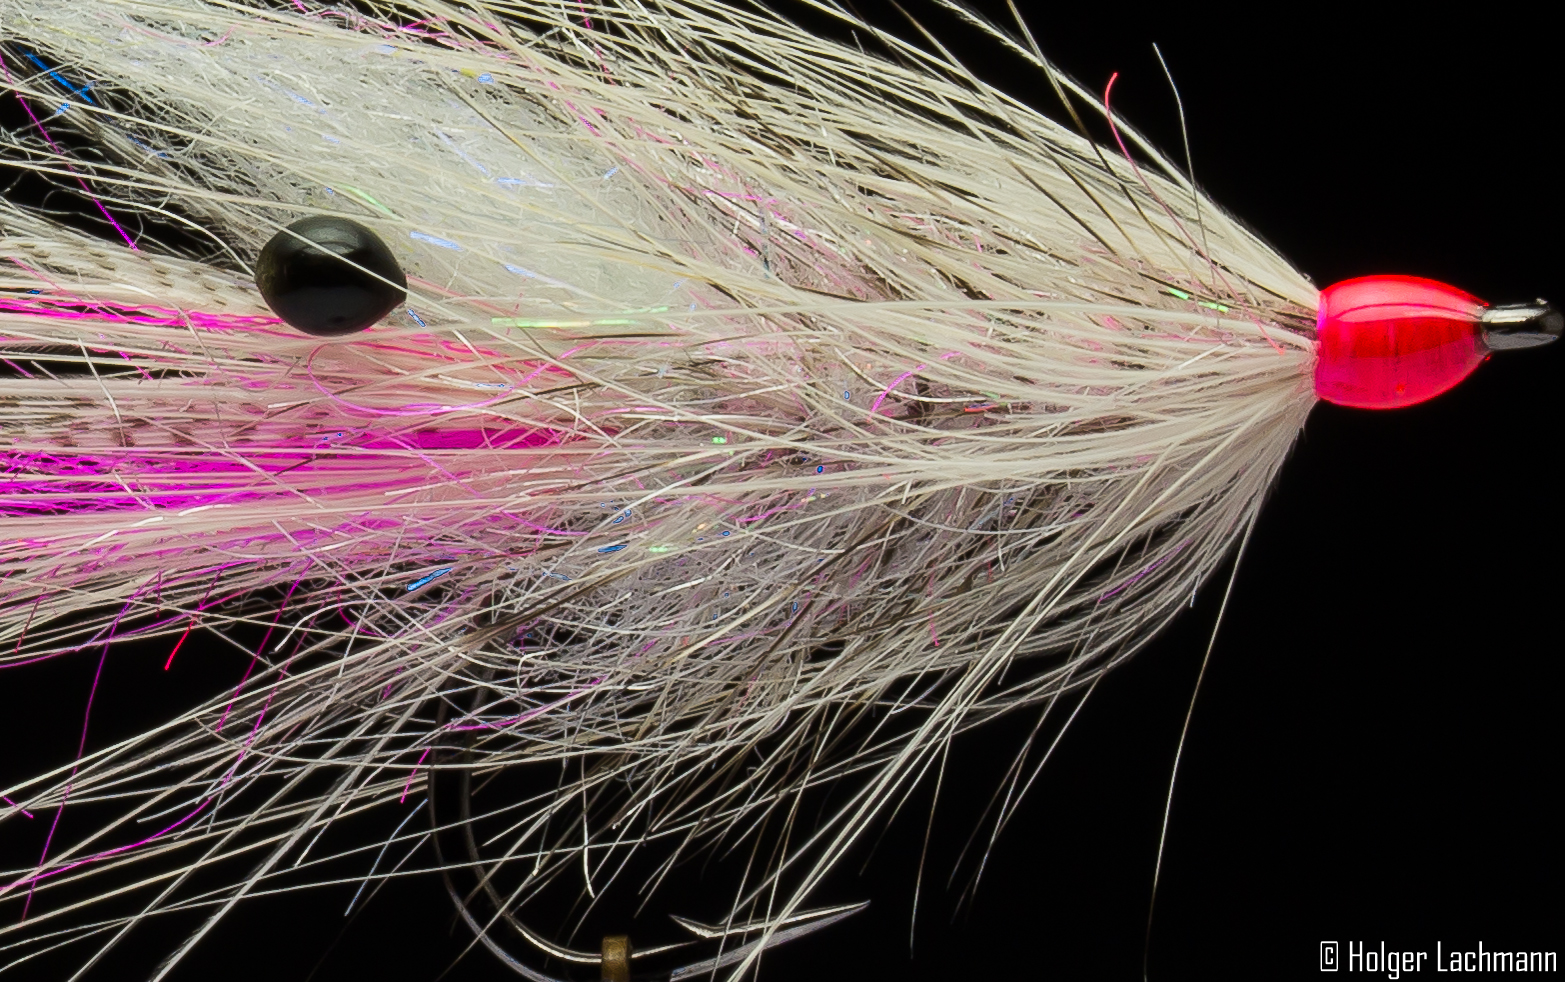
This is the last Magic Shrimp for a while, because I have to order new material for the legs.
This shrimp is very translucent und I think it will work very good on cloudy days with clear water, when the body gives a nice „bling bling“ in the water.

This time I tied a natural – sand – colored shrimp. This is the fourth try. Now, after a little bit of experience in tying these little fellows, it’s getting faster and easier every time. Fun tying!


Rune Westphal designed a nice shrimp pattern. It’s like a Perfect Leo Shrimp from Kern Lund with an translucent rear body.
This is my first attempt with this pattern. I tied the front and the mouth part a bit different with CDC and Arctic Fox. It’s not perfect, but for the first try, I’m quite satisfied.

Here, you can see the tying video of Rune:
[youtube width=“600″ height=“400″]https://www.youtube.com/watch?v=UKMmtfuB9tg[/youtube]
I finished the last flies for 2014 this morning, five sculpins # 6.
I wish everyone a great party and all the best for 2015! I thank you all for the nice comments, emails and support during the whole year! See you in 2015! Tight lines!
Holger

Little sculpins #6 weighted with a tungsten head in the front. The deer hair head is secured with Bug Bond Lite to make it indestructible. I always liked this pattern und and I will always do, because I caught some really nice trouts with it. No matter, if you fish them upstream, in the swing or stripping them in, trouts love ‚em.
It takes a bit to cut the head and it’s always a mess on your tying table, but it’s worth it. At least for me it is. ;-)

I made a new little video about an easy to tie pattern of a Stickleback.
[vimeo width=“600″ height=“500″]https://vimeo.com/108999238[/vimeo]
I made last night a video tutorial of a seatrout pattern for the Baltic Sea. I just called it „Food“, because maybe the seatrouts think it’s a little fish or a shrimp….just food.
Unfortunately Vineo reduced the quality of the video. I’ll have to work on this.
Anyway, I hope you’ll like it. I think I will do some more videos in the future. Maybe you tell me, what you think about it.
[vimeo width=“600″ height=“500″]https://vimeo.com/108696581[/vimeo]
All shrimps are tied differently. Only the color is always quite the same, Caramel.

This is the first time I made a video of the single steps to tie the fly. I hope you like it. The fly is a very good and looks even better in the water. Great pattern for Seatrout.
[vimeo width=“600″ height=“400″]http://vimeo.com/108574605[/vimeo]


Here is a spey shrimp tied with a little bit of uv materials. You can’t see them in normal light, jsut when you use your uv torch. Some say fish can’t see uv light, other say they have definitely more hook ups with flies tied with a bit of uv materials. I’ll let the fish decide… ;-)

Last but not least a Flatwing Tobis

There are a lot of tools for the fly tier on the market. Some are good, some are useless, some are expensive but worth the money, some are cheap and still super usefull.
I used a lot of different tools and gimmicks in the last 20 years, and in this series I want to show things, which worked well for me and I’ll try to tell you why.
Part 2
Every fly tier needs a good hackle plier. You can find a lot of different pliers on the market. This are the two types I can highly recommend.
1. Dorin Hackle Plier

You can buy it normally for less than 5,- €. It works great and has a lot of power holding different materials. I use it often, when I have to tie with a high strength, especially ribbing with mono. Just wind the mono two times around the wire. The only negative point for me is, that my finger does not fit into the loop of wire.

This is the Dorin hackle pliers I use. It looks a bit shabby, but it’s over 13 years old.


From time to time the plastic tubing is damaged and the materials begin to slip. To solve the problem is very easy.

Just push the tube over the edge and cut it. Now it works like brand new. You can see, that it’s not necessary to do it often. Like I said, the one on the picture is more then 13 years old and it was used very often. There is still some tubing left. ;-)


Here is the expensive one. C&F hackle plier. About 30,- € for the cheapest model. Well, a lot of money, but it’s worth every cent. It works perfect as an all around hackle plier. You can tie with it many years and it still works like on day one. The rubber pads are missing on mine, but that’s no problem. Still working great.

The secret of success. The tip is rough in a microscopic way. Hackles, feathers and synthetics are hold very well.

This is the rotary version of the C&F, which I sometimes like to use when tying smaller patterns.
Well, that’s it! My two cent on hackle pliers. These are the pliers I use since many, many years without any problems. Still working perfect.