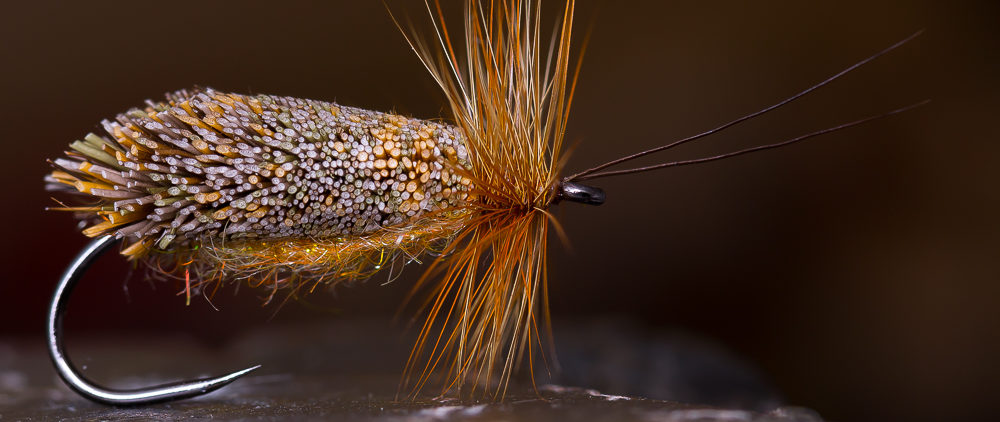
Ants are everywhere, especially in the summer, when the winged ants are flying around. Fish love to eat them, so it’s logical to have some ants in your fly box. This is an easy to tie pattern and with a little bit floatant, it swims very well. I tied here a version with some foam as underbody, coated with uv resin. It’s for the faster flowing water. I tie another version with the two segments completly made with uv resin without any foam. The secound version sits deeper in the surface film, which looks more natural in slow water, where the fish got more time to take a closer look. The shape of the hook is not so important, as long as the hook gap is big enough.
Materials:
- Hook: Dry fly hook # 12-16
- Body: Foam coated wit Bug Bond UV Resin and colored with a black Marker Pen
- Hackle: Whiting black
- Wings: Flash Dubbing
Tie in the foam and fold it to the front and tie it down.
Do the same for the front segment and color it with a marker pen.
Take some Bug Bond Original and cover both segments with the resin and harden it with your BB torch.
Take some strands of flash dubbing and tie it in just before the first segment. It should be tied in V-shaped, so it looks like wings.
Tie in a black hackle and wind it in three turns to the front and catch it with your thread and do a whip finish.
The result. A nice little ant fly ready for the fish.


