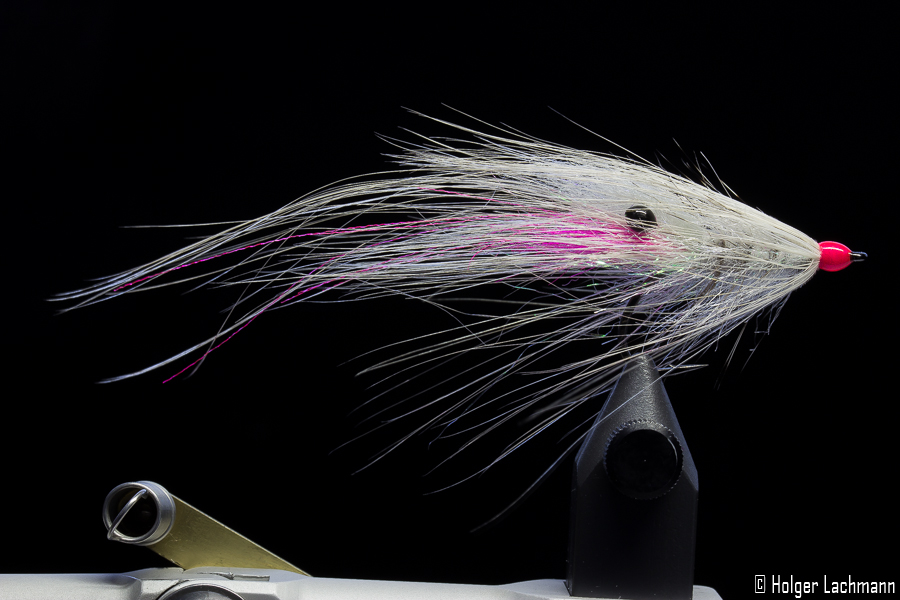
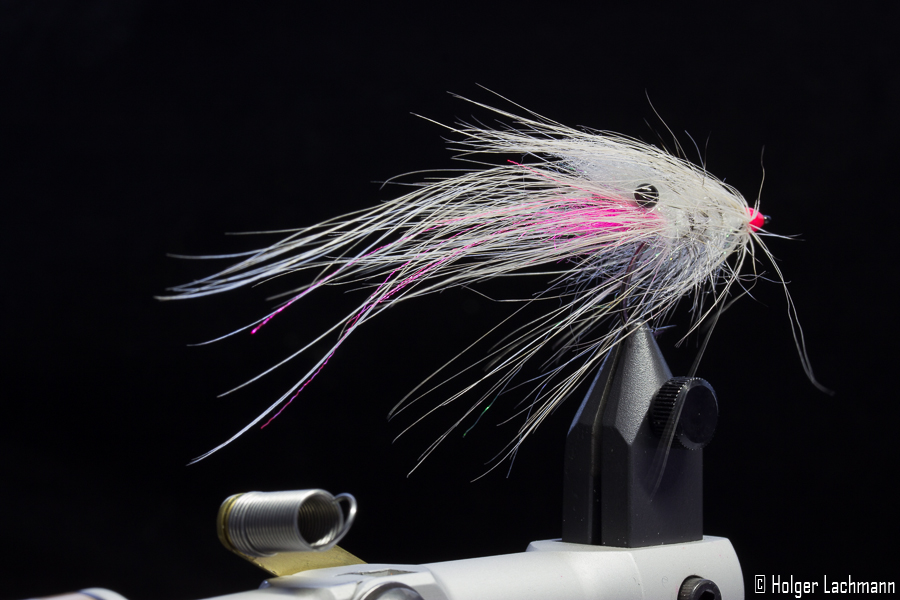
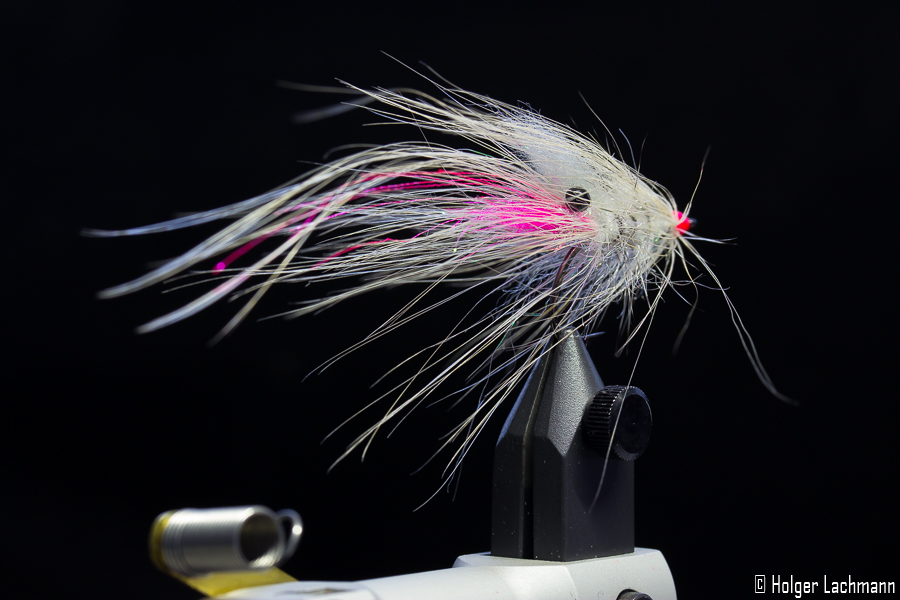
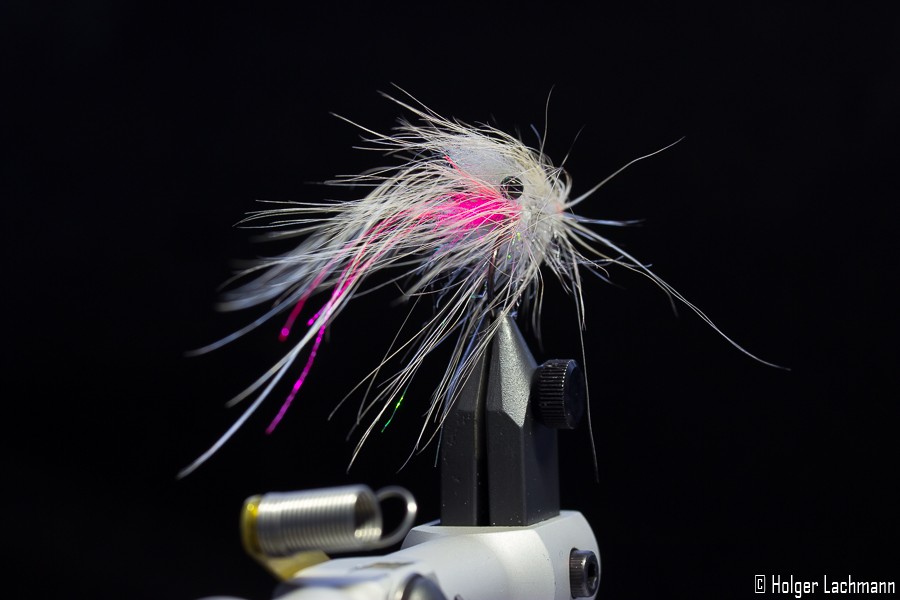
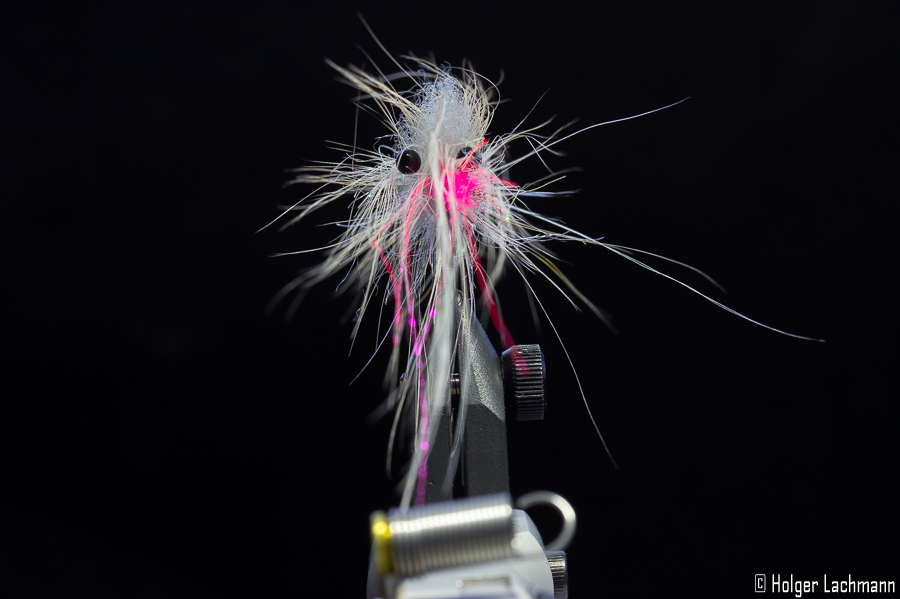
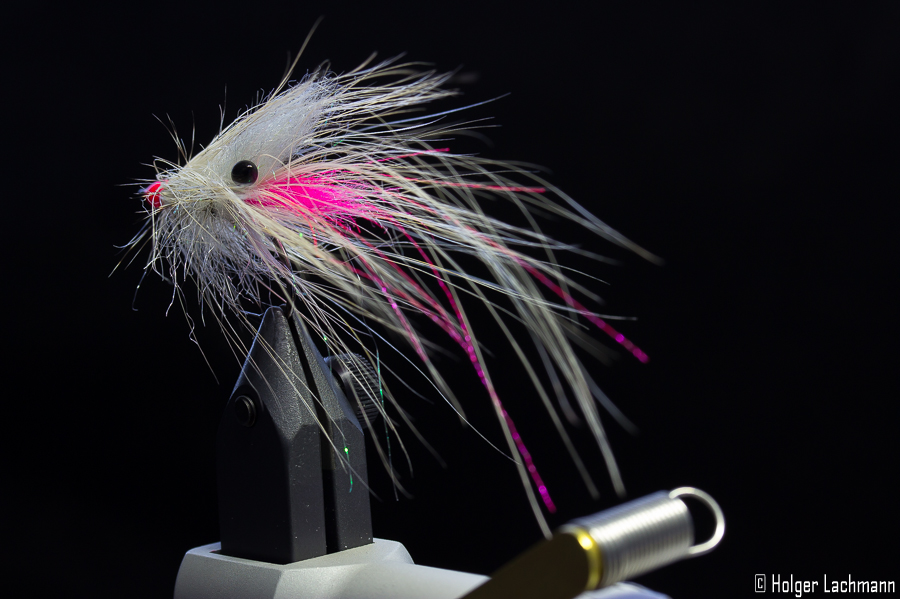
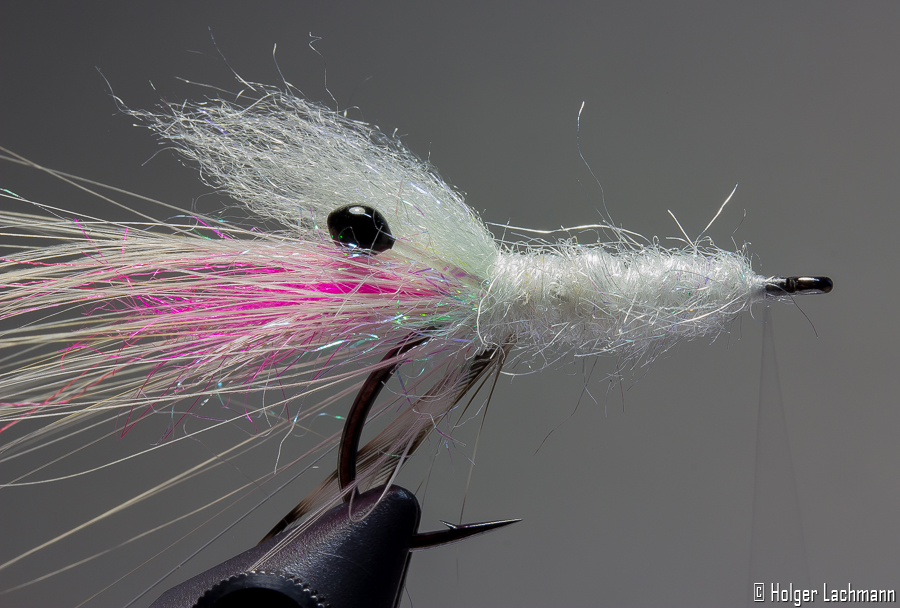
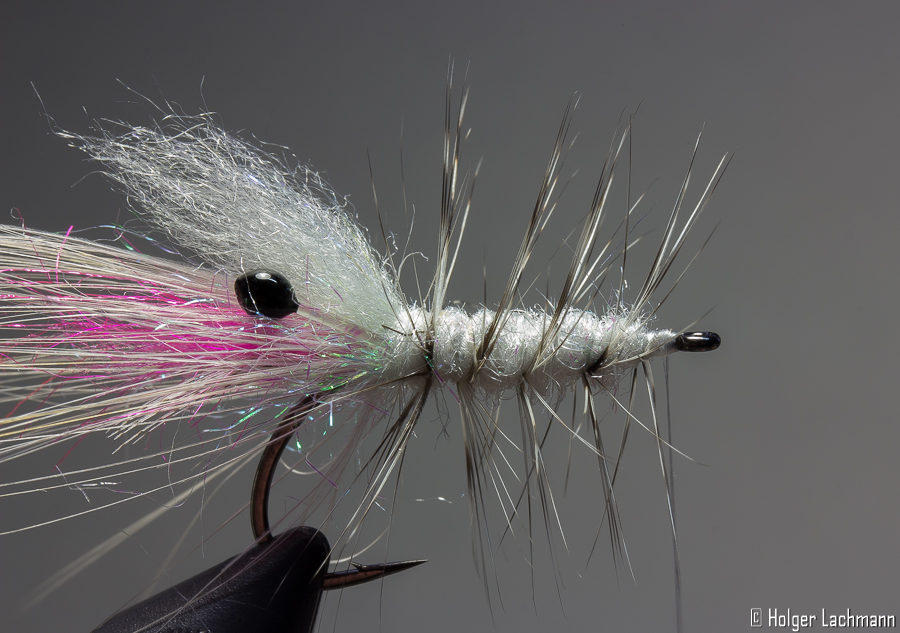
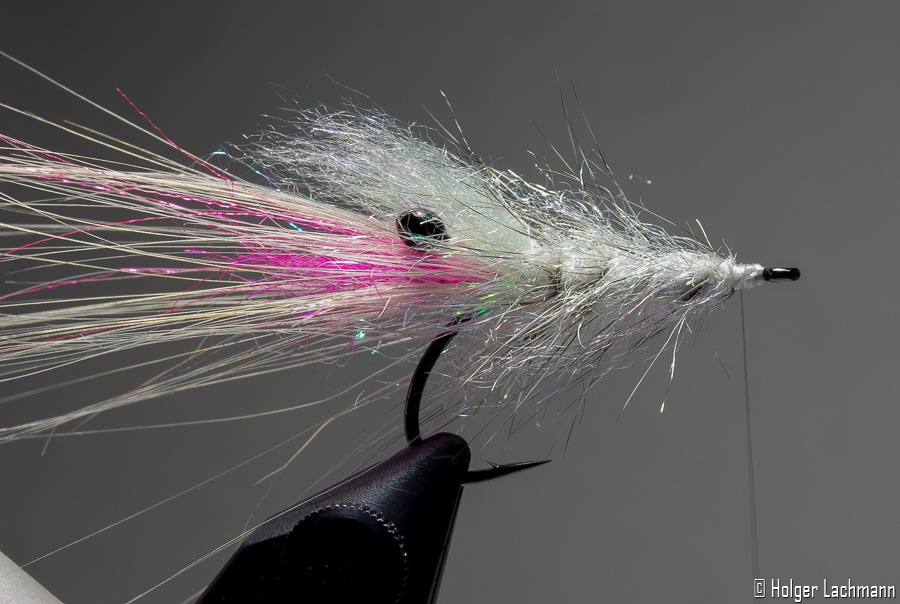
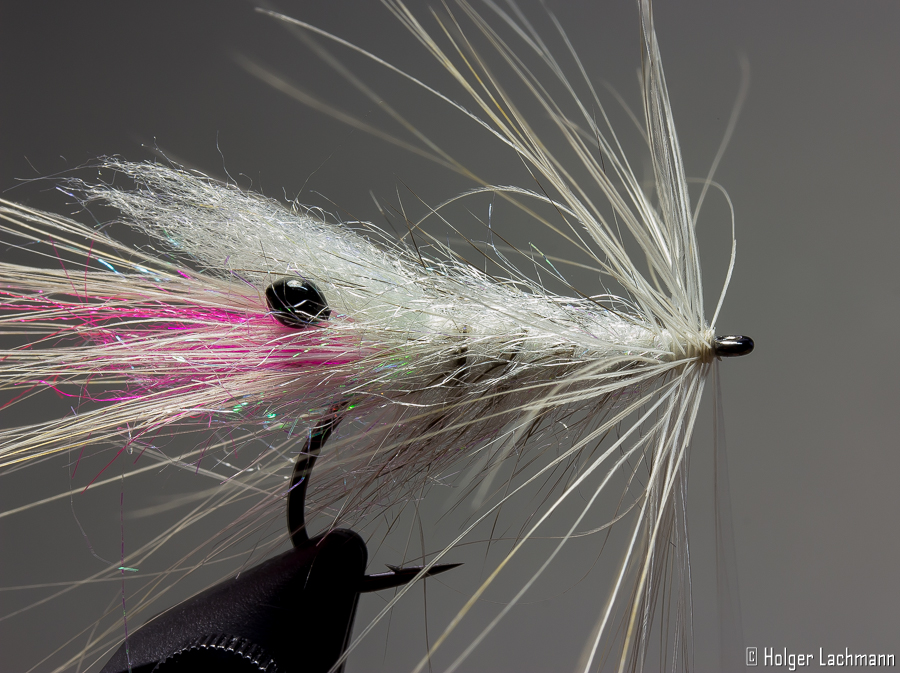
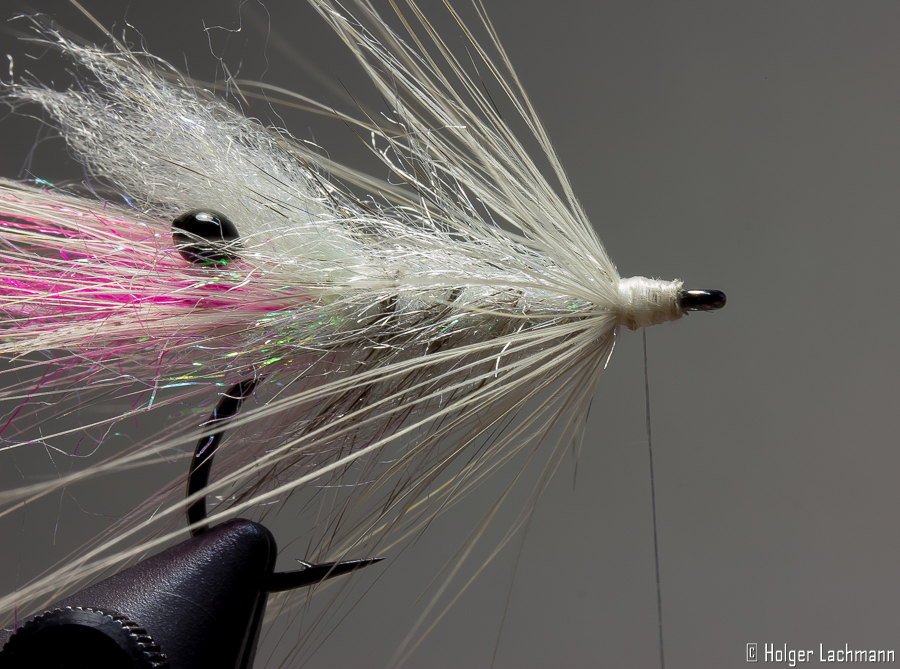
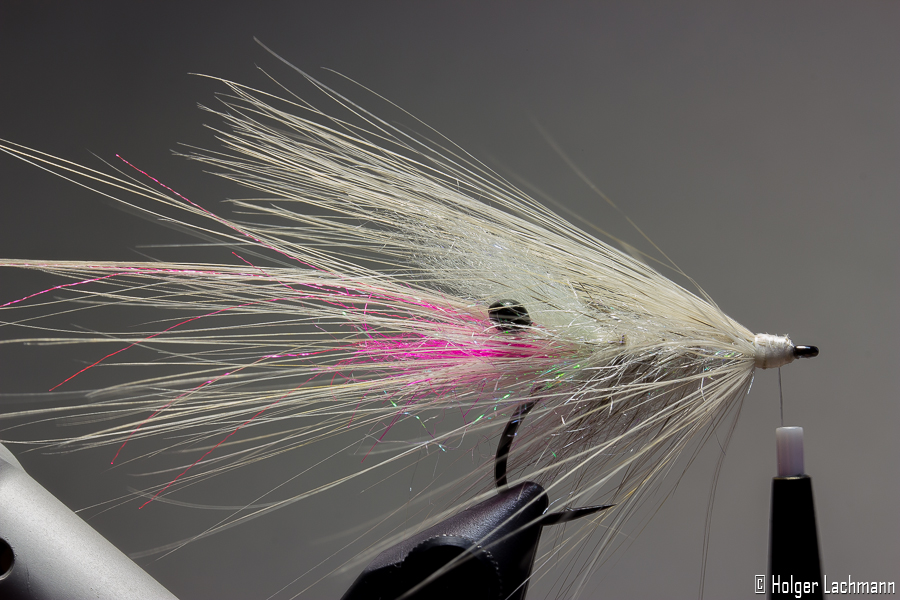
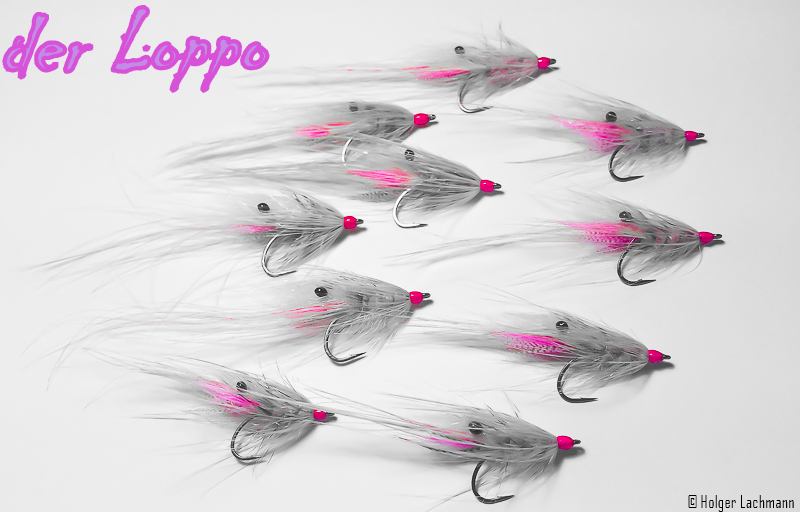
I was asked so often in the last time for a step by step tutorial for the Sea Trout fly „Der Loppo“, that I finally made one.
This fly isn’t something „brand new“, „the next revolution“, „the game changer“ or anything like this. It’s just a mix of some ingredients of good flies mixed together to a fly, which I personally like and in which I put my faith when fishing. I made flies for my fishing in the past, which looked quite similar, but this is the final outcome.
Its got a nice semi translucency, it’s not too bright and not too unimpressive. You can tie it in different colors. I also like tan/white and orange as a color combination very much.
This example fly is tied on a hook size 4, but you can also tie it in size 6 with shorter fibres, when you want to fish it slower and the Sea Trouts just nibble on the longer fibres.
I even got a variation with black hackles and hot orange trigger points for murky water… looks very cool, too!
Ok, let’s start the step by step with a list of the materials:
- Hook: Gamakatsu F314 #4
- Weight: Lead Wire or substitute
- Dubbing: Ice Dub Pearl, SLF Saltwater Dub White/Pearl
- Mouth Part: Mallard and SLF Dub Pink
- Hackles: Whiting Spey Hackle and a Grizzly Hackle stripped on one side
- Horn: Senyos Laser Dub Gray
- Antennas: Fluoro Fibre Pink
- Eyes: Mono Eyes selfmade
- Ribbing: Mono
- Thread: 50D GSP white and 70D Uni Fluo Pink
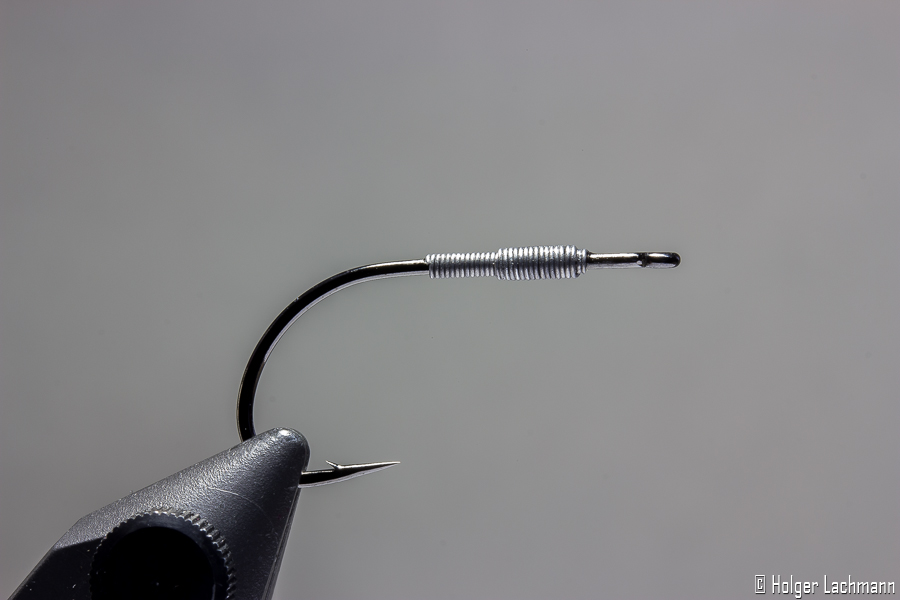
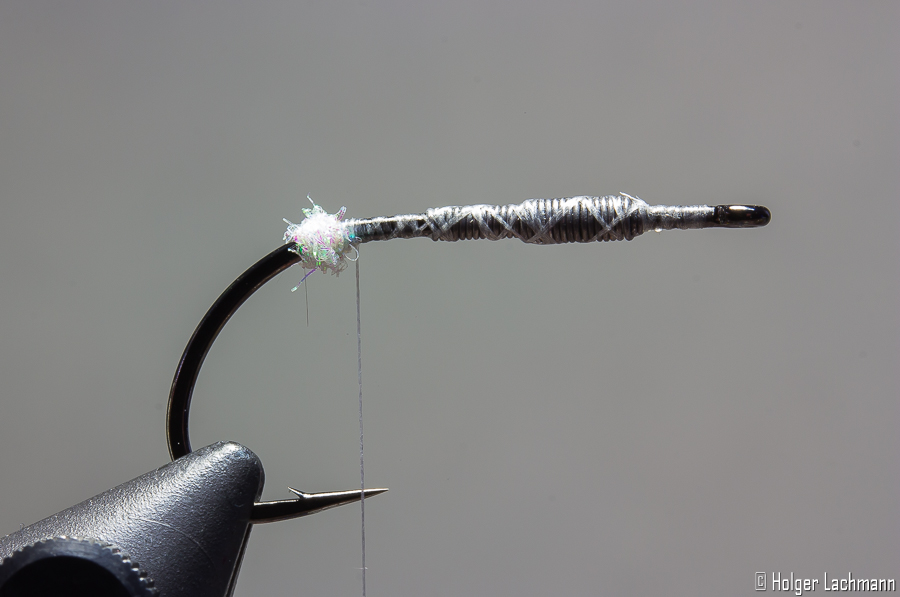
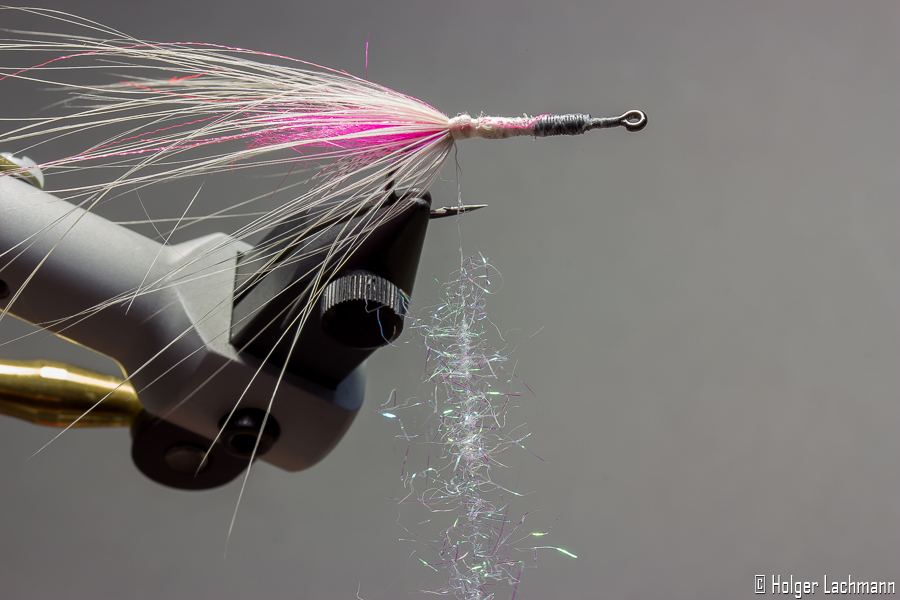
Put the hook into the vise and wind the lead wire arounf the shank. To secure the lead, you could use a little drop of super glue. Attach the thread and form with the Ice Dub a little tight dubbing ball at the end of the shank.
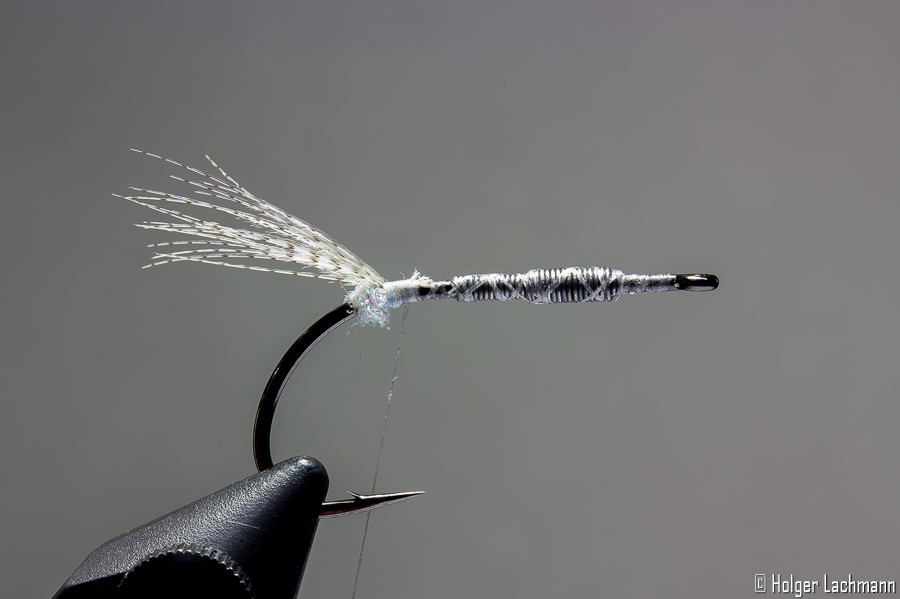
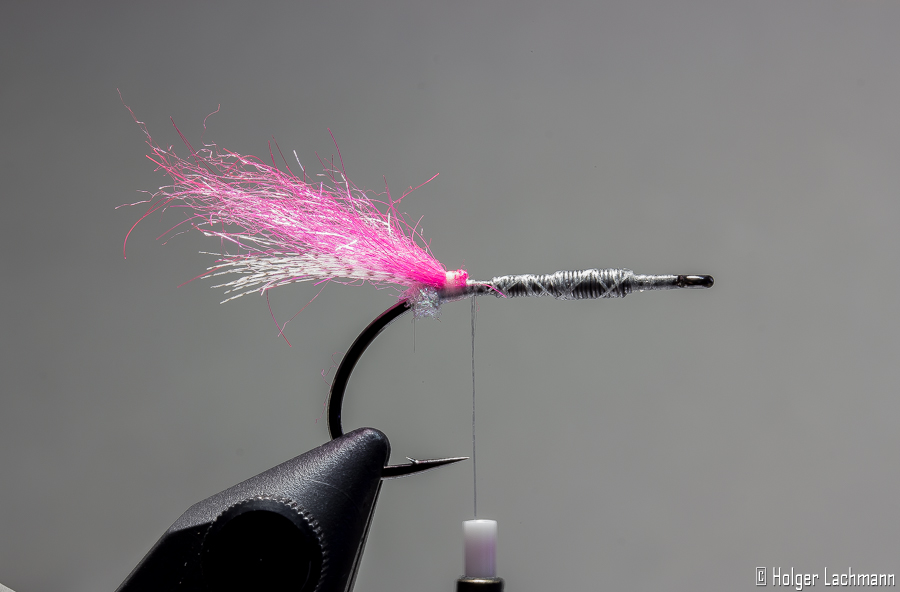
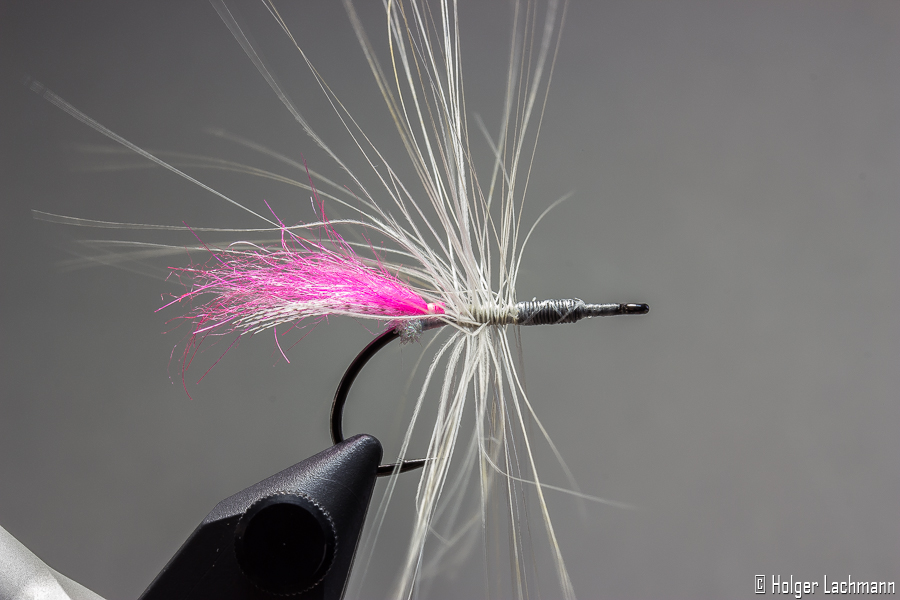
Tie in the Mallard and the pink SLF as „mouth parts“.
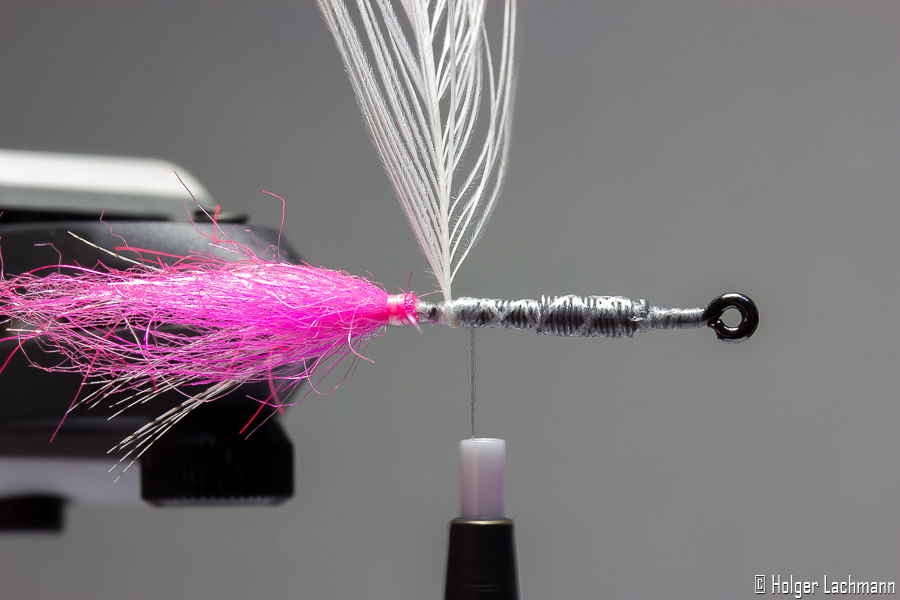
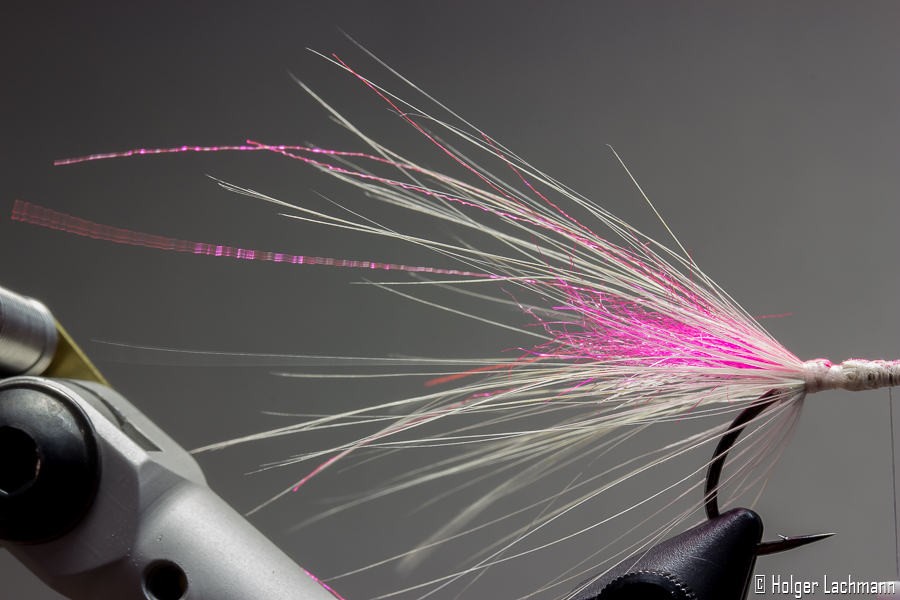
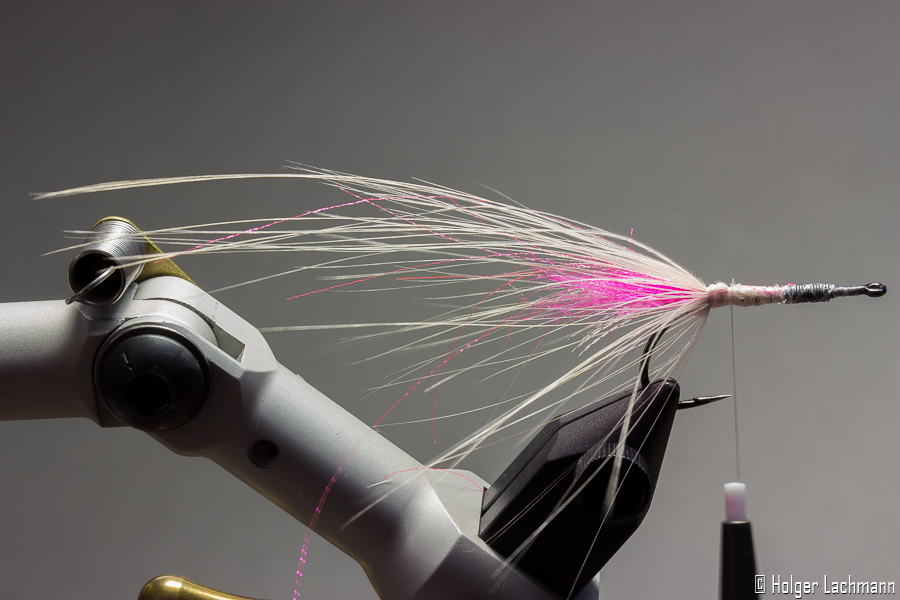
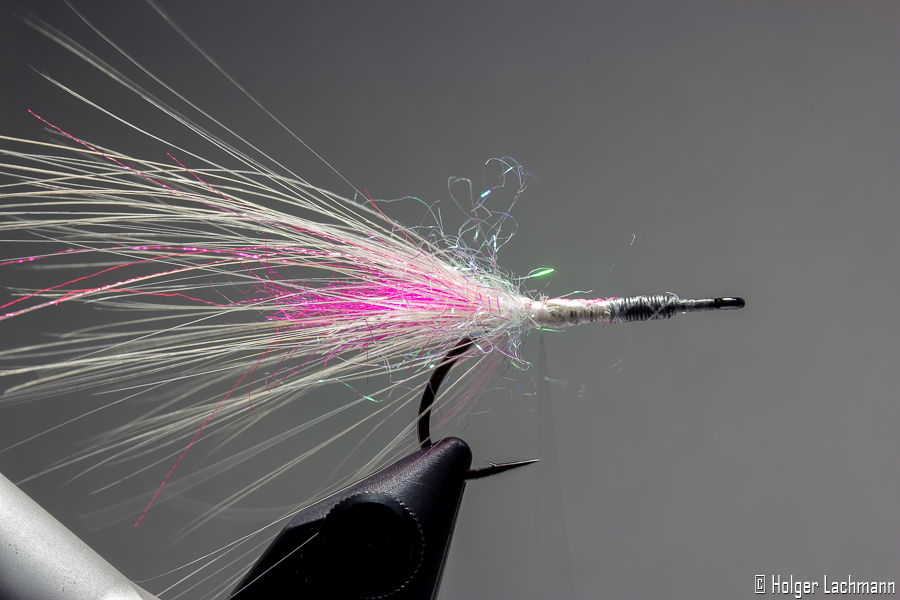
The first spey hackle should be tied in like shown. It’s easier to wind it around this way. Go back with your tying thread to the little bump and secure so the thin fragile stem of the spey hackle. For a little extra color, tie in some Fluoro Fibres in pink.
I like to tie in some extra long hackle fibres for the extra movement. If you think they are too long, just skip this tying step.
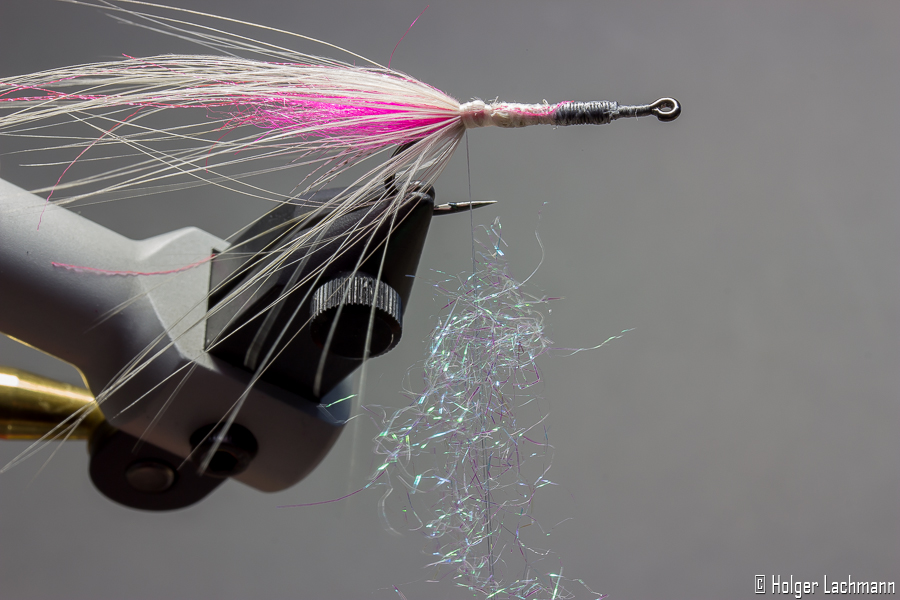
Split the thread and put some Ice Dub in the gap, then twist the bobbin and wind the dubbing around. After that, give the dubbing a brush with your velcro.
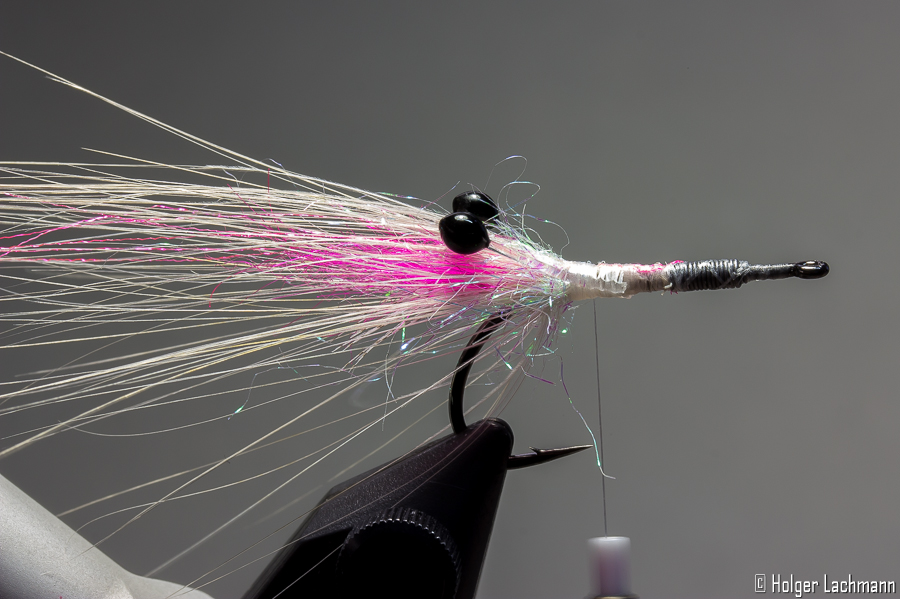
Now the eyes and the mono for ribbing should be tied in.
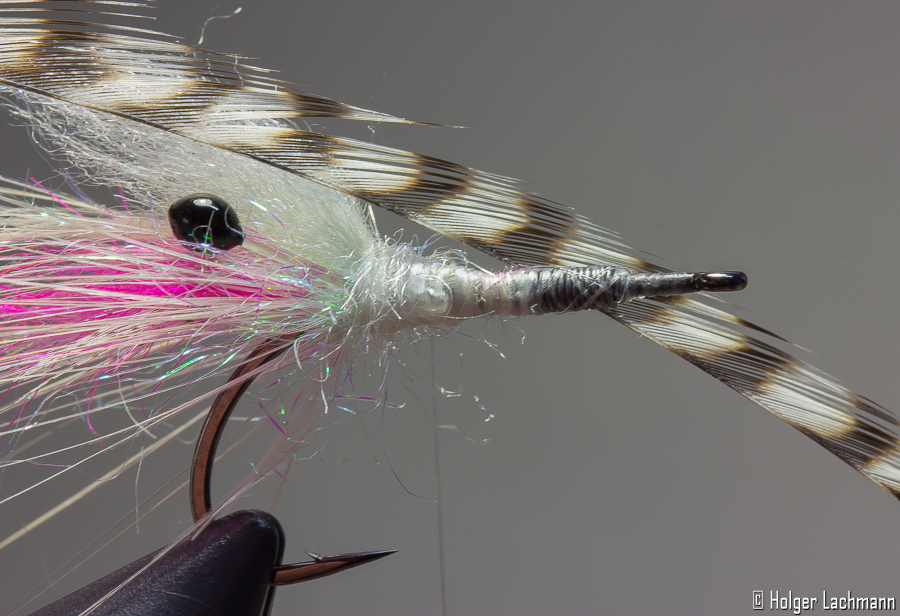
For the horn section, tie in the Laser dub and do a first turn with the white/pearl SLF Saltwater Dub.
Tie in the grizzly hackle which was stripped on one side and dub the body using the SLF Saltwater Dub. Wind the grizzly hackle to the eye and leave enough space for the final hackle. Secure the hackle by ribbing the body incl. the hackle with the mono and catch it with the tying thread. Don’t forget the ribbing! ;) At the end, give the body and the hackle a strong brush with your velcro. The mix of hackle and SLF looks really cool in the water.
Wind around the second spey hackle and again secure the stem with your thread. It doesn’t matter, when in looks a bit bulky.
Take some extra spey fibres and tie them on top as a back. Looks in the water like the shrimp shell and makes sure the fly will always swim straight.
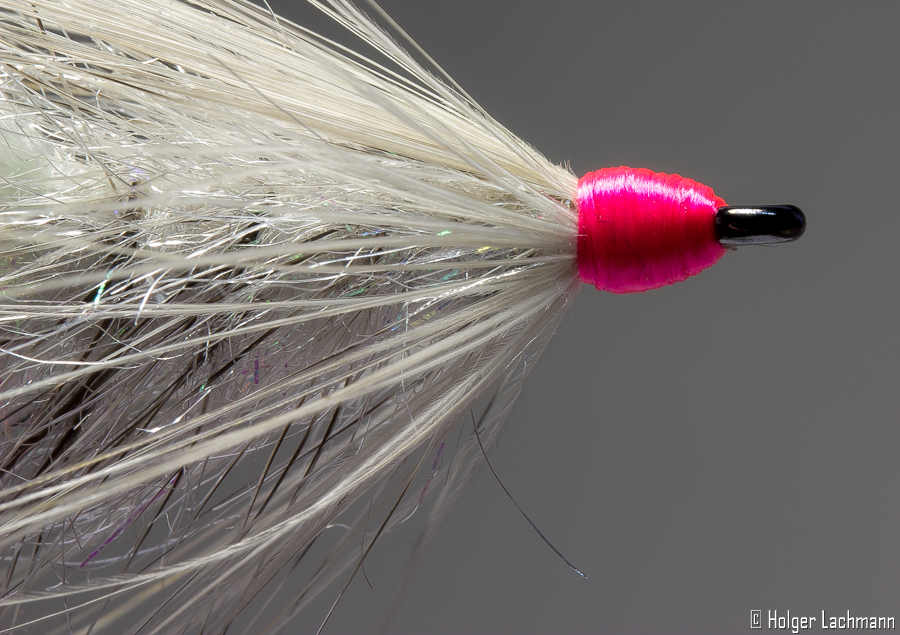
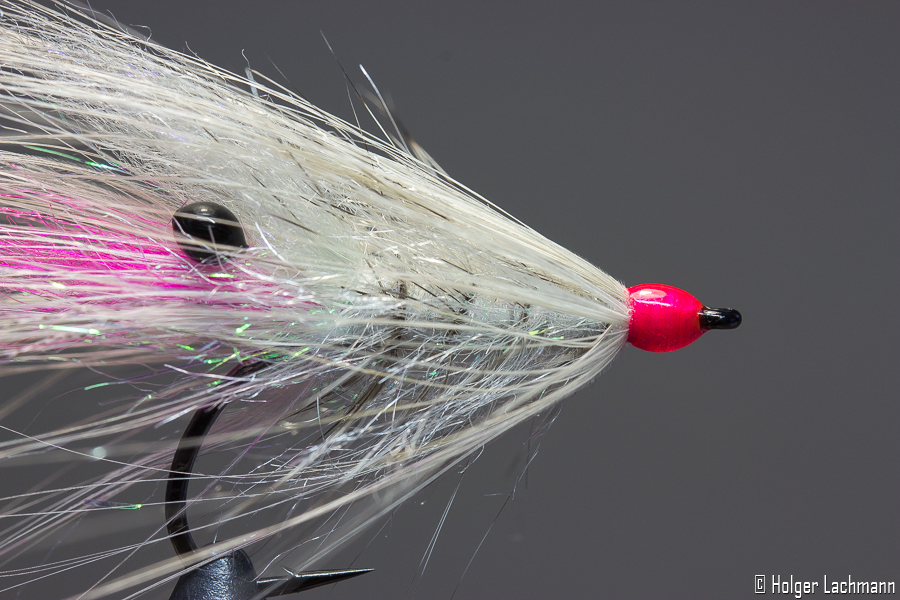
Do a whip finish with the GSP thread and cut it of. Then do a nice head using the fluo pink thread as a trigger point. Varnish the head or use Bug Bond uv resin to get a nice, shiny head.
That’s it!
Der Loppo ist fertig! :) I wish you a lot of fun tying and fishing this fly!
