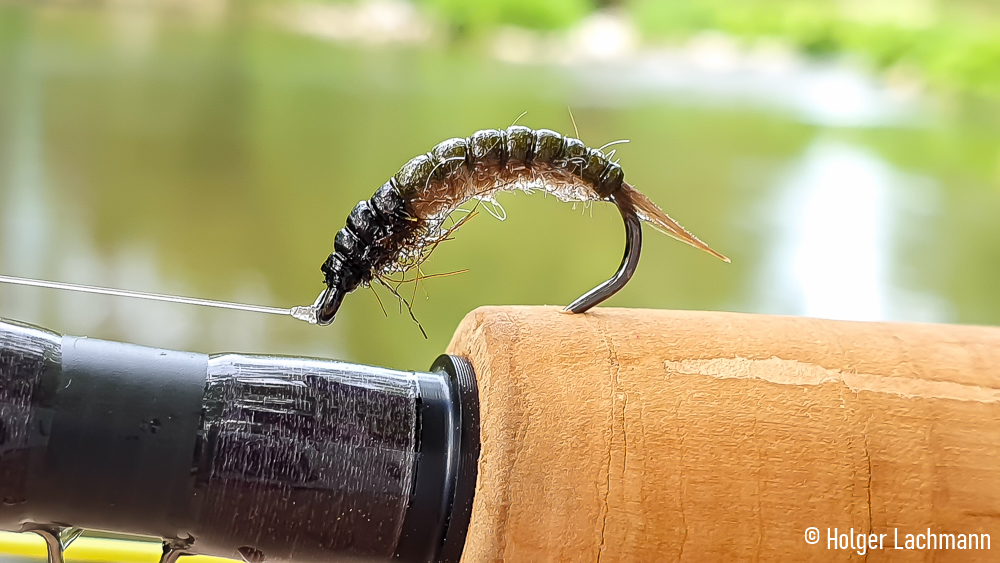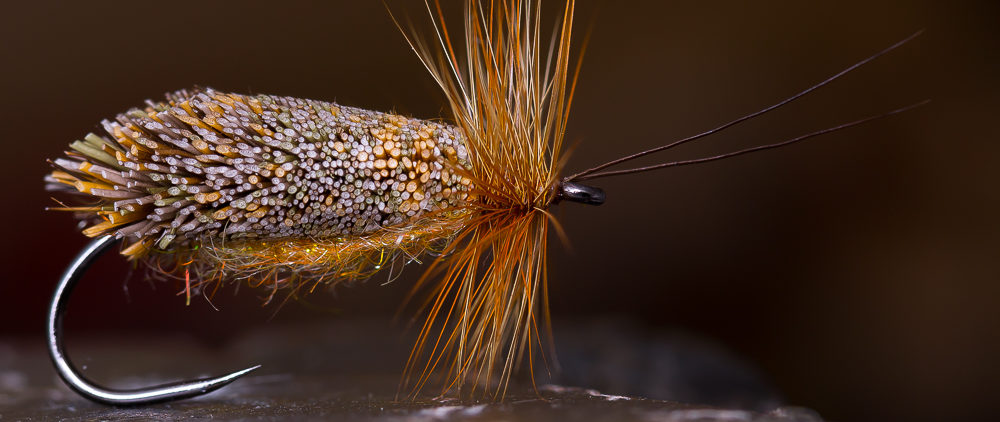
Caddis Larva


Here we go again! After moving to a new server, it’s time for a new step by step tutorial. This Caddis Larva is a very nice imitation of the original and it’s still quite easy to tie. So, it’s not a drama, when you lose it on the river bottom.
You have to fish this larva deep, that’s why there is a lot of weight in it. It still got a slim body, so it sinks fast to the ground. You will find Caddis in almost every river and it’s an important part of the fish’s menu.The coloration with the brown line on the abdomen is not a must. I just did it to show you what for possibilities you have with ordinary marker pens. It’s tied on a # 10 hook, which sounds pretty big, but the body length is close to the original, just try to keep a slim, natural looking body. Ok, let’s start!
Materials:
Wind the lead foil in multiple layers around the hook.
Take a CDC feather and cut out the feather steam on the top and tie the feather in like shown on the pictures to create the little tail.
Take the stretch flex and tie it in at the back of the fly. Do the same with the mono for ribbing.
Dub the abdomen on 3/4 of the hook shank with a nice tapering.
Split the thread with your dubbing needle, put the peacock dubbing in the gap, rotate your bobbin to spin the dubbing and wind it around the hook to create the thorax and the legs in on step. Leave a little bit space for the head next to the hook eye.
Fold the stretch flex to the front and catch it with your tying thread next to the hook eye. Fold it back, catch it again with your thread and cut away the excess. That’s the easiest way to form a nice head.
Take the mono and ribb the abdomen in small segments and the thorax in two bigger segments. Catch the ribbing with your tying thread and cut it off. Do two whip finish, cut the tying thread and the tying is done.
With the marker pens, you can give the larva the coloration of your liking or the spicific colors of the originals in your home waters. Put a drop of varnish on the head and the fly is finished, ready to be presented to the fish of your dreams! :-)
Tight lines!