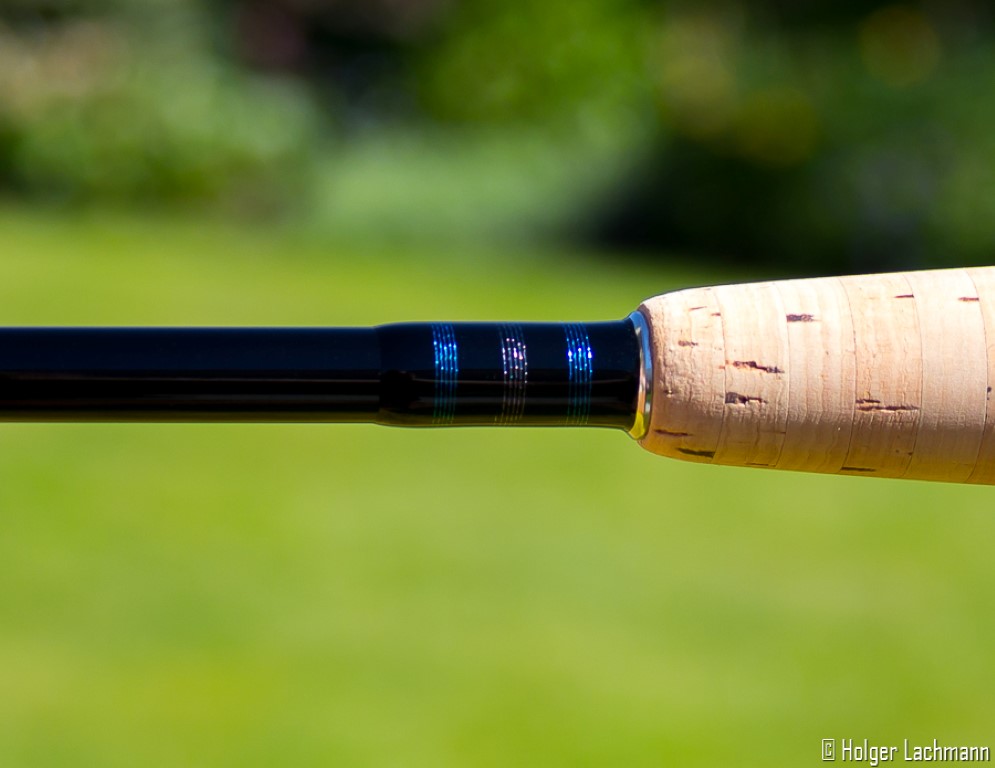
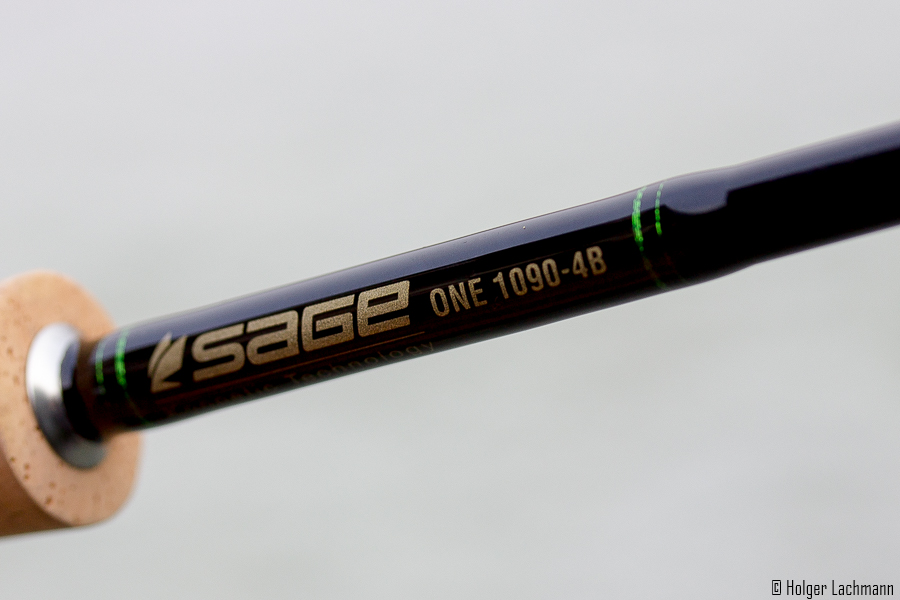
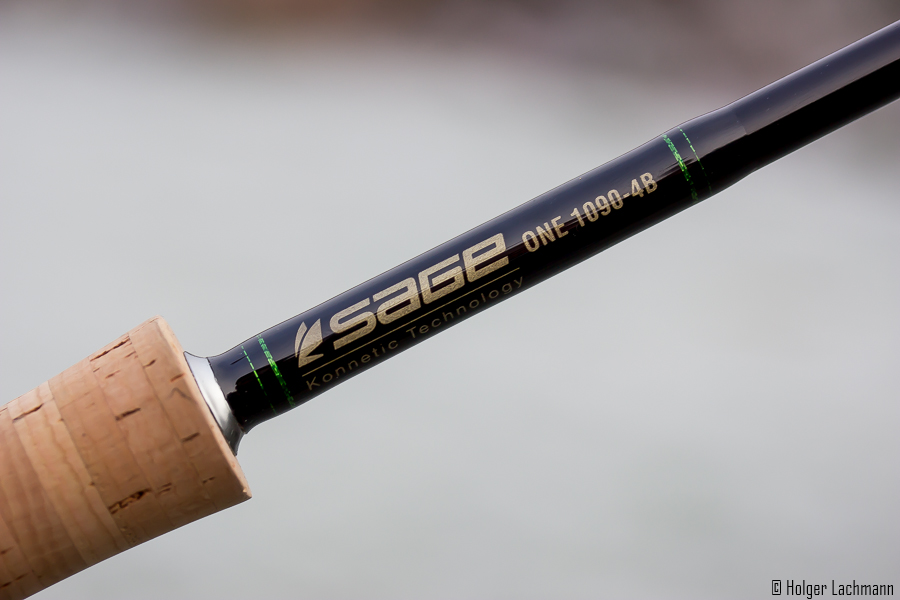
Im Frühjahr 2012 kaufte ich mir eine Sage One der Klasse 4 mit einer Länge von acht Fuß und sechs Inch. Schon nach den ersten Testwürfen am Pool wußte ich, dass dies genau die Aktion ist, die ich haben wollte. Eine etwas parabolischere Aktion als ihre 9 füßige Schwester, aber immer noch zügig mit einem schnellen Rückstellungsvermögen.
Es ist eine super Allroundrute. Ich habe mit ihr kleinere Streamer an Sinkschnüren genauso gefischt, wie 20iger Trockenfliegen am 0,10er Vorfach.
Nach einer Saison mit einigen schönen Fischen bin ich immer noch sehr begeistert. Vielleicht sogar mehr als vorher.

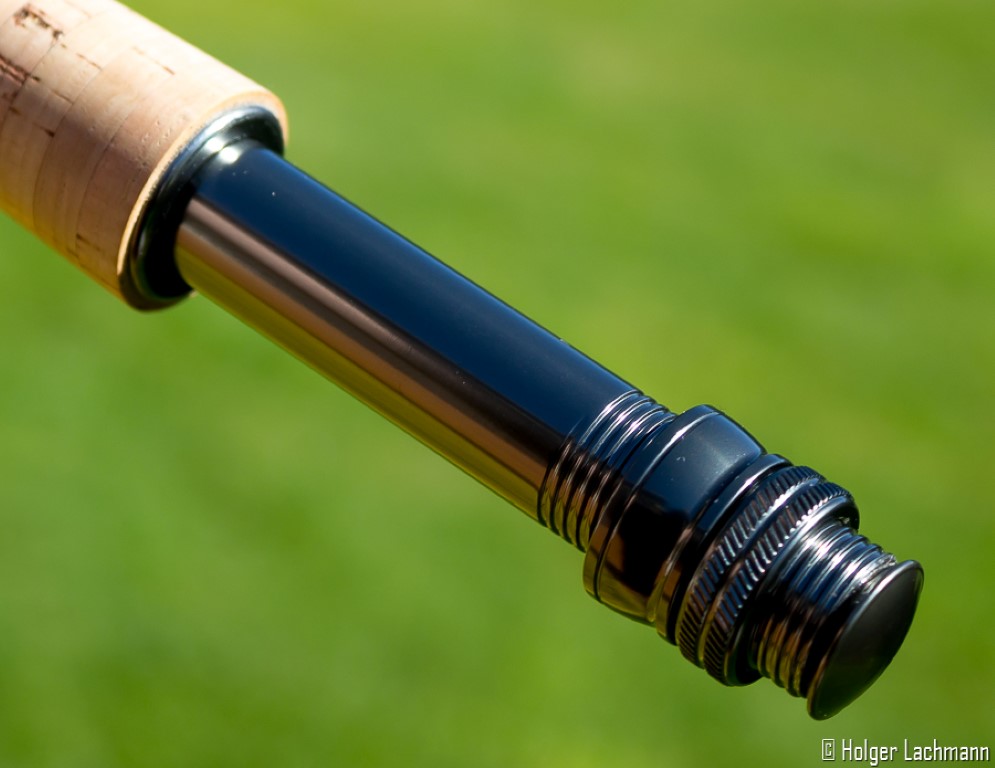
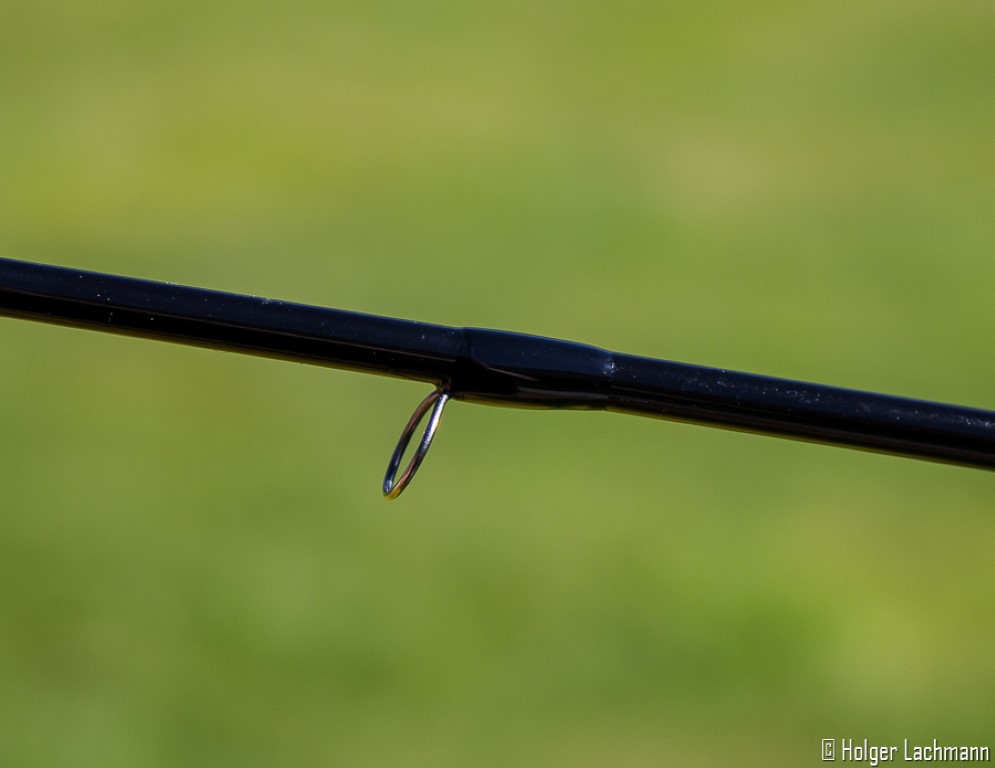
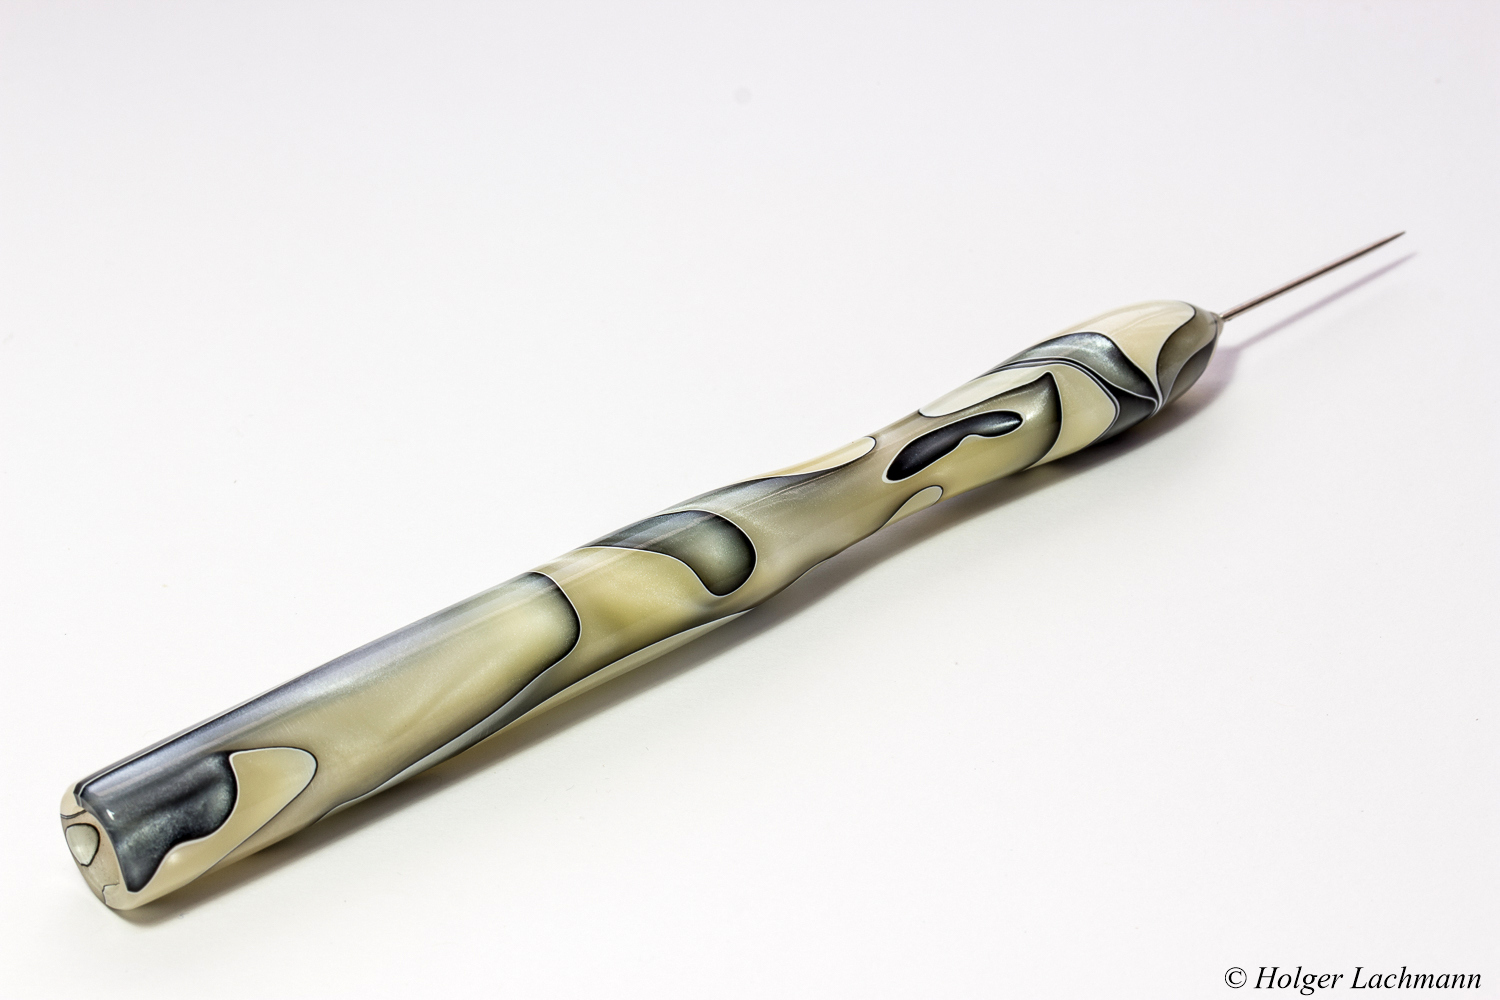
Die Rute vor dem Umbau mit abgewandeltem Fullwellsgriff, Hakenöse und Standardrollenhalter
Ich kann es nicht leugnen, ich habe eine gewisse Vorliebe für Ruten der Marke Sage. Allerdings muß ich leider gestehen, dass ich mit den neuen Griffen, welche an den leichteren Ruten nun verbaut werden nicht so wirklich zufrieden bin. Diese abgeschwächte Fullwellsform beeinträchtigt die Griffhaltung doch erheblich.

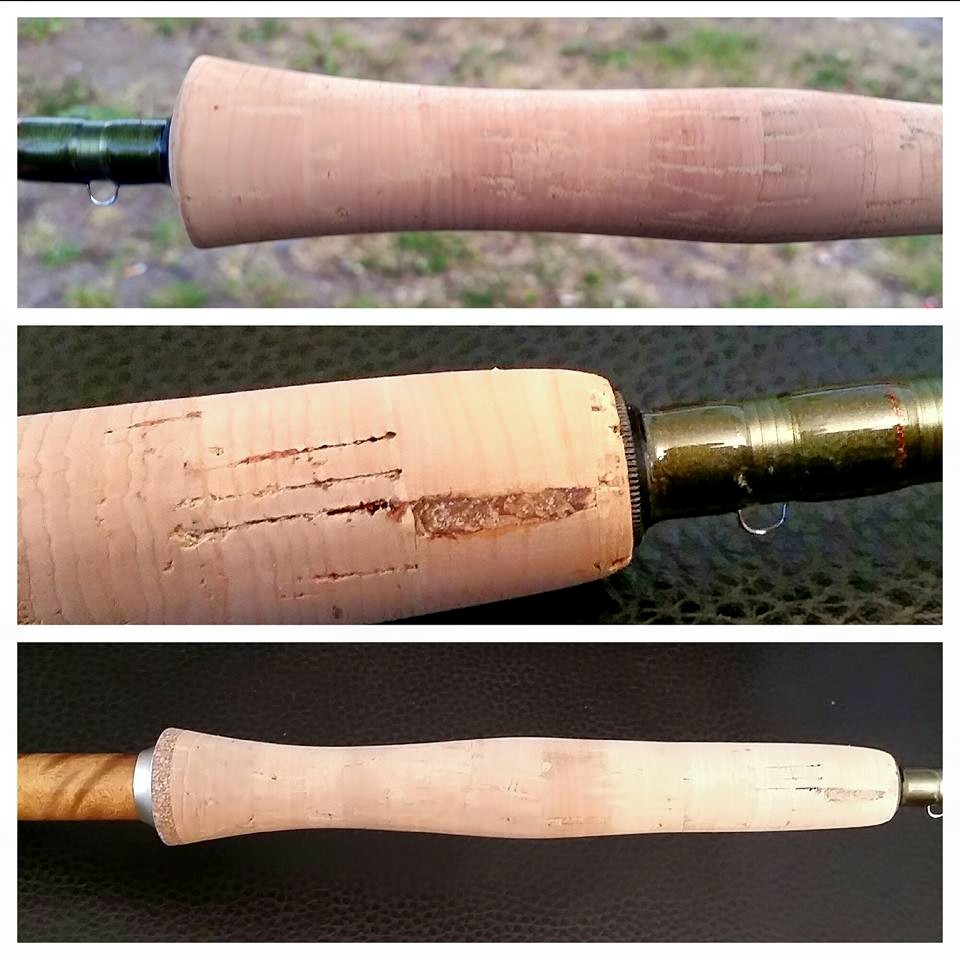
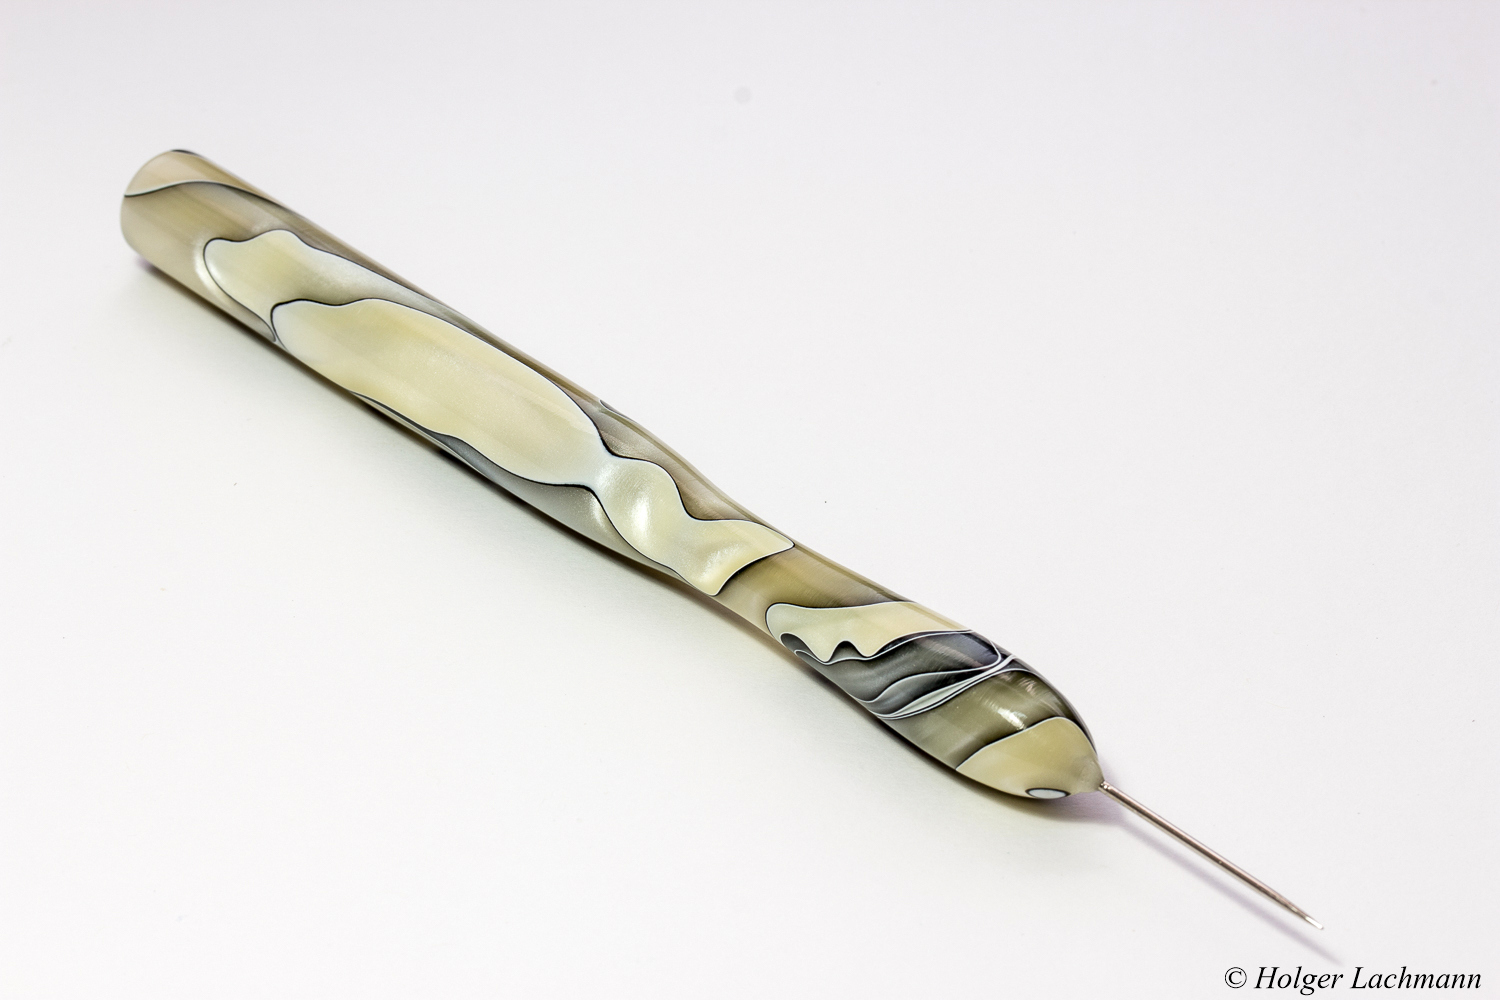
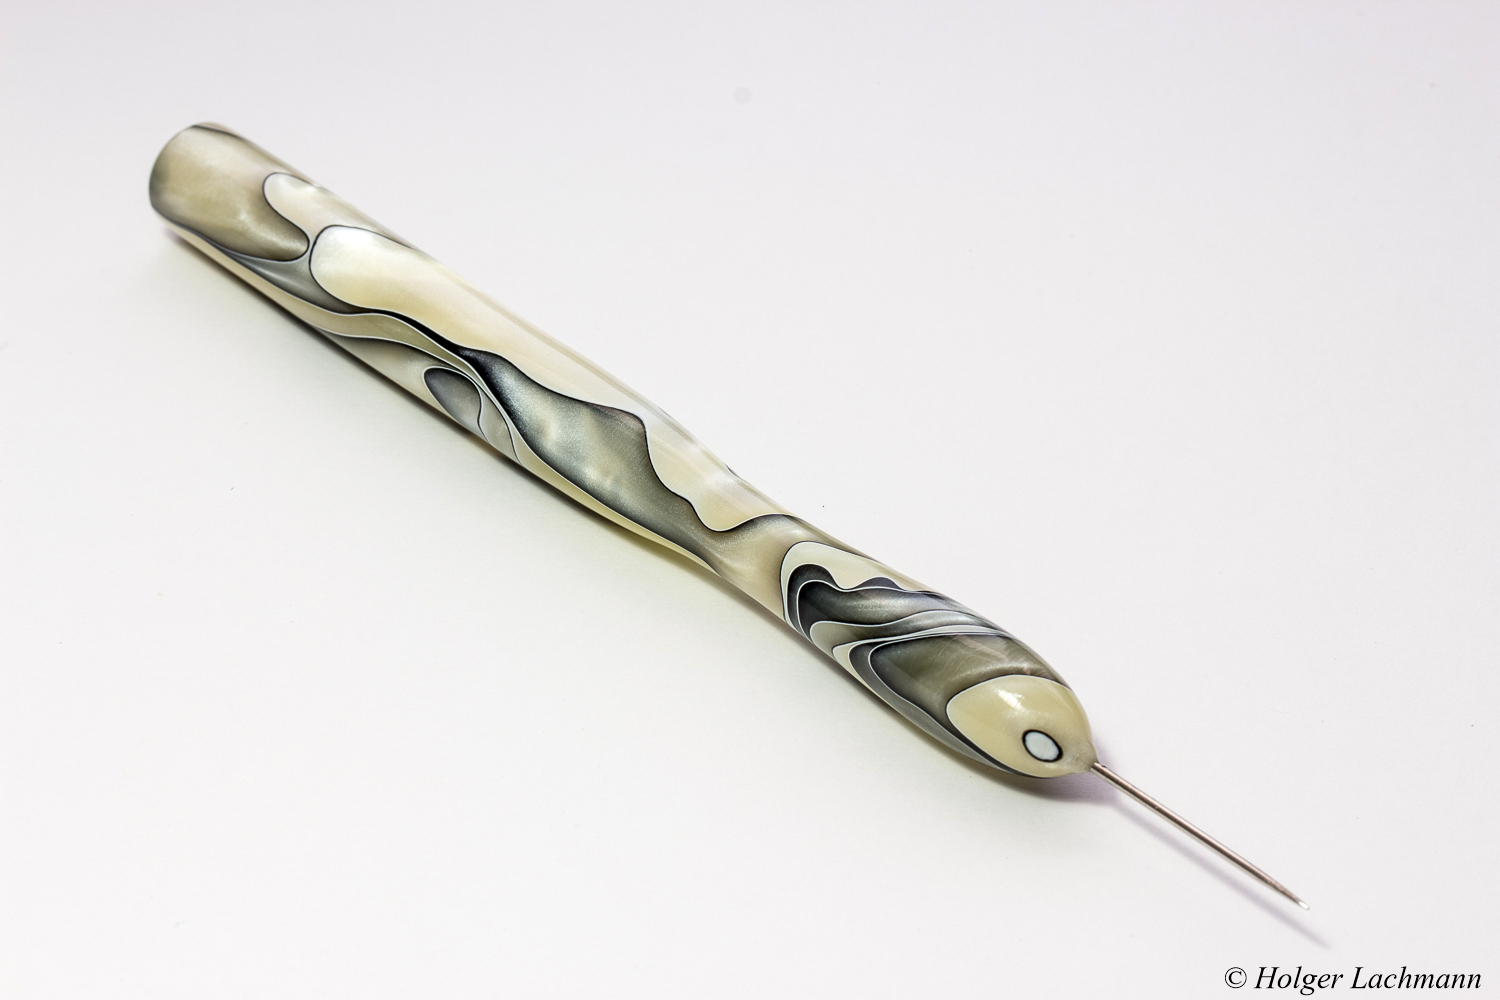
Griff nach einer Saison vor der „Operation“
Ich bin kein ausschließlicher Zeigefingerwerfer, aber in manchen Situationen werfe ich gerne mit der Zeigefingerhaltung. Ich möchte zumindest die Wahl haben, wie ich werfen möchte.

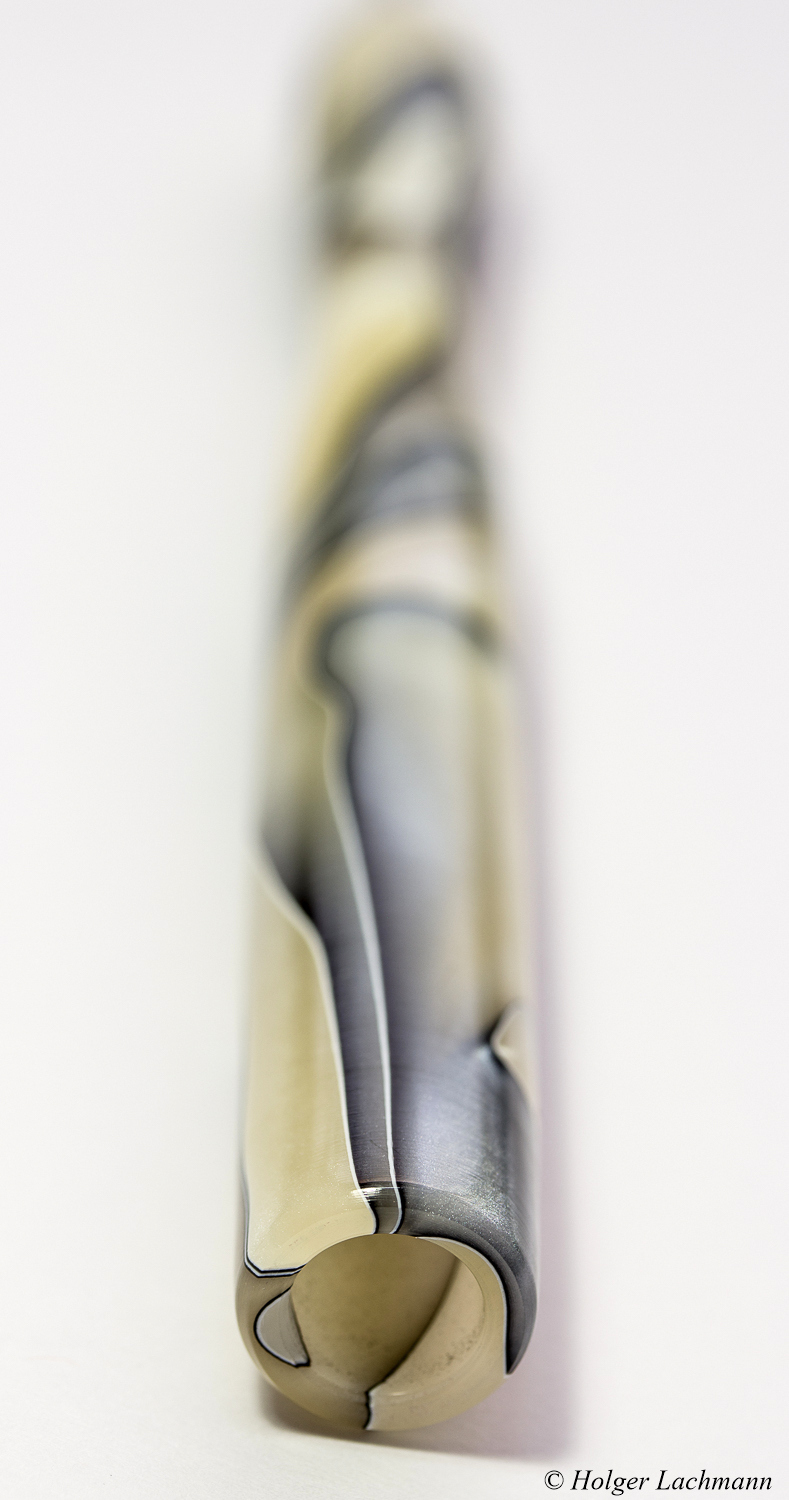
Halbierter Korkgriff
Als ich am Korkgriff dann noch eine weiche Stelle entdeckte, reifte in mir der Gedanke den Korkgriff zu erneuern. Die weiche Stelle war natürlich genau dort, wo beim Wurf mein Daumen liegt, so dass ich sie immerzu spürte.

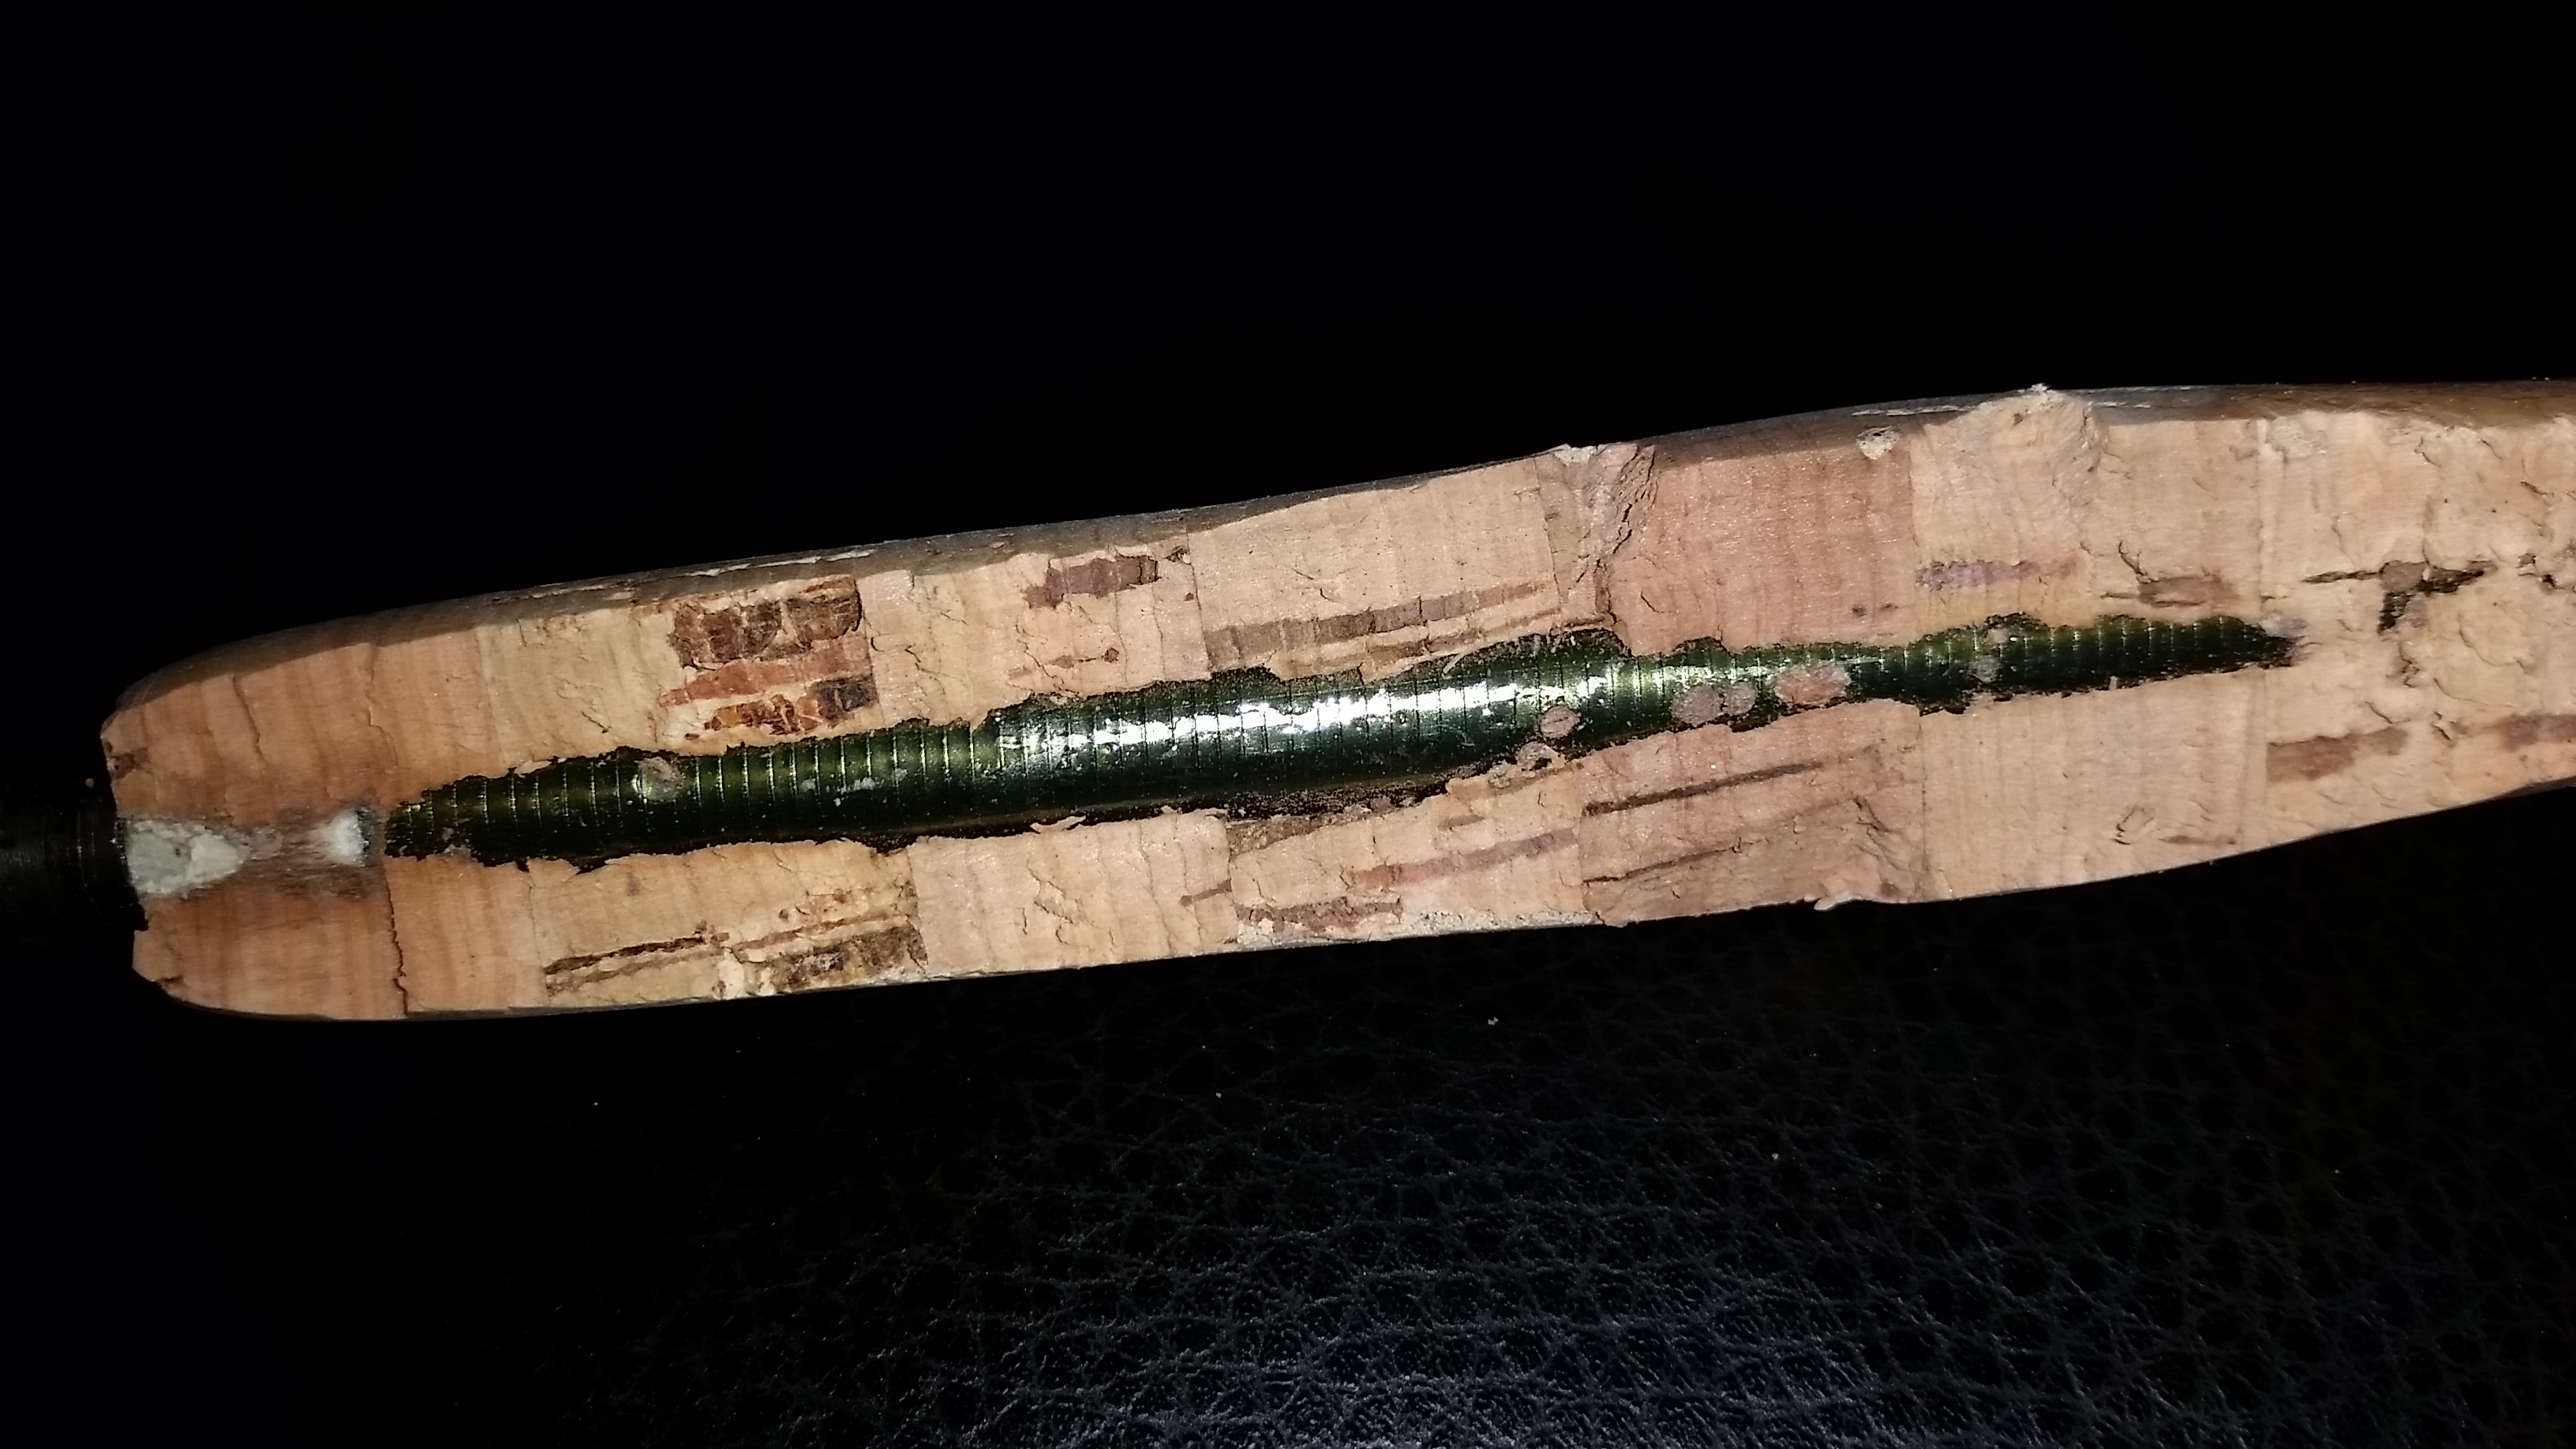
Nicht genug Kleber im oberen Bereich des Griffs, wodurch 1-2 mm Luft zwischen dem Blank und Kork entstand. Das ergab die „weiche Stelle“, die man immer gefühlt hat.
Mit meinem Kumpel Aik hatte ich das Thema schon einige Male durchgekaut. Anfang des Jahres sagte er dann, dass er zum Rutenbauer Jürgen Schmeißer aus Bochum fahren wird, da er diesen kennen gelernt hat und sich von ihm eine Ruten aufbauen lassen möchte. Ich solle doch mitkommen und meine One mitnehmen, so dass ein Fachmann sich die Rute/den Griff ansehen kann.

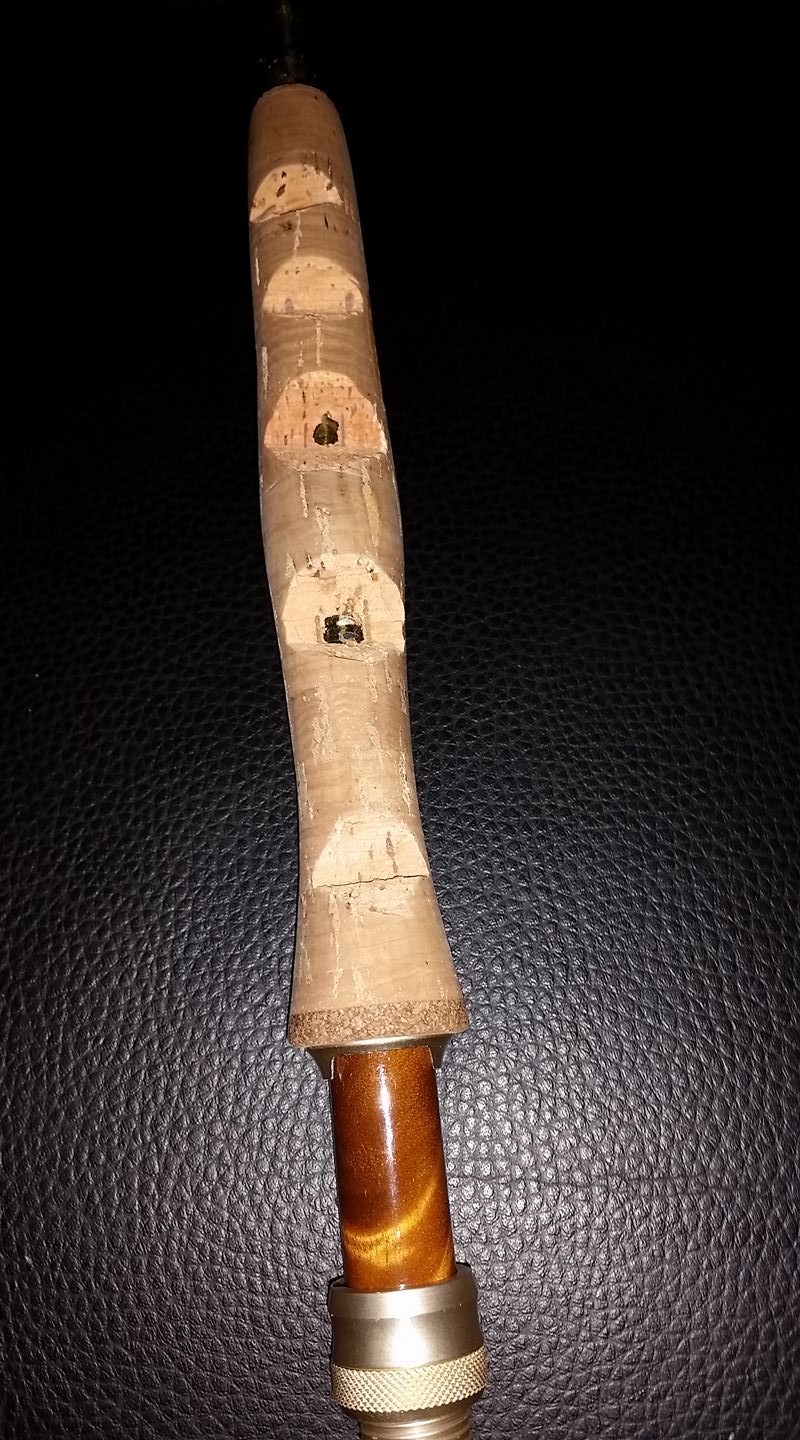
Der obere Teil konnte einfach mit den Fingern weggedrückt werden.
Ich machte mich im Internet über Jürgens Arbeit auf seiner Internetseite www.rutenbau-bochum.de natürlich gleich schlau. Klar, man will ja sehen, was der Herr Rutenbauer kann, bevor man ihm sein „Baby“ anvertraut. Was ich im Internet sah, gefiel mir sehr gut, so dass ich mit Aik am 03.02.2012 nach Bochum fuhr.

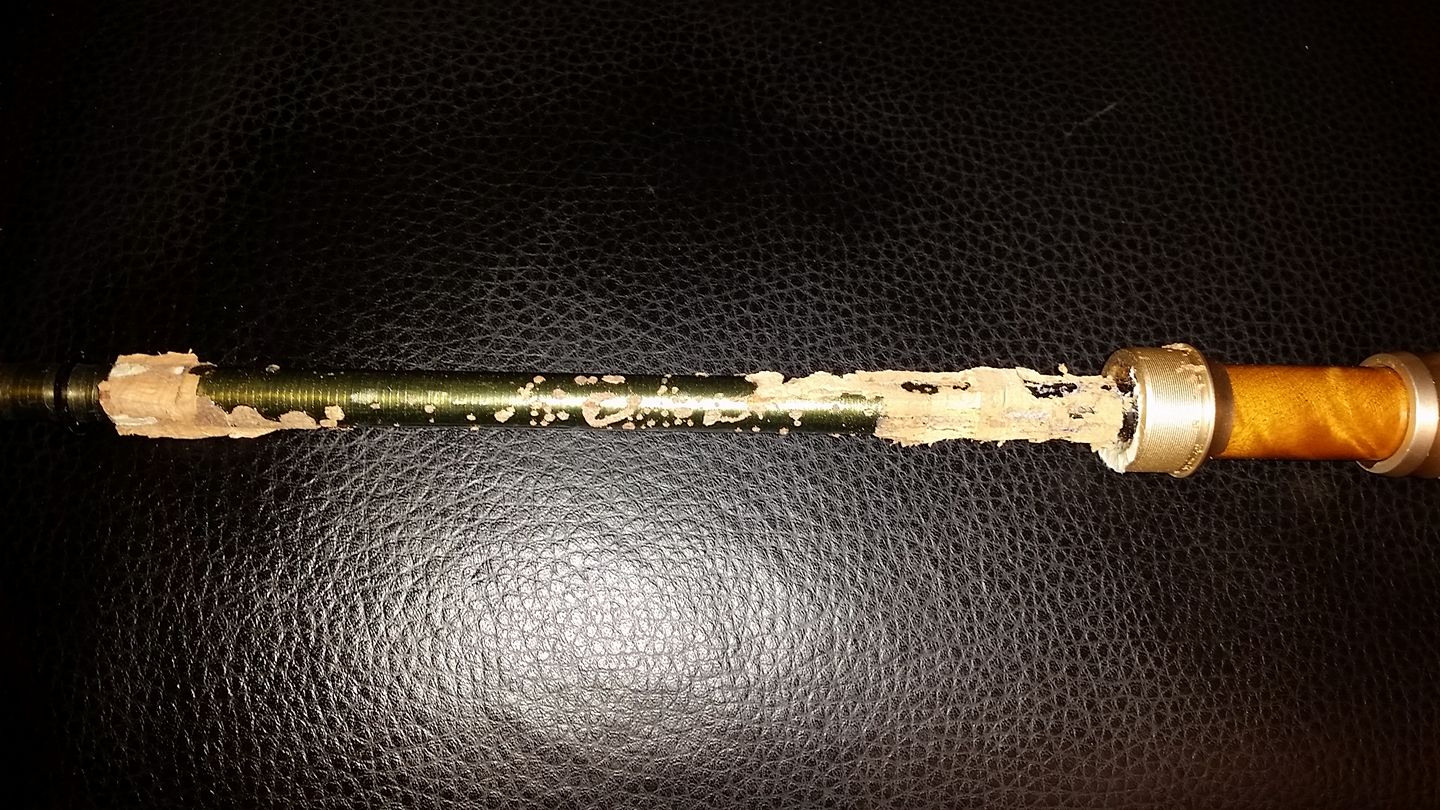
Korkgriff wurde entfernt.
Jürgen begrüßte uns in seiner schicken Werkstatt sehr herzlich und bat uns gleich Kaffee an. Was ein Service! :-)
Während Jürgen den Kaffee machte, schlenderten Aik und ich erstmal durch die Werkstatt und den Raum für die Rutenbaukurse / Rutenbauclub und schauten uns die Spinn- und Fliegenruten, Blanks, Rollenhalter, etc. an. Wir waren gleich begeistert! So müssen Ruten aussehen und nicht anders!

Der Rollenhalter wurde mit der Flex angeschnitten.
Jürgen gab uns einige Ruten zum „Probeschwingen“ in die Hand. Es ist schon erstaunlich, wie anders sich handaufgebaute Ruten im Vergleich zur normalen Rute aus dem Laden anfühlen können, auch wenn es der gleiche Blank ist…
Ich habe ja ehrlich gesagt keine Ahnung von Spinnruten, da ich seit meinem 15. Lebensjahr nur noch mit der Fliege fische, aber Jürgen reichte mir eine Spinnrute, welche sich vom gefühlten Gewicht eher nach einer Fliegenrute anfühlte, dabei aber sehr flott war. Hat mich schon sehr beeindruckt.

Entfernung des Rollenhalters.
Der Blank war von der neuseeländischen Firma Composite Developments (CD) , für die Jürgen der Ansprechpartner in Deutschland ist. Auch deren Fliegenrutenblanks gefielen sehr. CD-Blanks kannte ich bisher auch noch nicht, aber in der Welt der Rutenbauer ist diese Firma wohl schon seit langem sehr bekannt. Jürgen erklärte mir, dass die Macher der Firma CTS, welche in den letzten Jahren auch in Deutschland sehr bekannt geworden sind (der Name sagte auch mir sofort etwas), früher alles Mitarbeiter der Firma CD waren.

Entfernung der Reste des Kork und des Rollenhalters.
Während wir beim Käffchen zusammen saßen und Jürgen und Aik die Rute planten, verguckte ich mich in die wahnsinnig schönen Holzspacer für die Rollenhalter, welche Jürgen selber anfertigte. Als die Planung von Aiks „Zauberstab“ abgeschlossen war, meinte Jürgen „So, was kann ich denn für dich tun?“. Ich erklärte ihm mein Anliegen: „Alter Kork weg, Fliegenhalter entfernen, Kork erneuern und verlängern.“
Jürgens Antwort: „Kein Problem, frag nicht wie viele Griffe für Sage One-Ruten ich 2012 erneuert habe….! Nimm mal ein paar Ruten in die Hand und sag mir, wie der Griff aussehen soll bez. Länge und Form.“
Meine Wunschform und -länge war schnell gefunden. Dann kam die Frage, die ich befürchtet habe: „Soll der Rollenhalter auch erneuert werden?“

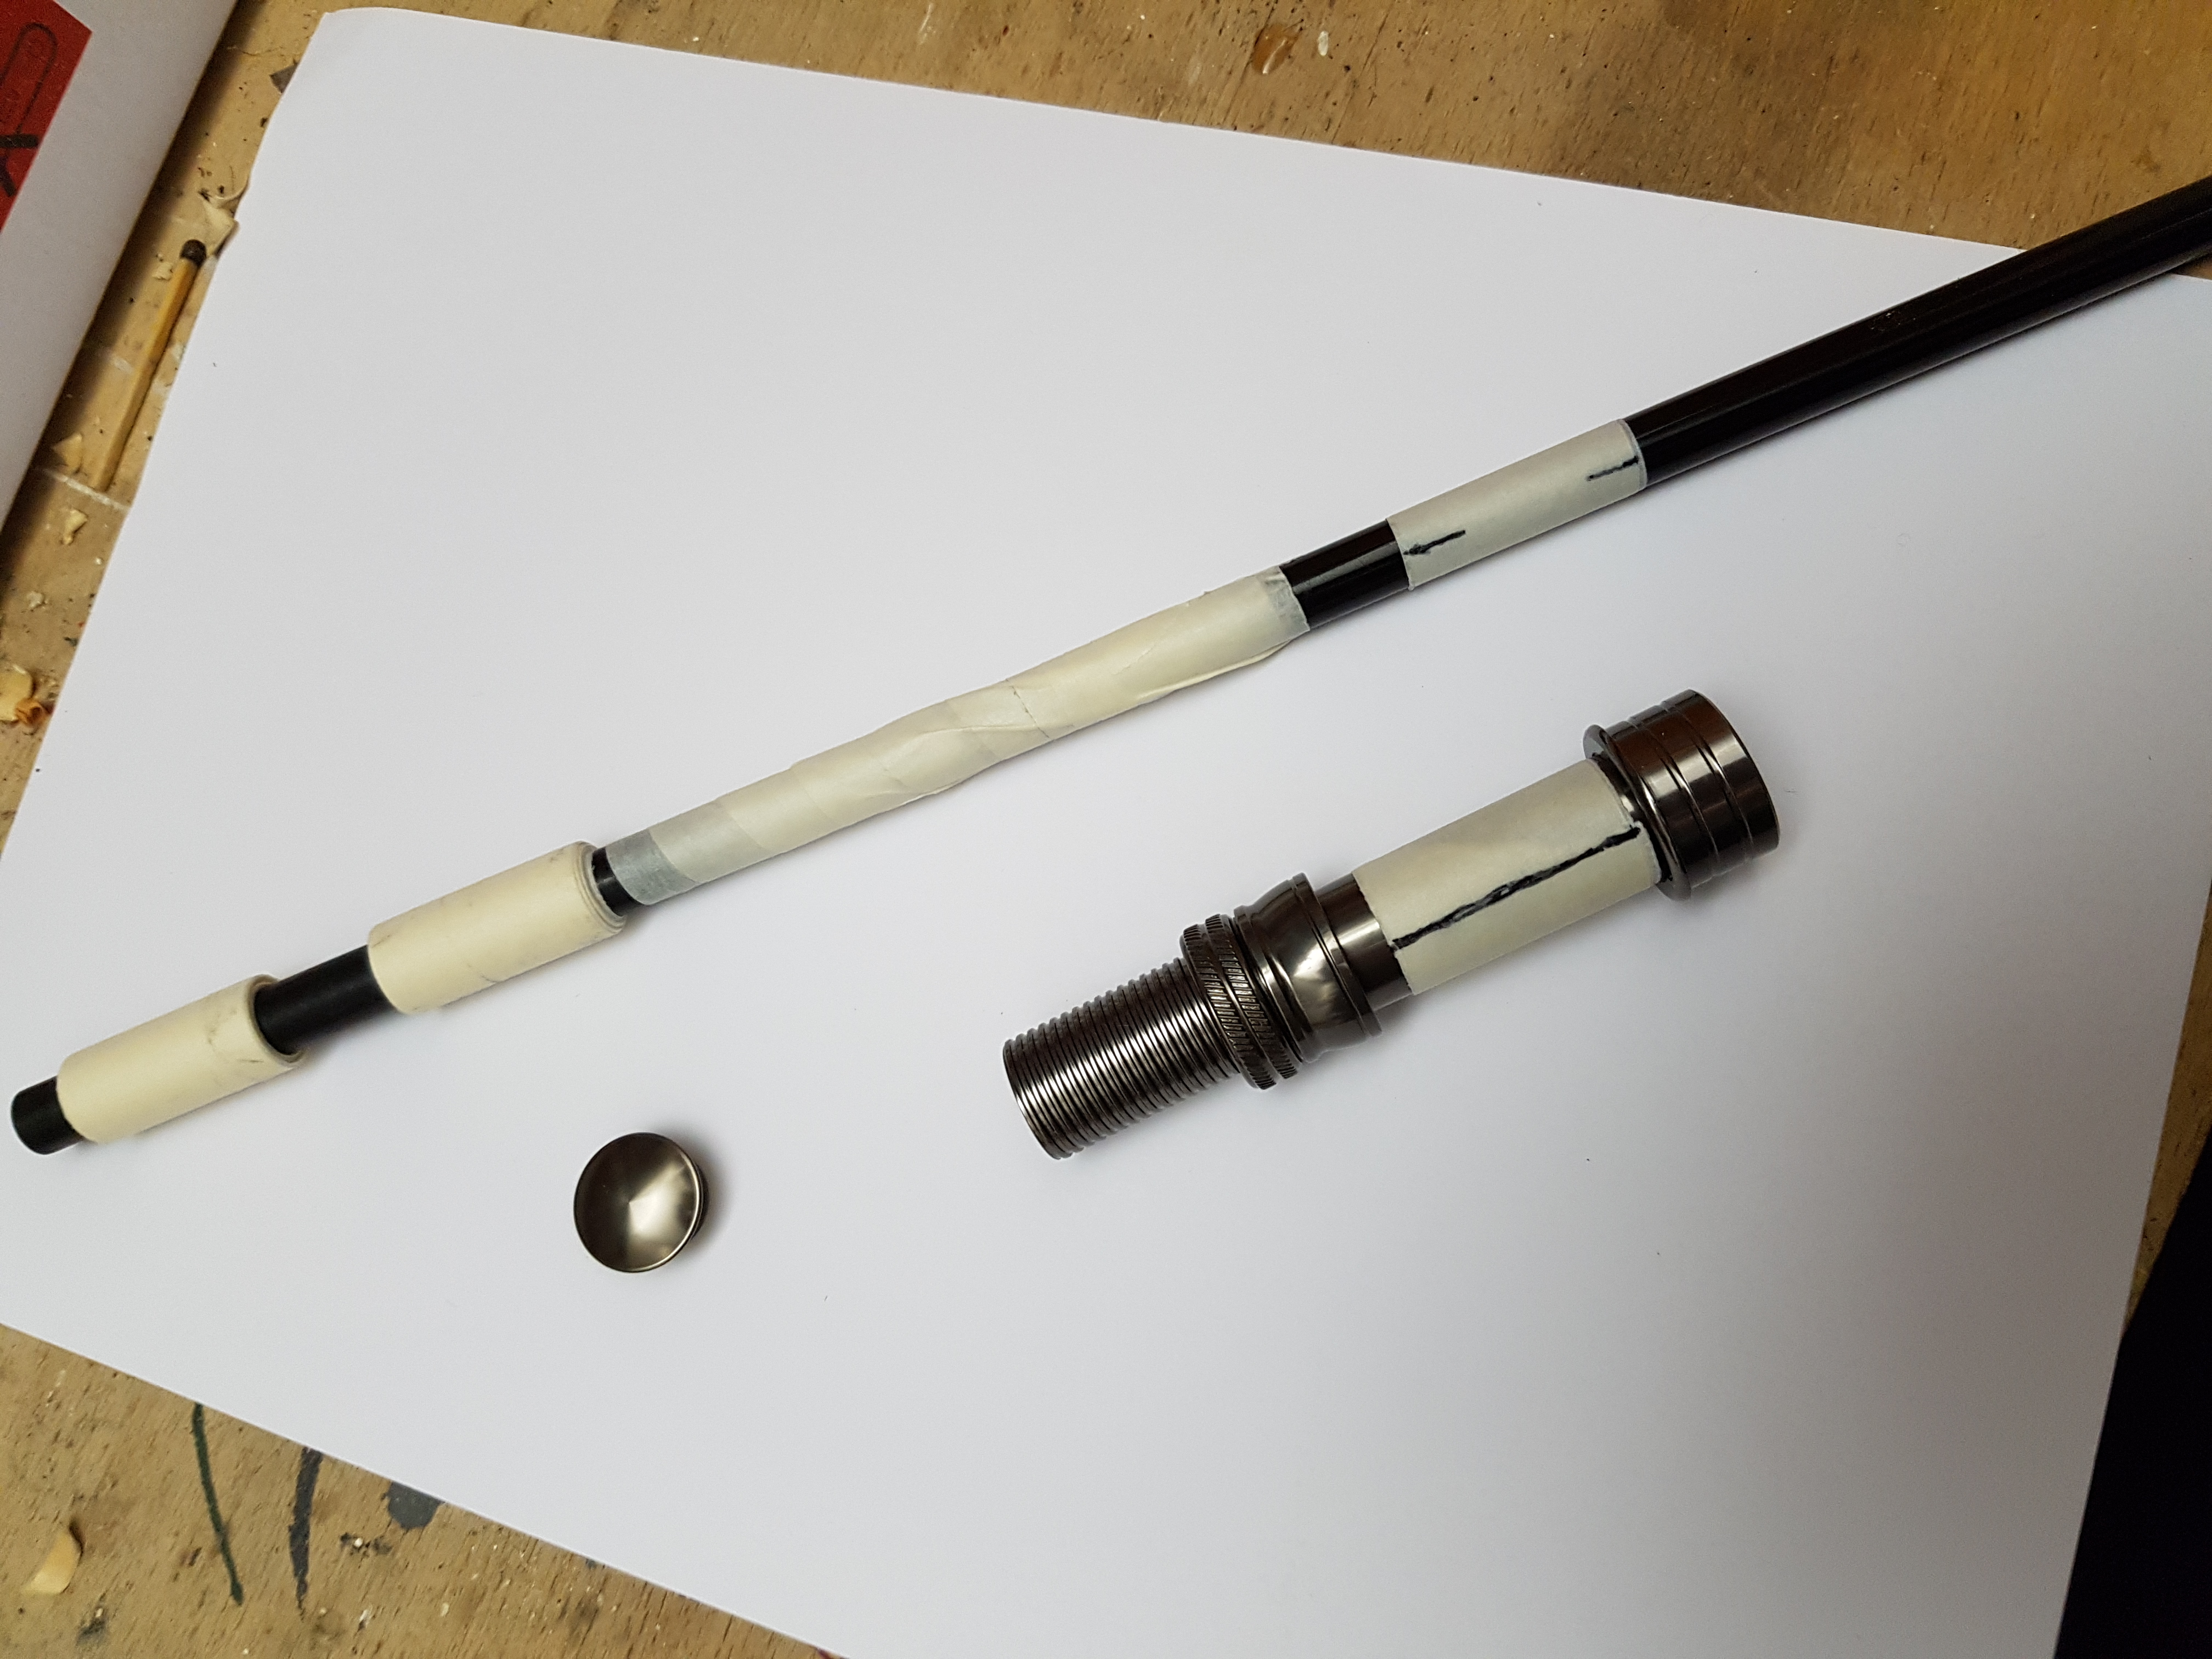
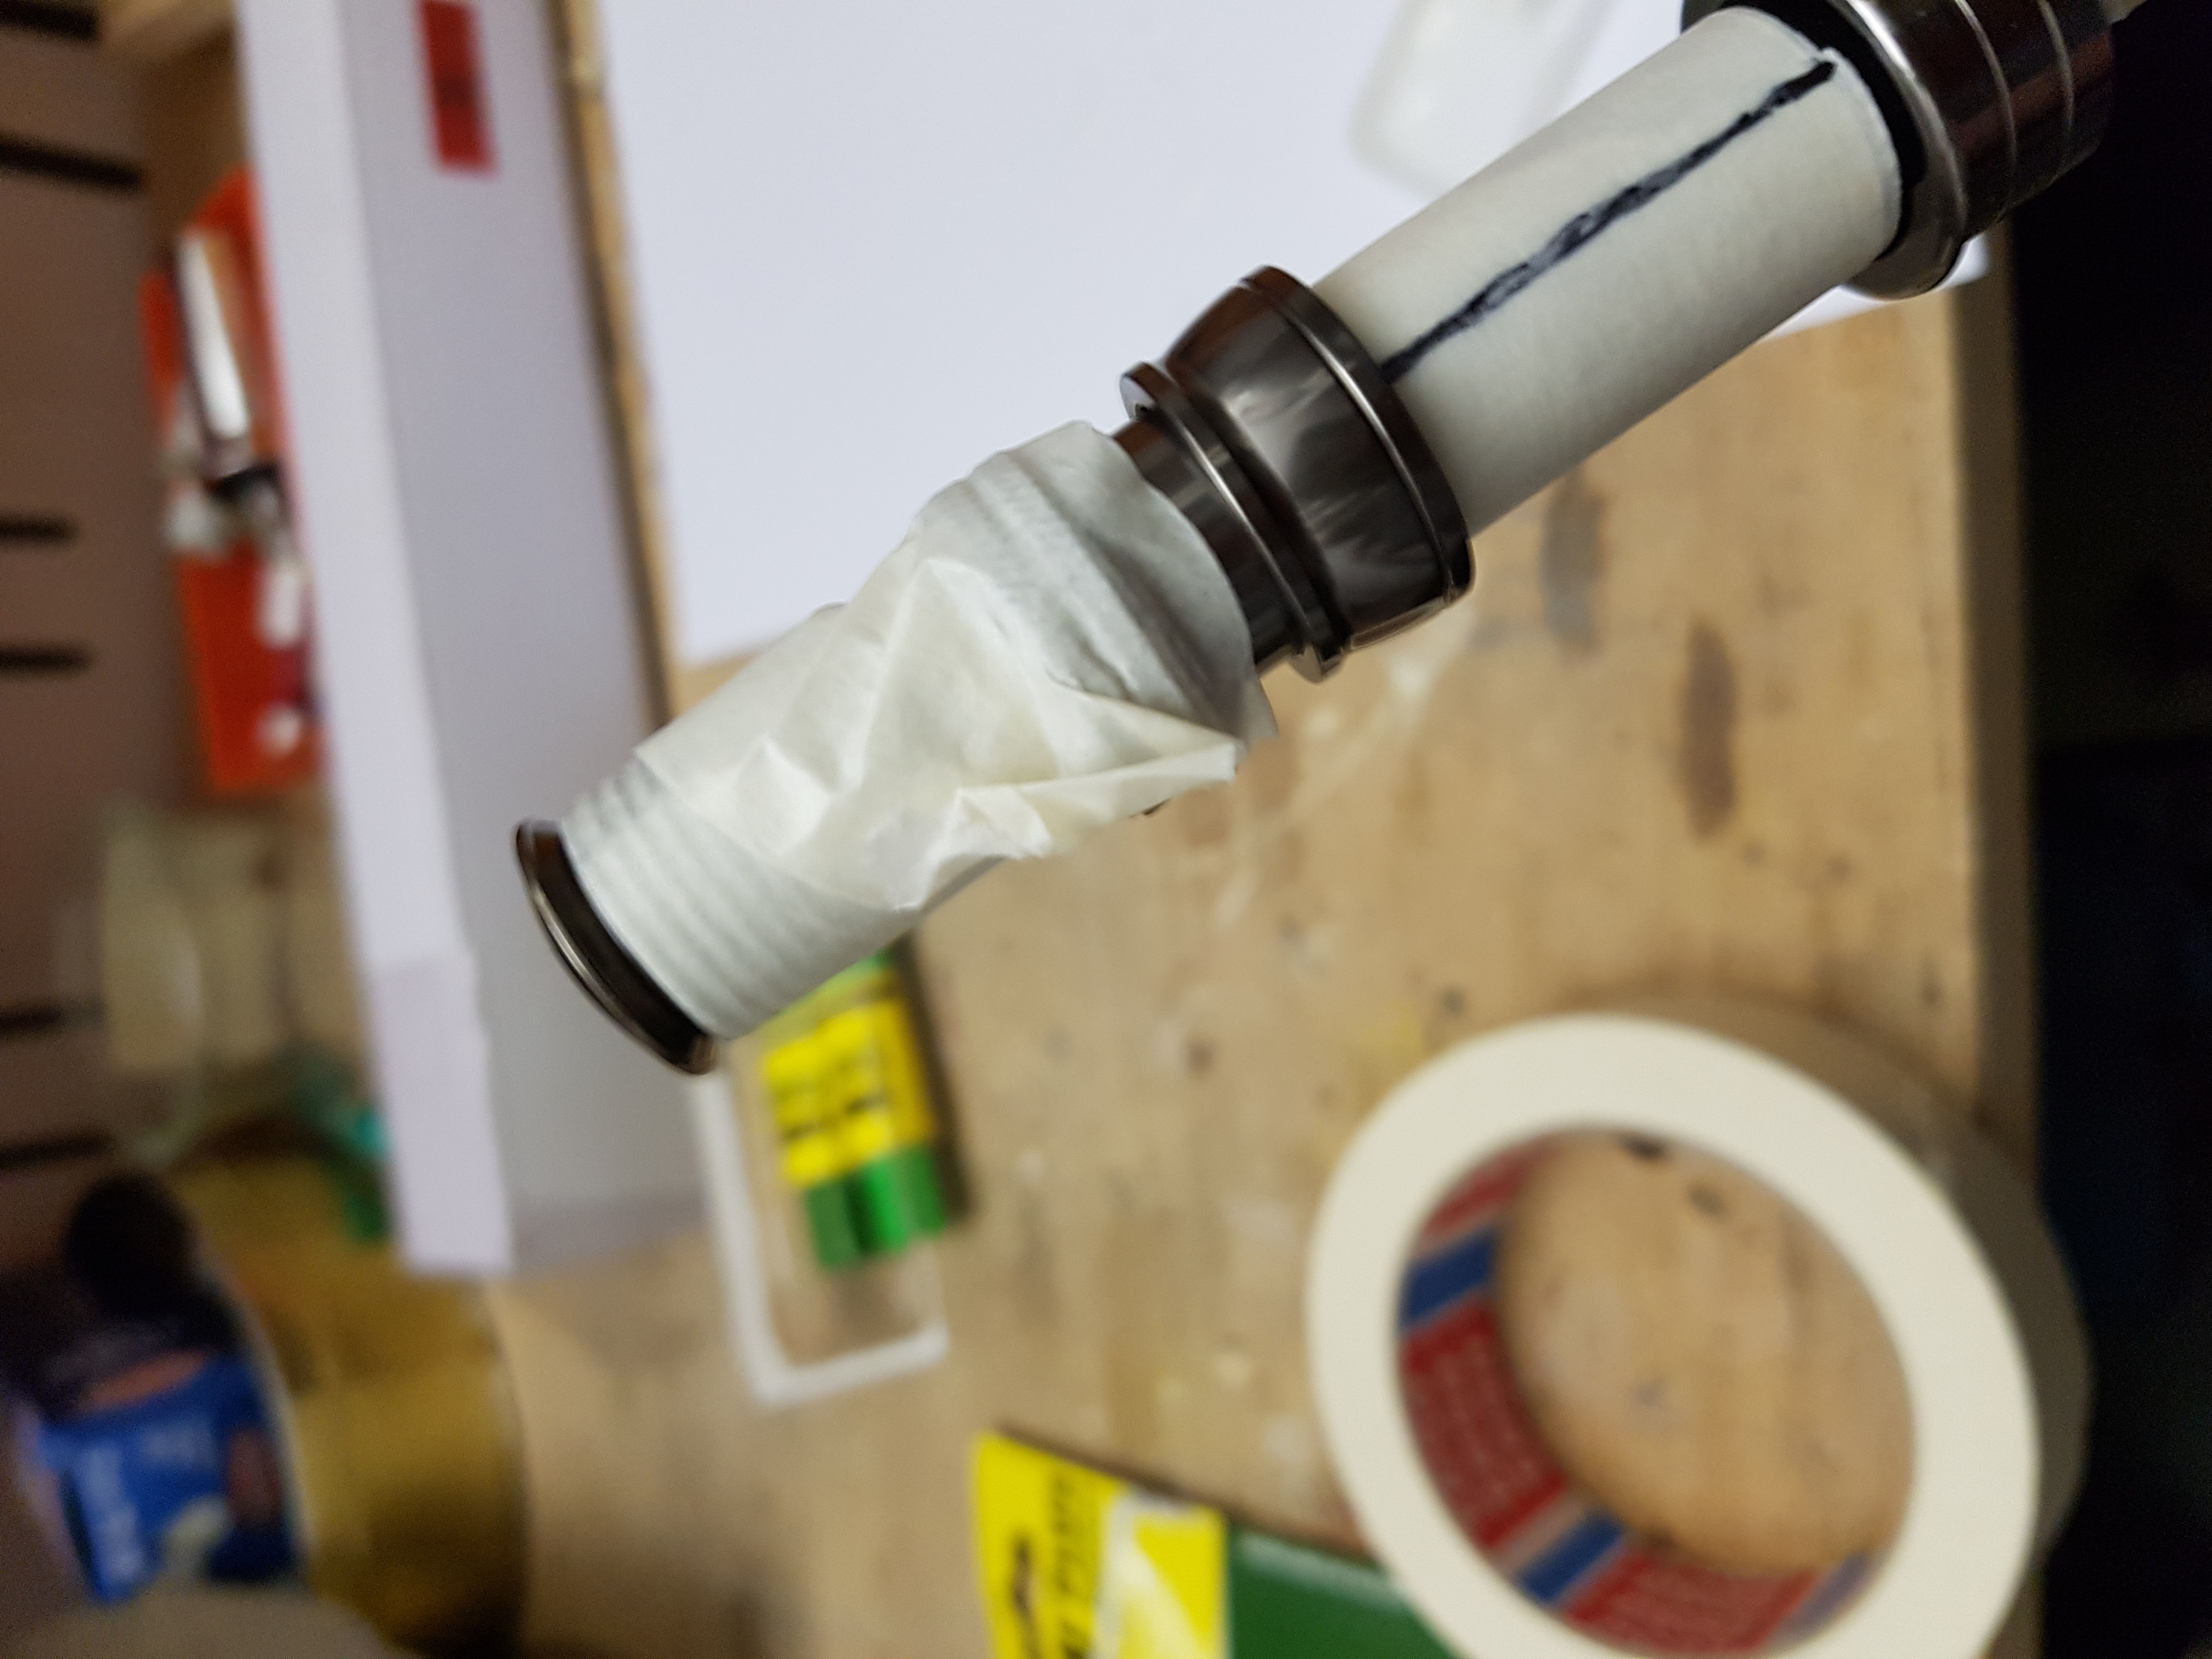
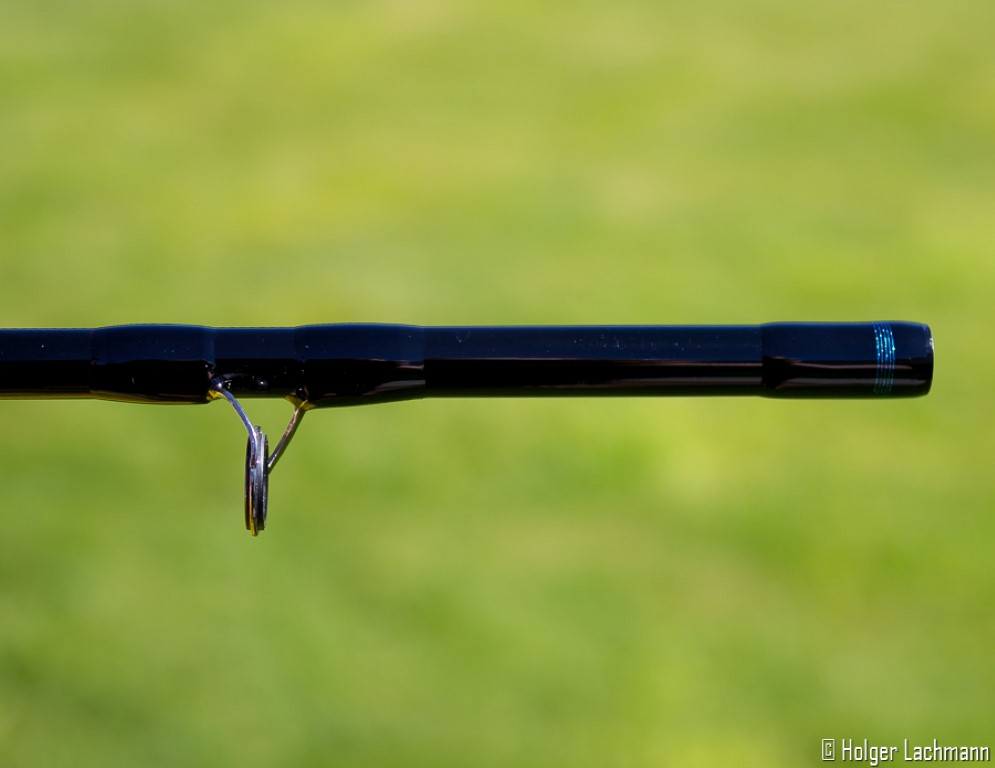
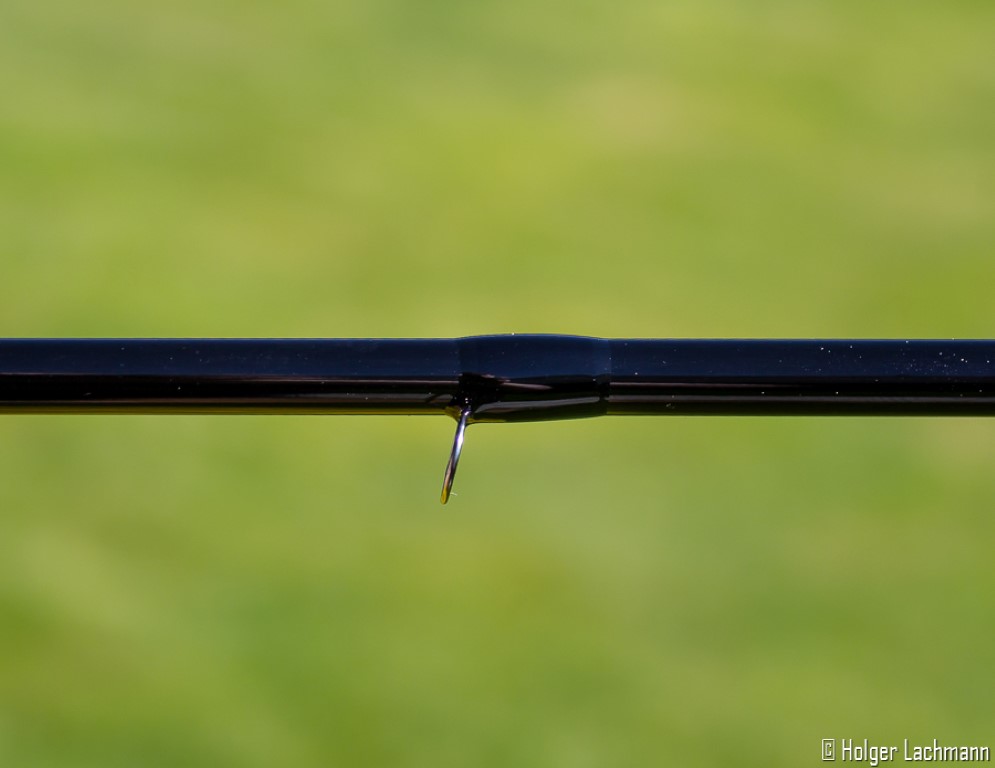
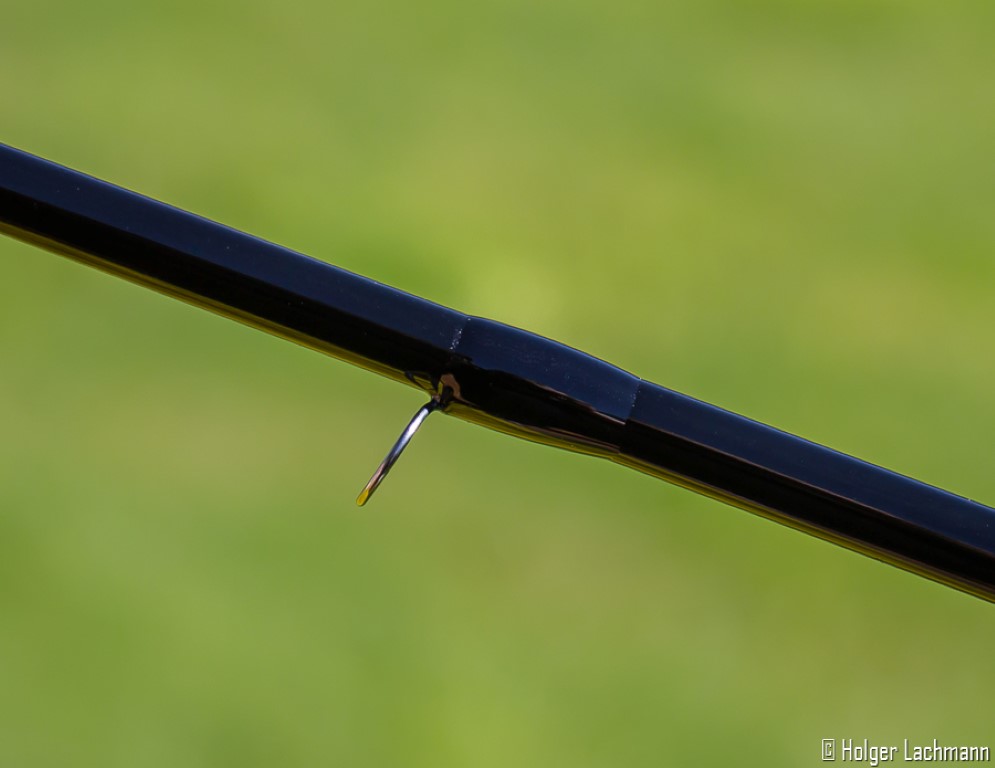
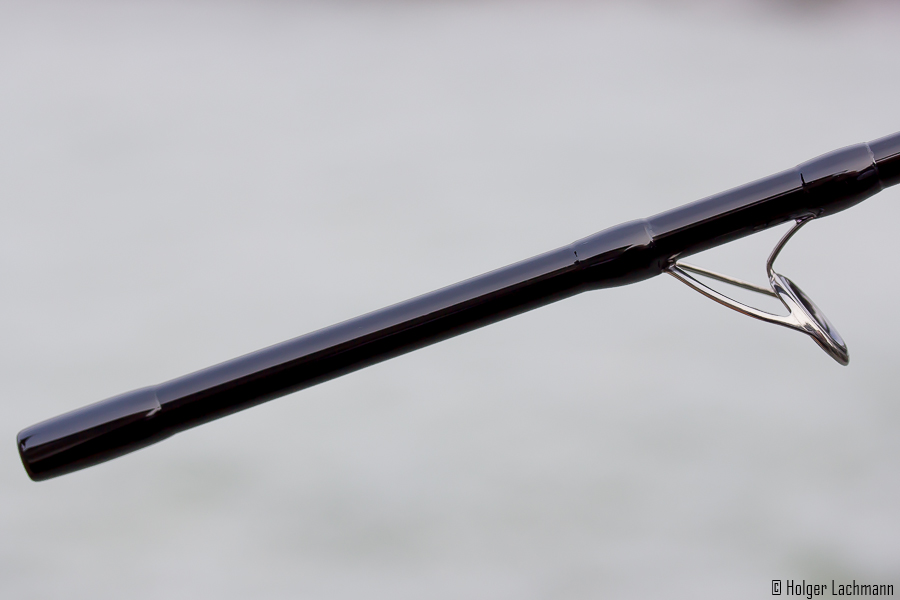
Der Windingcheck und die unnötige Hakenöse werden entfernt, damit der Griff verlängert werden kann.
Tja, eigentlich hatte ich das ja nicht vor. Der funktionierte ja problemlos. Als ich aber die ganzen fantastisch gemaserten Hölzer sah….dagegen sah der Originalrollenhalter richtig schäbig aus.
„Ach, wenn ich schon dabei bin, dann erneuere den Rollenhalter auch gleich mit.“
„Ok, dann such dir mal das Holz für den Spacer und die eigentliche Halterung aus.“
Das war dann wirklich schwierig, da es einige sehr schöne Hözer gab, die mir sehr gut gefielen.
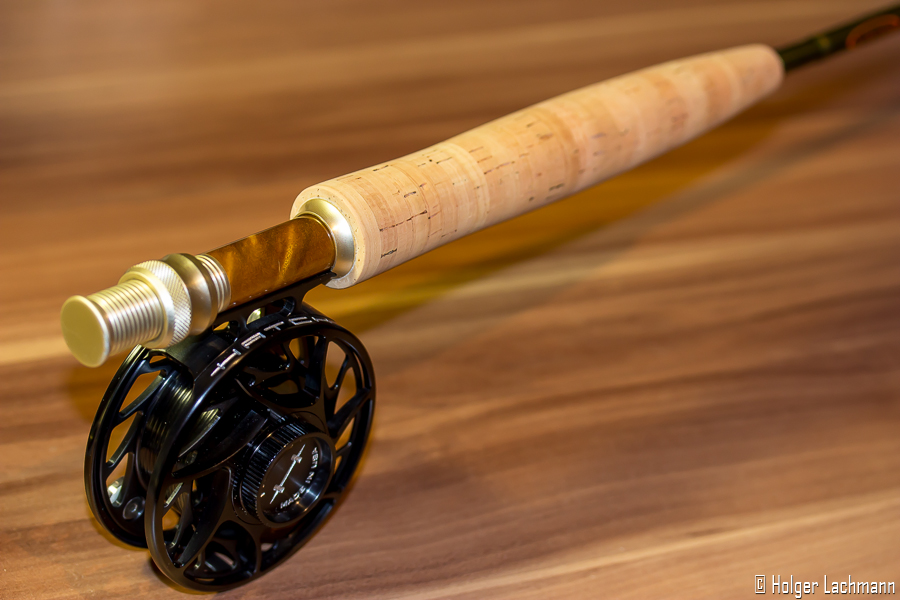
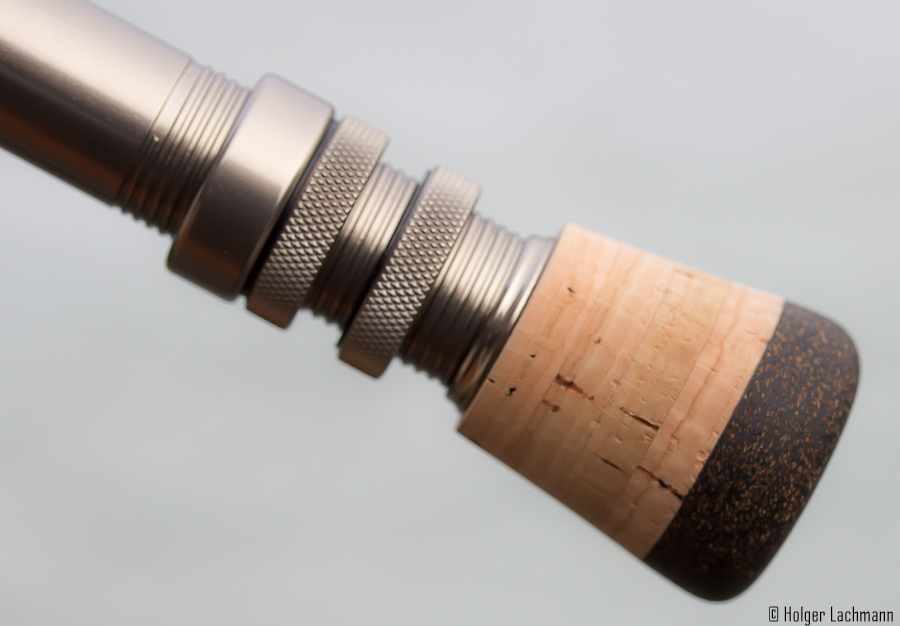
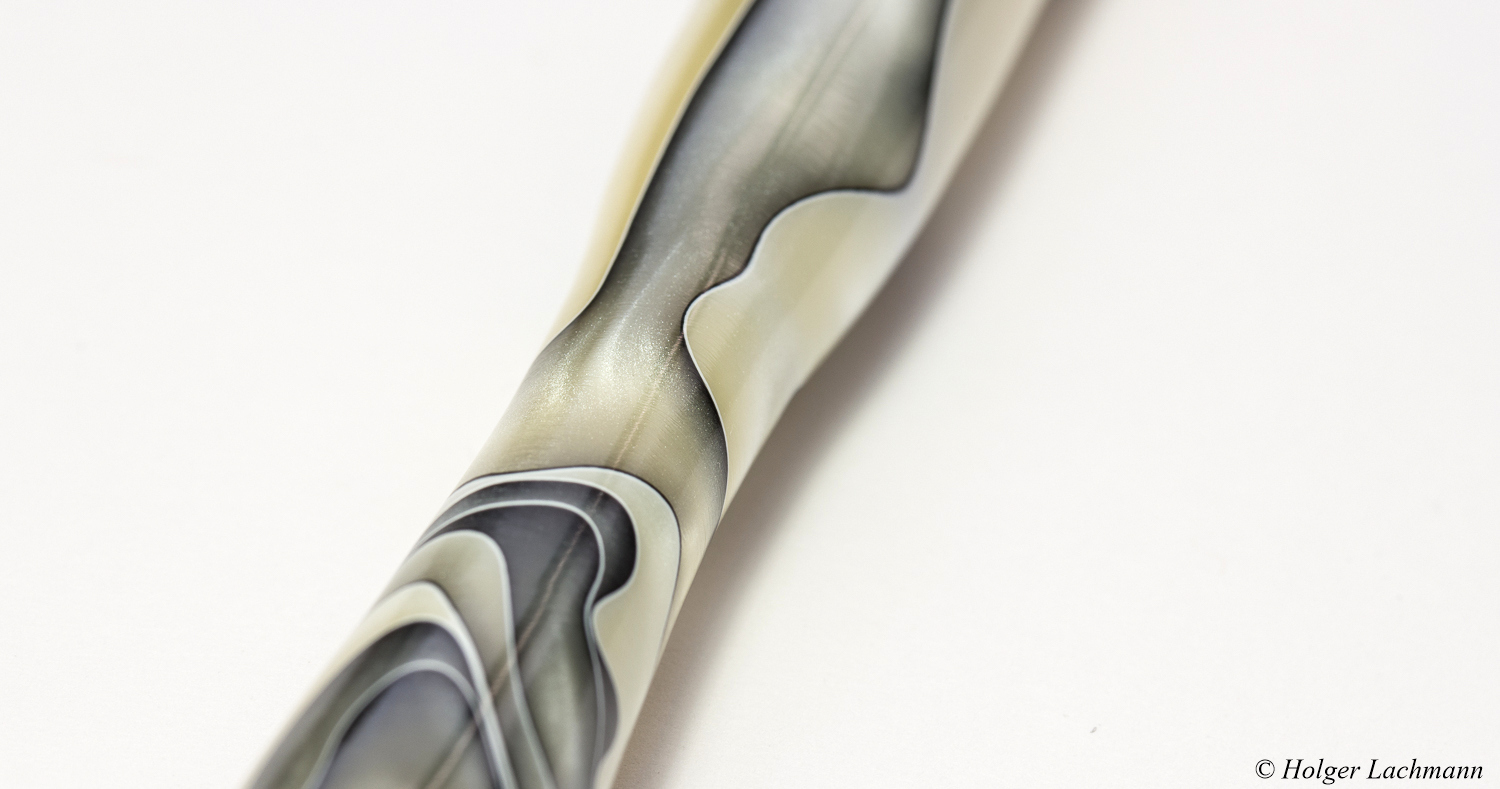
Am Ende entschied ich mich für einen Nickel-Silber Rollenhalter mit gestockter, stabilisierter Buche.

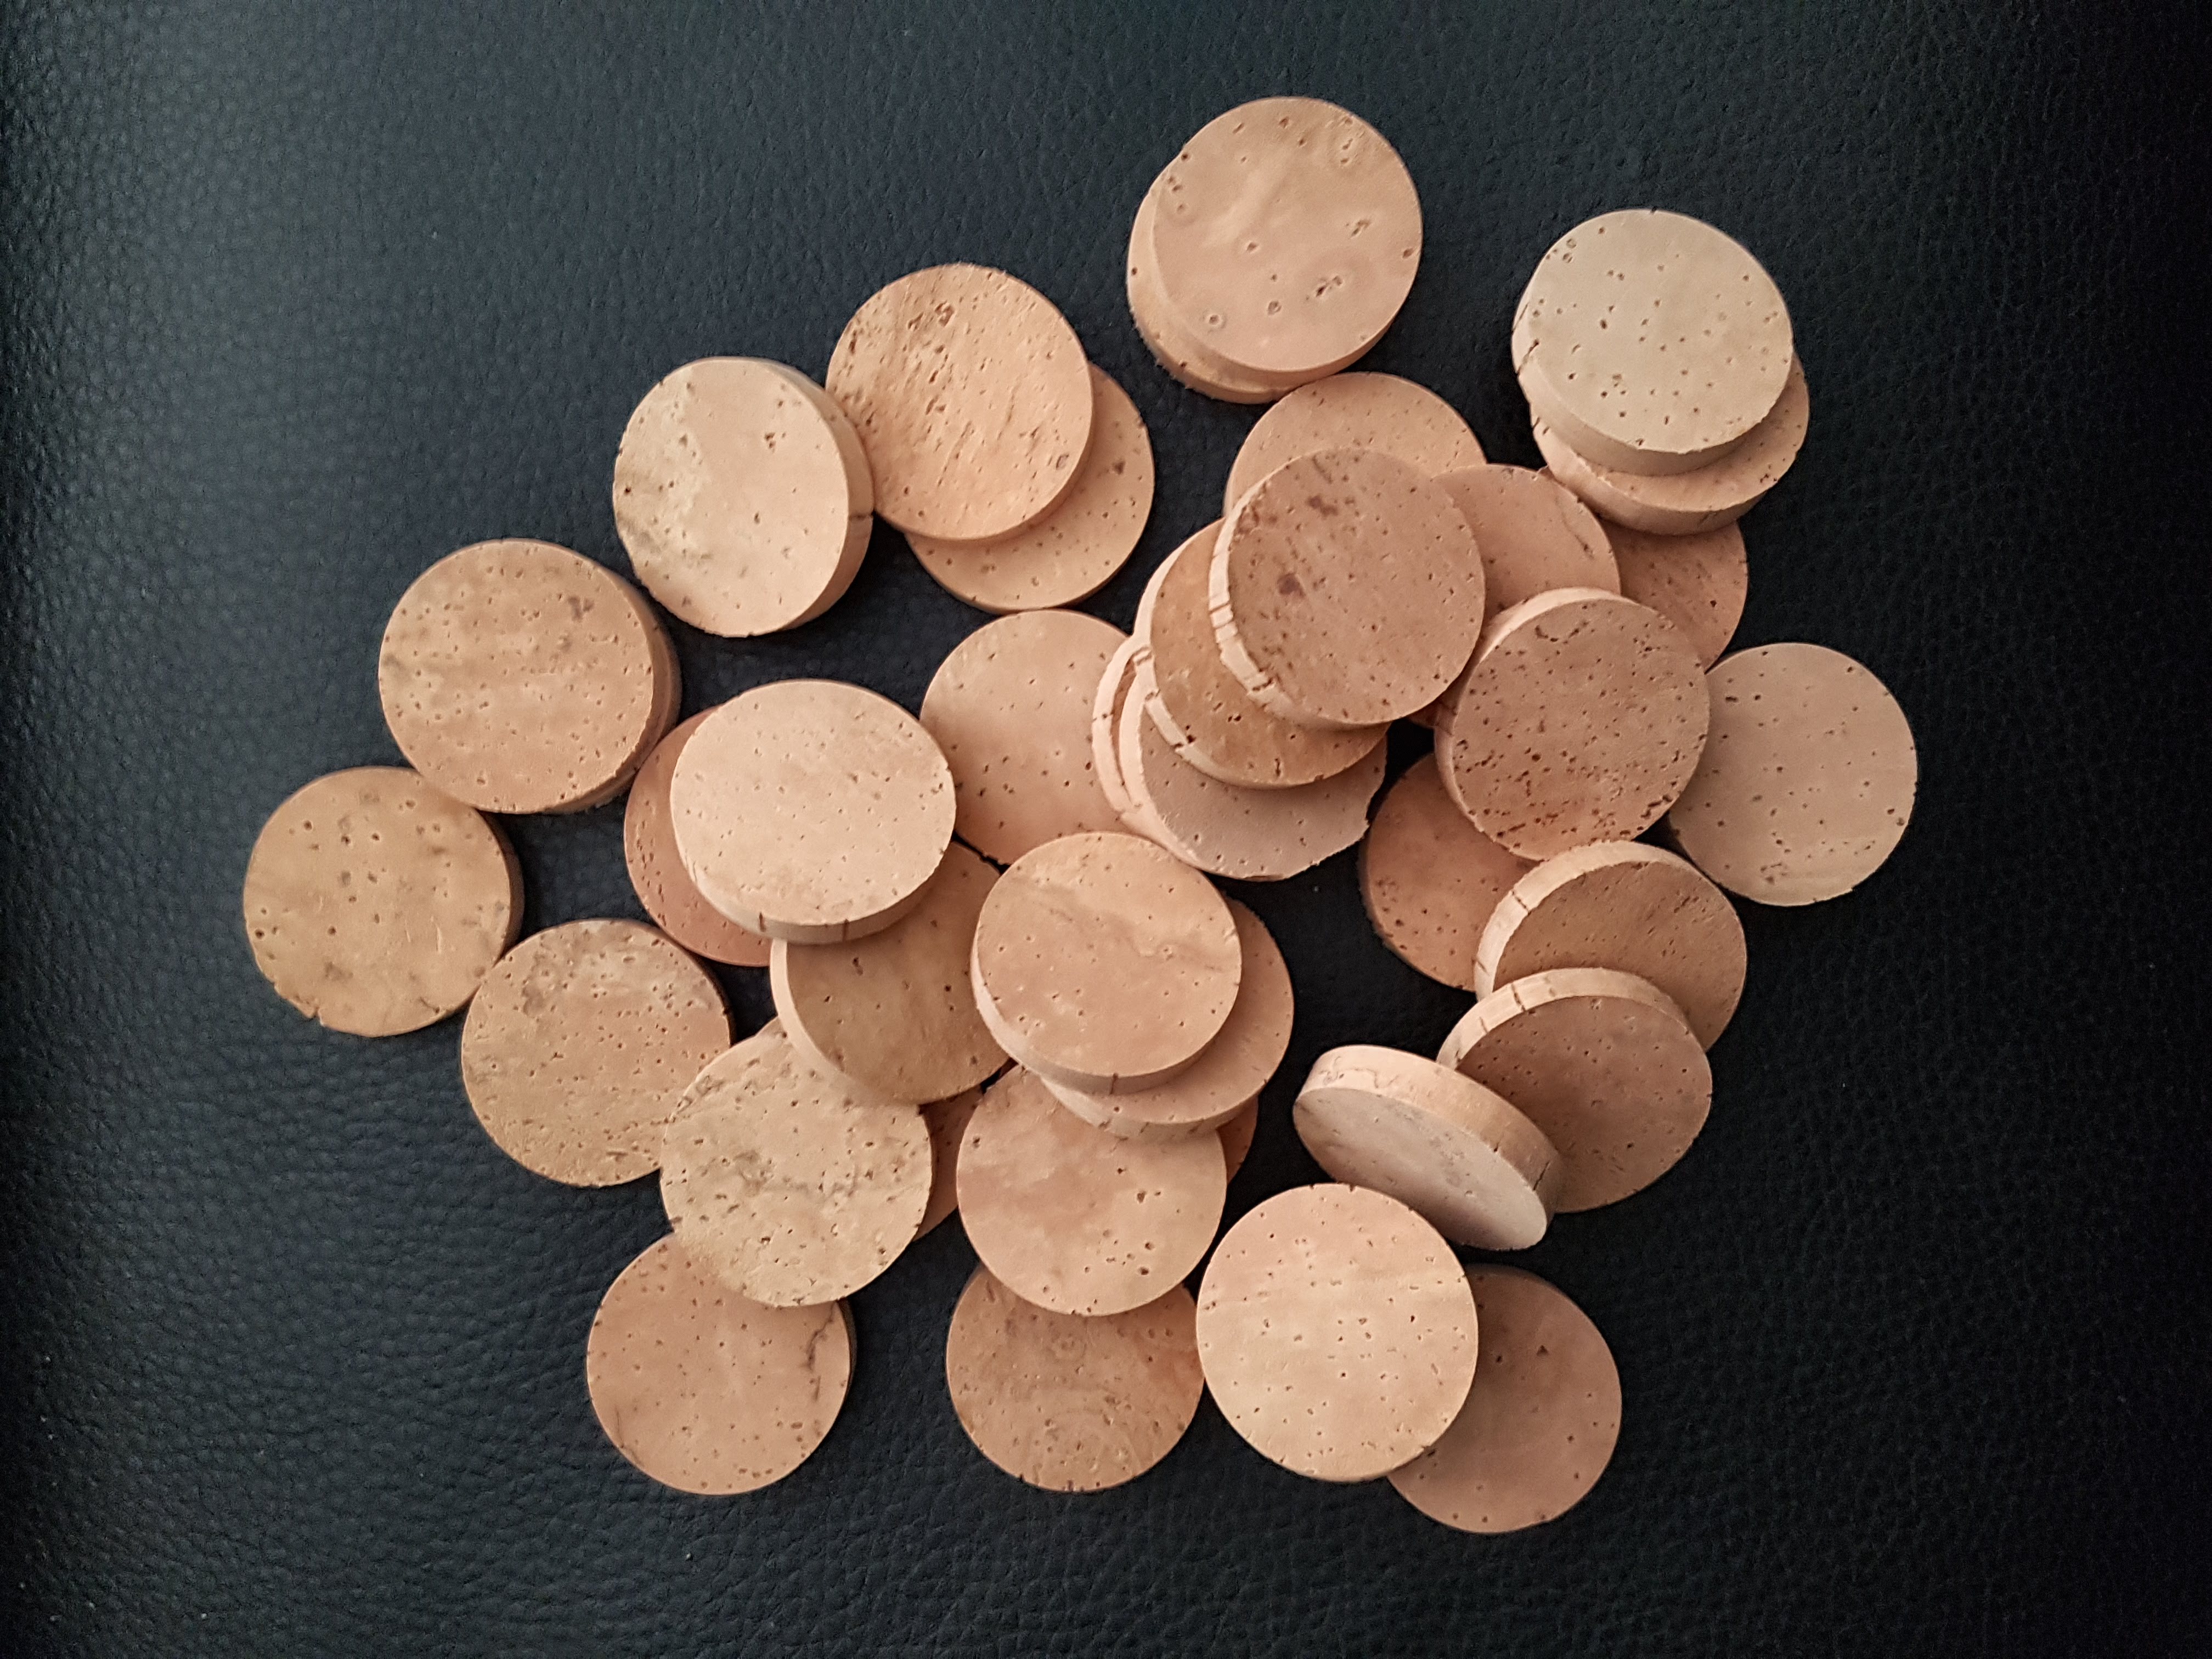
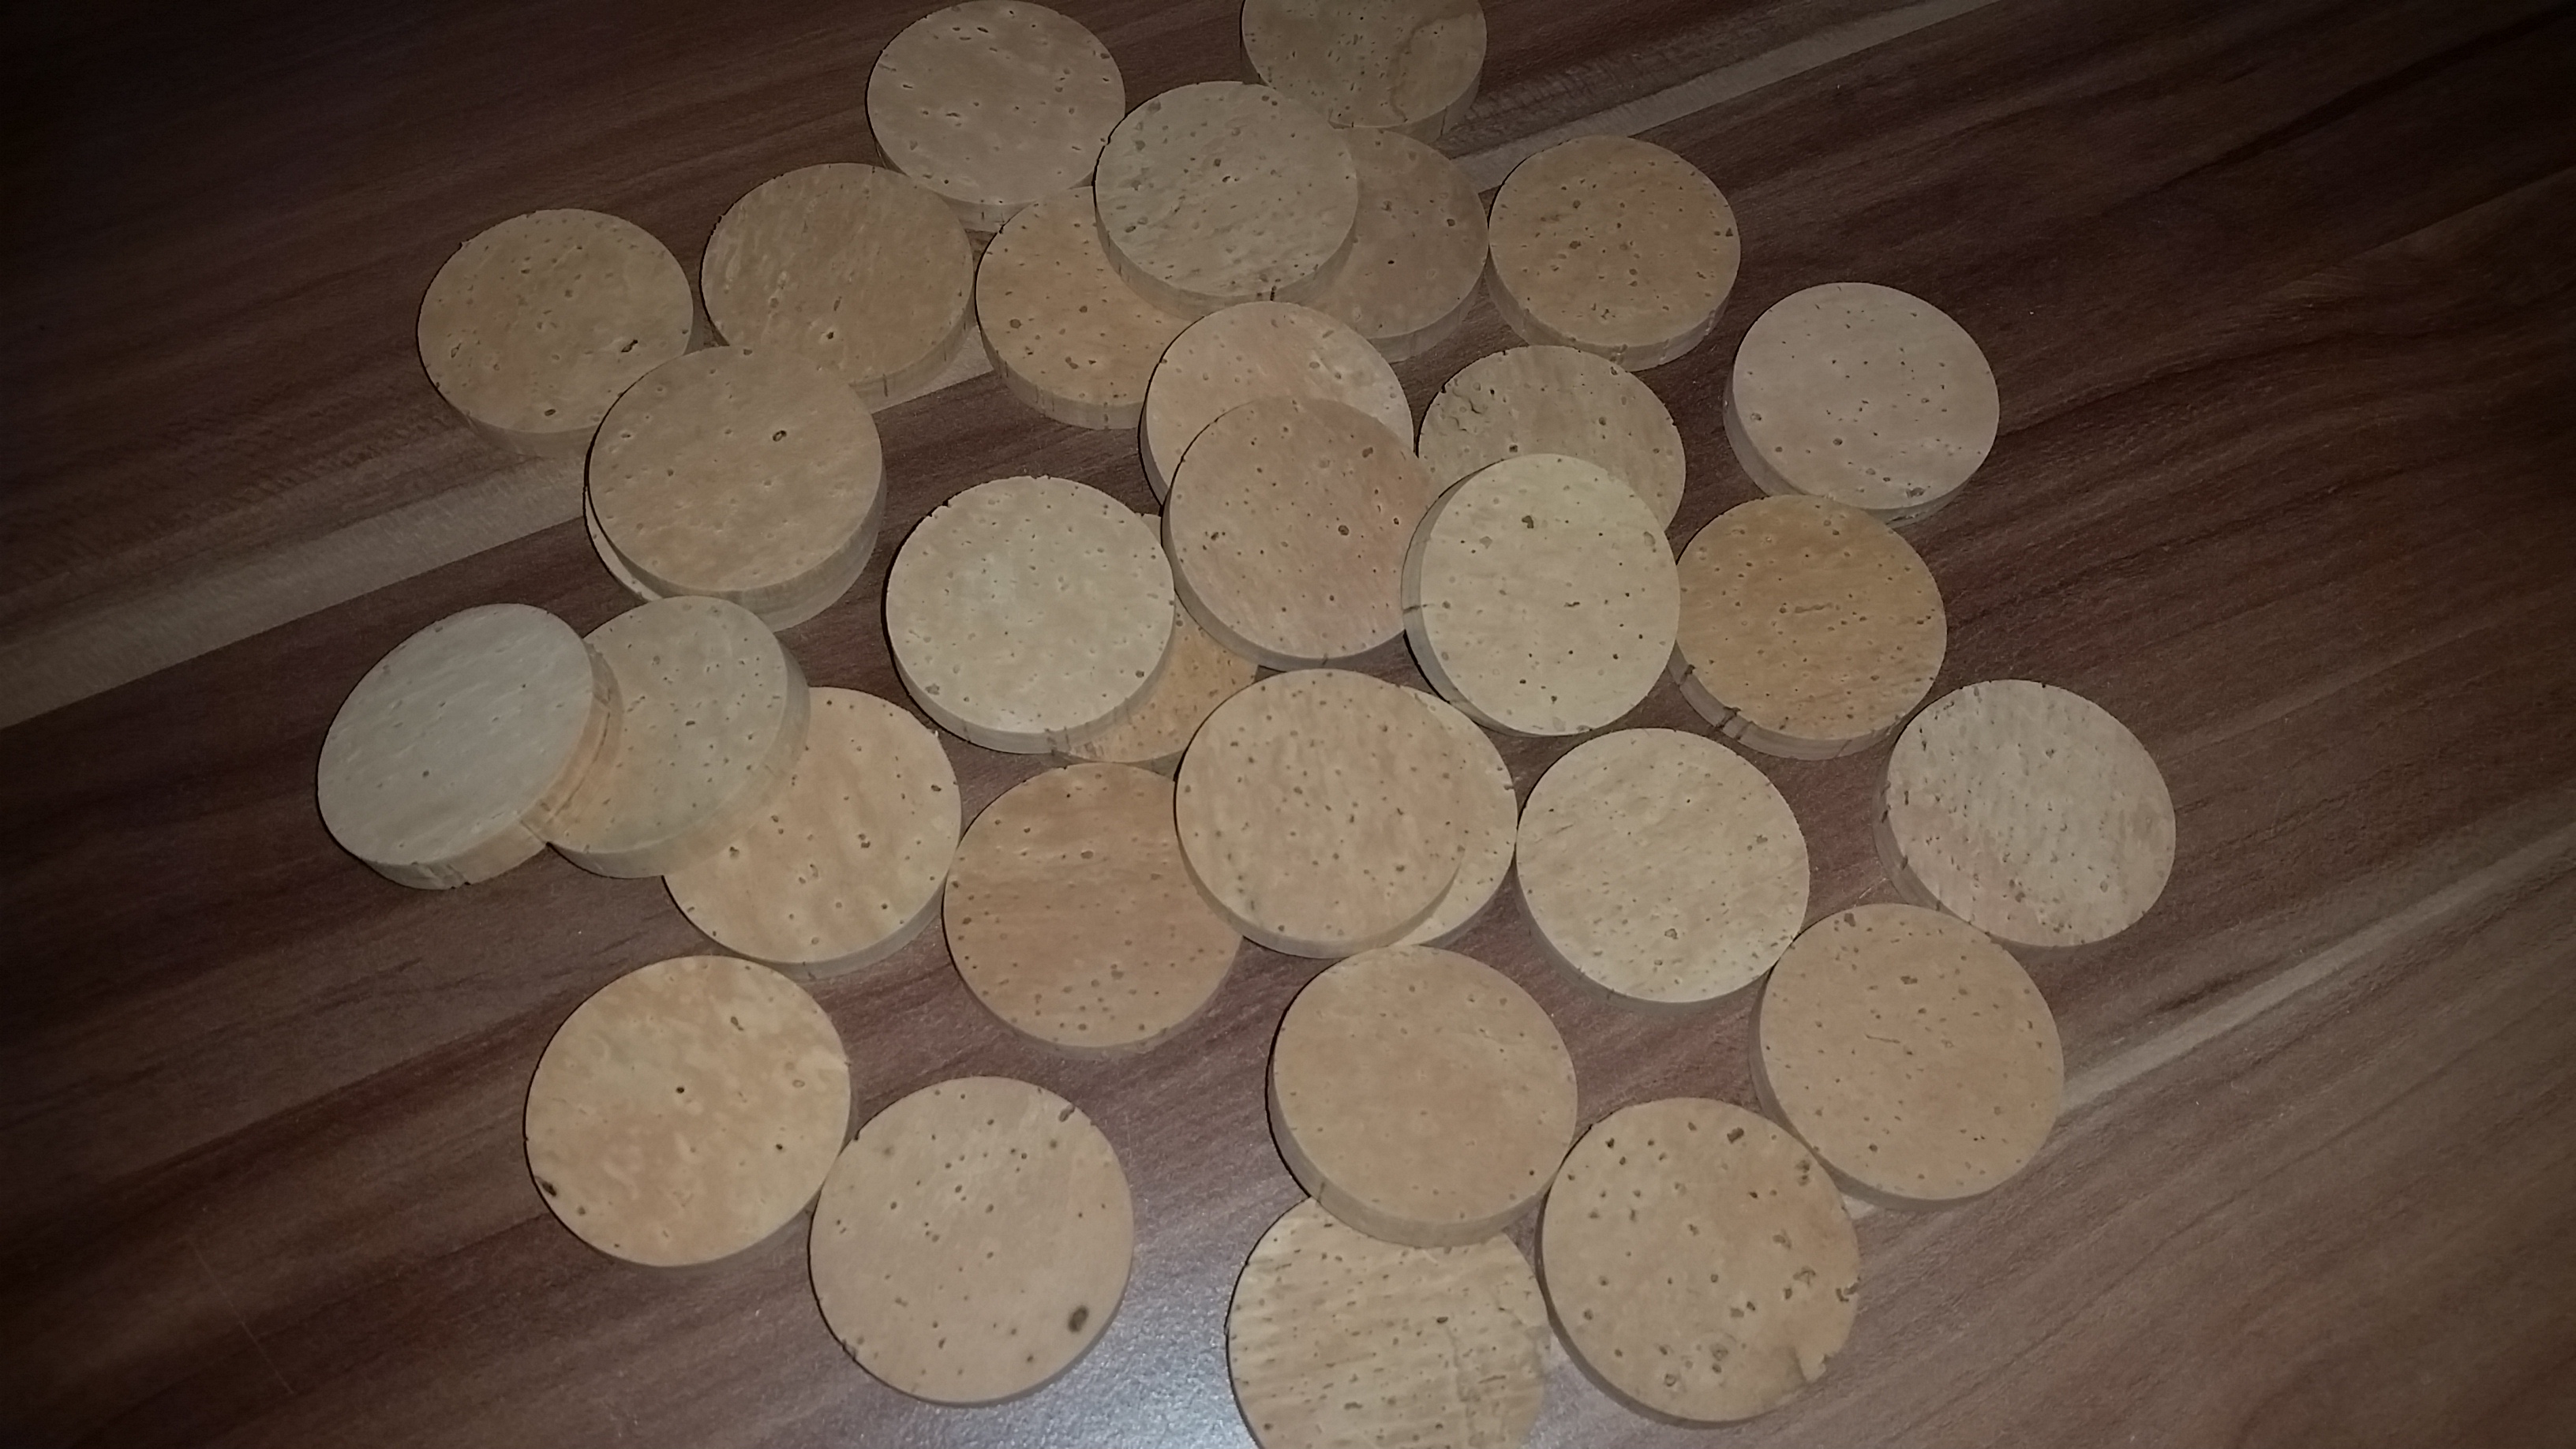
Vorselektion der Korkscheiben.
Dazu muß ich jetzt mal ein paar Worte verlieren. Ich wußte auch nicht, was sich hinter dem o.g. Holz verbirgt, es sah nur einfach genial aus.
Buche war klar, aber gestockt?
Gelernt habe ich folgendes: Wenn der Stockschwamm die Buche durchzieht, ergibt dies eine bestimme Färbung und Musterung. Dieses Stück „gestockte“ Buche wird im Vakuumverfahren stabilisiert. Das Holz muss komplett trocken sein, dann wird ihm im Vakuum jegliche Luft entzogen, welche sich im Holz befindet. Anschließend wird mit Druck ein spezielles Harz in die Poren des Holzes gedrückt. Dadurch wird das Holz komplett wasser- und witterungsbeständig. Es ist quasi ein Hybridwerkstoff entstanden. Man könnte das Holz unlackiert fischen, sogar im Salzwasser und es würde nichts passieren. Durch eine Lackierung kommen allerdings die Farben und die grandiose Musterung noch besser zur Geltung.

Erlesene Auswahl der Korkscheiben.
Ich hatte Jürgen gebeten vom Umbau einige Bilder zu machen, da ich neugierig war, wie die Rute unter dem Korkgriff aussah. Die weiche Stelle am Griff entstand durch Luft zwischen Blank und Kork. Auf den ersten oberen 5 cm war so gut wie kein Kleber, welcher den Kork am Blank hielt. Nachdem Jürgen den Kork halbiert hatte, konnte er den oberen Teil einfach wegdrücken. Der untere Teil hatte wieder einigermaßen genug Kleber.

Anpassung des Rollenhalters auf den Blankdurchmesser.
Sowas darf an einer Ruten im Premiumsegment einfach nicht vorkommen! Das traurige ist, dass andere Griffe ähnlich teurer Ruten teilweise noch schlechter sind als die Griffe von Sage. Im Allgemeinen merkt man, dass die Qualität der Korkgriffe immer weiter abnimmt, egal bei welcher Marke. Ich fürchte, das wird in der Zukunft auch nicht besser. Manche Hersteller verwenden ja jetzt schon komplette Rubbercork-Griffe.

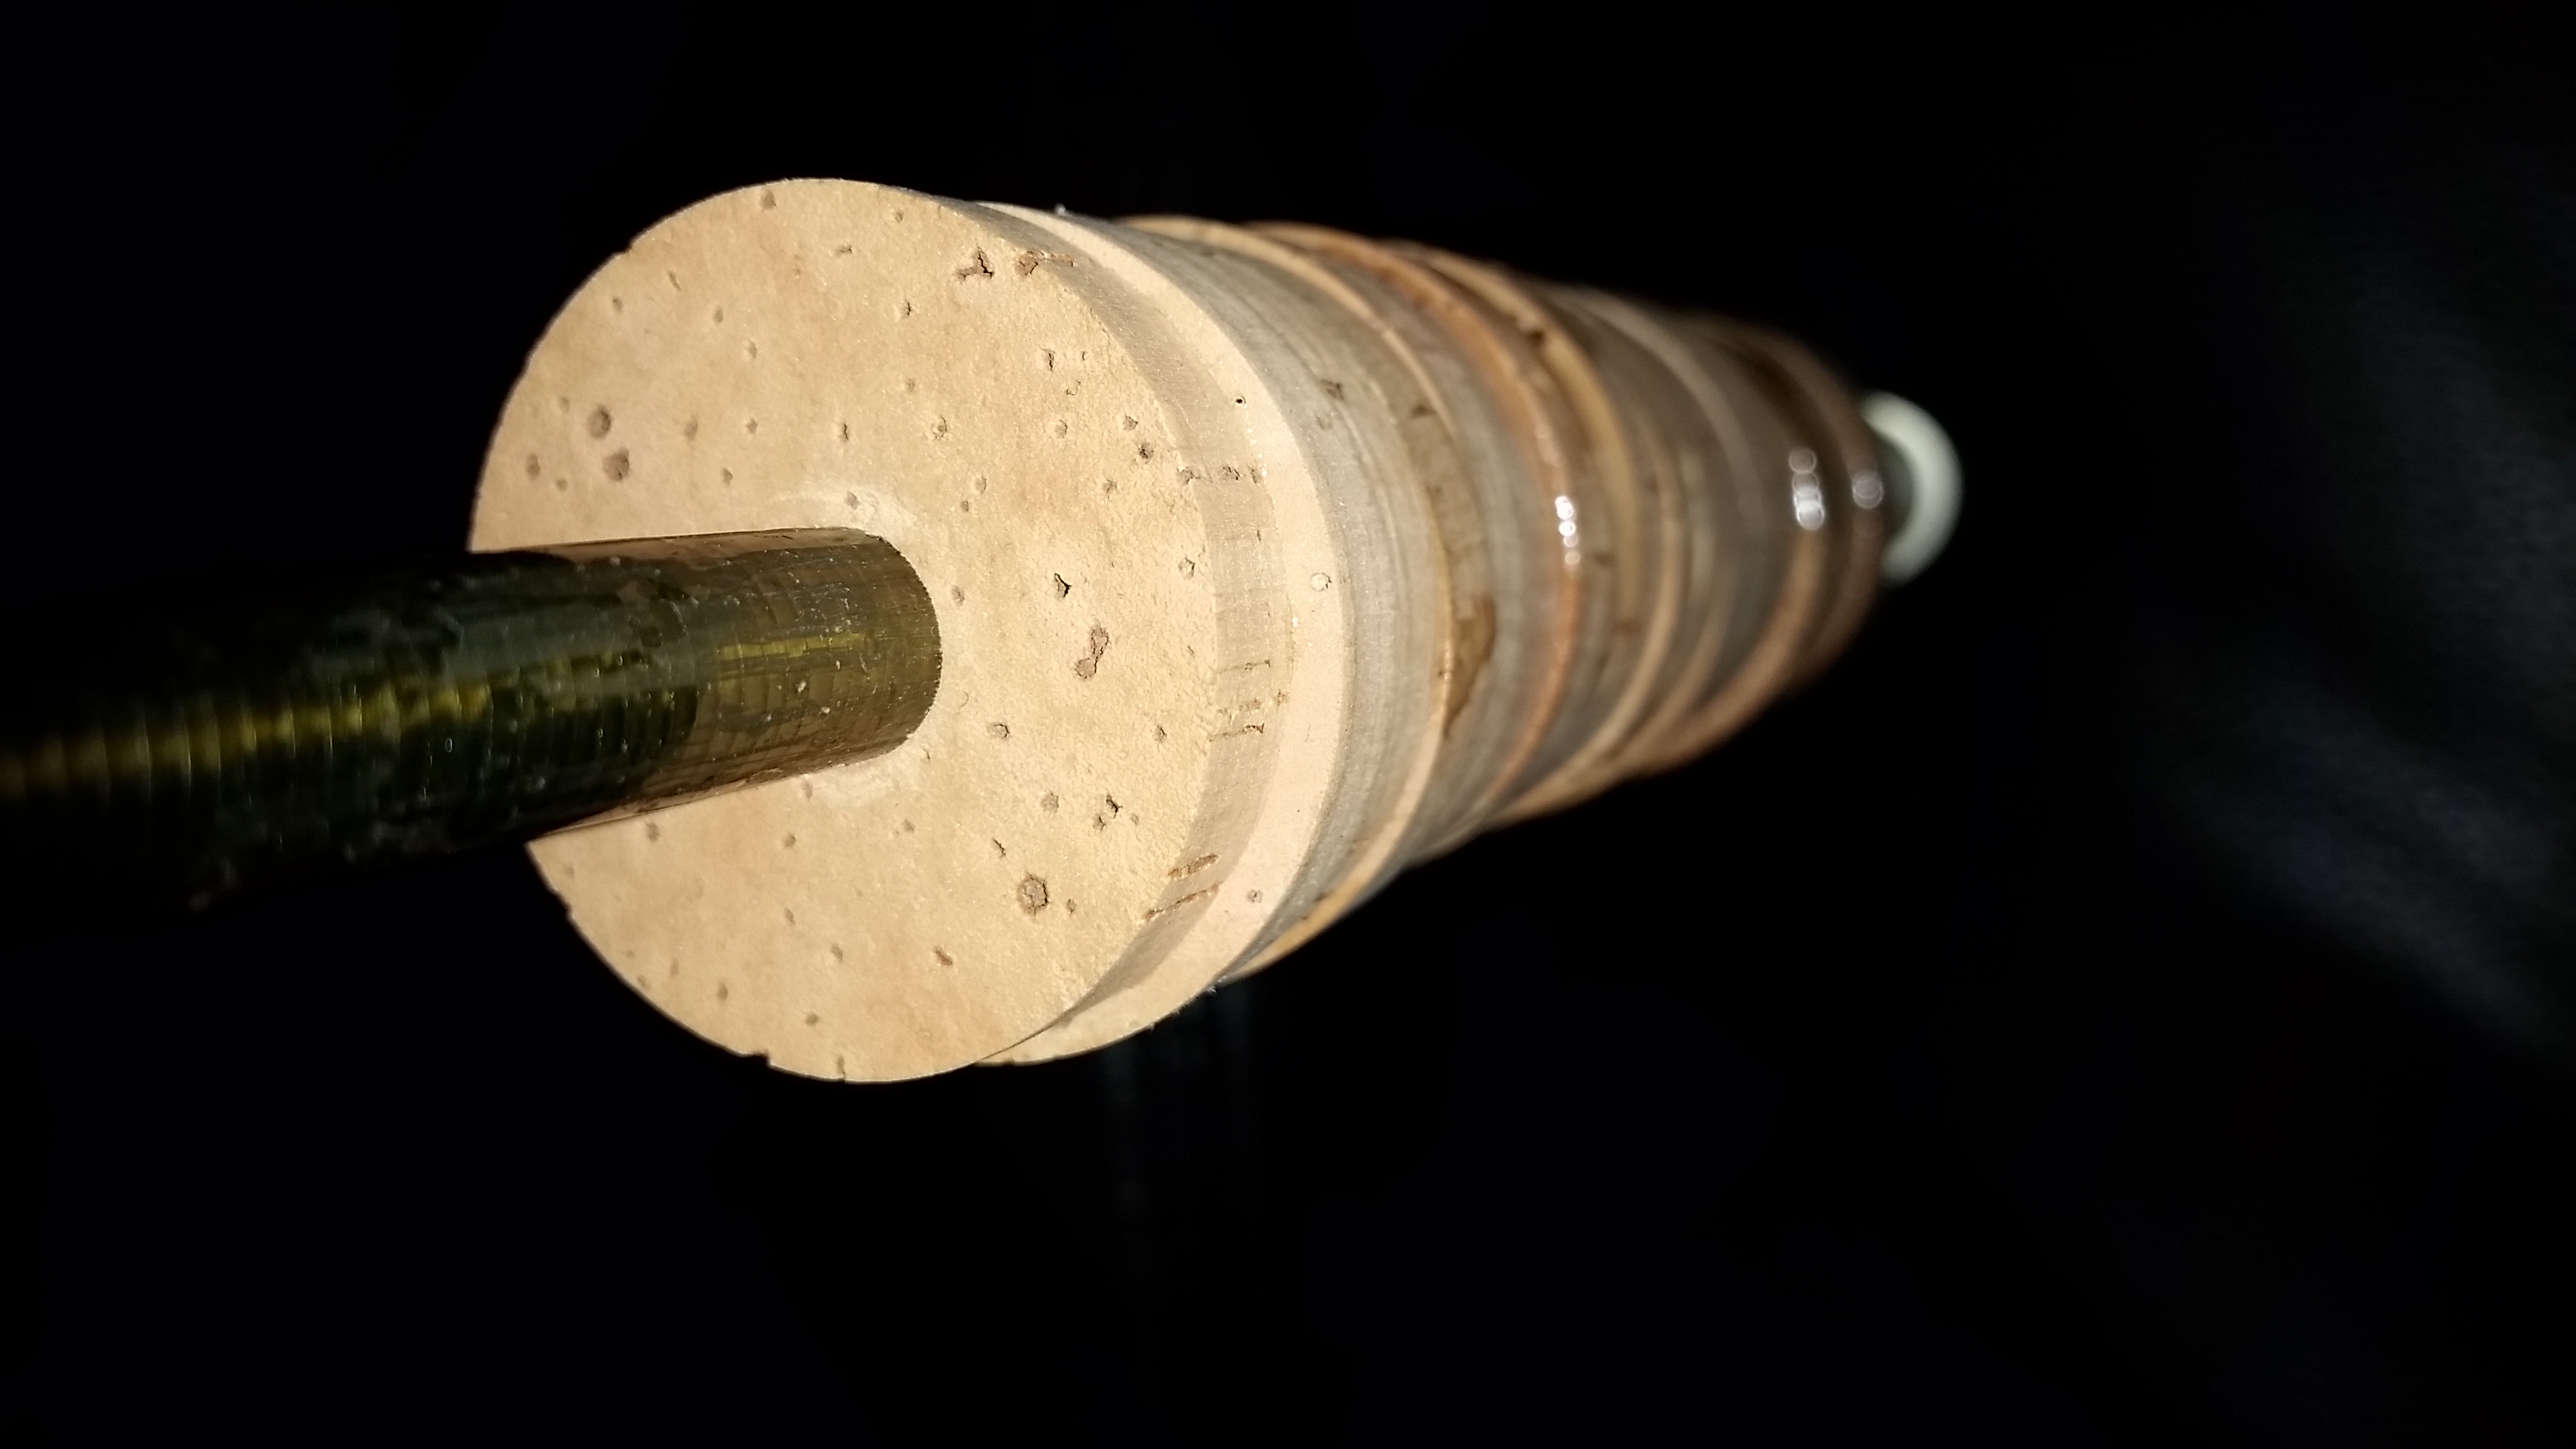
DIe vorbereiteten Komponenten. Die Korkscheiben haben die Bohrung erhalten, der Rollenhalter und der unterste Korkring wurde dem Aufnahmering des Rollenhalters angepaßt.
Jürgen sagte mir, dass er von 1000 Scheiben Premiumkork der höchsten Güte nur ca. 200 Scheiben wirklich verbaut, er sich also das Beste an Kork heraussucht, das es heute gibt.
So perfektionistisch kann natürlich keine Firma in der Menge produzieren, dass muss man fairerweise sagen.

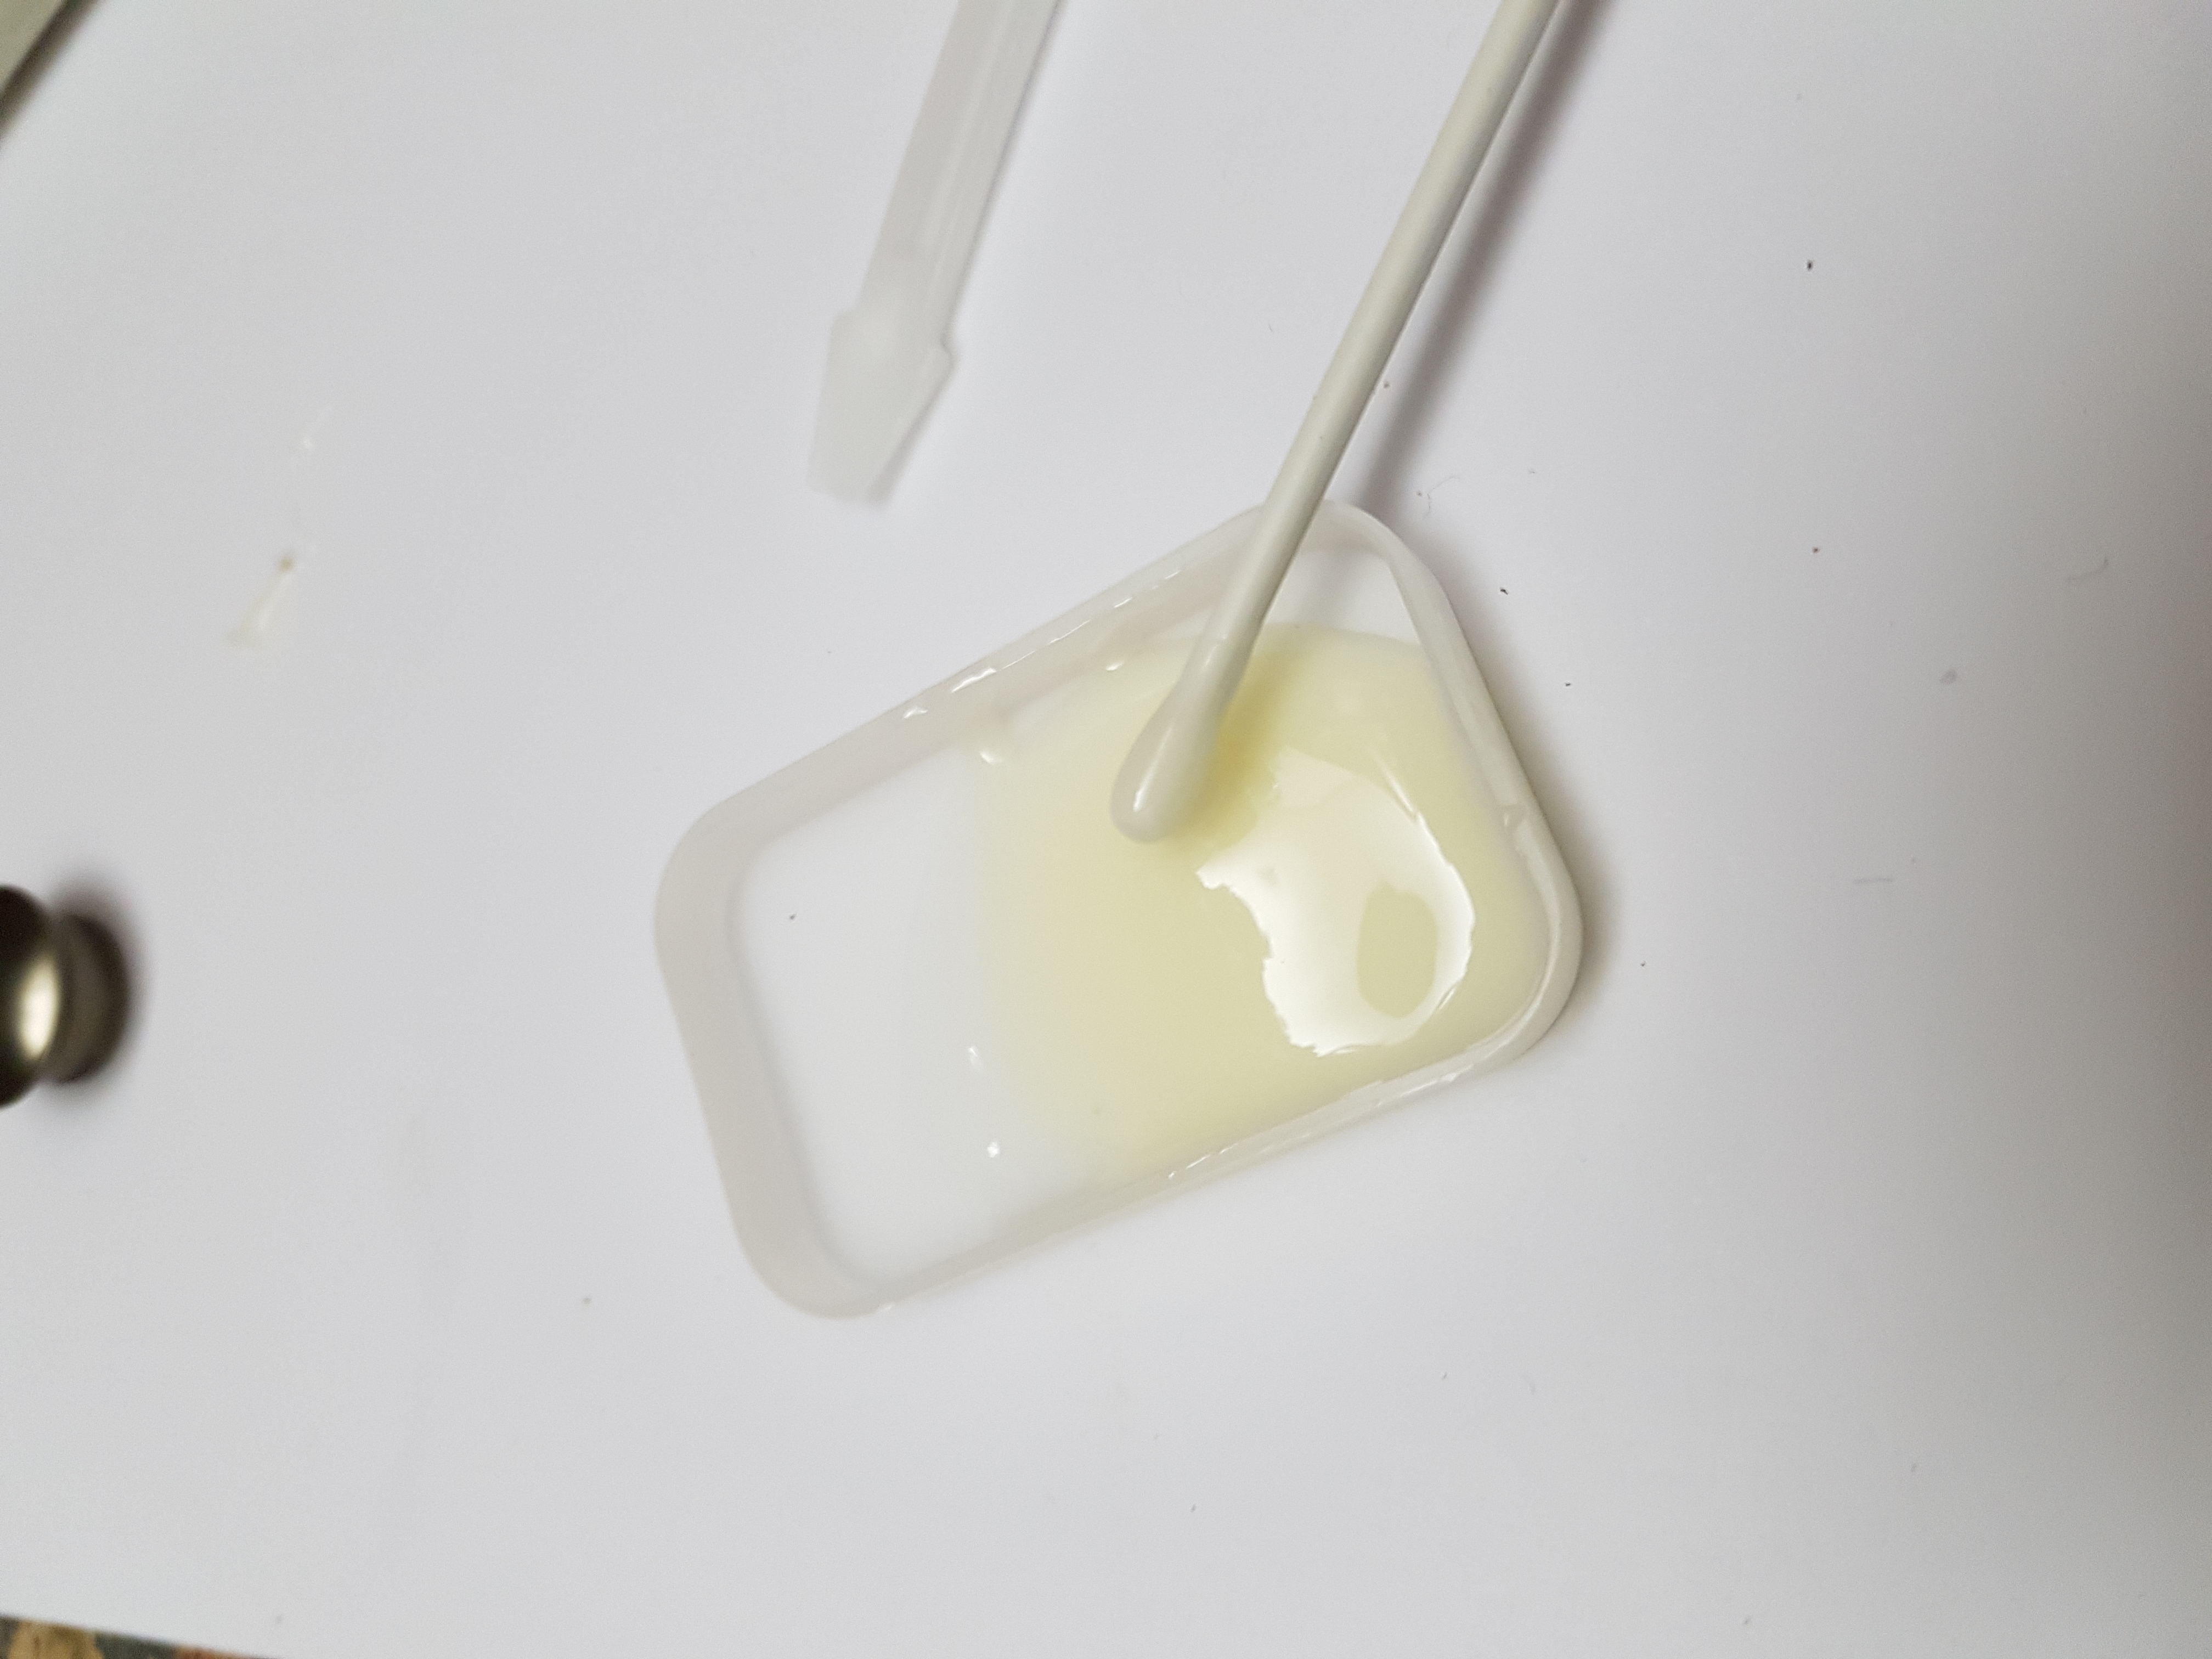
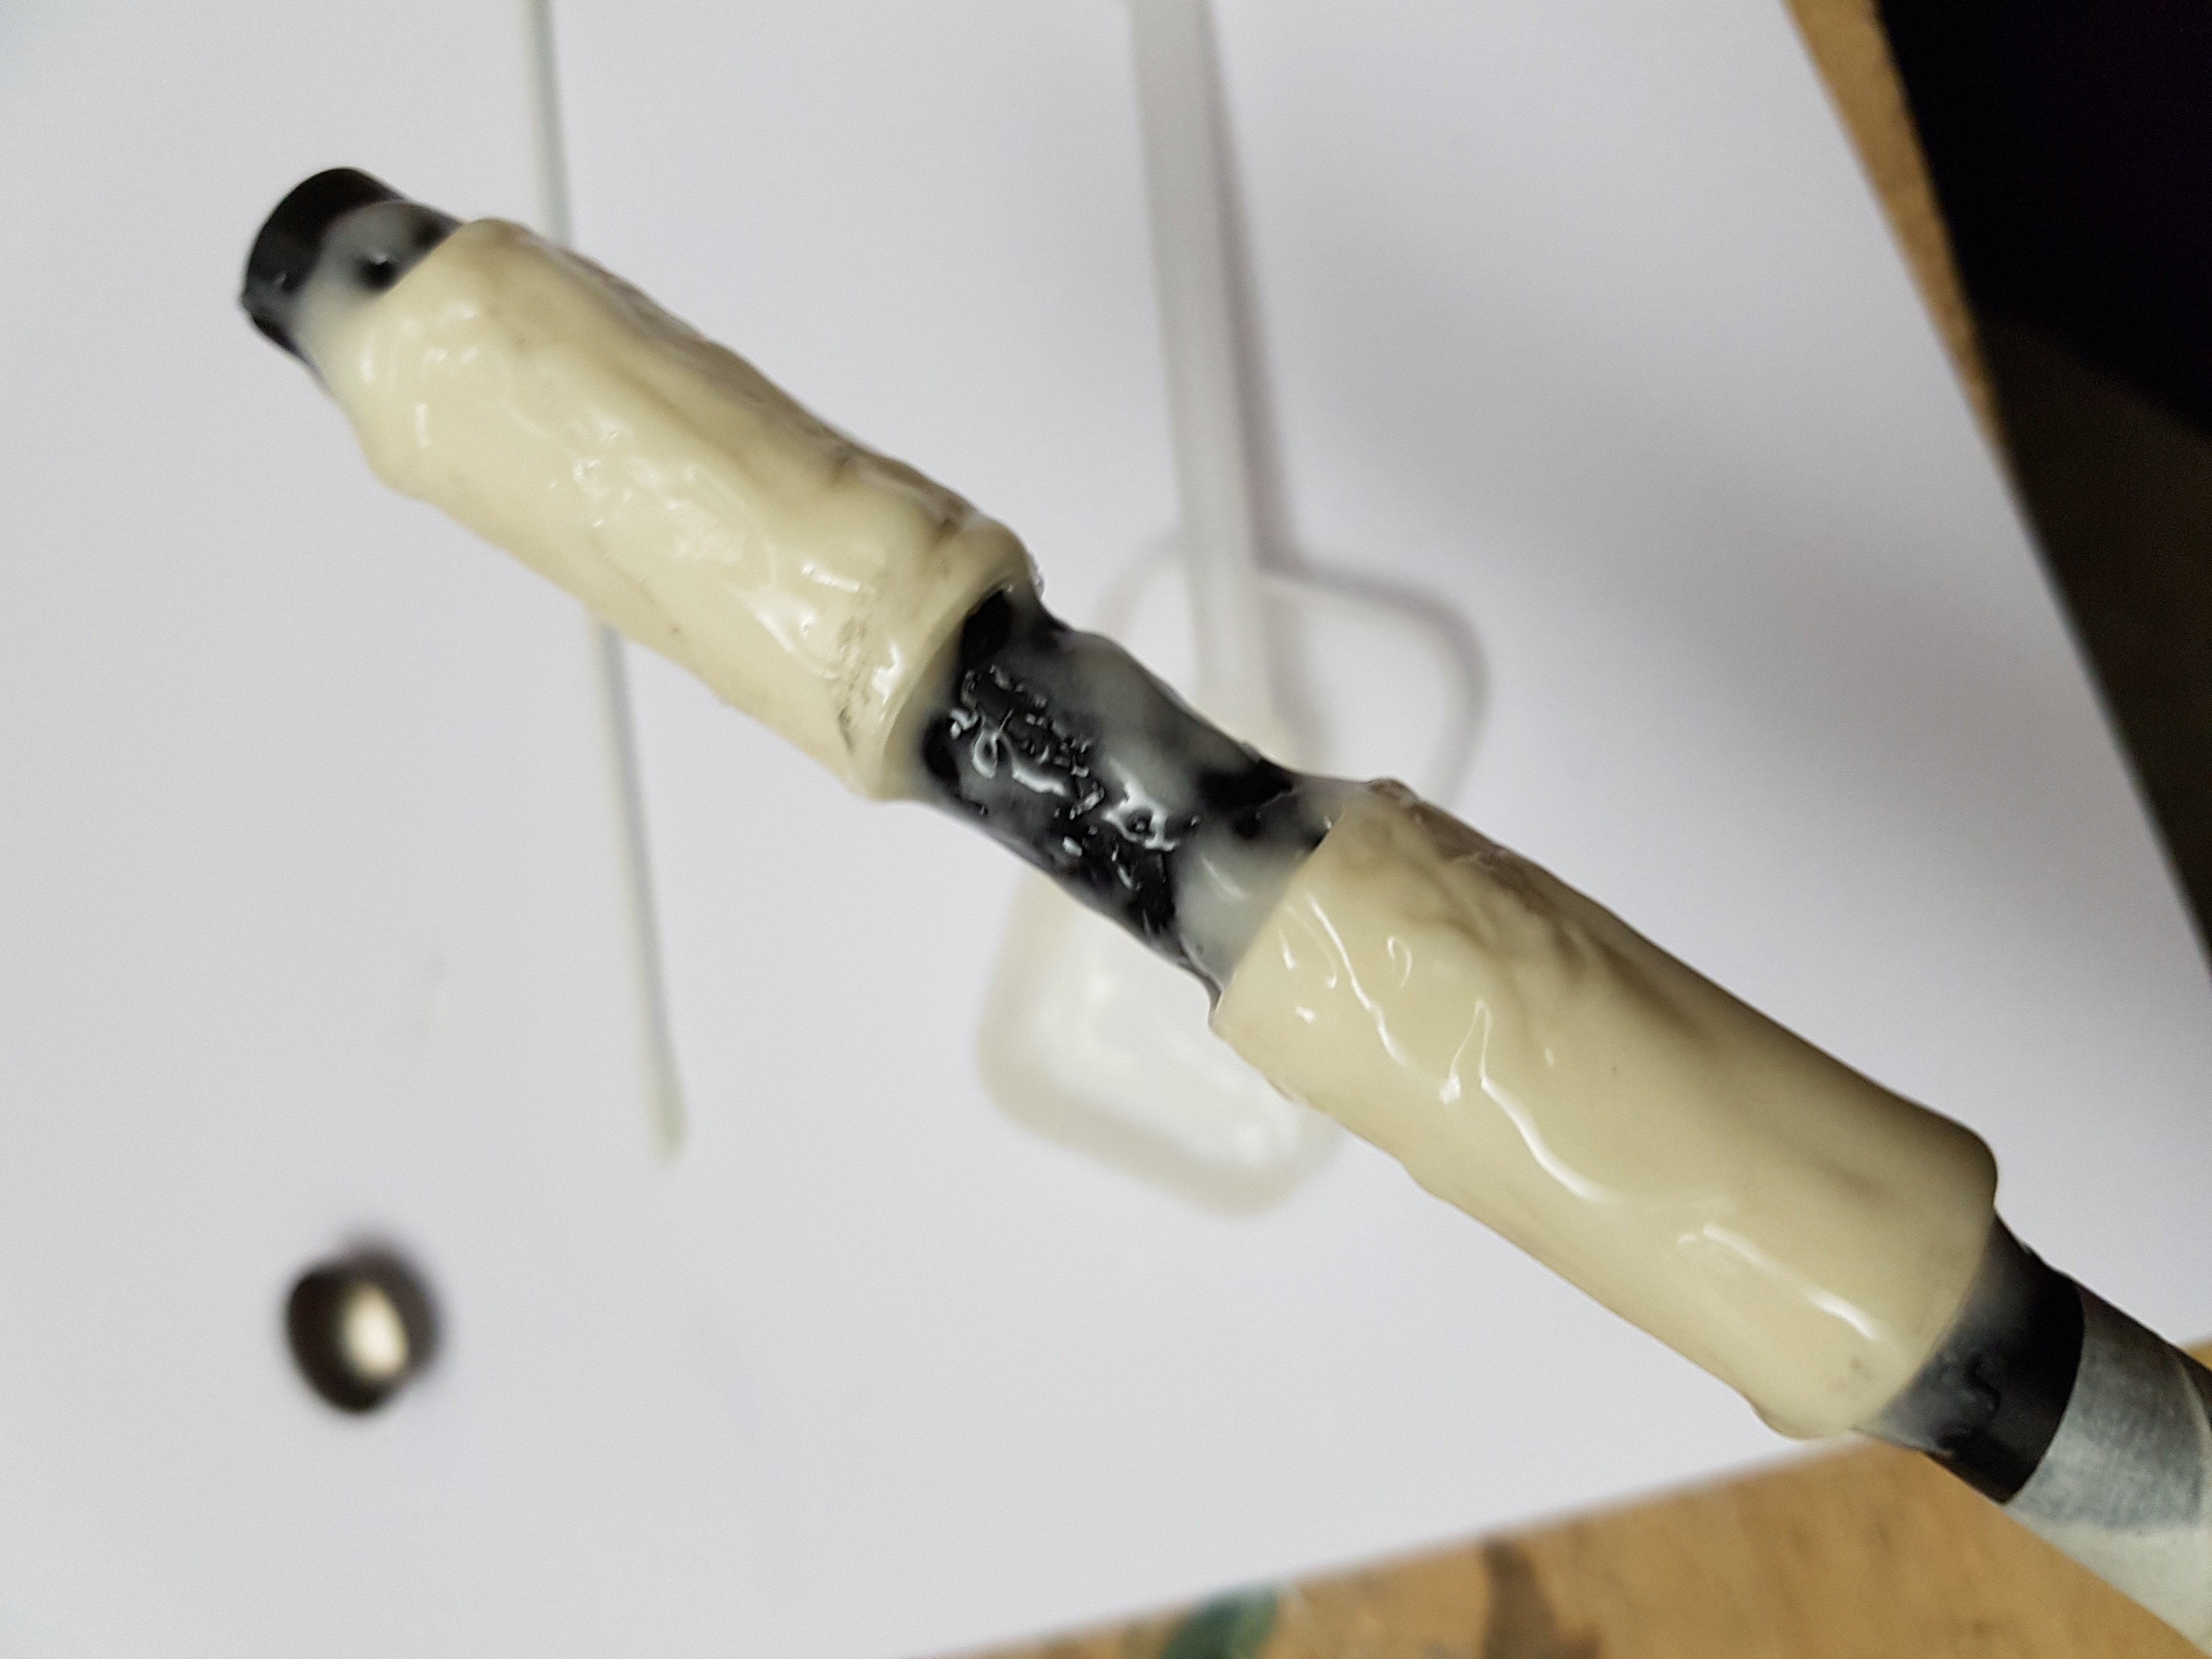
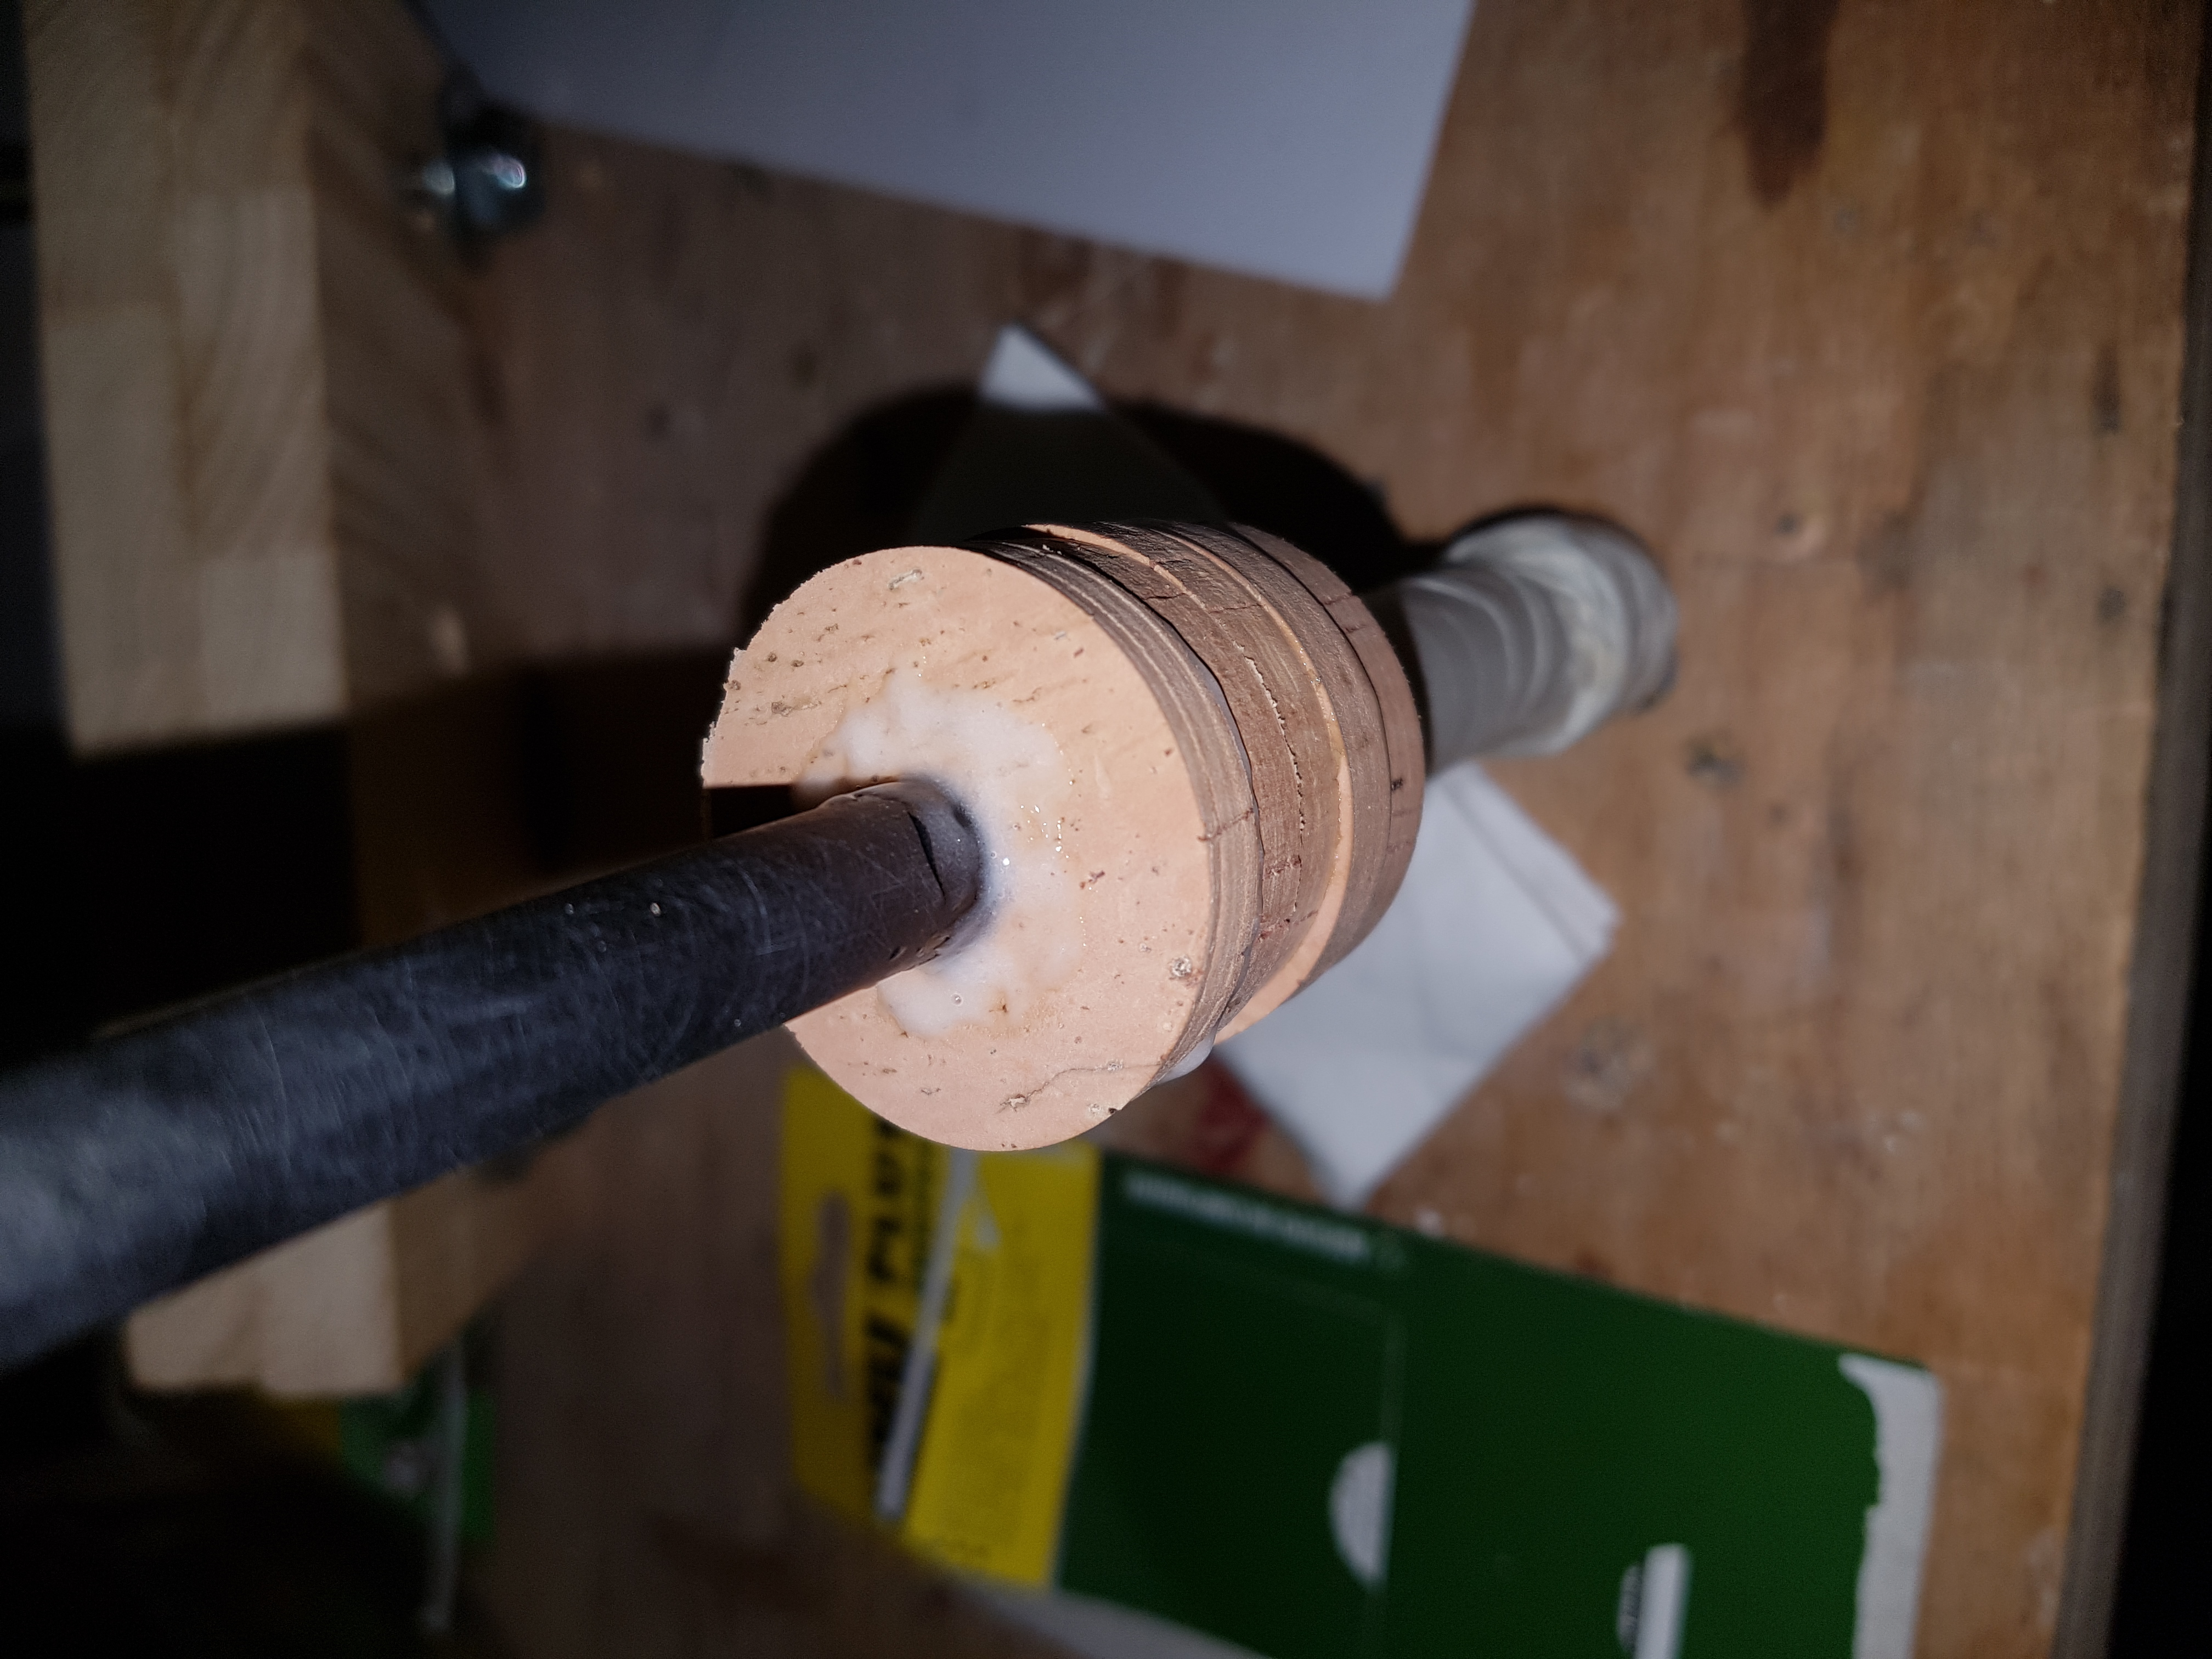
Die Korkscheiben werden zusammengeleimt…


… und gepresst.

Anpassung

Montage von Griff, Rollenhalter und dem Winding-Check


Der Korkgriff wird in Form gebracht.
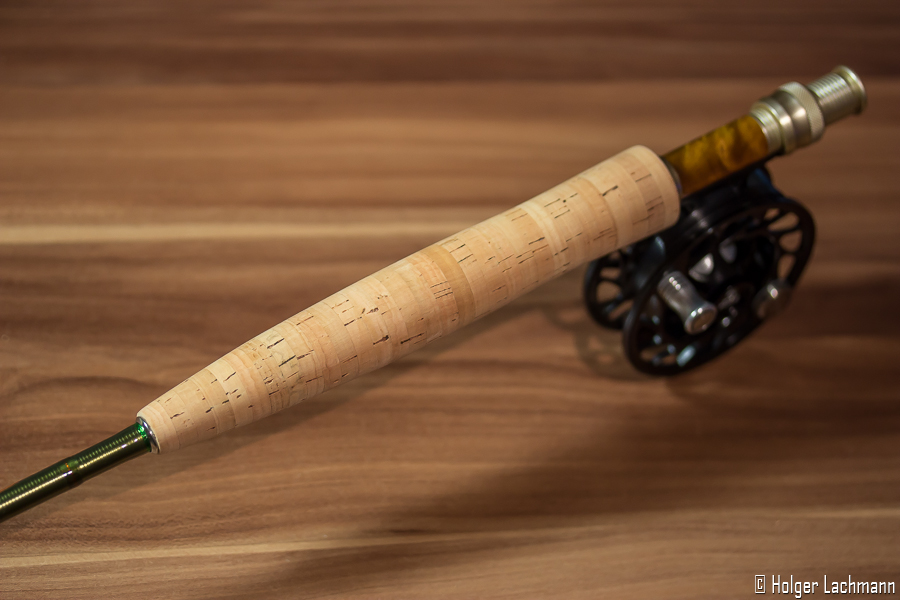
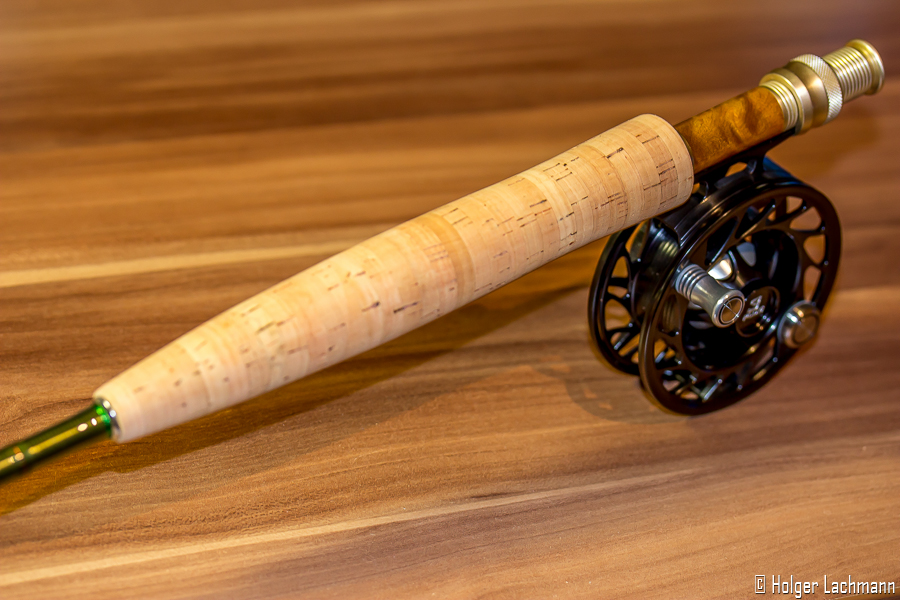
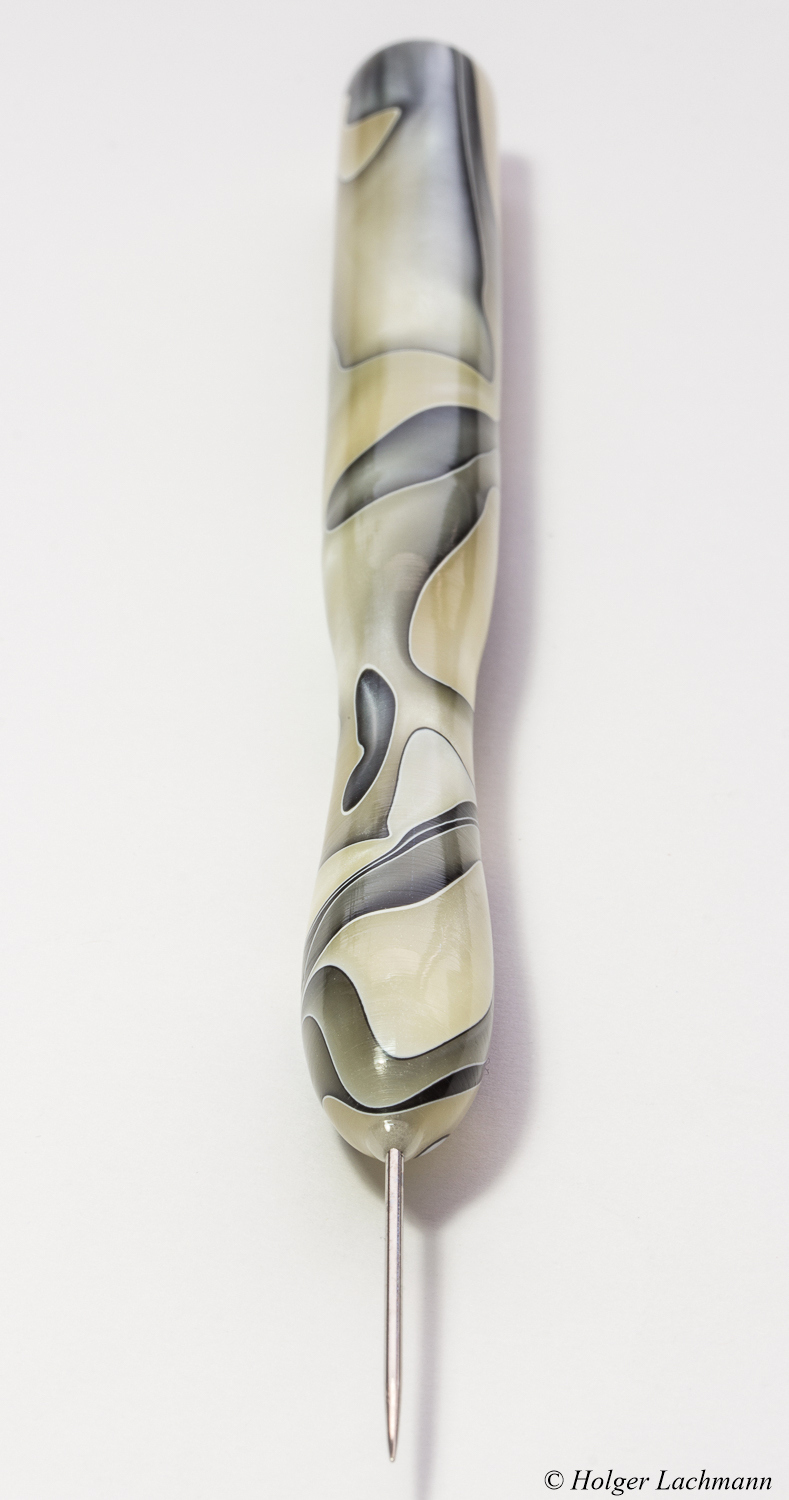
Das Ergebnis des Umbaus
kann man auf den Bildern ja sehen. Ich bin mehr als nur zufrieden!

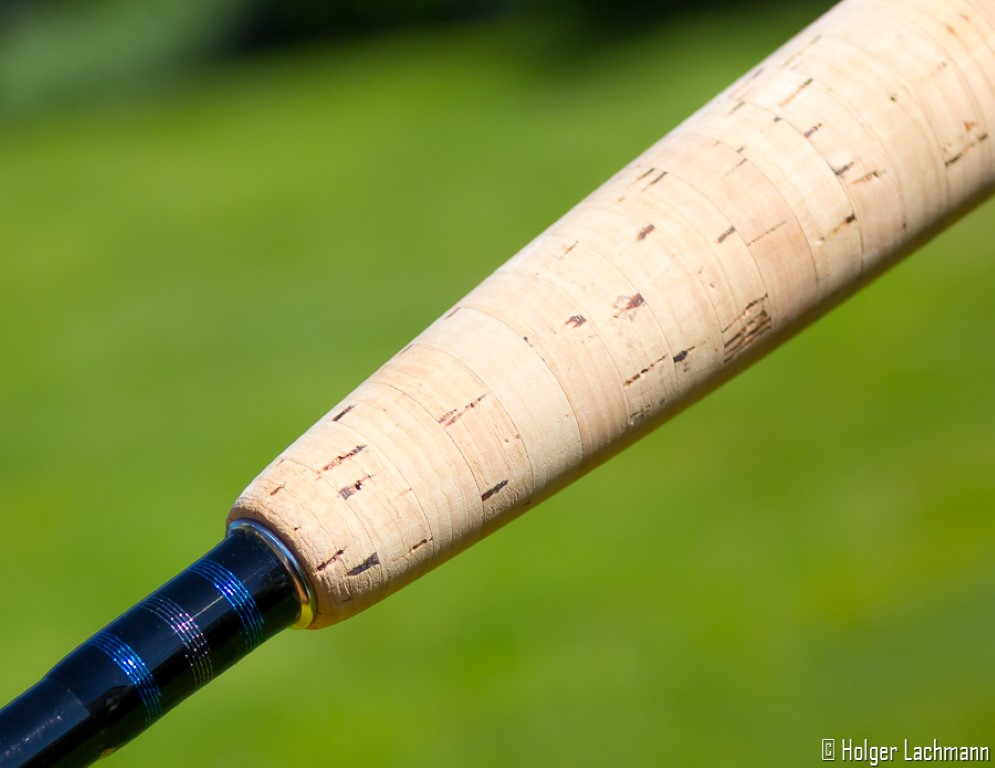
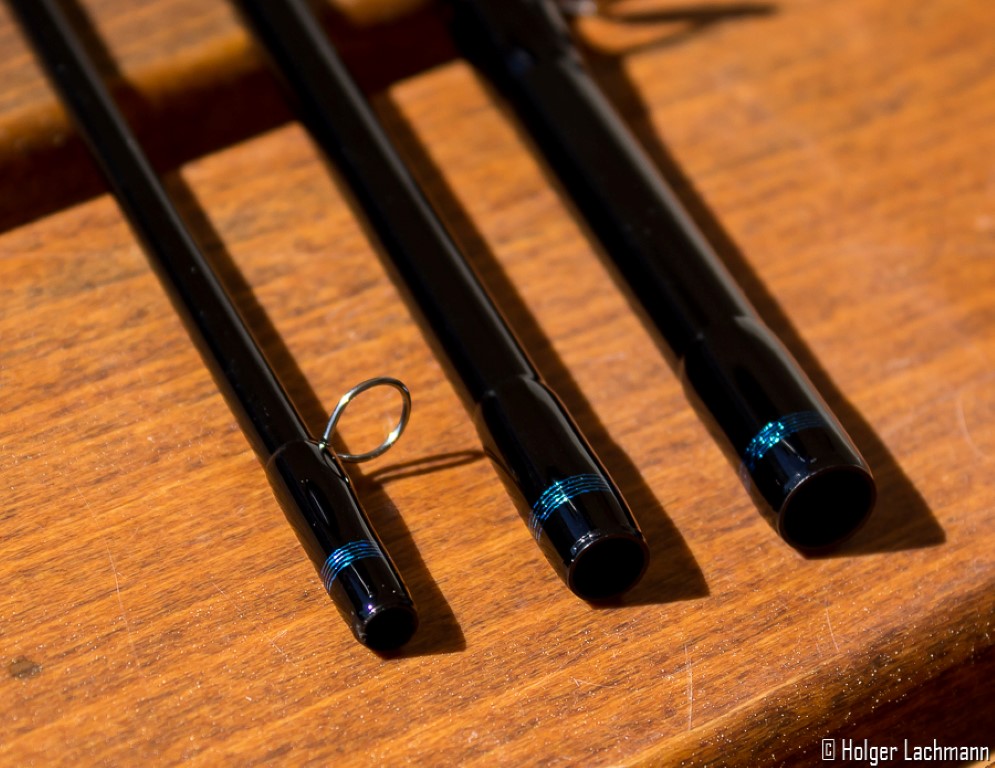
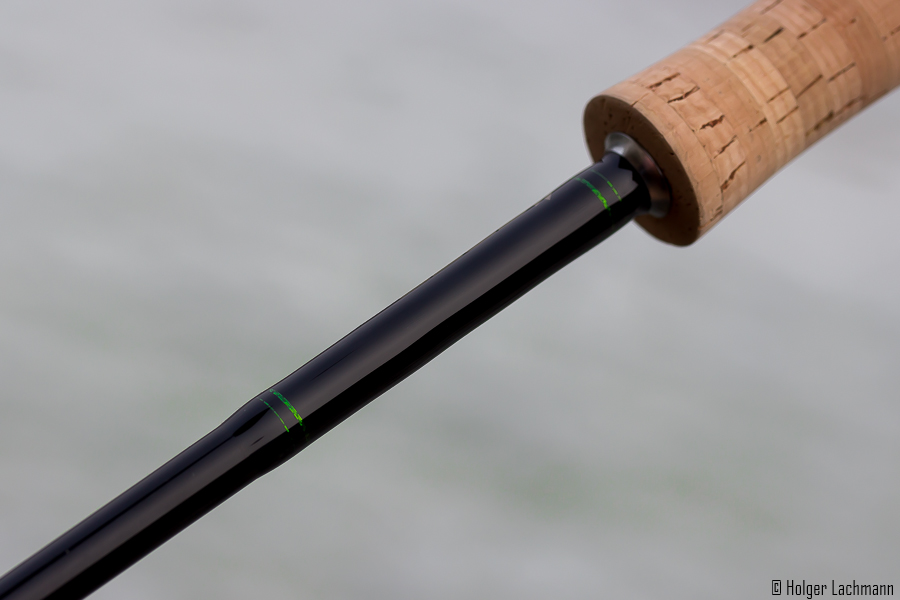
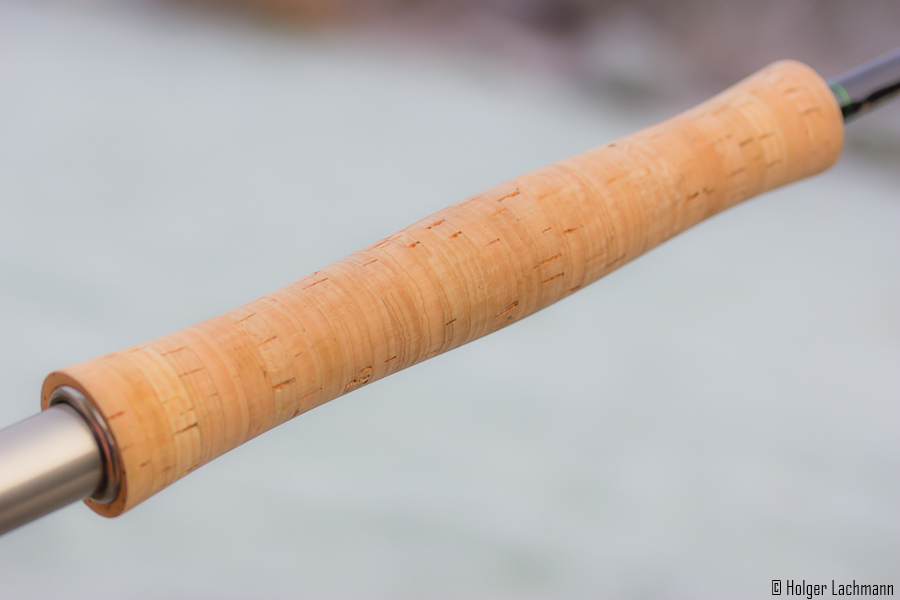
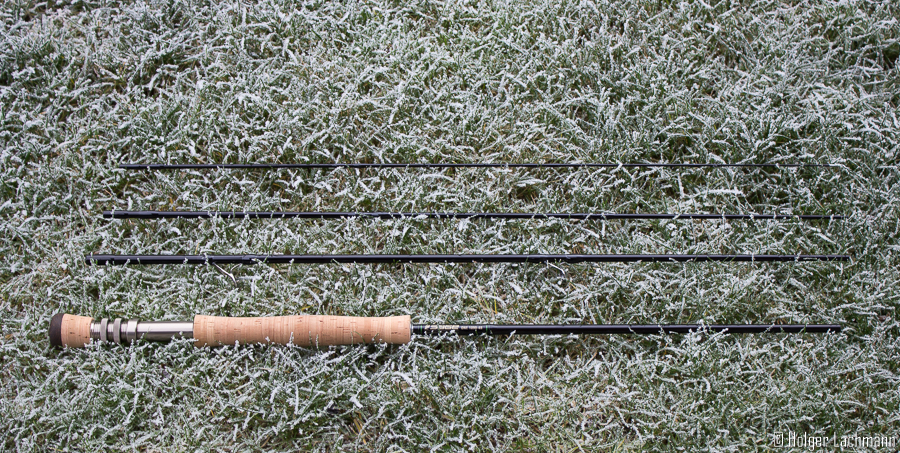
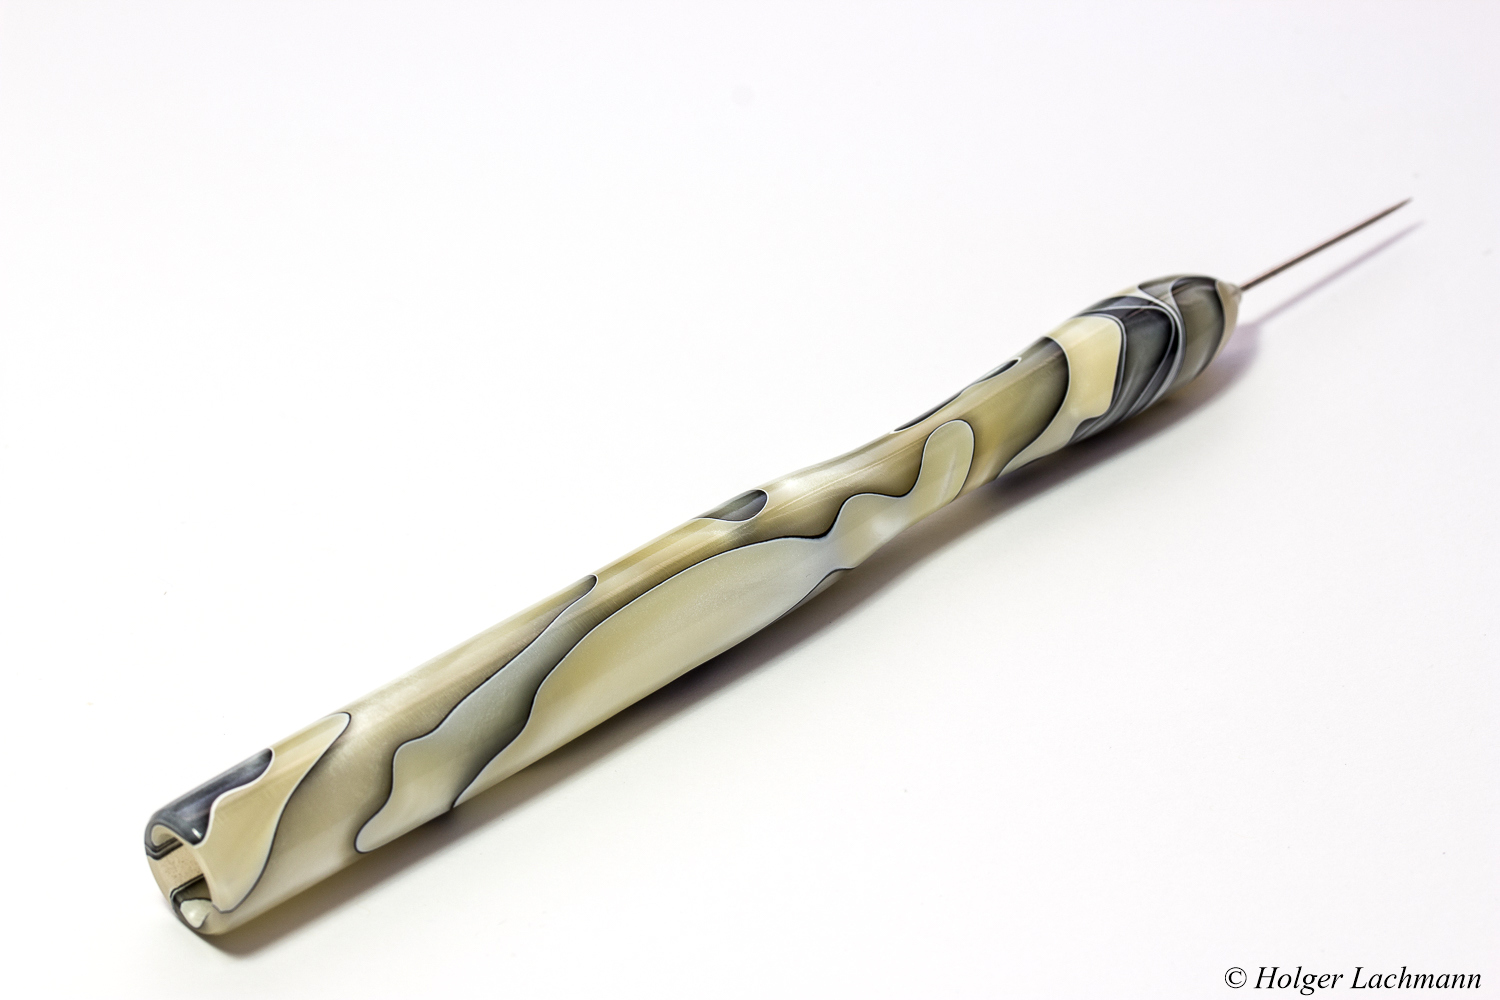
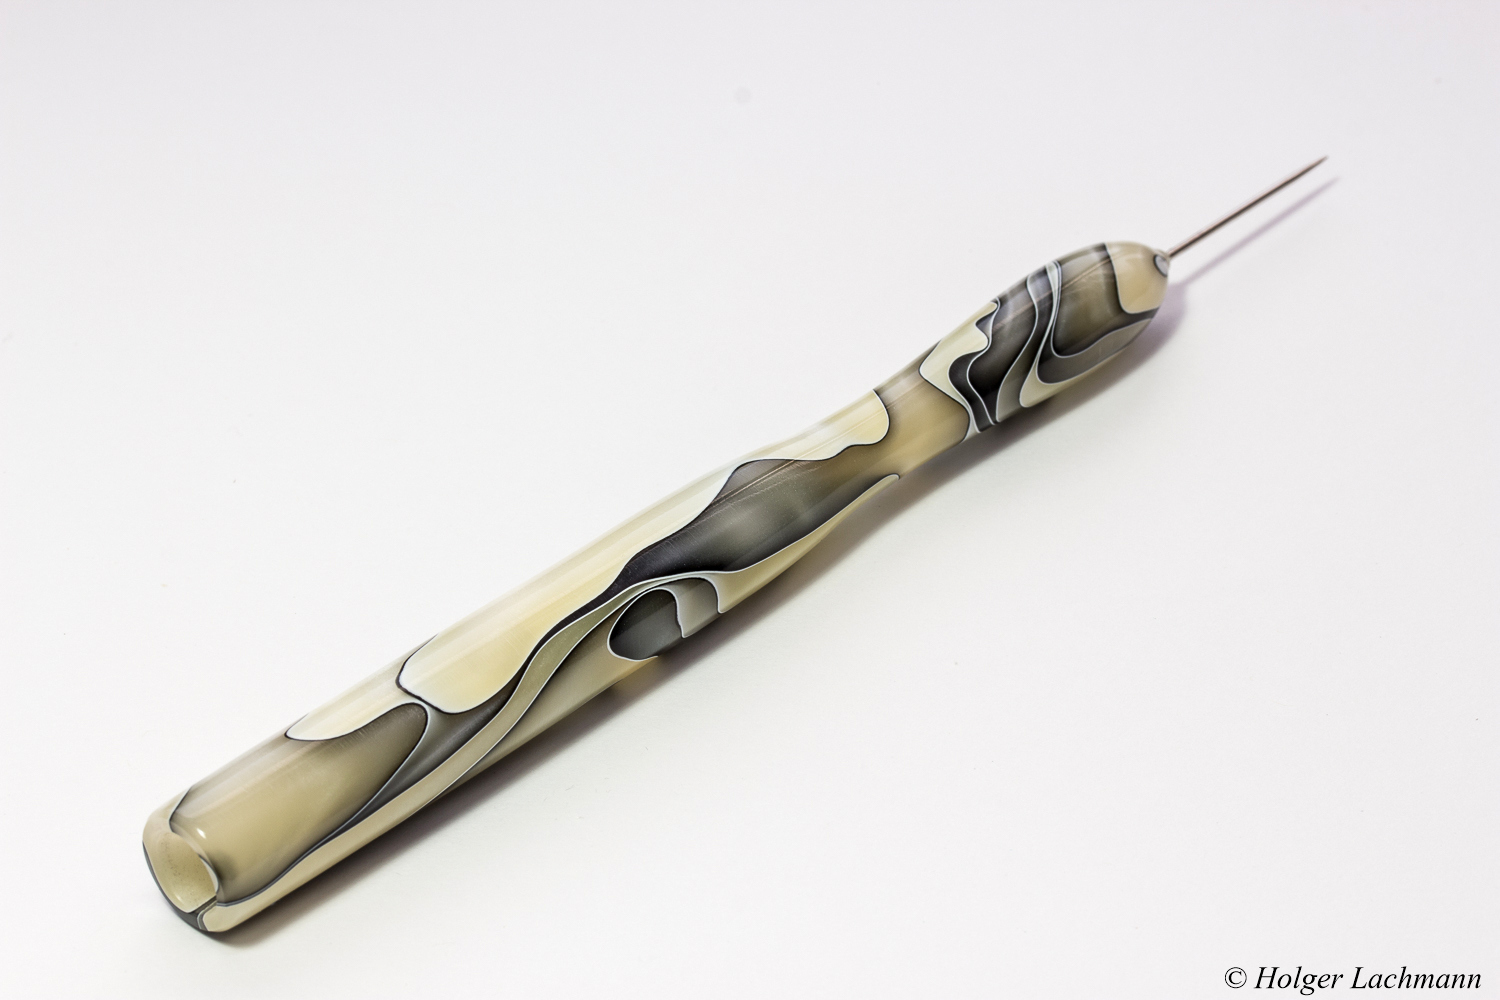
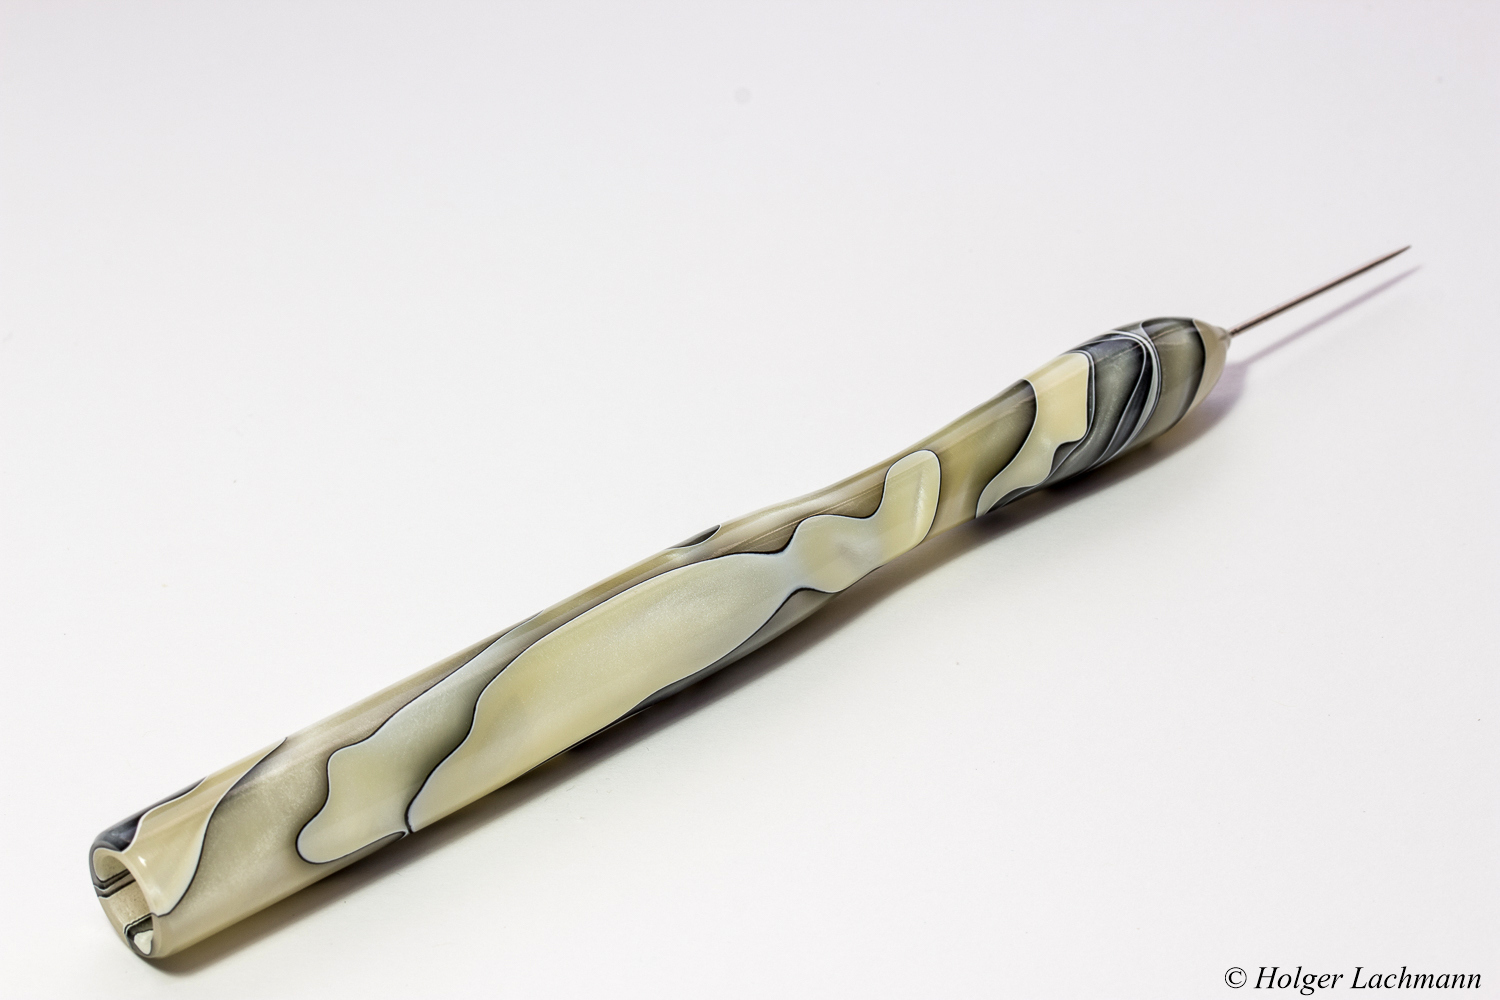
Die fertige Rute.
Jürgen hat wirklich perfekte Arbeit geleistet. Die Rute liegt fantastisch in der Hand, der exquisite Kork hat eine super Haptik und der Rollenhalter ist einfach ein Augenschmaus!
Nochmals besten Dank Jürgen!

So muß eine leichte Rute meiner Meinung nach aussehen.
Allerdings spuckt mir jetzt schon wieder die Idee einer feinen 2er oder 3er Trockenfliegenrute im Kopf herum…natürlich handgefertigt, nach meinen Vorgaben….
;-)

Wunderschön, die gestockte, stabilisierte Buche mit dem Nickel-Silber.

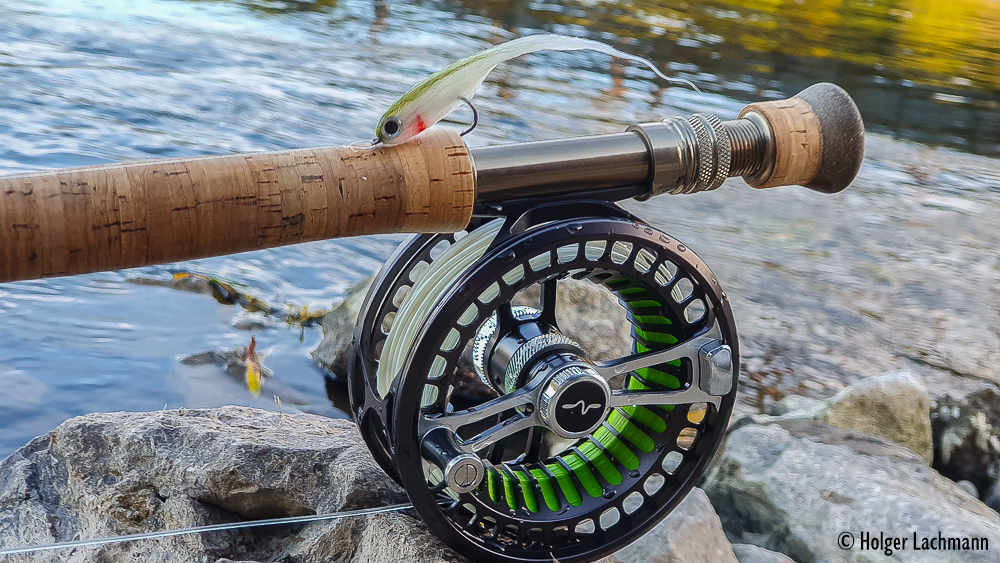
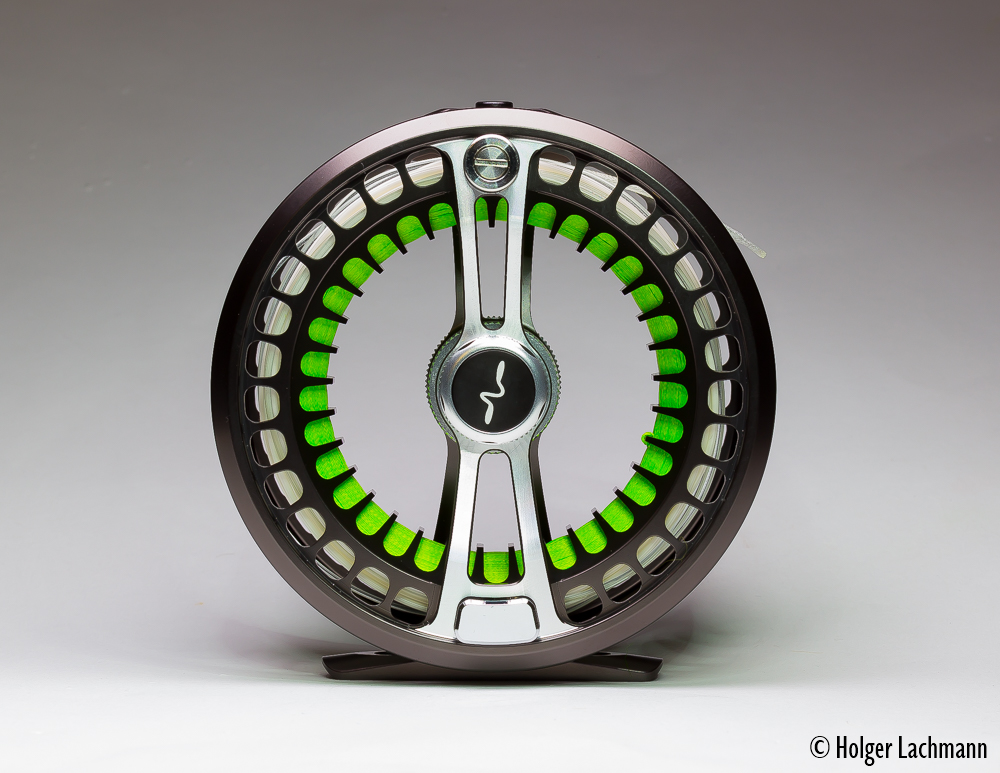
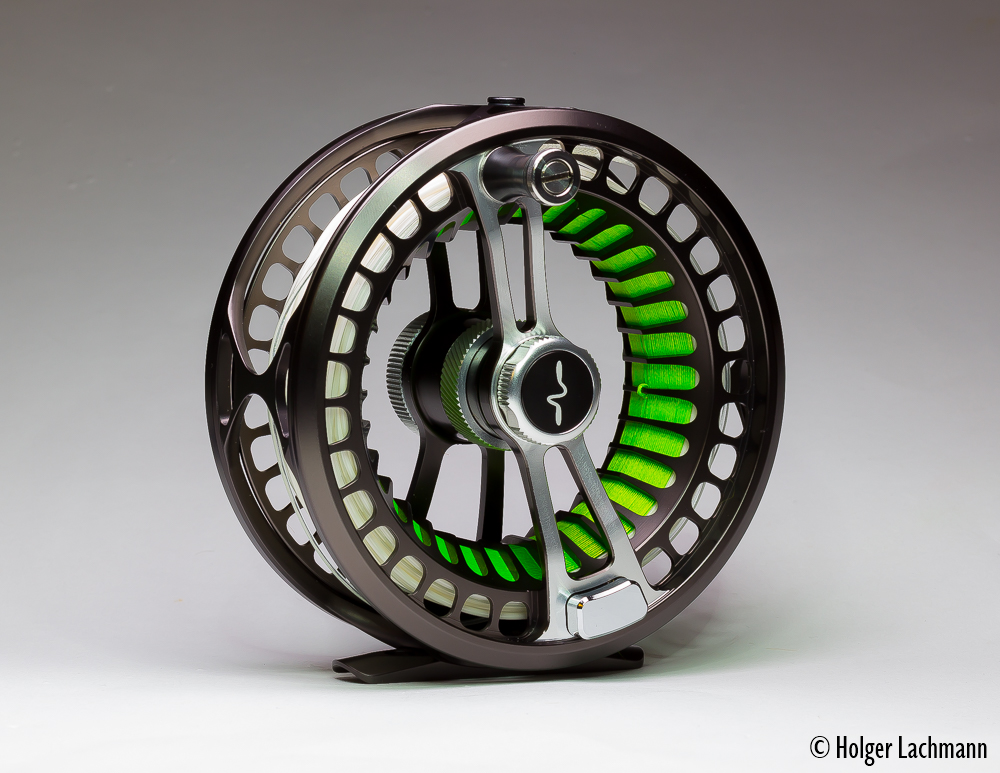
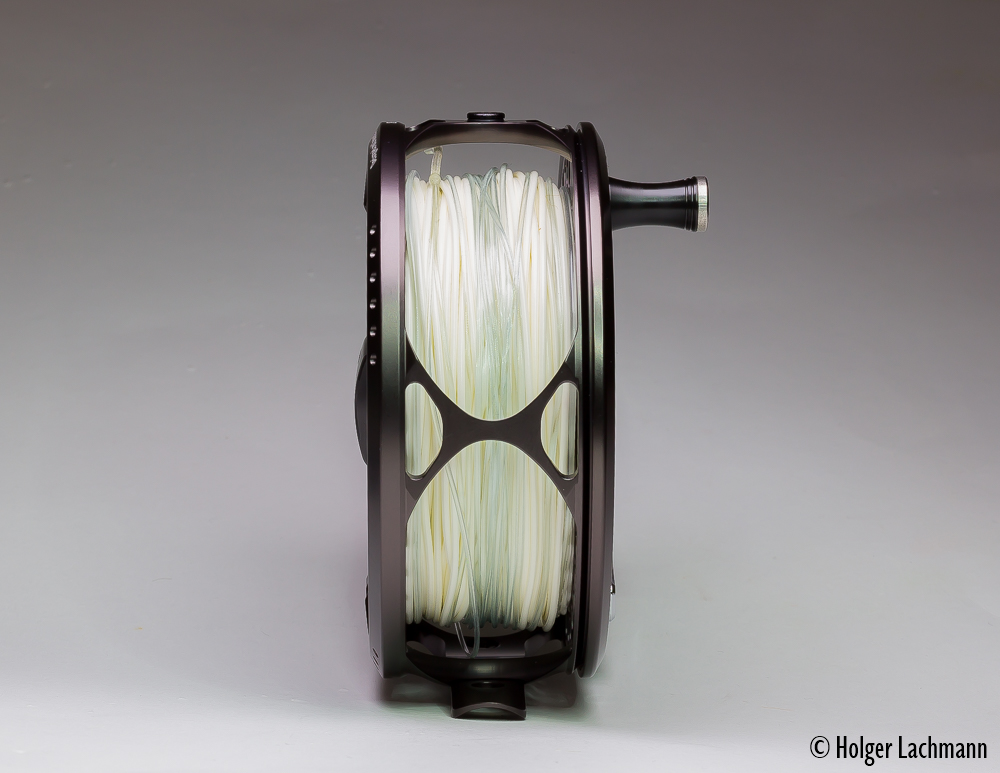
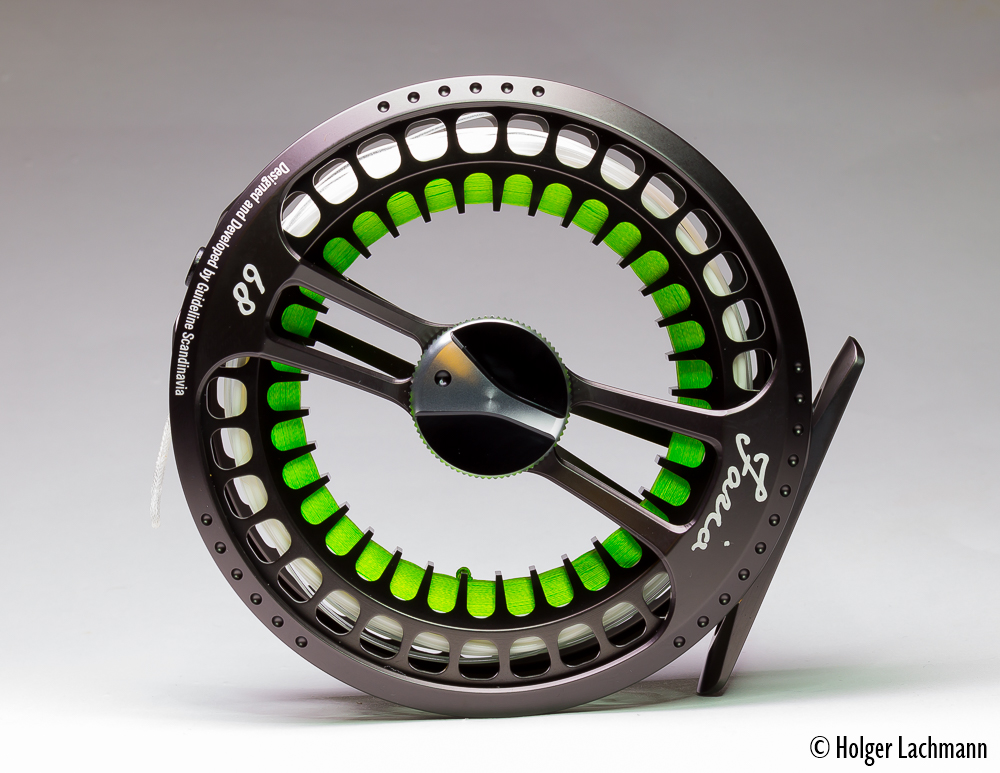
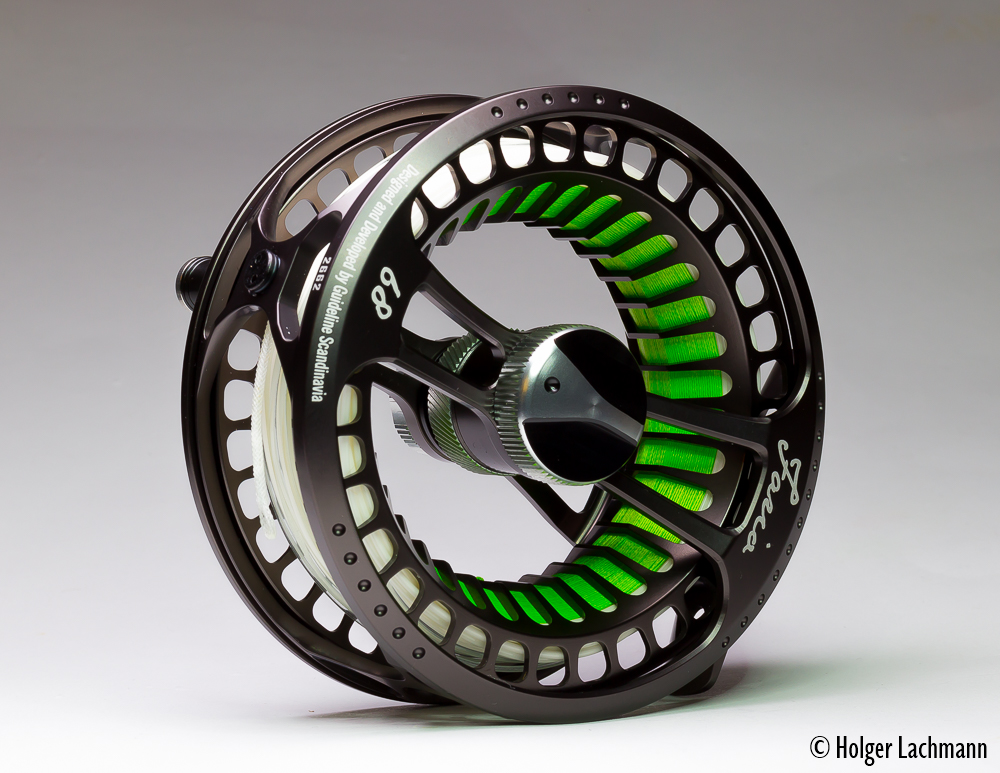
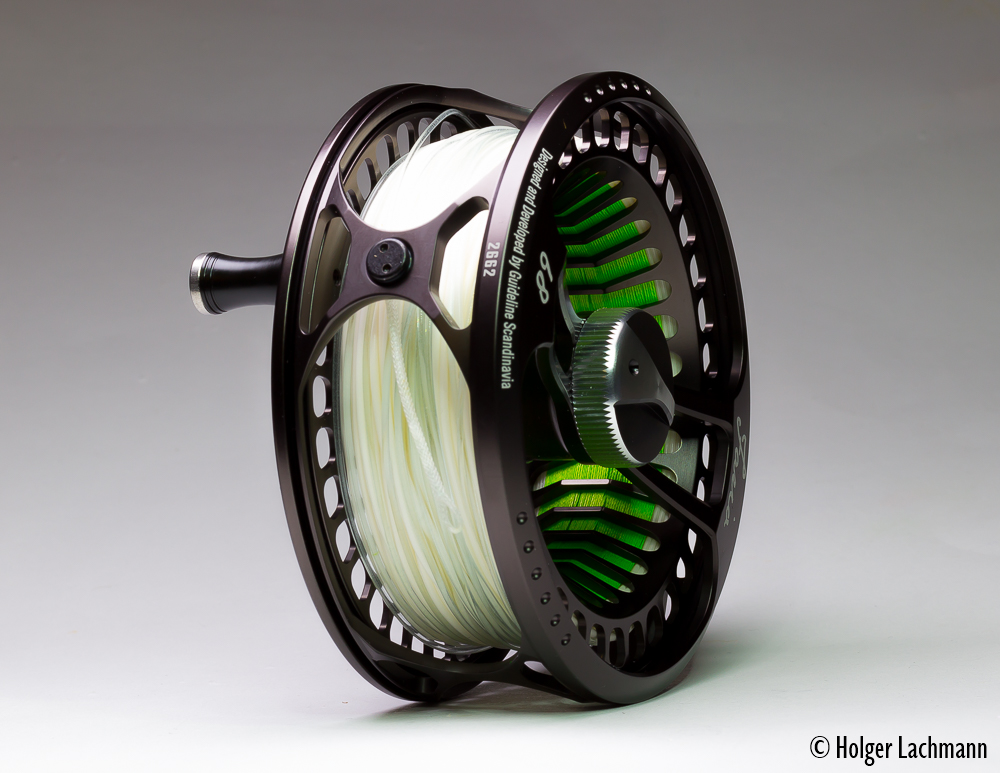
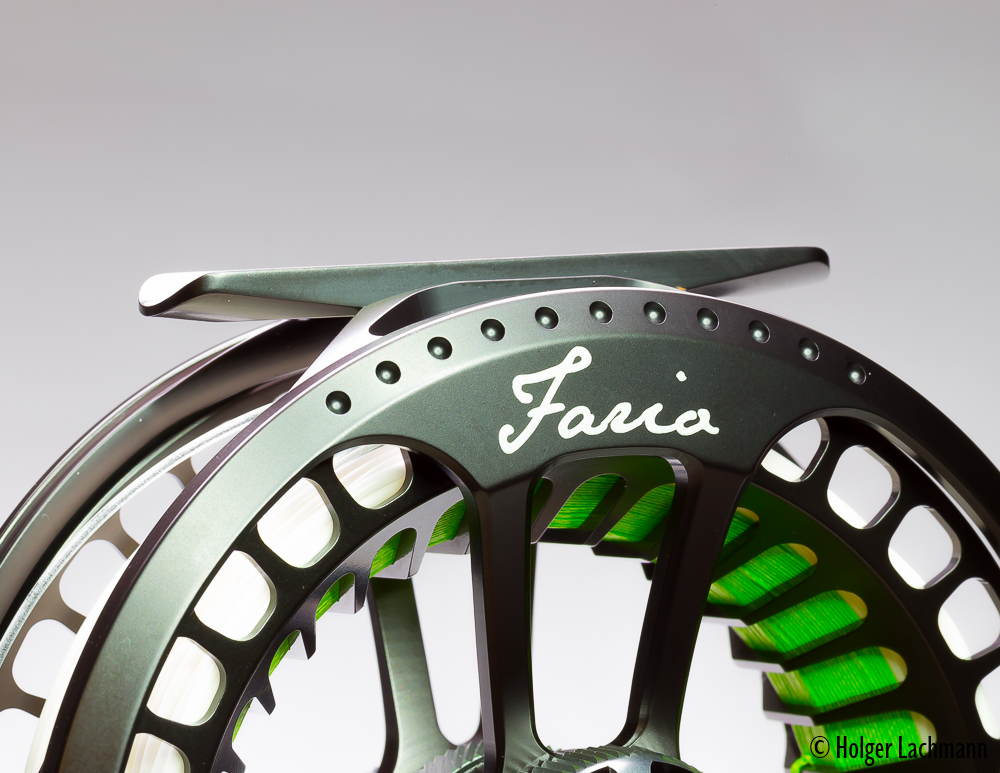
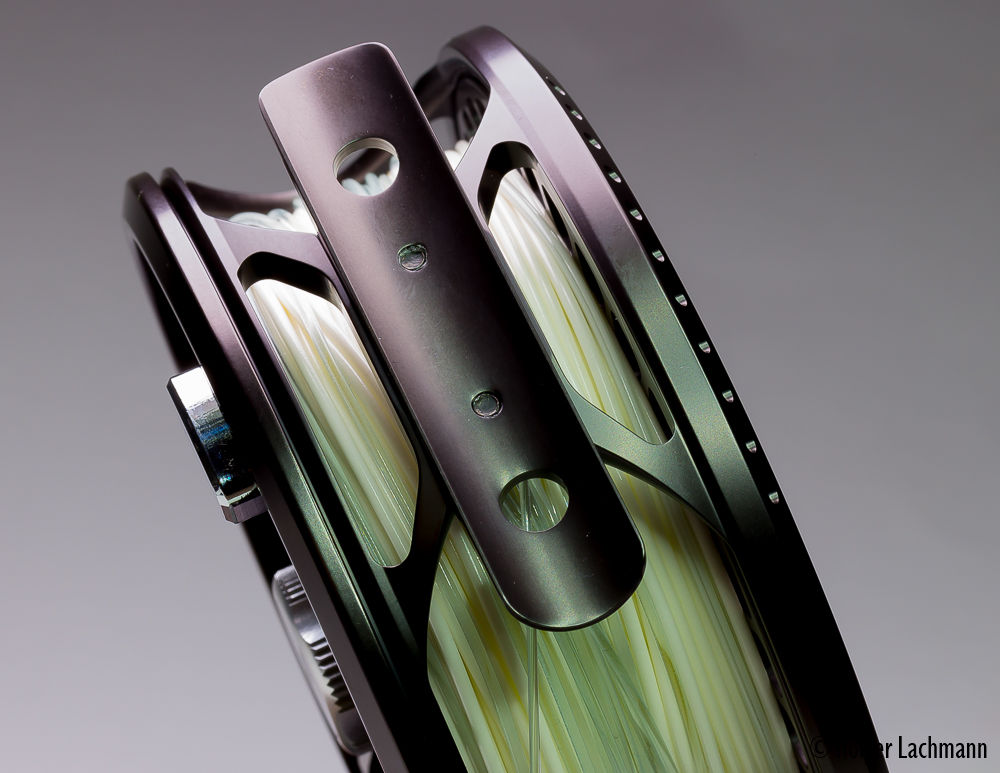
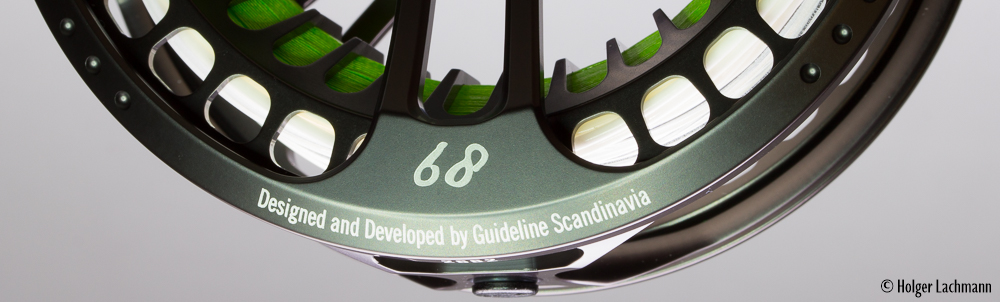
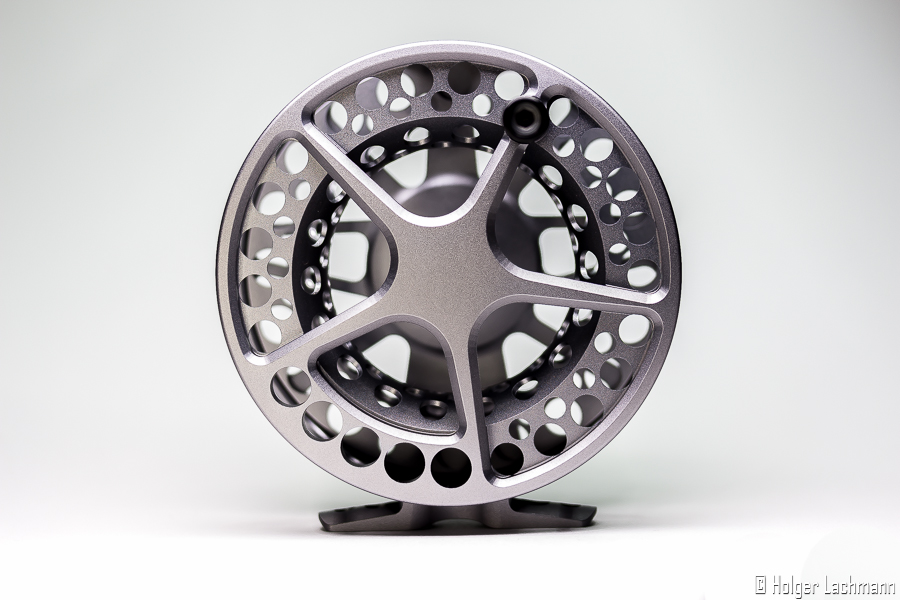
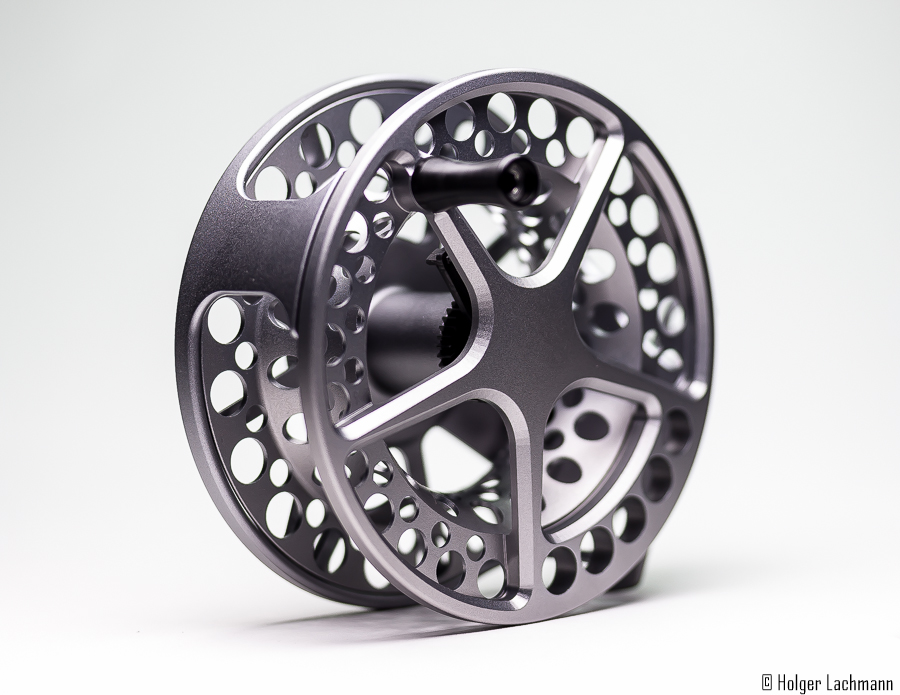
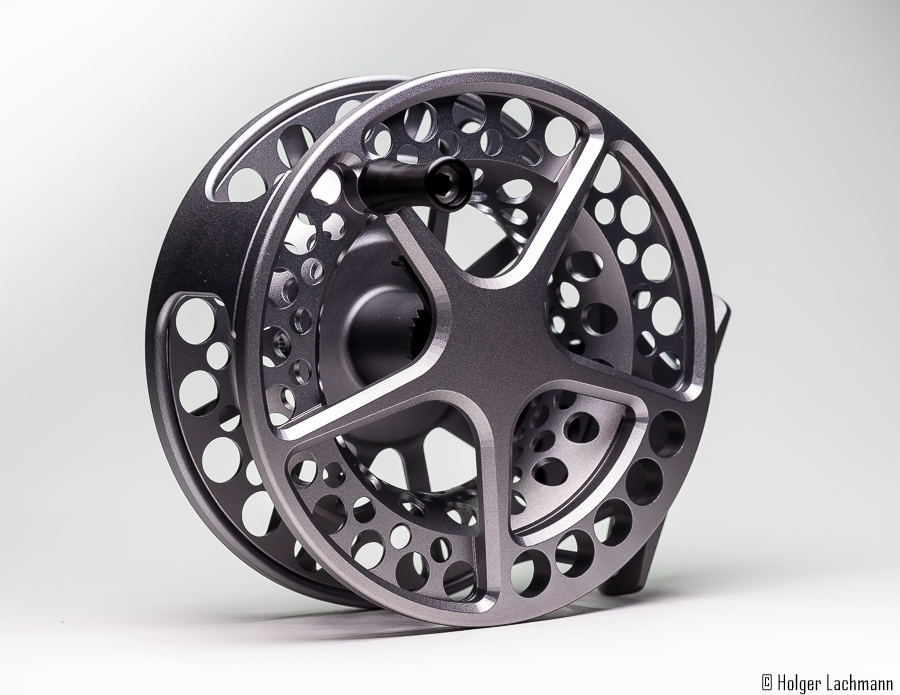
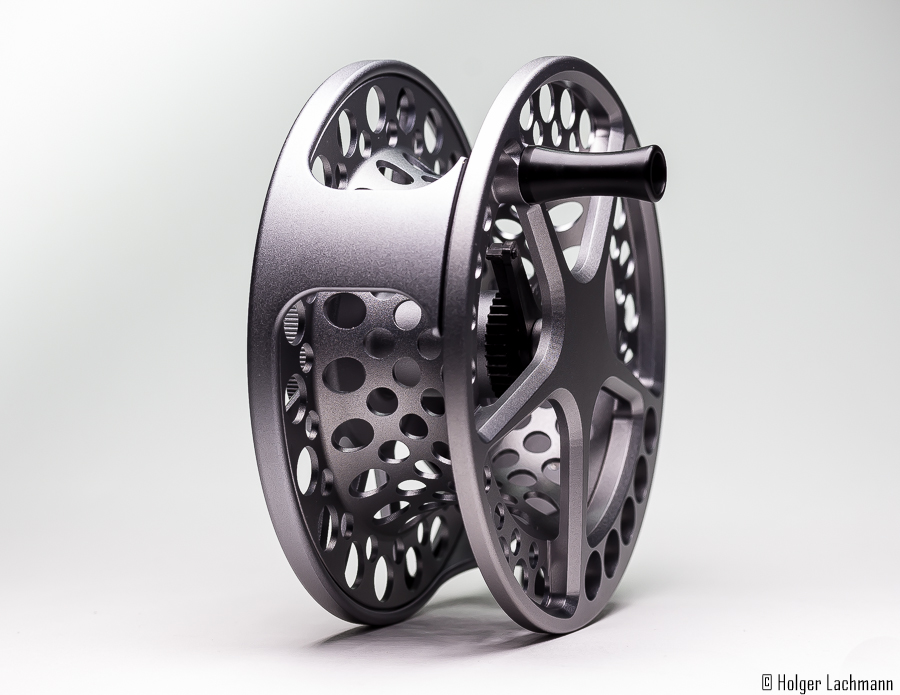
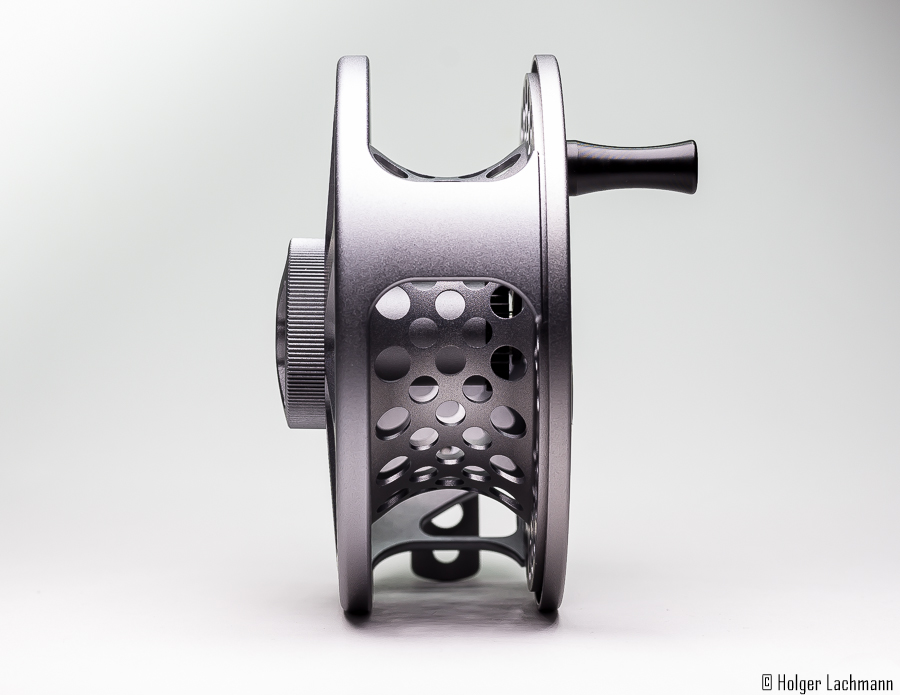
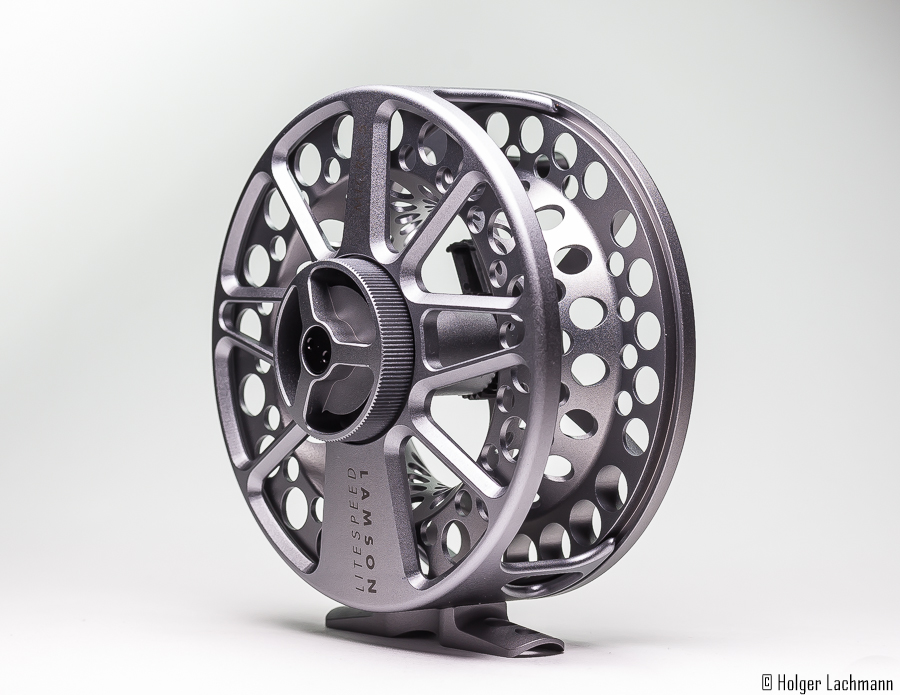
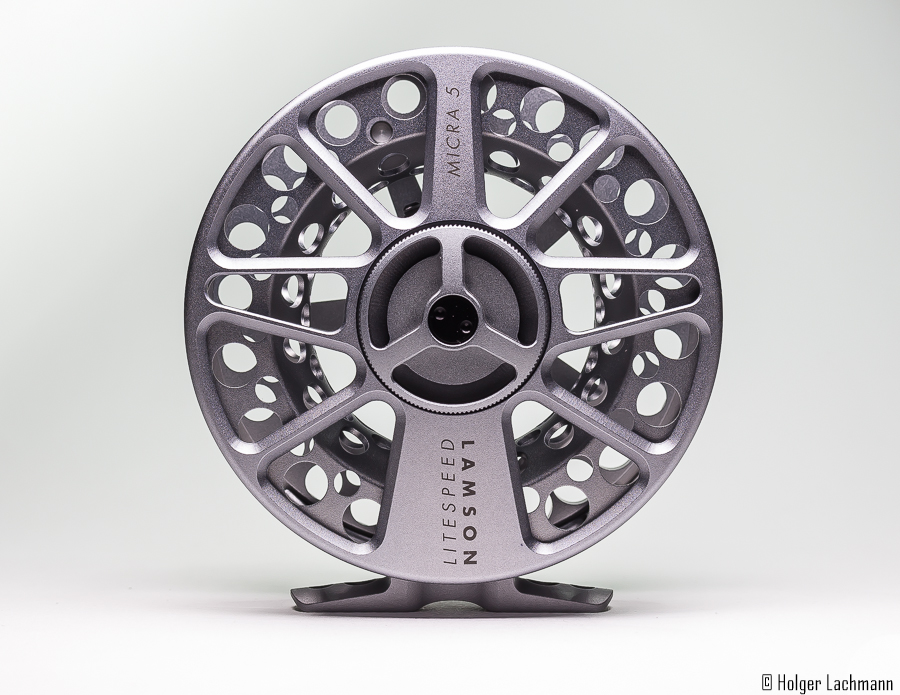
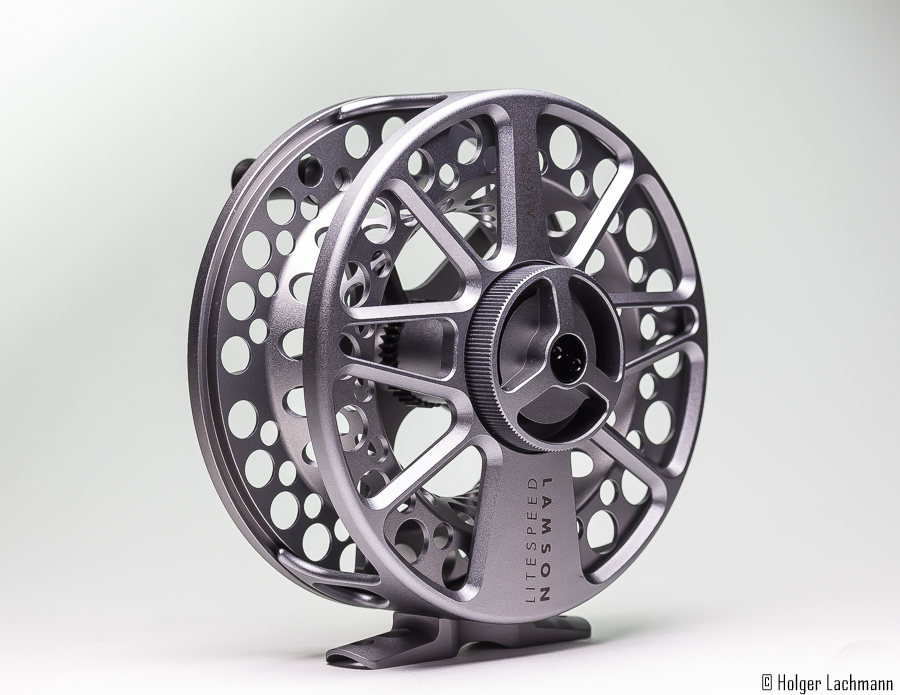
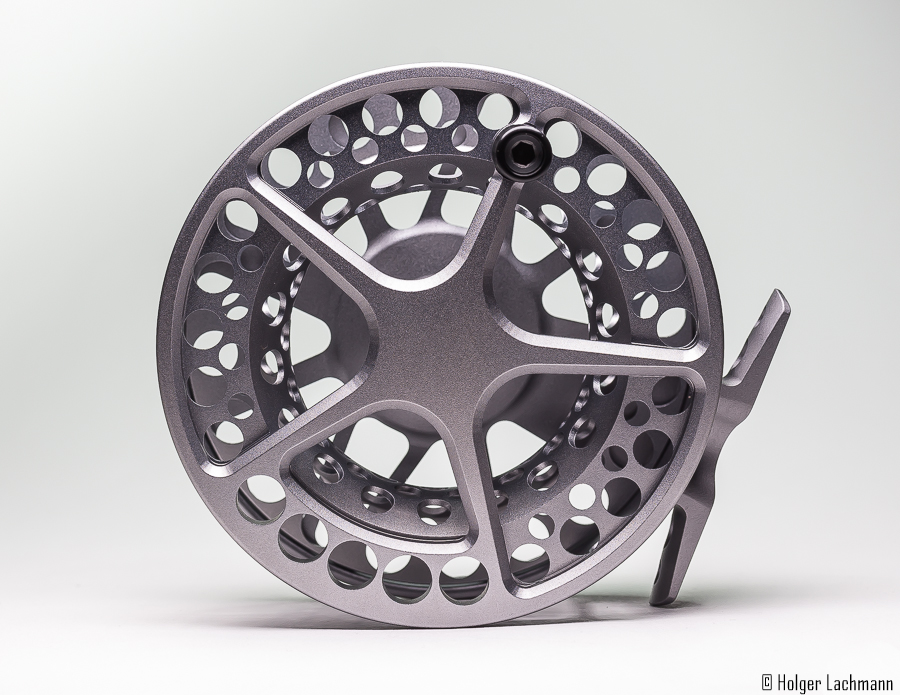
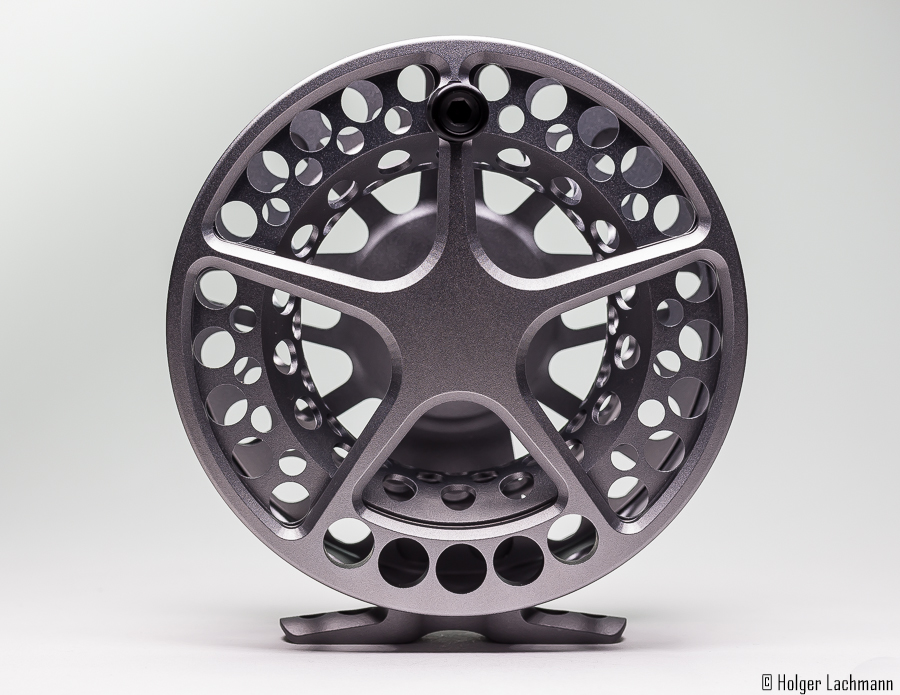
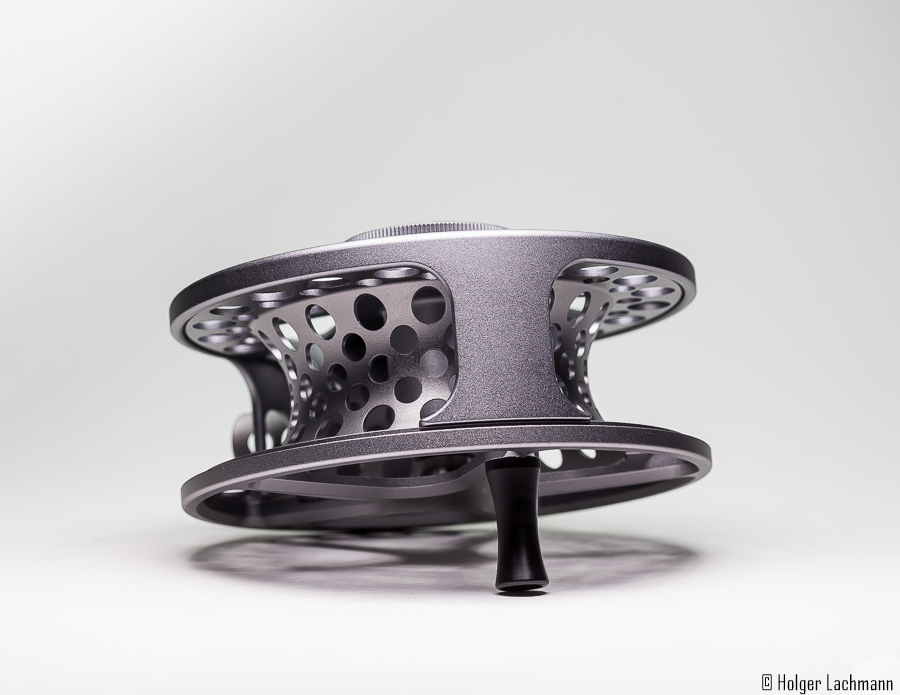
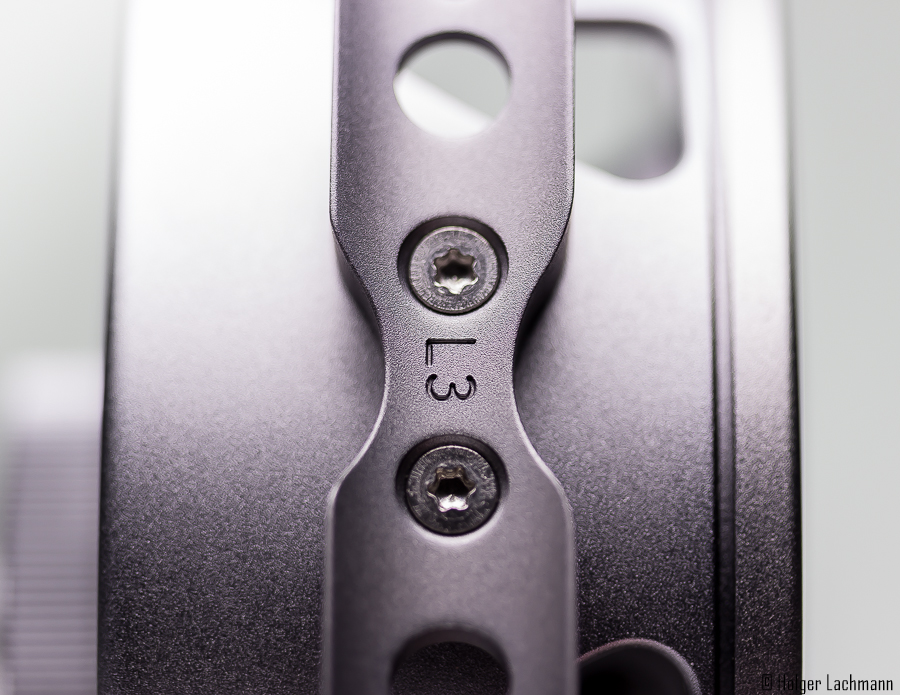
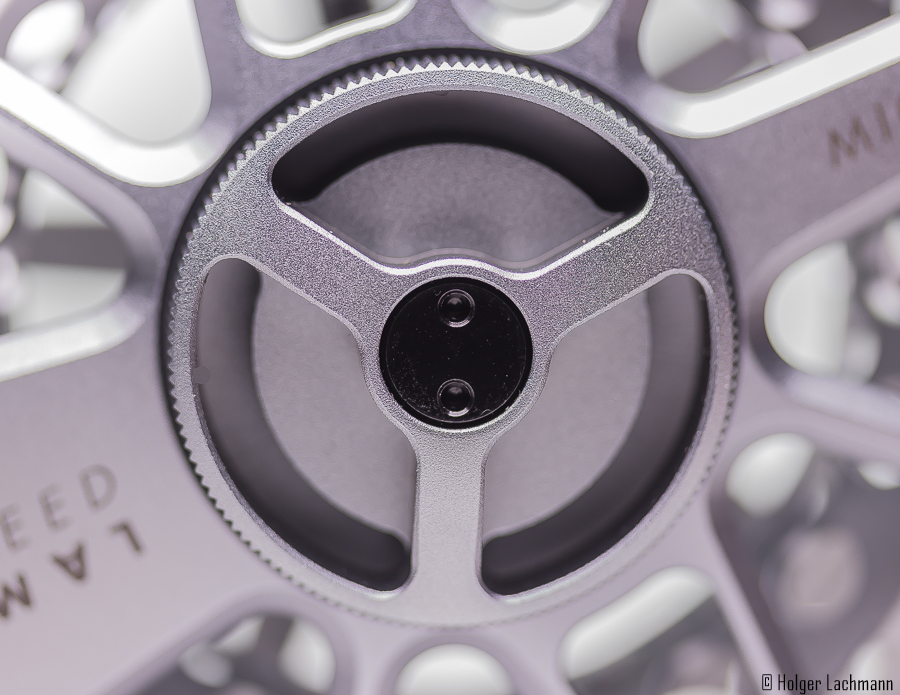
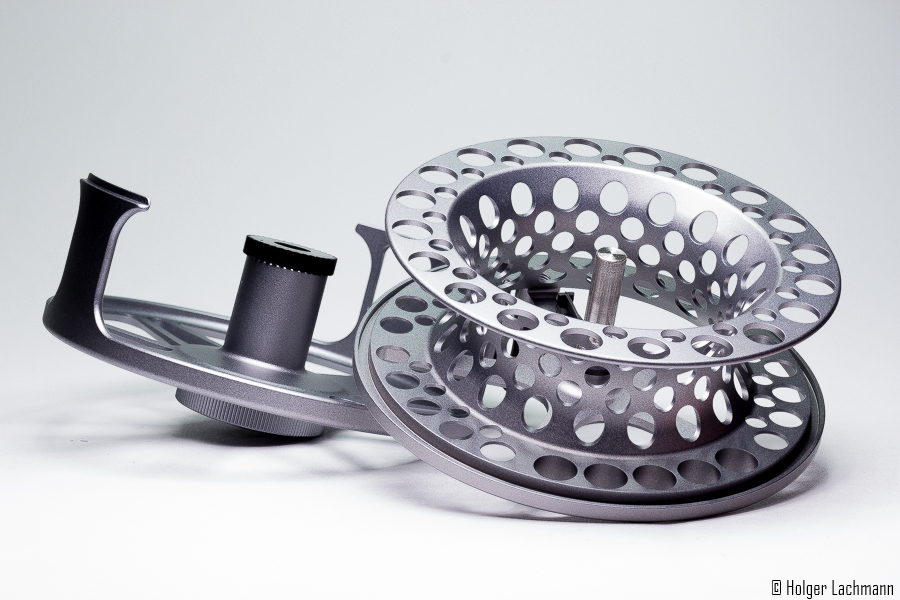
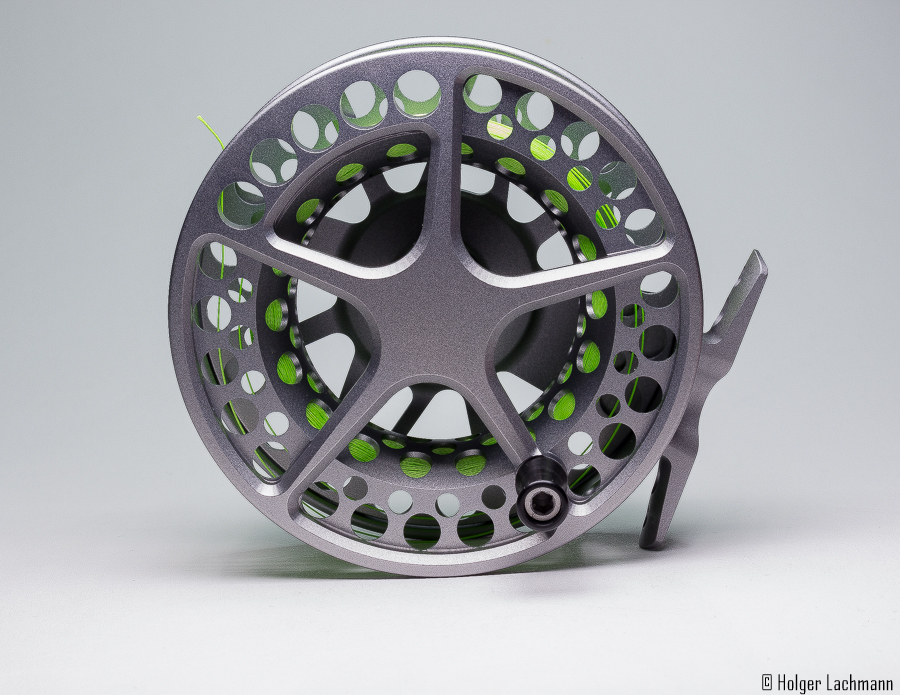
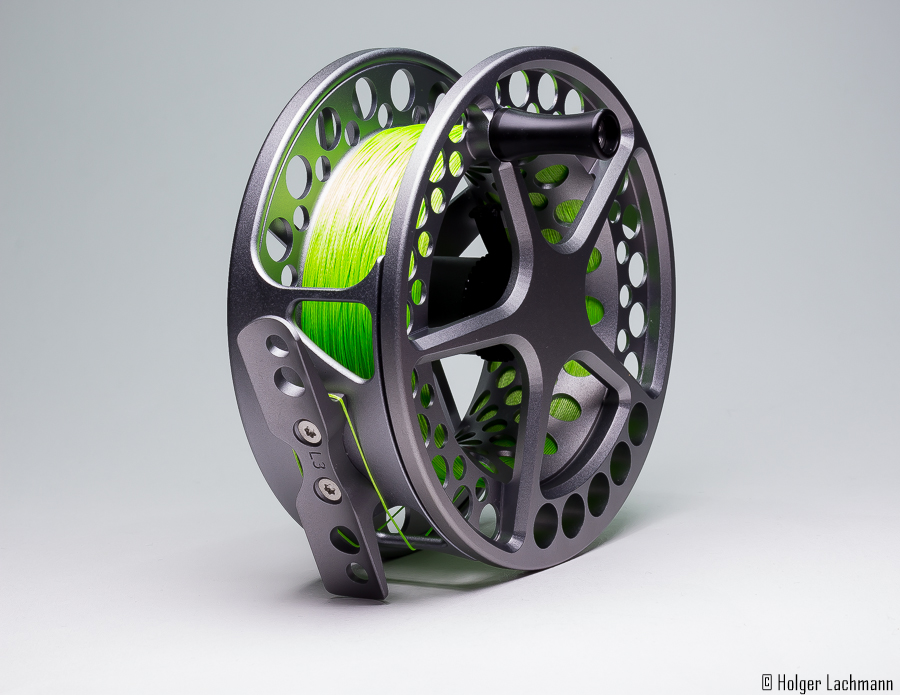
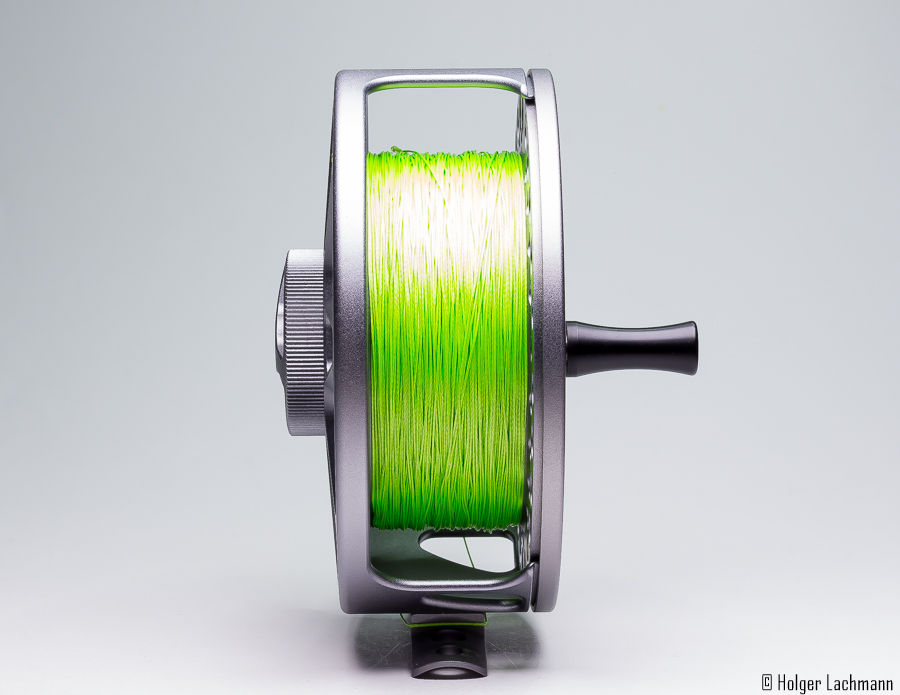
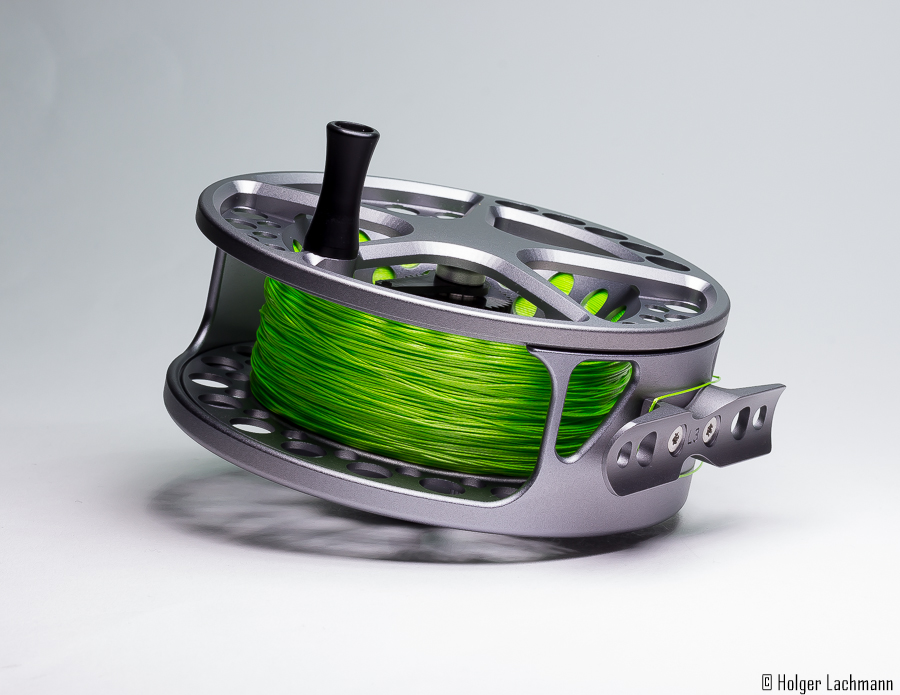
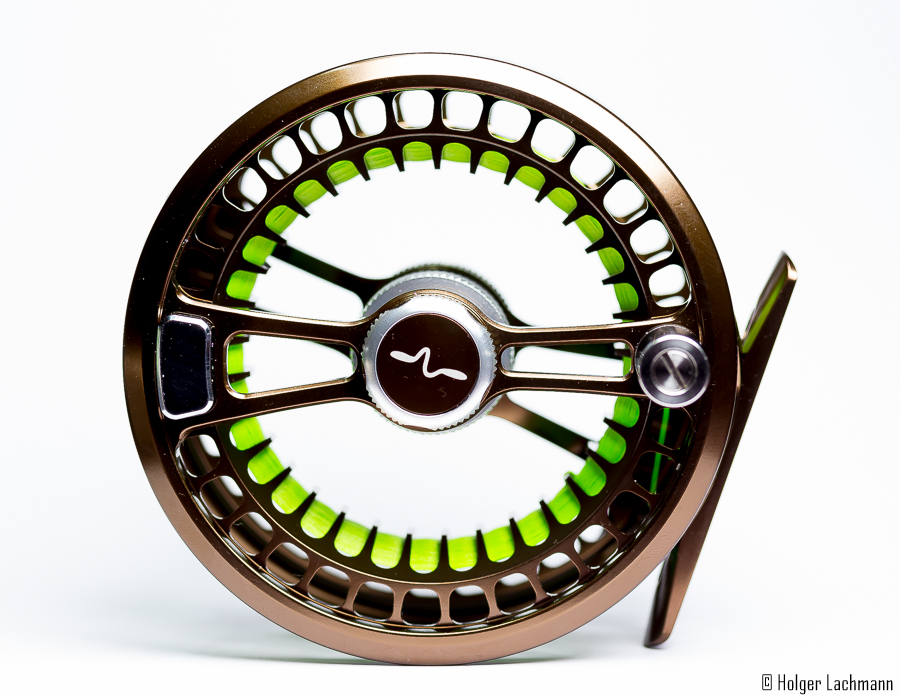
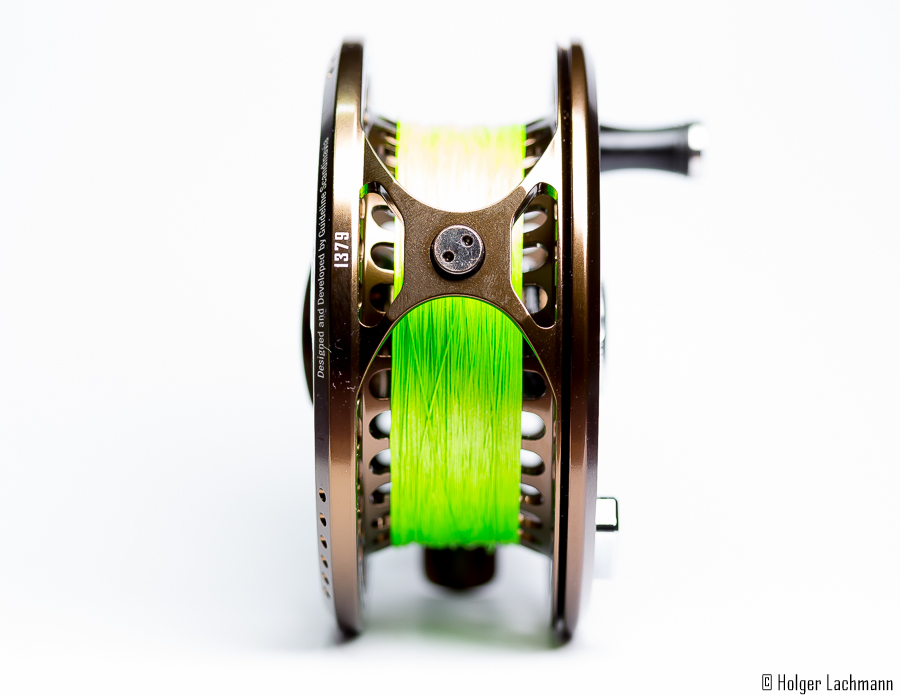
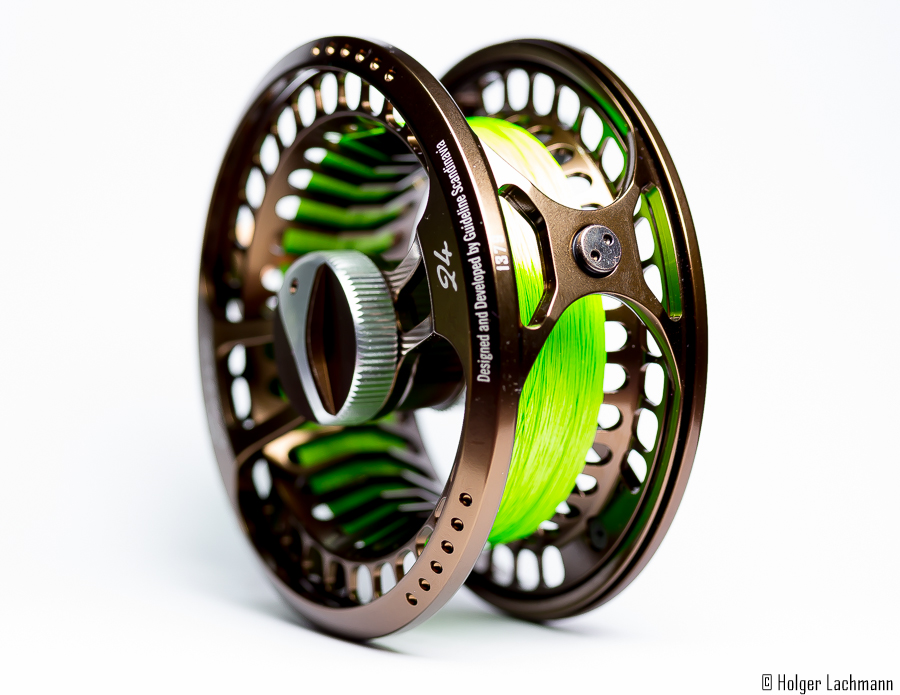
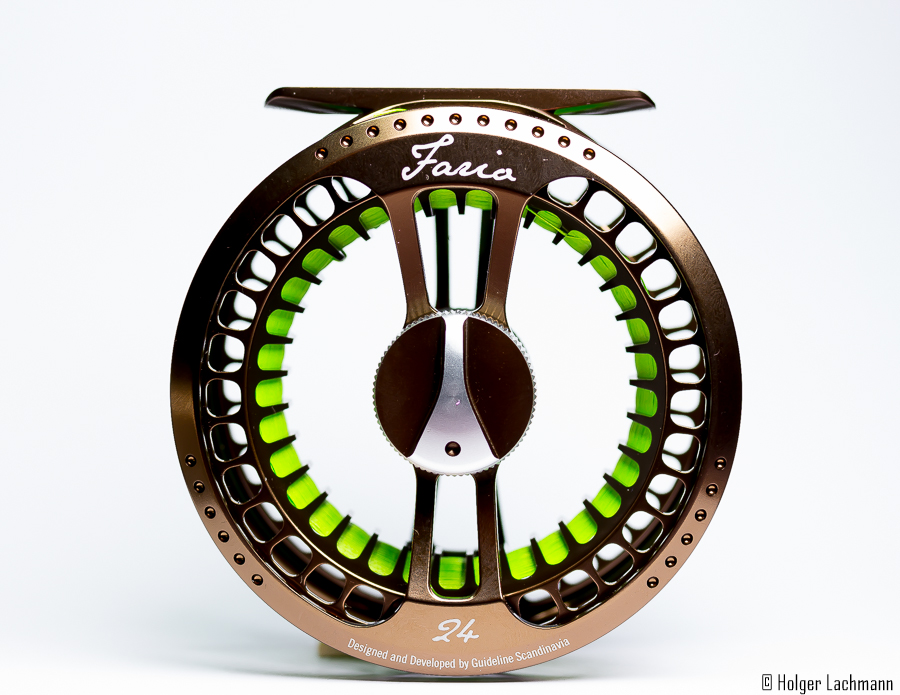
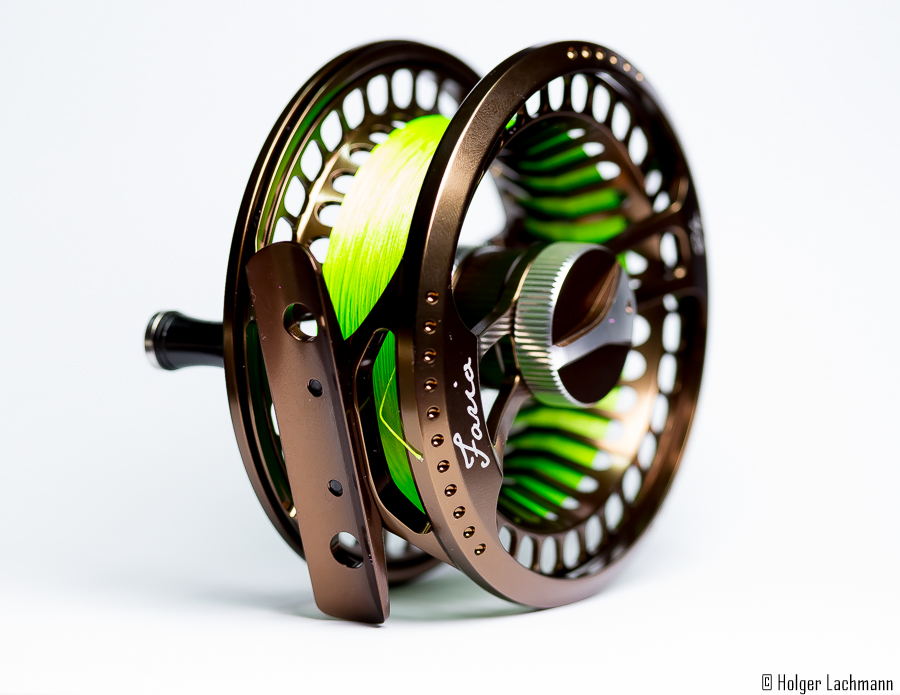
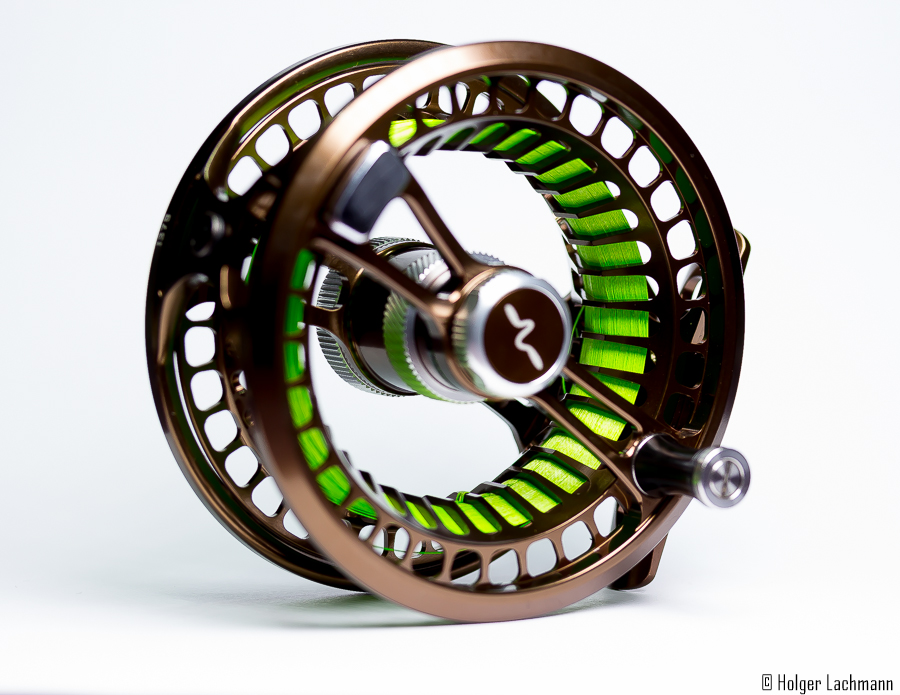
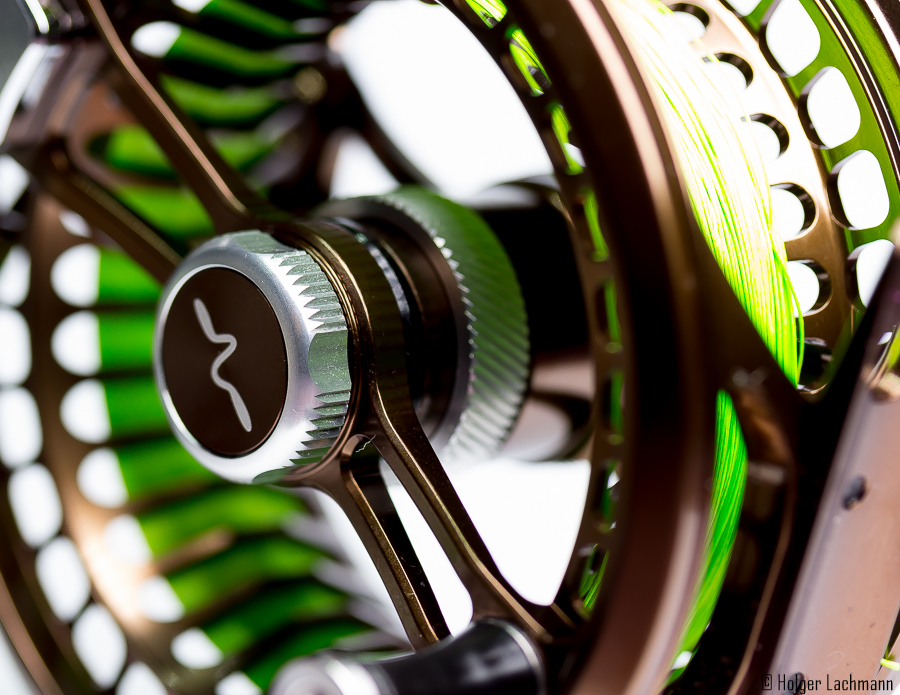
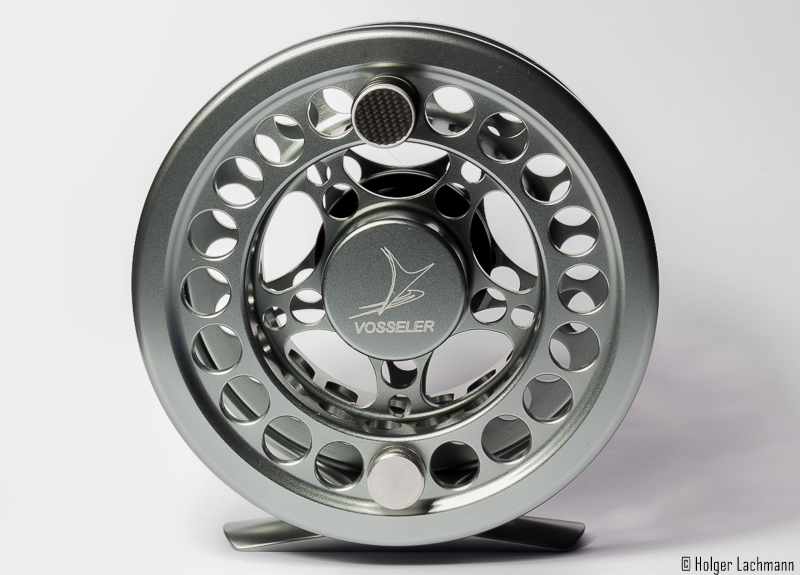
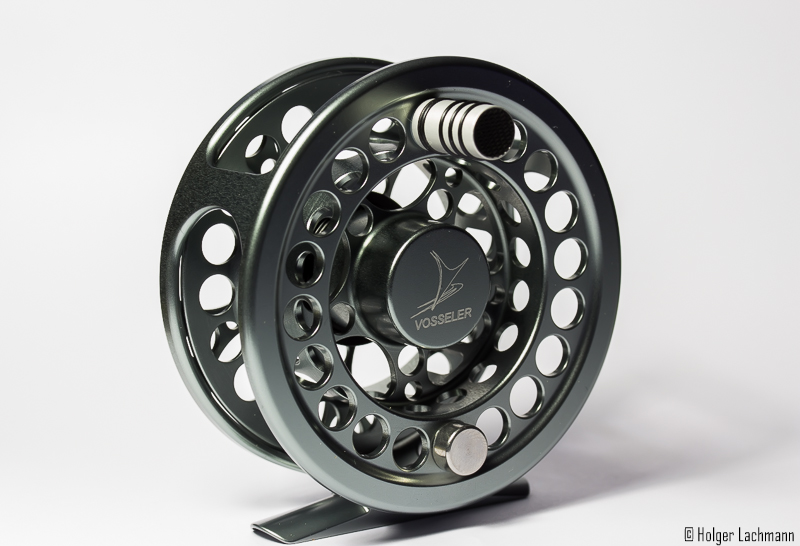
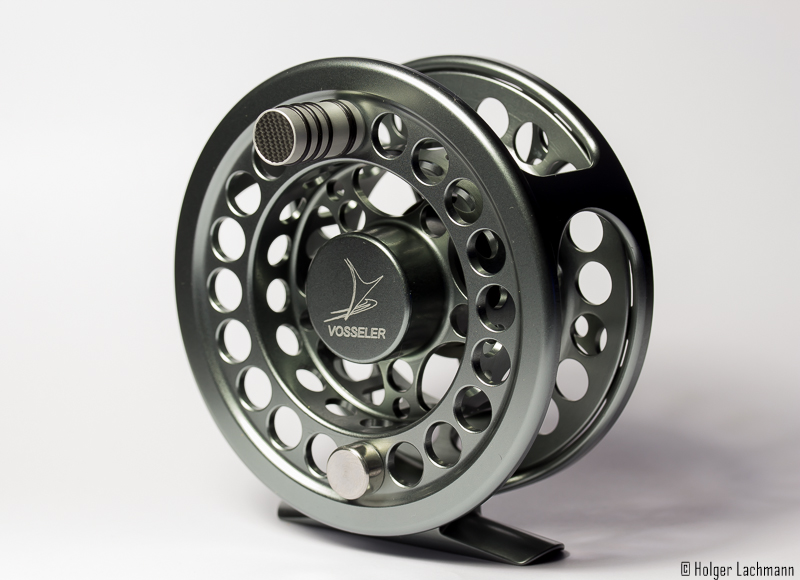
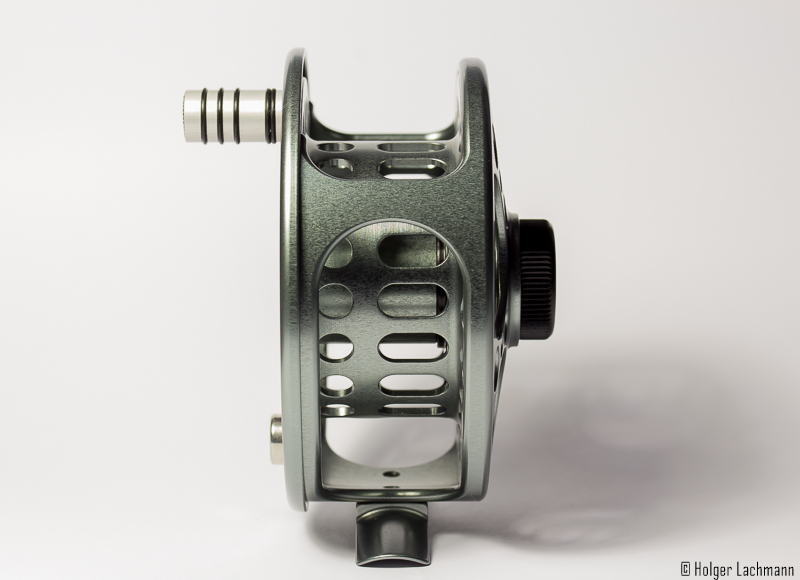
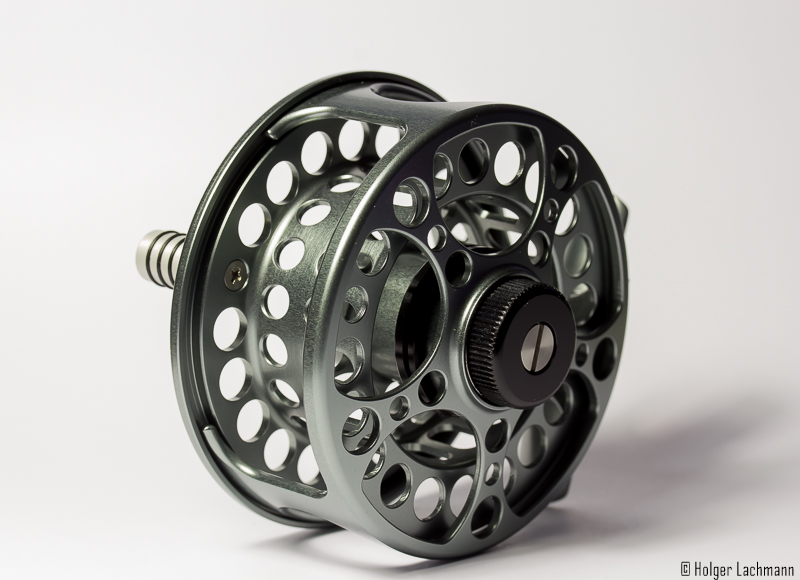
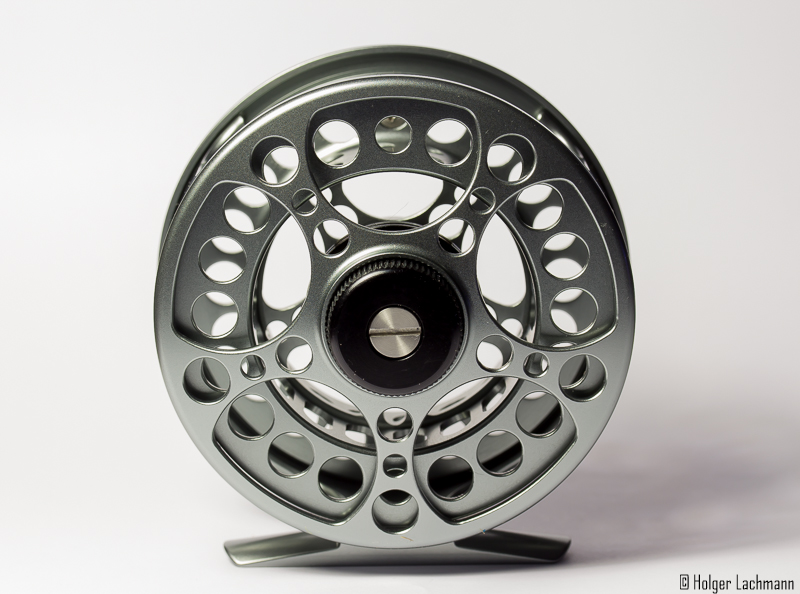
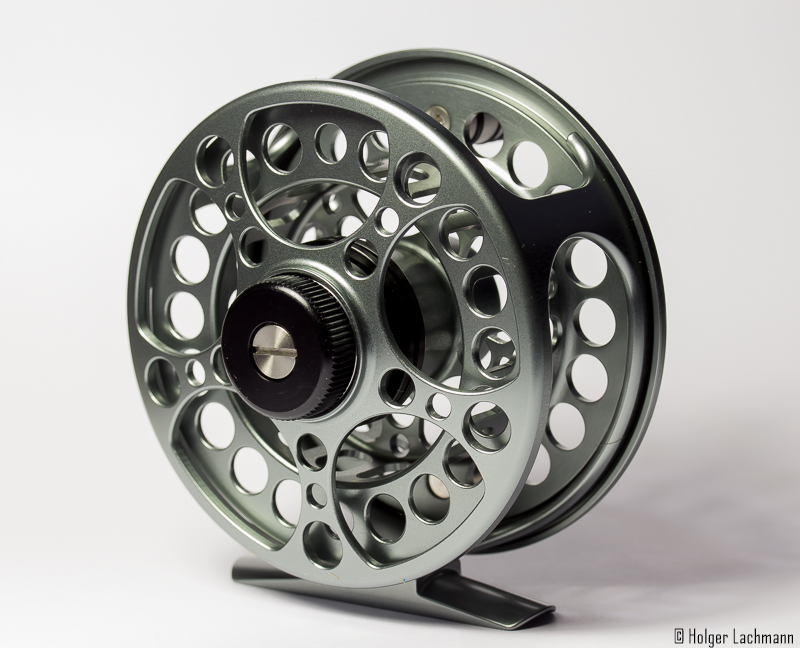
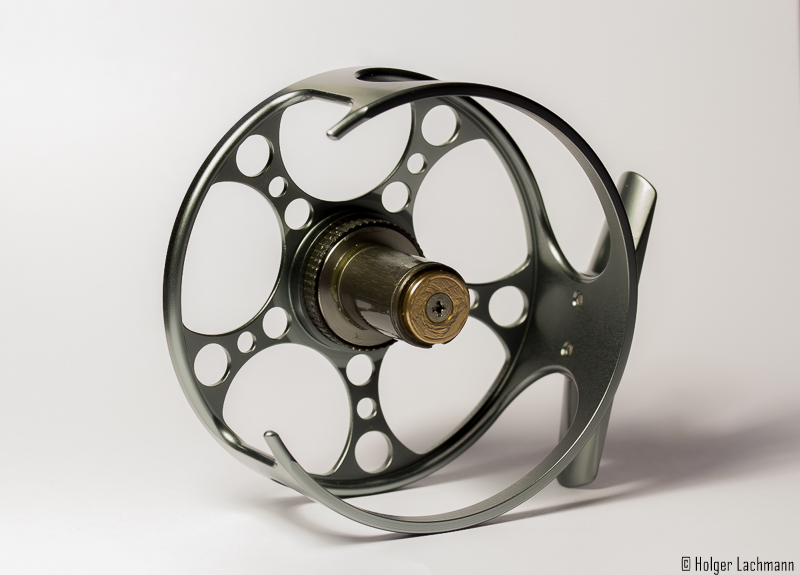
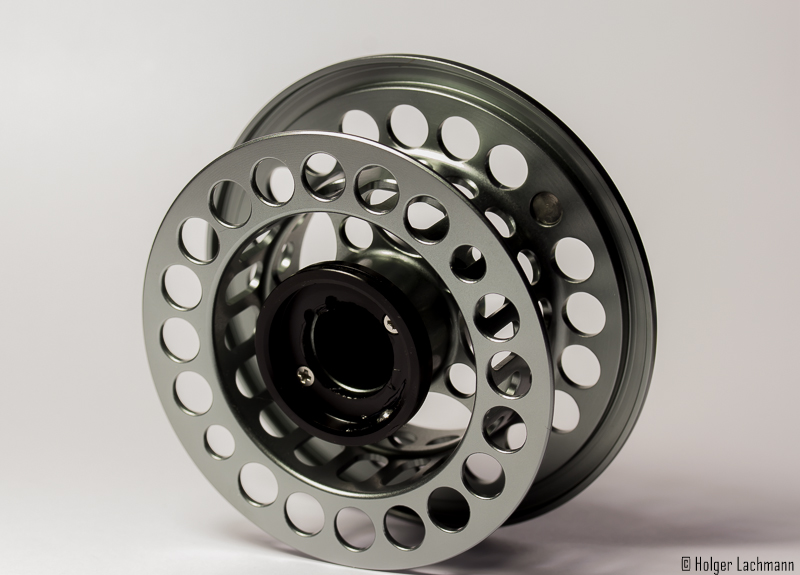
Schöne Kombination mit der Danielsson FW 2-six.

Schöne Kombination mit der Danielsson FW 2-six.
Kontakt zu Jürgen Schmeißer über seine Internetseite www.rutenbau-bochum.de
Jürgen bietet auch einen Ruten-Club an, in welchem die Mitglieder alle Maschinen nutzen können, zudem steht Jürgen mit seinem Wissen zur Verfügung. Wem eine Clubmitgliedschaft zu viel ist, und nur mal in die Welt des Rutenbaus hineinschnuppern und seine eigene Rute aufbauen möchte kann eine Art 10er-Karte erwerben.
Ich finde es sehr cool, dass ein Rutenbauer sein Wissen offenbart und anderen hilft. Hätte ich nicht über zwei Stunden Anfahrt, würde ich dort sicherlich auch meine Ruten selber bauen.

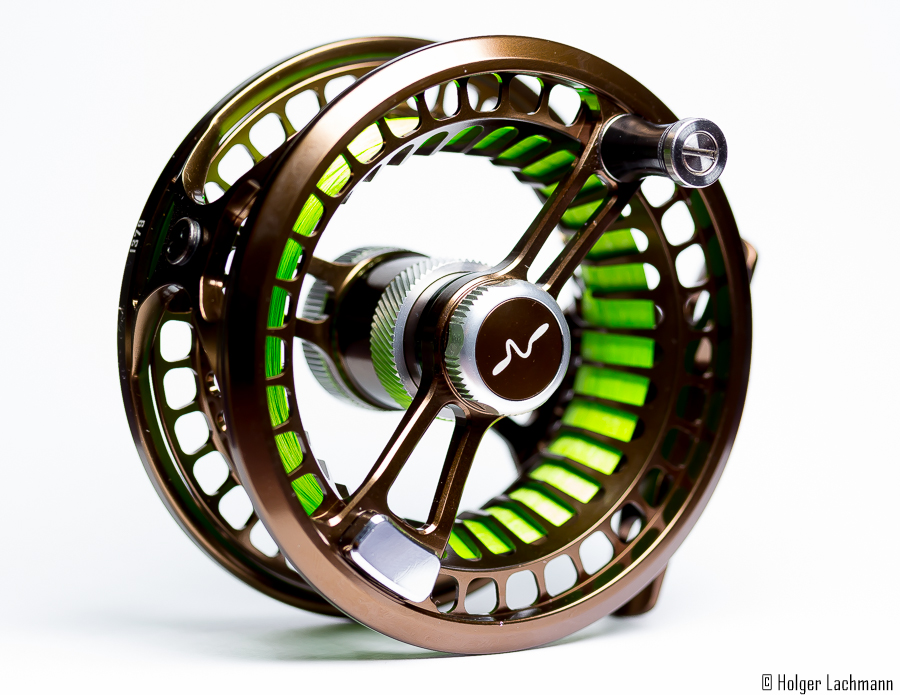
Schöne Kombination mit der Danielsson FW 2-six.