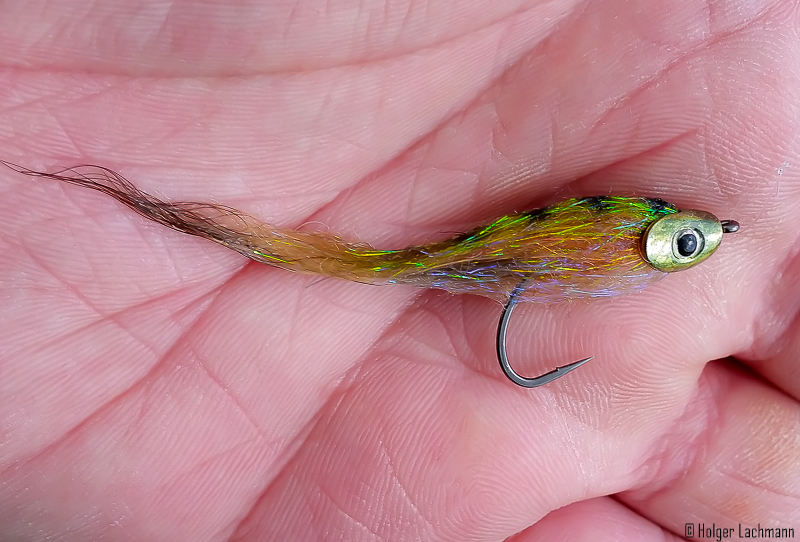
- Hook: Gamakatsu F 314 #4
- Head/ Weight: Fish Skull Head small
- Tail: Arctic Fox
- Body: Ice Dub
- Wings: Senyos Laser Dub
- Stripes: Marker Pen
- Thread: Veevus 50D

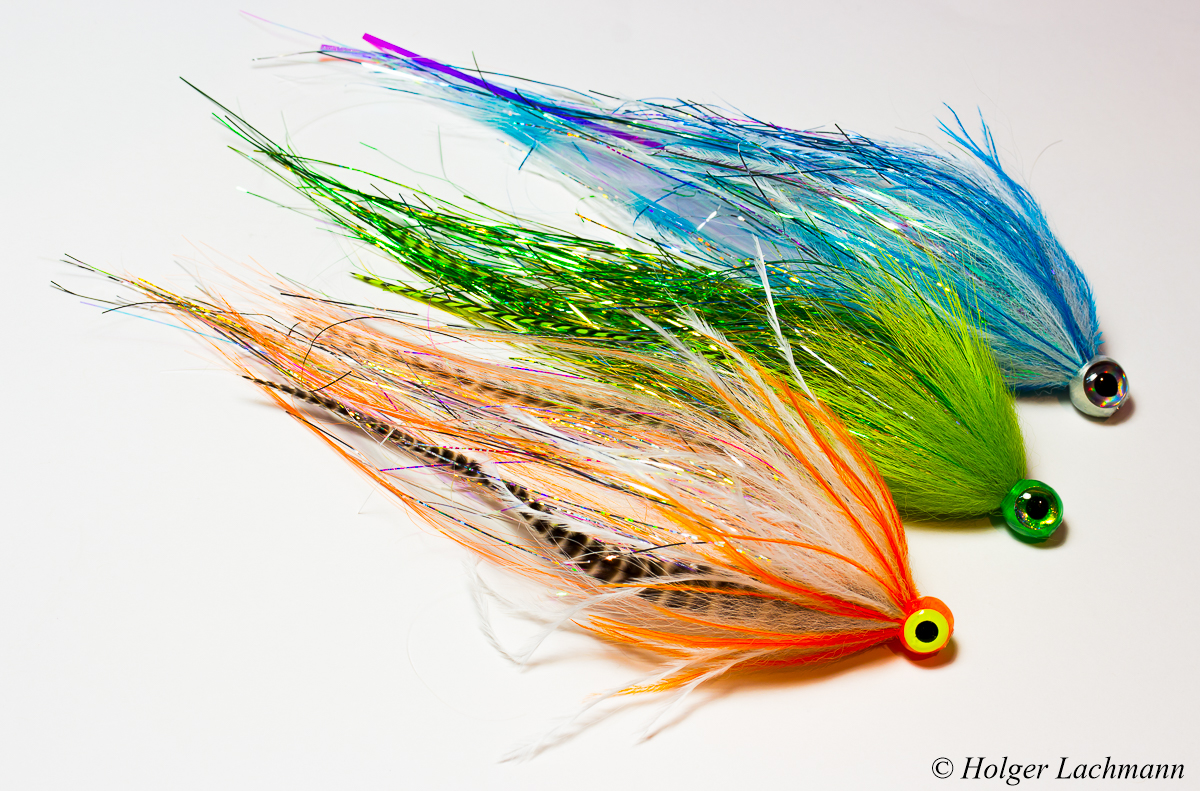
I was asked by a friend to tie some flies for his trip to north scandinavia. The result: Three Samurais and three freestyle Sunray Shadow.
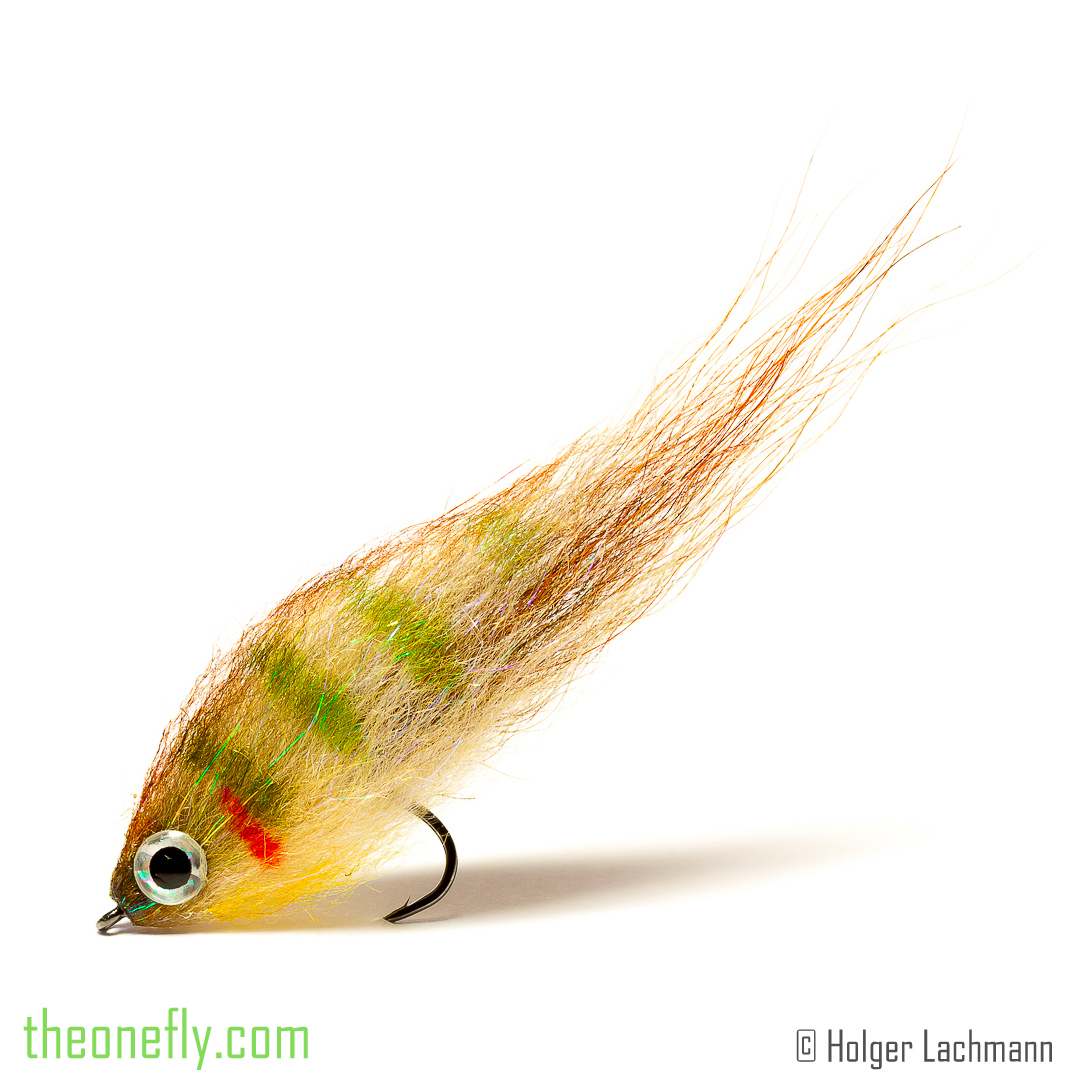
A big profile pike fly must not be hard to cast. These ones are super slim outside the water with small wind resistance and light weight. They won’t soak much water. Easy to cast even on a normal 7weight.
The sky’s gray, it’s cold, it’s not allowed to fish for predators with mean teeth at the moment… what could you do to bring back some nice thoughts into your mind? Bring some colors on your tying desk! :-)
This colorful pattern makes me smile! I hope you smile as well! :-)

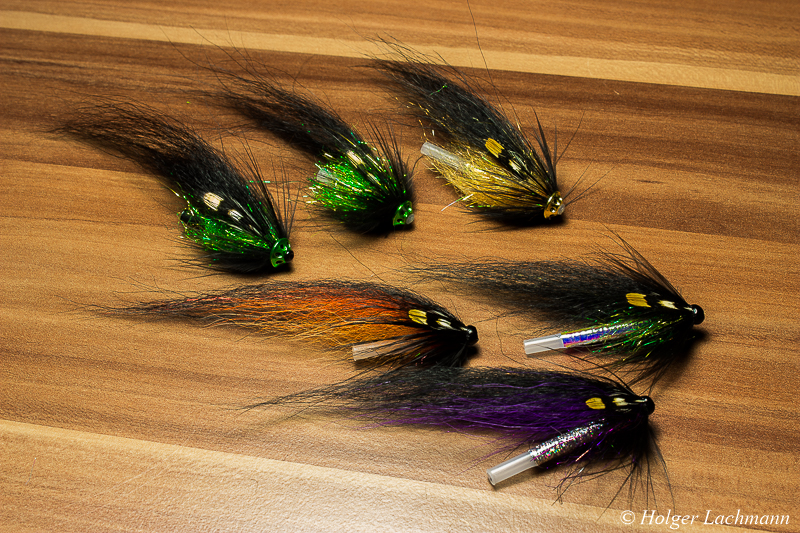
I tied some flash tubes for pikes in the past. They looked good, but nowadays there are special plastic tubes for pike with a really big diameter available, which makes it easier to get the wire leader through it. So I rebuild most of my tubeflies and used their materials to tie new ones, mostley the eyes, flash and hackles.
This is the result. I’m quite satisfied how Frankenstein looks now. ;-)

Here’s the third part of „Fly Tier’s Little Helper“. I will show you things, which I’ve used since some years and which helped me tying my flies or organize my tying place.
The flea comp is a very important tool on my tying desk and I use it a lot. I often see, that many people doesn’t prepare their tying material before they tie it in. The result is a fly which looks… let’s say crumpled. Almost every hair, natural or synthetic should be combed.

fox hair before and after combing
It’s for example also very usefull to comb out the under wool of deer hair.

Even for fast smaller dubbing mixes I use the flea comb. You can see it here in this video:
[vimeo width=“600″ height=“500″]http://vimeo.com/109836543[/vimeo]
In my pike streamer box is also a flea comb. Sometimes pike flies made with natural hair become felted after fishing and the attack of some fish. Let them dry and then use your flea comb. After using it, the flies will look almost like new.
You can get a flea comb in every pet shop for usually something around 5,- Euro. A great tool on your tying desk, which you will love after a short while.
A little bit of orange in this shrimp. 

Rune Westphal designed a nice shrimp pattern. It’s like a Perfect Leo Shrimp from Kern Lund with an translucent rear body.
This is my first attempt with this pattern. I tied the front and the mouth part a bit different with CDC and Arctic Fox. It’s not perfect, but for the first try, I’m quite satisfied.

Here, you can see the tying video of Rune:
[youtube width=“600″ height=“400″]https://www.youtube.com/watch?v=UKMmtfuB9tg[/youtube]
There are a lot of tools for the fly tier on the market. Some are good, some are useless, some are expensive but worth the money, some are cheap and still super usefull.
I used a lot of different tools and gimmicks in the last 20 years, and in this series I want to show things, which worked well for me and I’ll try to tell you why.
Part 2
Every fly tier needs a good hackle plier. You can find a lot of different pliers on the market. This are the two types I can highly recommend.
1. Dorin Hackle Plier

You can buy it normally for less than 5,- €. It works great and has a lot of power holding different materials. I use it often, when I have to tie with a high strength, especially ribbing with mono. Just wind the mono two times around the wire. The only negative point for me is, that my finger does not fit into the loop of wire.

This is the Dorin hackle pliers I use. It looks a bit shabby, but it’s over 13 years old.


From time to time the plastic tubing is damaged and the materials begin to slip. To solve the problem is very easy.

Just push the tube over the edge and cut it. Now it works like brand new. You can see, that it’s not necessary to do it often. Like I said, the one on the picture is more then 13 years old and it was used very often. There is still some tubing left. ;-)


Here is the expensive one. C&F hackle plier. About 30,- € for the cheapest model. Well, a lot of money, but it’s worth every cent. It works perfect as an all around hackle plier. You can tie with it many years and it still works like on day one. The rubber pads are missing on mine, but that’s no problem. Still working great.

The secret of success. The tip is rough in a microscopic way. Hackles, feathers and synthetics are hold very well.

This is the rotary version of the C&F, which I sometimes like to use when tying smaller patterns.
Well, that’s it! My two cent on hackle pliers. These are the pliers I use since many, many years without any problems. Still working perfect.
There are a lot of tools for the fly tier on the market. Some are good, some are useless, some are expensive but worth the money, some are cheap and still super usefull.
I used a lot of different tools and gimmicks in the last 20 years, and in this series I want to show things, which worked well for me and I’ll try to tell you why.
I begin with something very special, the Bug Bond Pro Light Mains Adapter.

When you look at my flies, you’ll see that I work a lot with uv resin. No matter if I tie dries and nymphs or streamer and flies for pike, seatrout, asp, …
Working with uv resin means, you have to use a uv torch with maximun battery power to harden the resin. I often saw people using a torch with low power, wondering, why the resin won’t cure like it should.
Bug Bond offers a nice solution for the power problem: An adapter for your pro torch to connect it with your power supply at home. You just have to screw the adapter into the torch and you have a super strong uv torch every time.


To connect the adapter with the torch, you have to screw off the switch at the end.

Maybe you’re asking yourself how to switch on the torch without the switch at the end? With the Kit comes a solid foot switch like you know them from sewing machines. Just put your foot on the pedal and the torch will do it’s job.


The torch is always hanging from on of my lamps on my tying desk ready for some action.


I f you like to use uv resin for your tying, then I can recommend you the Mains Adapter. It’s super nice to use, you got always maximum curing power and you don’t have to care about the batteries.
I use the Adapter now several months and I don’t want to miss it.


;-)


This is a really quick step by step of a good baitfish pattern. Ok, to be honest, I just tied this fly for my fishing and took a quick shot from time to time. ;-)
This baitfish looks ok when dry, but when it’s wet! Holy cow! It looks amazing! The Senyo Laser Dubbing gets semi-tranparent and there is a cool flash in the fly, too. The tail made out of arctic fox just moves fantastic in the water. One important fact is, that you have to stiffen the first 5 mm of the tail with Bug Bond Lite. So, the tail doesn’t tangle around the hook bend during the cast. Most flies with a really soft tail material behave like that and it is really a pain in the ass, when you strip your fly in and you see almost every cast, that it was tangled. When you put some weight in the front like lead wire or a tungsten bead, you get a nice jigging effect. Just give this fly a try. It’s durable, it’s tied very fast and it catches fish.


