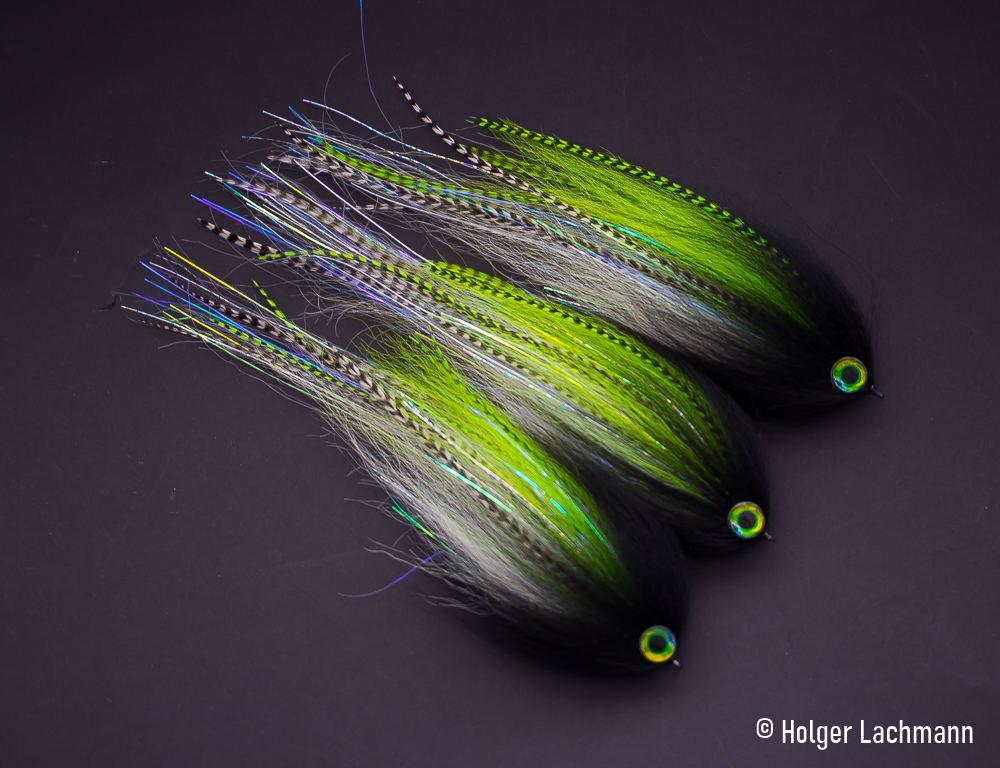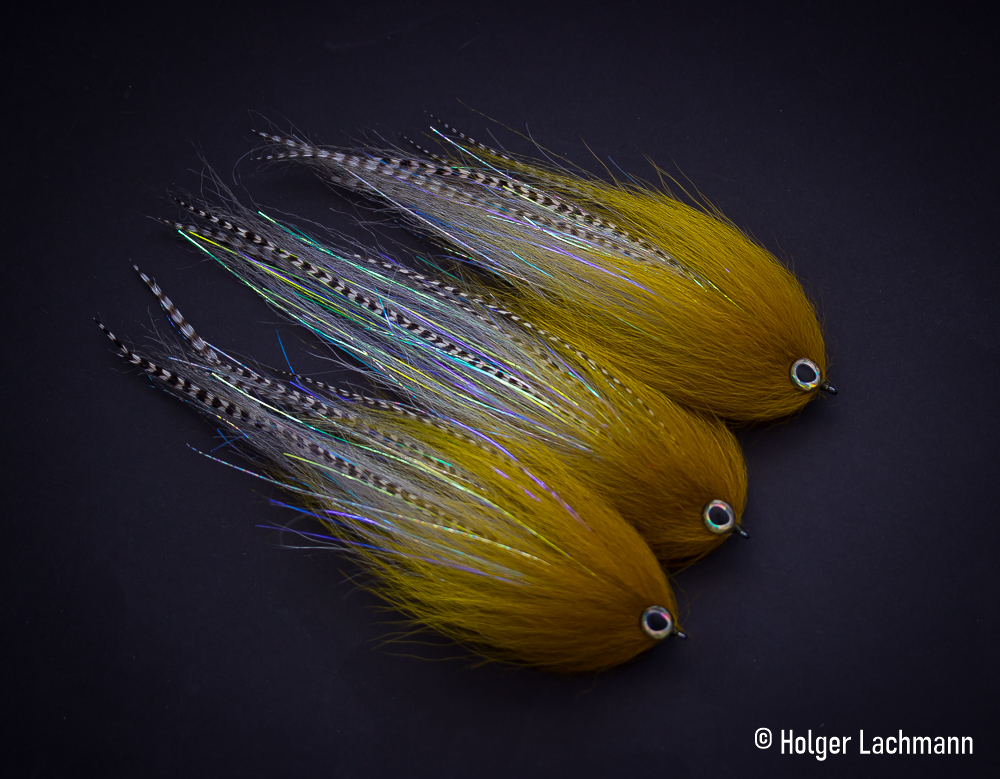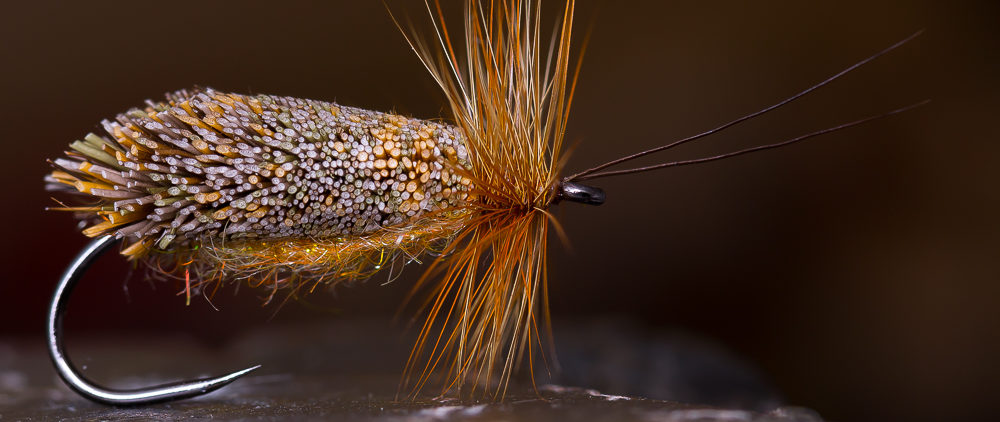


Do you remember this pike streamer I’ve posted some time ago?
When I was tying at the „Niederrheinischer Fliegenfischer Tag“ some weeks ago, Frank Steinmann from Scale-Magazine came along and bought some pike streamers I’ve showed on the table at the show.
Today, I saw what happend to my little buddy from the above picture.
It was eaten by an greedy pike!
It’s always cool to see such shots of a fish with a fly in its mouth that I’ve tied and a fishermen with a big smile on his face! That’s how it should be!
Hope you’ll catch some more Frank!
Btw: Go and visit www.scale-magazine.com it’s a really cool magazine!
Ulf Hagström from Sweden is a master fly tier with great skills. First I’ve noticed his work many many years ago as he was tying super realistic flies. Absolutely stunning creatures. Nowadays, he’s addicted to pike fishing and pike flies. He started a Youtube channel called 700 teeth (don’t forget to subscribe!) and his first video is out. It’s really cool. He got to improve some things with the sound, but don’t get me wrong, it’s high quality and you should watch it! There is just some point, that I should mention….
It’s different… different to all the other fly tying videos out there in the whole wide world! You will find out, what i mean…..
I like it very much because it’s different. You don’t know what will happen next. I’m sure you’ll like it, too! So, get yourself a drink and popcorn and enjoy the show!
[youtube width=“600″ height=“400″]https://www.youtube.com/watch?v=9KPDBvRIMoU[/youtube]
There are a lot of tools for the fly tier on the market. Some are good, some are useless, some are expensive but worth the money, some are cheap and still super usefull.
I used a lot of different tools and gimmicks in the last 20 years, and in this series I want to show things, which worked well for me and I’ll try to tell you why.
Part 2
Every fly tier needs a good hackle plier. You can find a lot of different pliers on the market. This are the two types I can highly recommend.
1. Dorin Hackle Plier
You can buy it normally for less than 5,- €. It works great and has a lot of power holding different materials. I use it often, when I have to tie with a high strength, especially ribbing with mono. Just wind the mono two times around the wire. The only negative point for me is, that my finger does not fit into the loop of wire.
This is the Dorin hackle pliers I use. It looks a bit shabby, but it’s over 13 years old.
From time to time the plastic tubing is damaged and the materials begin to slip. To solve the problem is very easy.
Just push the tube over the edge and cut it. Now it works like brand new. You can see, that it’s not necessary to do it often. Like I said, the one on the picture is more then 13 years old and it was used very often. There is still some tubing left. ;-)
Here is the expensive one. C&F hackle plier. About 30,- € for the cheapest model. Well, a lot of money, but it’s worth every cent. It works perfect as an all around hackle plier. You can tie with it many years and it still works like on day one. The rubber pads are missing on mine, but that’s no problem. Still working great.
The secret of success. The tip is rough in a microscopic way. Hackles, feathers and synthetics are hold very well.
This is the rotary version of the C&F, which I sometimes like to use when tying smaller patterns.
Well, that’s it! My two cent on hackle pliers. These are the pliers I use since many, many years without any problems. Still working perfect.
There are a lot of tools for the fly tier on the market. Some are good, some are useless, some are expensive but worth the money, some are cheap and still super usefull.
I used a lot of different tools and gimmicks in the last 20 years, and in this series I want to show things, which worked well for me and I’ll try to tell you why.
I begin with something very special, the Bug Bond Pro Light Mains Adapter.
When you look at my flies, you’ll see that I work a lot with uv resin. No matter if I tie dries and nymphs or streamer and flies for pike, seatrout, asp, …
Working with uv resin means, you have to use a uv torch with maximun battery power to harden the resin. I often saw people using a torch with low power, wondering, why the resin won’t cure like it should.
Bug Bond offers a nice solution for the power problem: An adapter for your pro torch to connect it with your power supply at home. You just have to screw the adapter into the torch and you have a super strong uv torch every time.
To connect the adapter with the torch, you have to screw off the switch at the end.
Maybe you’re asking yourself how to switch on the torch without the switch at the end? With the Kit comes a solid foot switch like you know them from sewing machines. Just put your foot on the pedal and the torch will do it’s job.
The torch is always hanging from on of my lamps on my tying desk ready for some action.
I f you like to use uv resin for your tying, then I can recommend you the Mains Adapter. It’s super nice to use, you got always maximum curing power and you don’t have to care about the batteries.
I use the Adapter now several months and I don’t want to miss it.