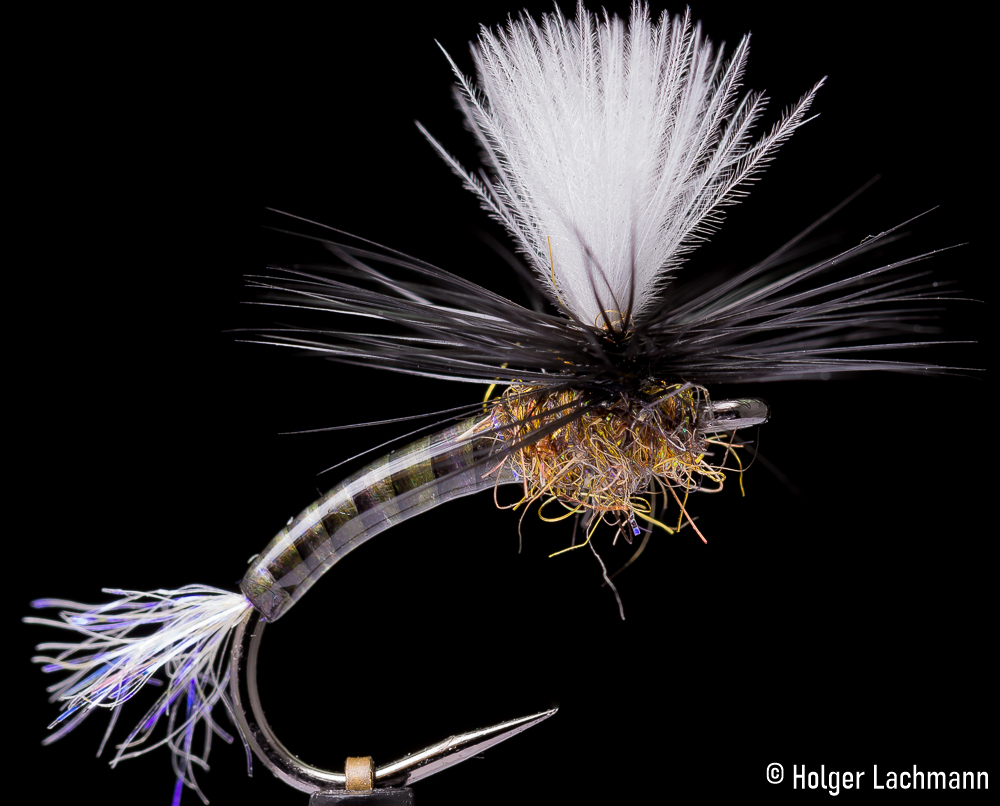
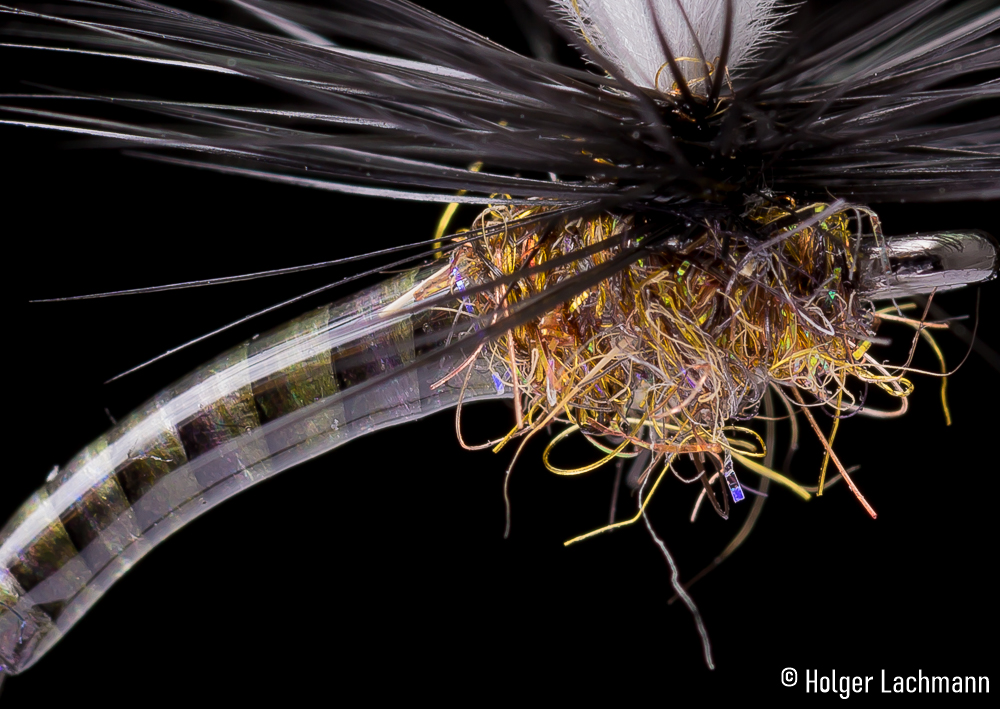
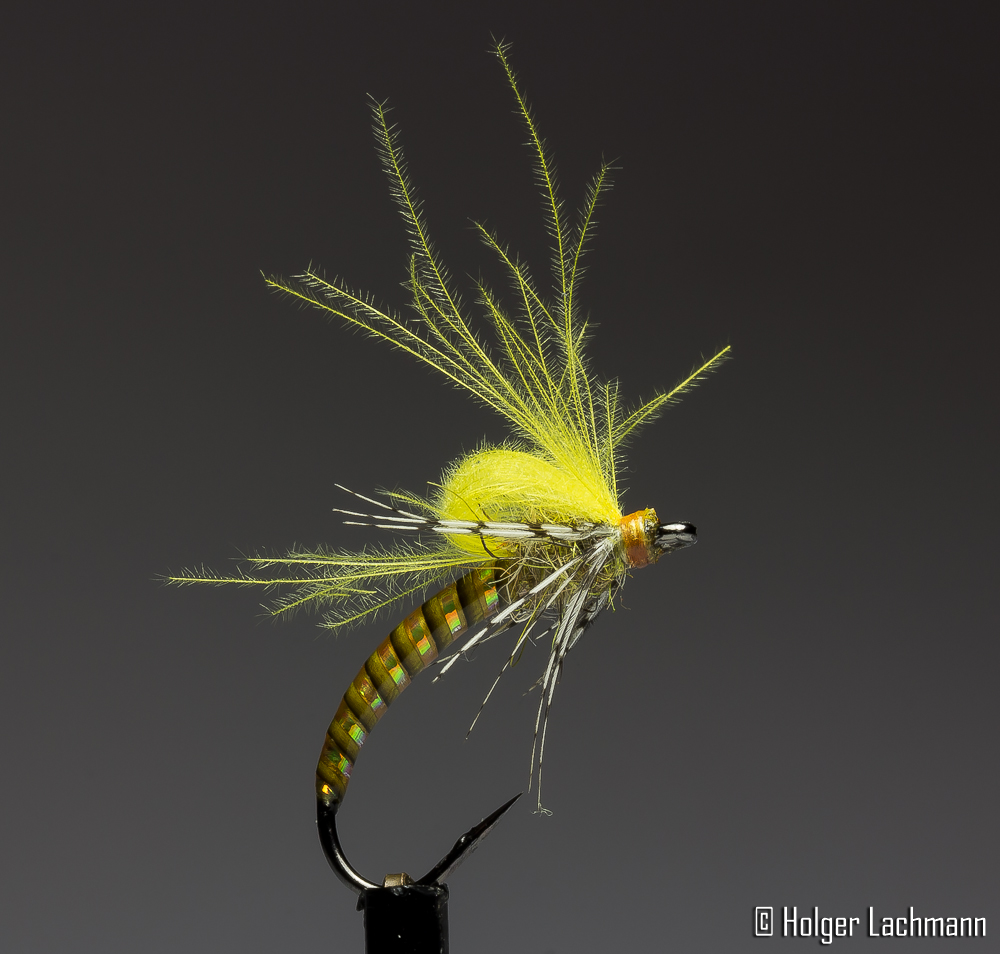
- Hook: Ahrex FW 511 Curved Dry Fly size 14
- Trailing Shuck: Flash Dubbing
- Abdomen: Colored Thread, Magic Quill, Gulff Classic
- Wing Post: Swiss CDC Blue Dun
- Hackle: Whiting Dry Fly black
- Thorax: Whitlocks SLF
- Thread: GSP 50 D

Sometimes, I tie flies without a special purpose. I just think „I want to tie a fly, maybe an emerger would be cool.“ I open some drawers and take a look at my hooks, thinking how the fly (or in this case the ermerger) could look like. Then, I’m thinking about the tail, the ribbing, the abdomen, …., step by step until the fly is finished. I believe when you go this way, you often try something different and that’s the way you improve your skills and knowledge. There are errors, of course, but even errrors improve your knowledge.
A short example: You are sitting in front of your vise and you’ve tied a beautiful mayfly with awesome natural foil wings. Looking really good. You go to the river with the beautiful winged mayfly on the end of your leader. You do the first cast and….. the wings made a propeller out of your fly. Impossible to cast, impossible to fish. The leader is totally twisted after just one cast. Error. You’ve learned something, next time, you will tie your fly different and so you improve your knowledge.
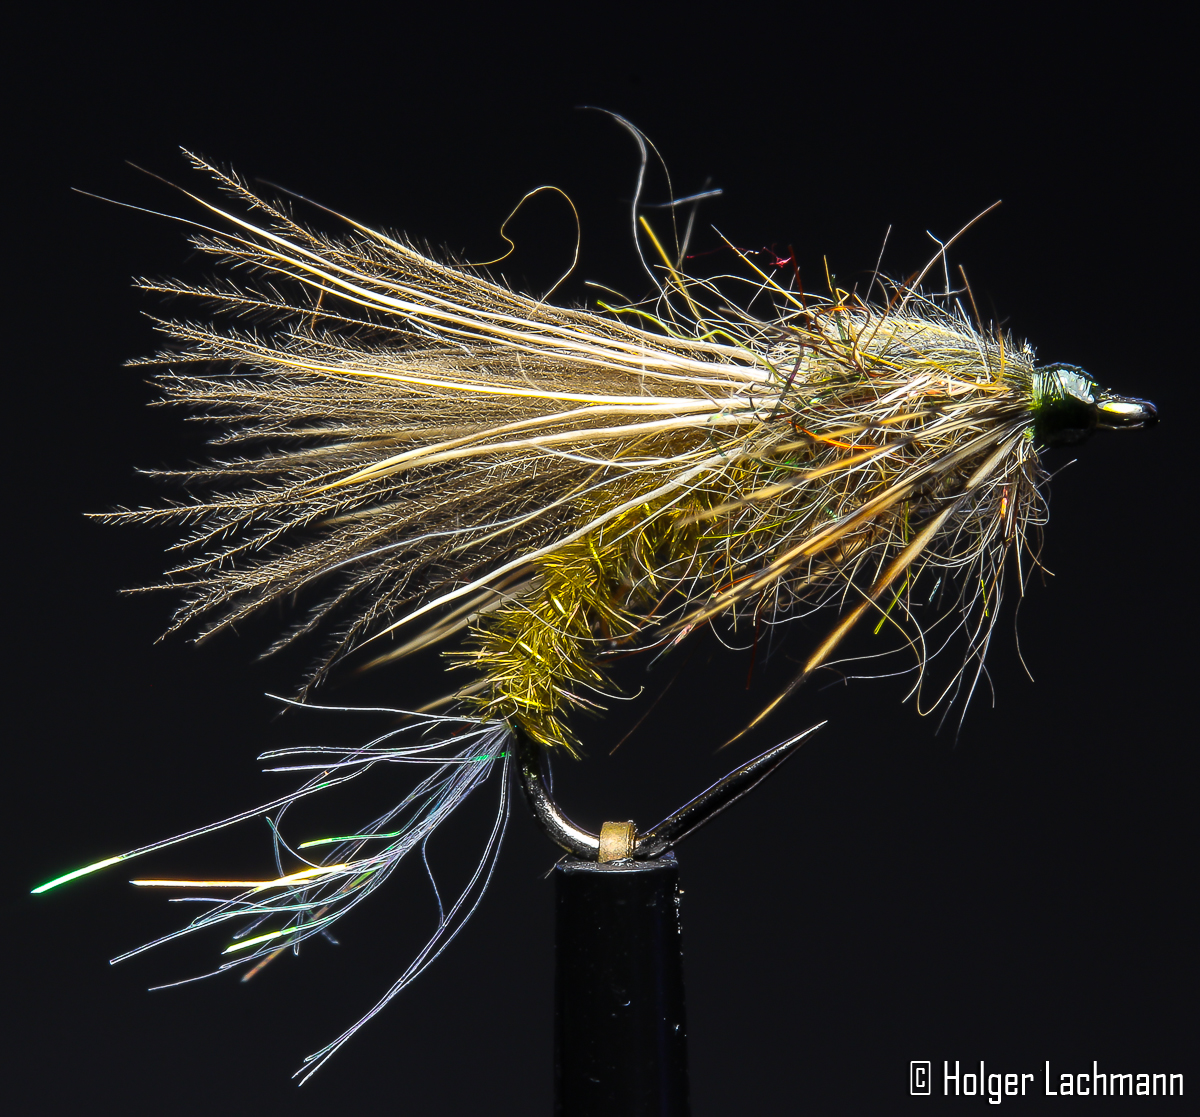
I just love these sexy bodies. Easy to tie and the result is awesome.
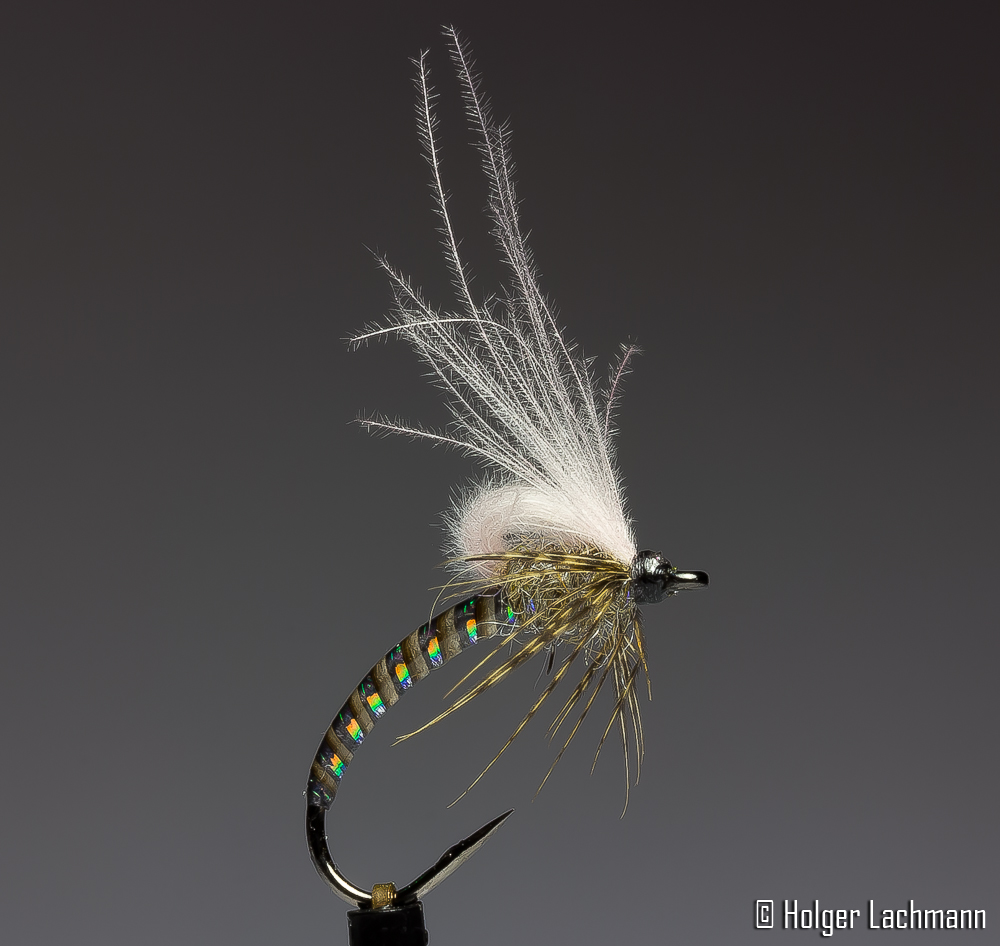
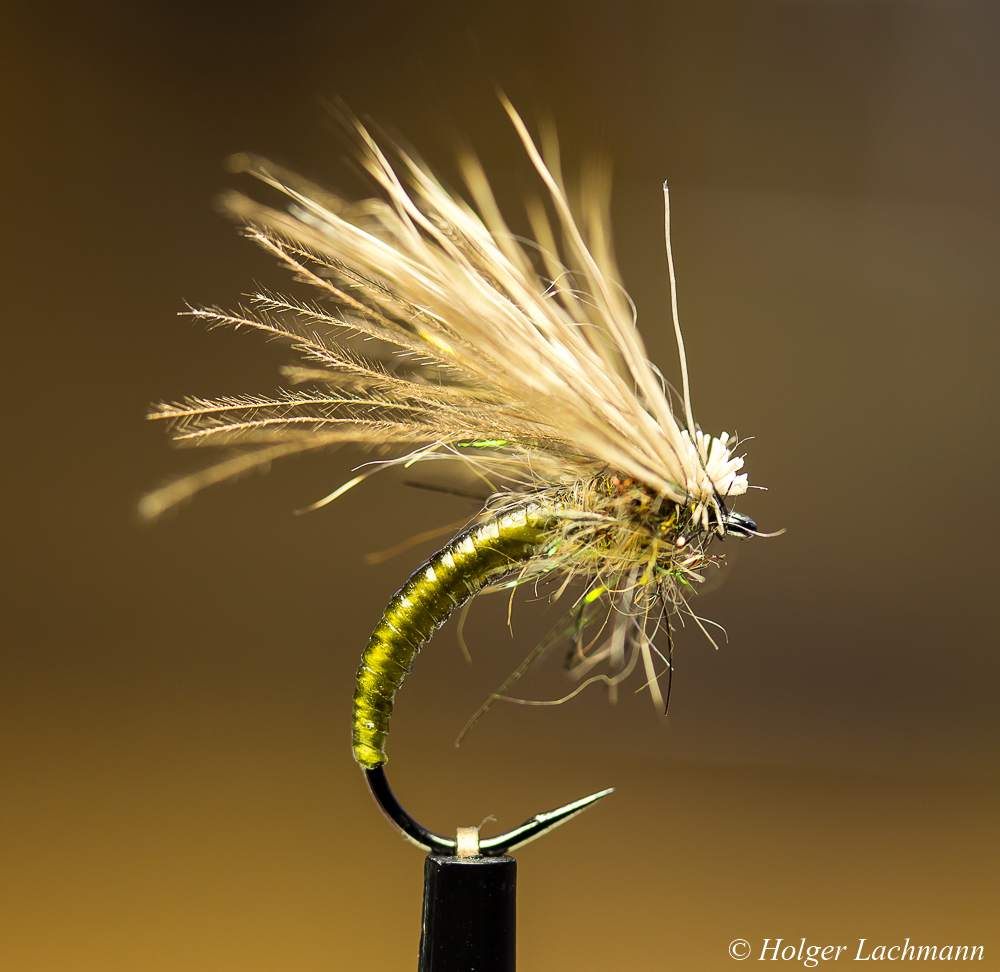
Tied on a Tiemco 212y #15, the nice segmented body made out of Stretch Flex is hanging in the surface. The dubbing, a mix of Hare’s Ear and Peacock Dubbing is imitating the legs and the CDC and Deer Hair makes this emerger float quite well. Just don’t put floatant on the body.
Good during mayfly hatches and works on a caddis hatch, too.
Freestyle Emerger on Demmon Fly Hook DGE 300 BL #12


")
It’s the end of April and the trout and grayling season will start soon.
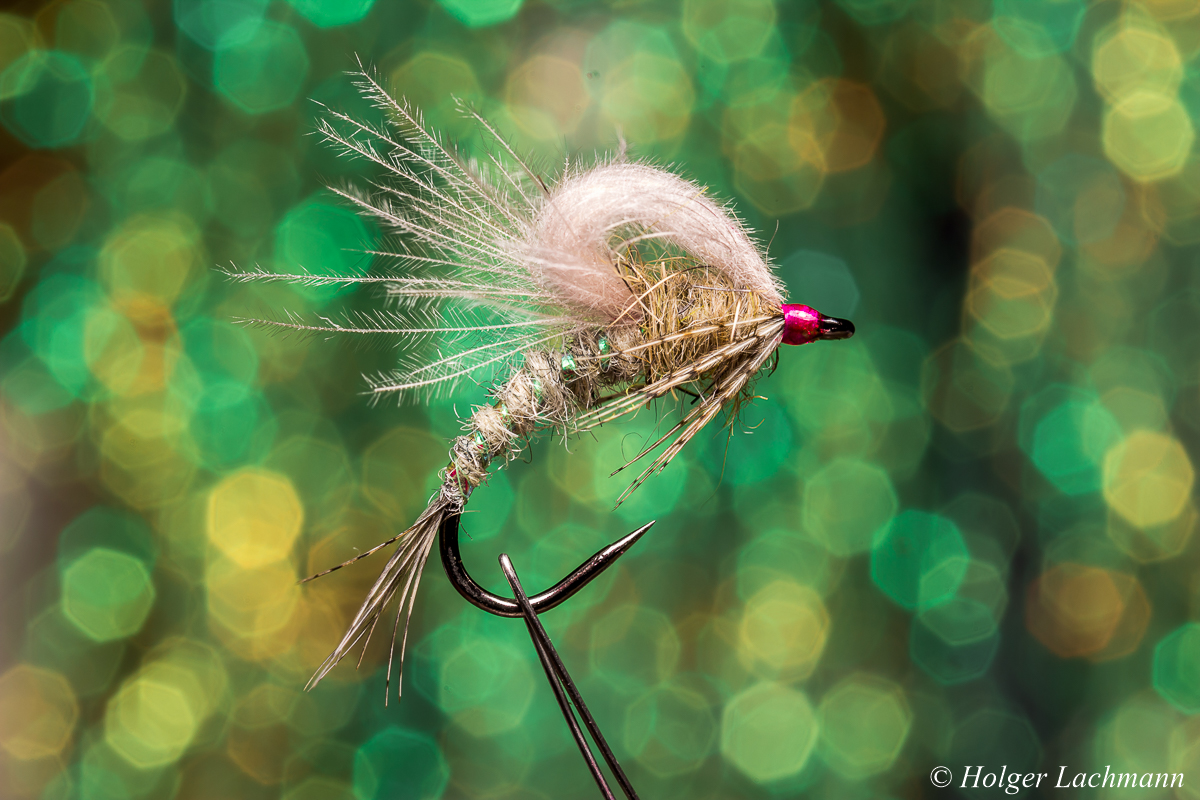
Here’s another very good emerger pattern, which imitates some different may fly species, depending on the colour and size. It’s tied on the new Daiichi 1167 Klinkhamer hook, designed by the famous dutch fly tyer Hans van Klinken.
The Daiichi 1167 got a stronger wire compared to the Tiemco 212Y for example, which makes sure, that the abdomen hangs deep in the surface. That’s really important and that’s the reason, why this pattern got no tail or a trailing shuck, to make sure, that the abdomen is hanging deep in the surface.
The quill body is covered with a thin coating UV Resin.
Materials:
")
")
")
Put the hook into the vise, do a layer of thread and tie in a stripped peacock quill. Wind the quill around the hook shank and catch it with the tying thread.
")
Put a little drop of Tack Free UV Resin on the stripped peacock quill and spread it on the abdomen. Cure it with your UV torch.
")
")
Tie in two CDC feathers for the wing case. Then tie in the tip of another white CDC feather as a crippled wing.
")
")
")
Dub the body and tie in some partridge fibres to imitate the legs. Fold each CDC feather to the hook eye and catch it with the tying thread. The CDC wing should be exactly in the middle of the feathers.
")
")
Cut the CDC feathers for the wing case and do some turns with your whip finisher to create a little head. Varnish the head, if you like. That’s it, ready for fishing. ;-)
tight lines
Holger Lachmann