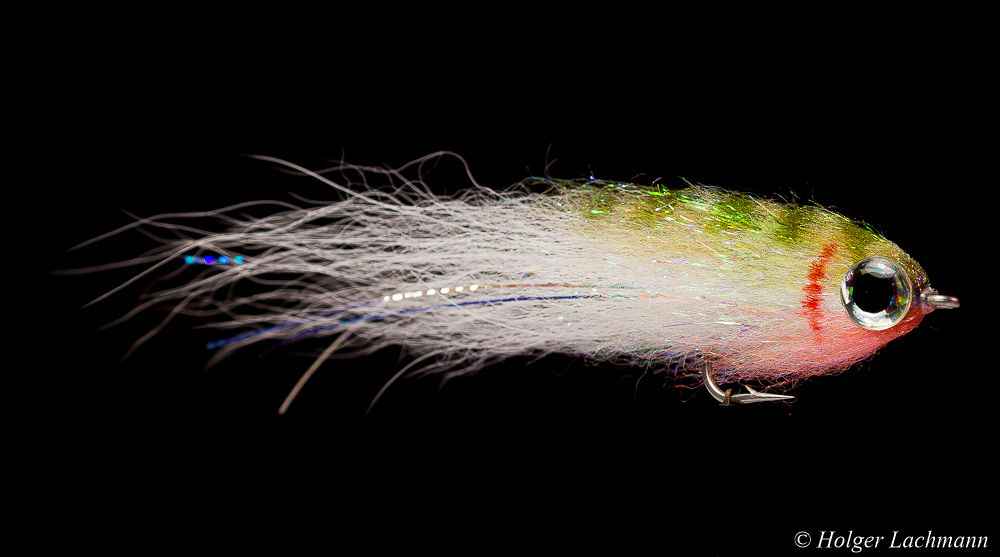
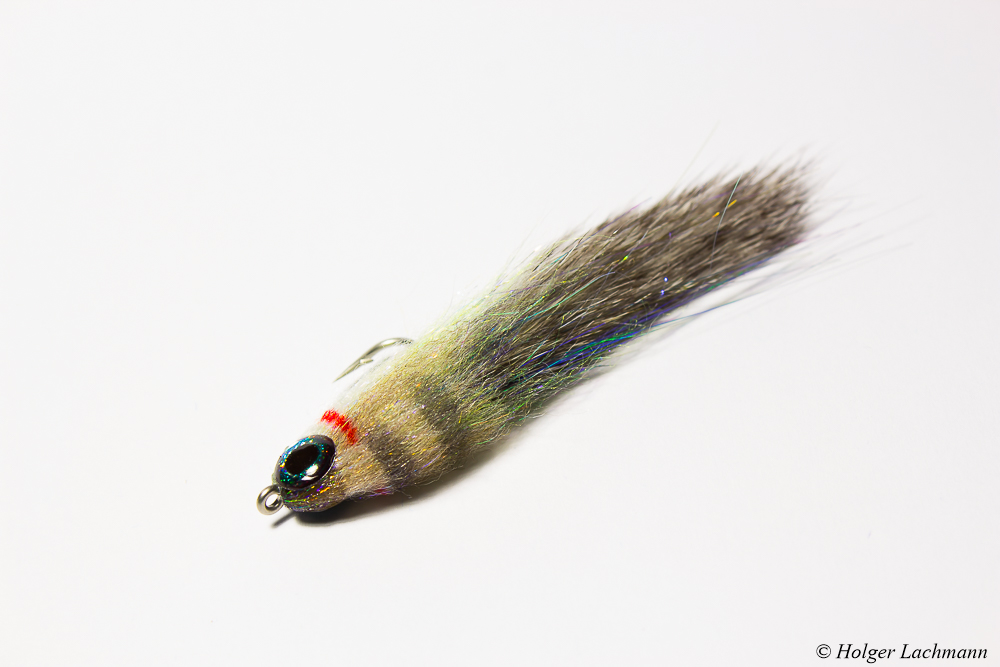
I was asked to tie some flies for Sea Bass and I thought, I modify the ASPINATOR a little bit with some bucktail mixed with arctic fox for the tail and a Tiemco 8111s saltwater hook # 2. I really like this one! I bet it’s tasty! :-)
Schlagwort-Archive: Fly Tying
THE BURNER „Saltwater Edition“
A Burner tied on a Tiemco 811s saltwater hook #2. You can find the step by step tutorial here: BURNER STEP BY STEP
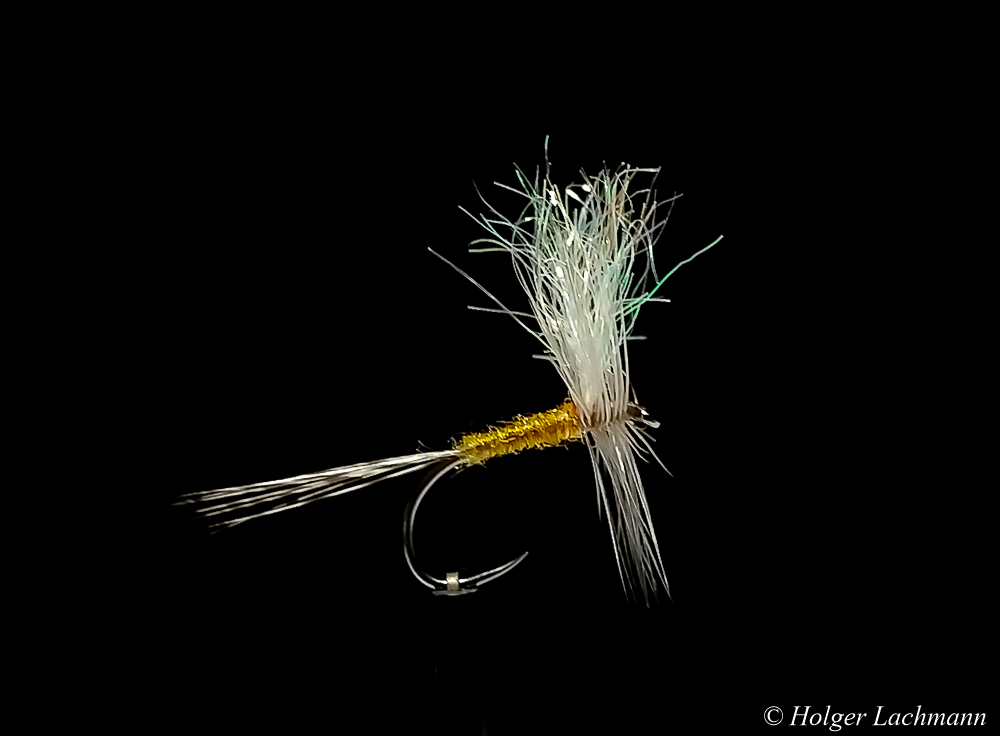
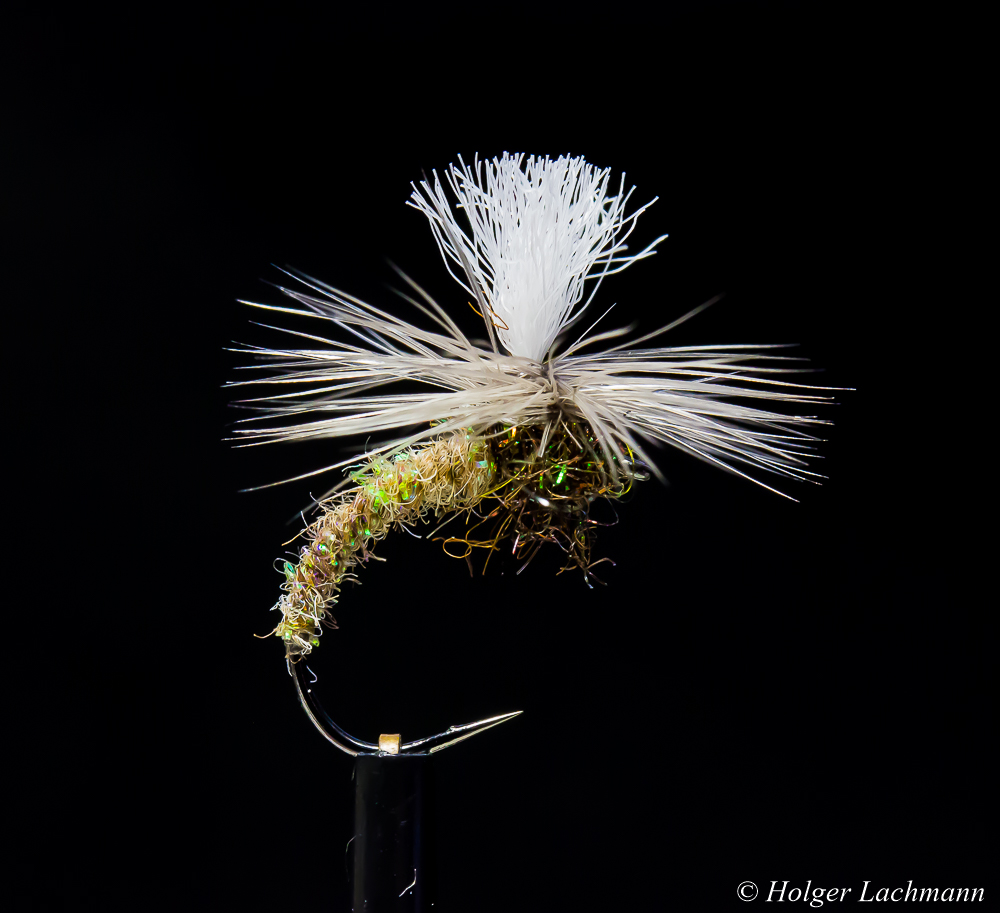
CDC Spinner #16
DRY & WET
What Chubs like…
In my home river are not many trouts. It’s more a river of „coarse fish“ how the english would say. But the nymphing for chubs is really fun. They are not easy to catch. Often I think they are harder to catch then trout.The good thing about chubs is their size. They are much bigger than the average trout.
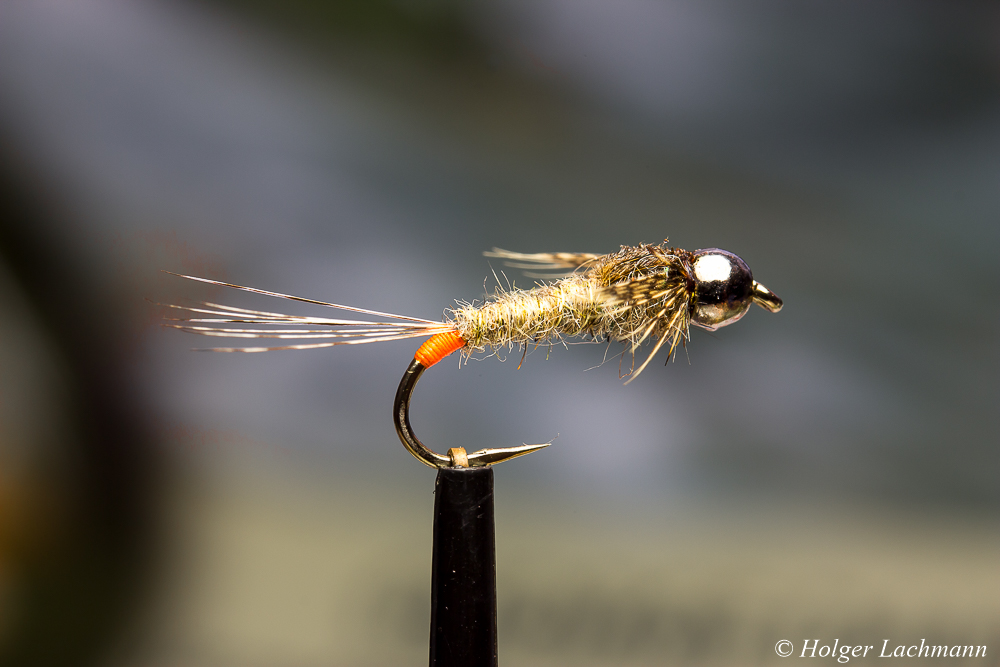
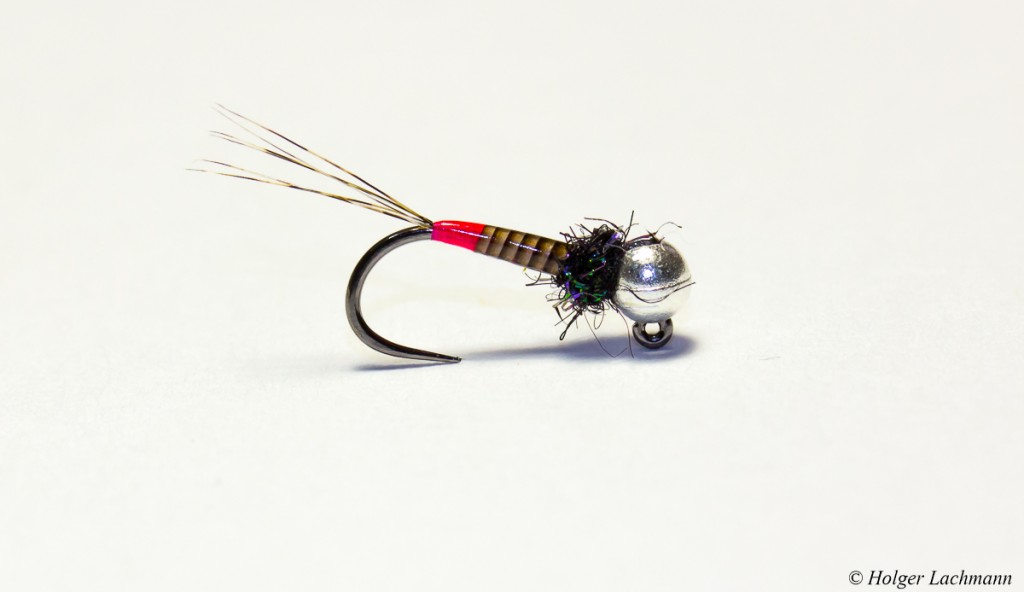
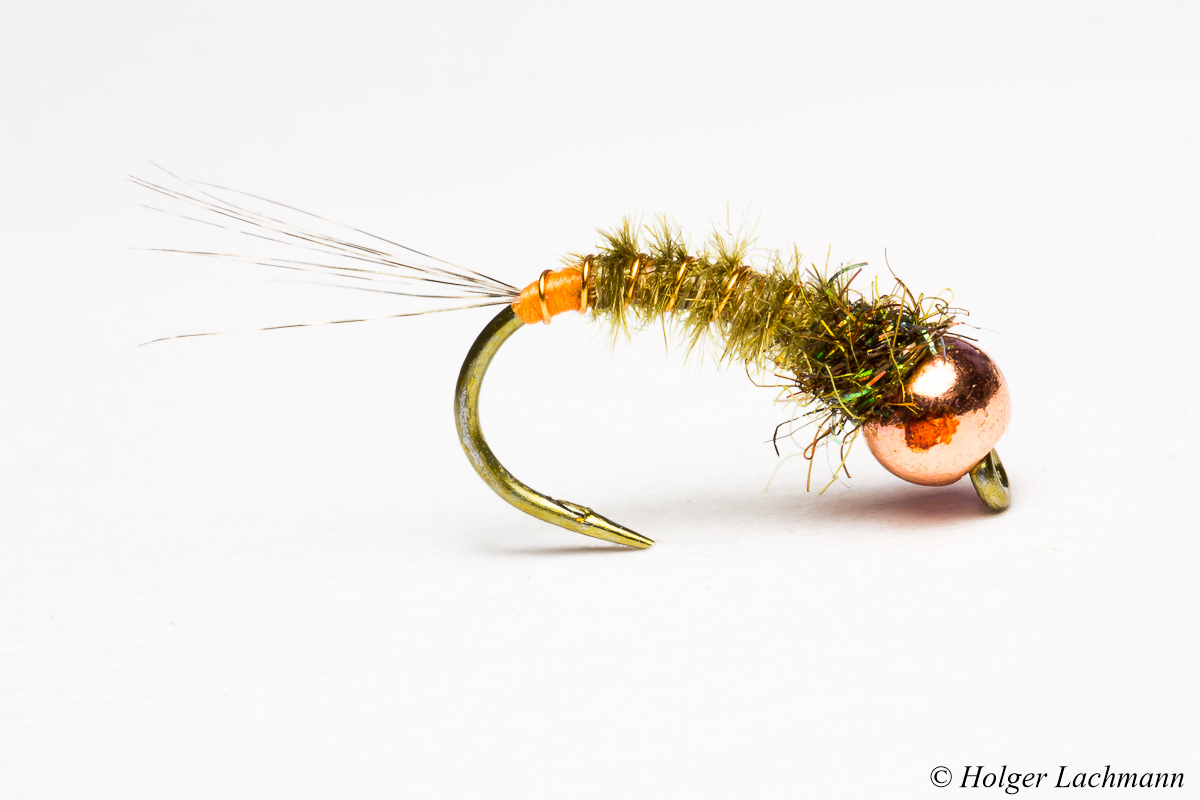
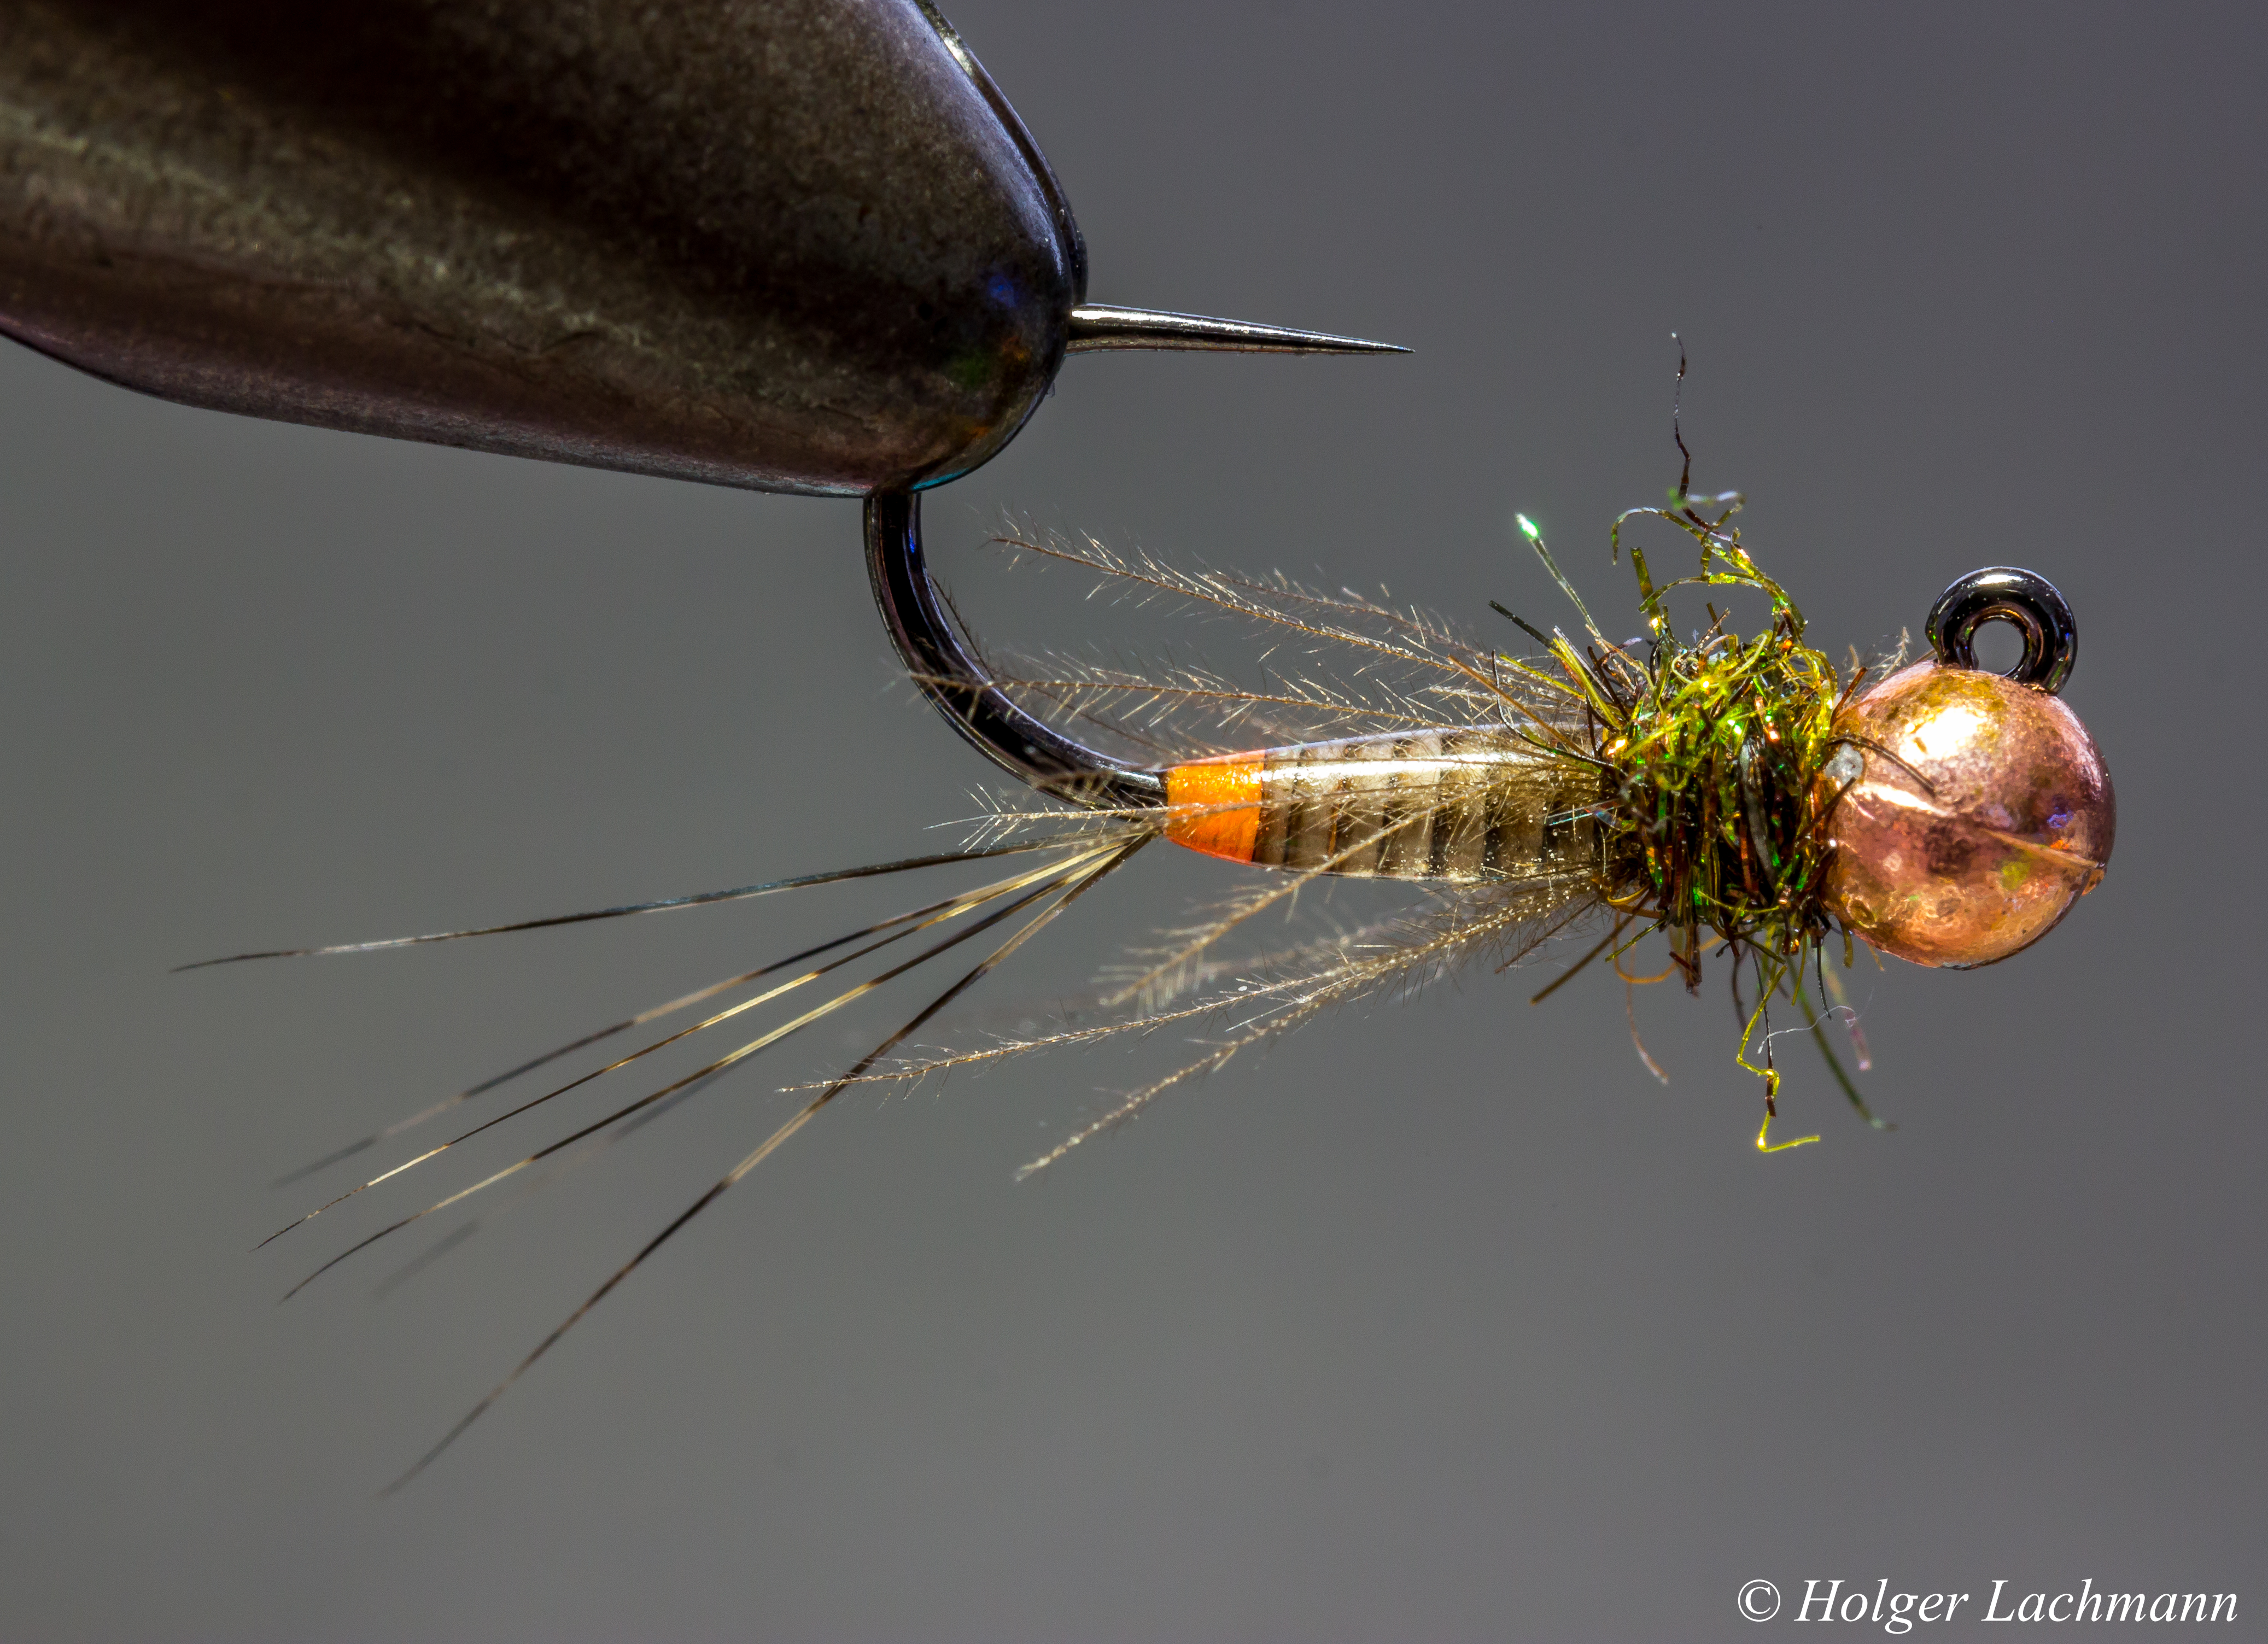
In the last time, I discovered, that the chubs love nymphs with an orange hot spot. So I tied some and I caught some really nice chubs, which you can see in the posts of the last days.
„Flybei Special“
Alex Keus from FLYBEI Fly Fishing School and Guide Service said to me, that I should tie a „FLYBEI-Nymph“. I asked how it should look like and he just answered „Surprise me!“.
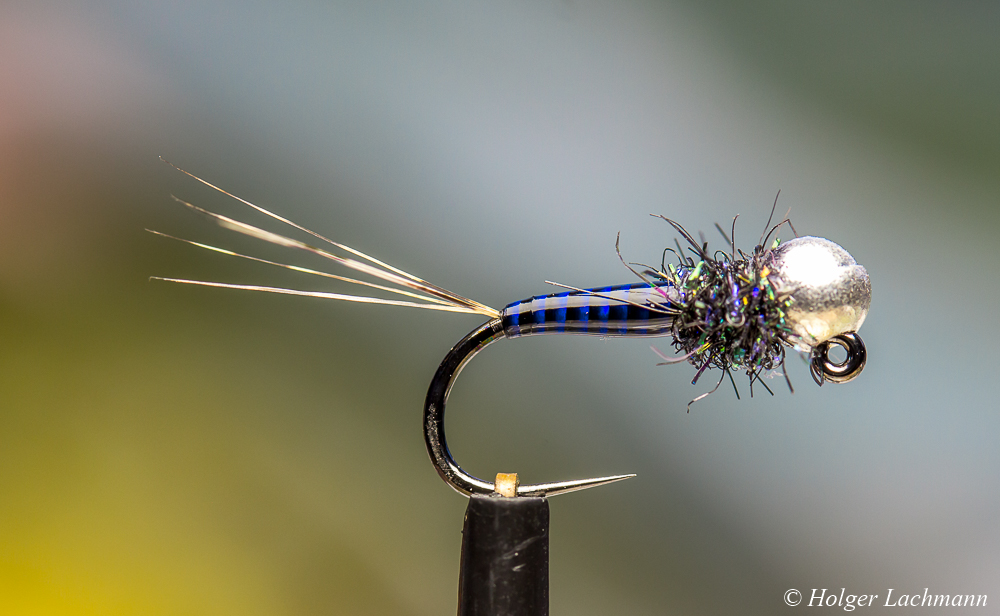
I know that he’s great in modern nymph techniques, so it has to be a Hanak hook and a little 3mm tungsten bead. Then I remembered, that we once talked about the dubbing I recently bought and he said I’d forgetten to buy the best – the blue one! Ok, he likes blue… time to use the blue Polish Quills. I’ve never used this color before. Just a little Coq de Leon tail and some Peacock Dubbing and the fly is finished. He likes simple nymphs, which sinks extremly fast, so no legs or fancy CDC on this nymph, which slows down the sinking speed of the fly. I hope he likes it! ;-)
Slick Jim
How to tie in Bead Chain Eyes and Dumbbell Eyes ROCK-SOLID!
I was often asked, how bead chain eyes or dumbbel eyes should be tied in, so they won’t twist around the hook shank or getting loose. It seems like a simple task to tie them in, but there are some mistakes you can avoid to get a better result.
I didn’t wanted to do a „how to…“ about it, but I saw a good tying video about a nice streamer pattern yesterday. The fly tyer in the video did the same common mistakes like so many others. He used super glue to fix the eyes, but only at the end on the turns as a kind of topping, and as a topping, super glue can’t show it’s real strength.
So, I made some pictures and I will show you how to tie the eyes in – the ROCK-SOLID-WAY !
If you use G.S.P. thread, you should rotate your bobbin to twist the thread. Otherwise the G.S.P. is too slippery to create a good solid basement for the eyes.
BEAD CHAIN EYES
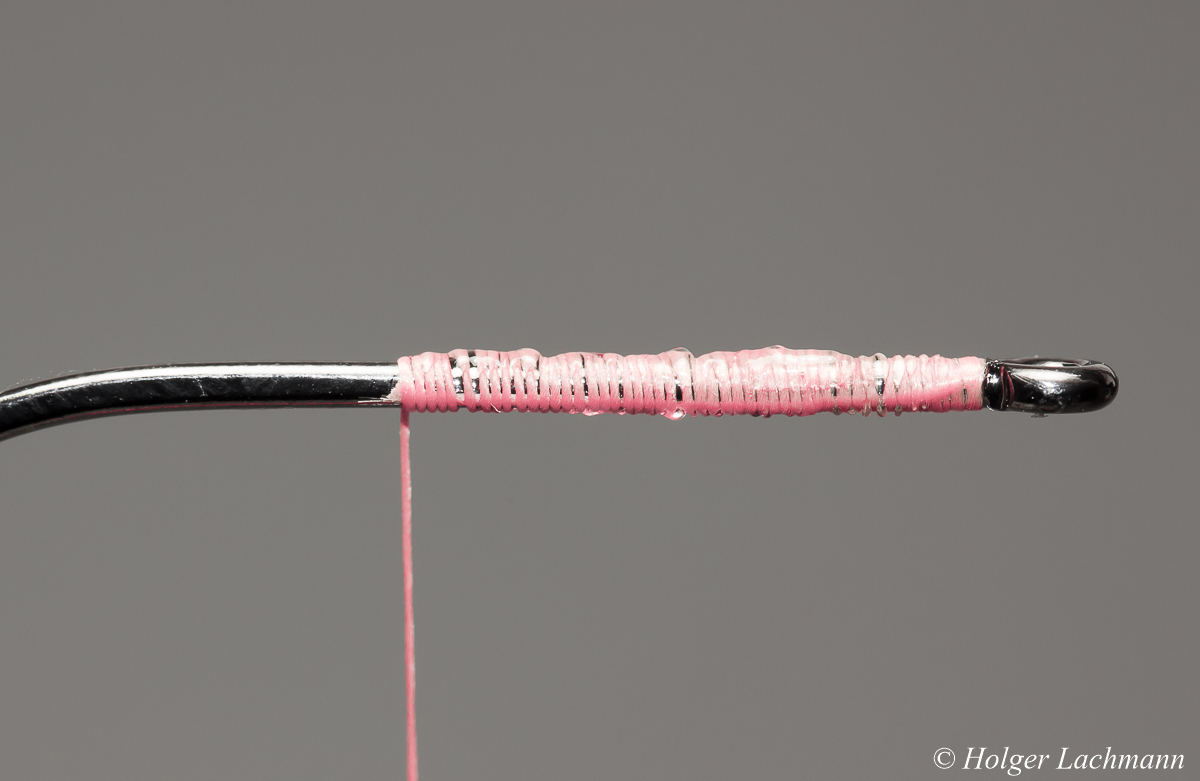
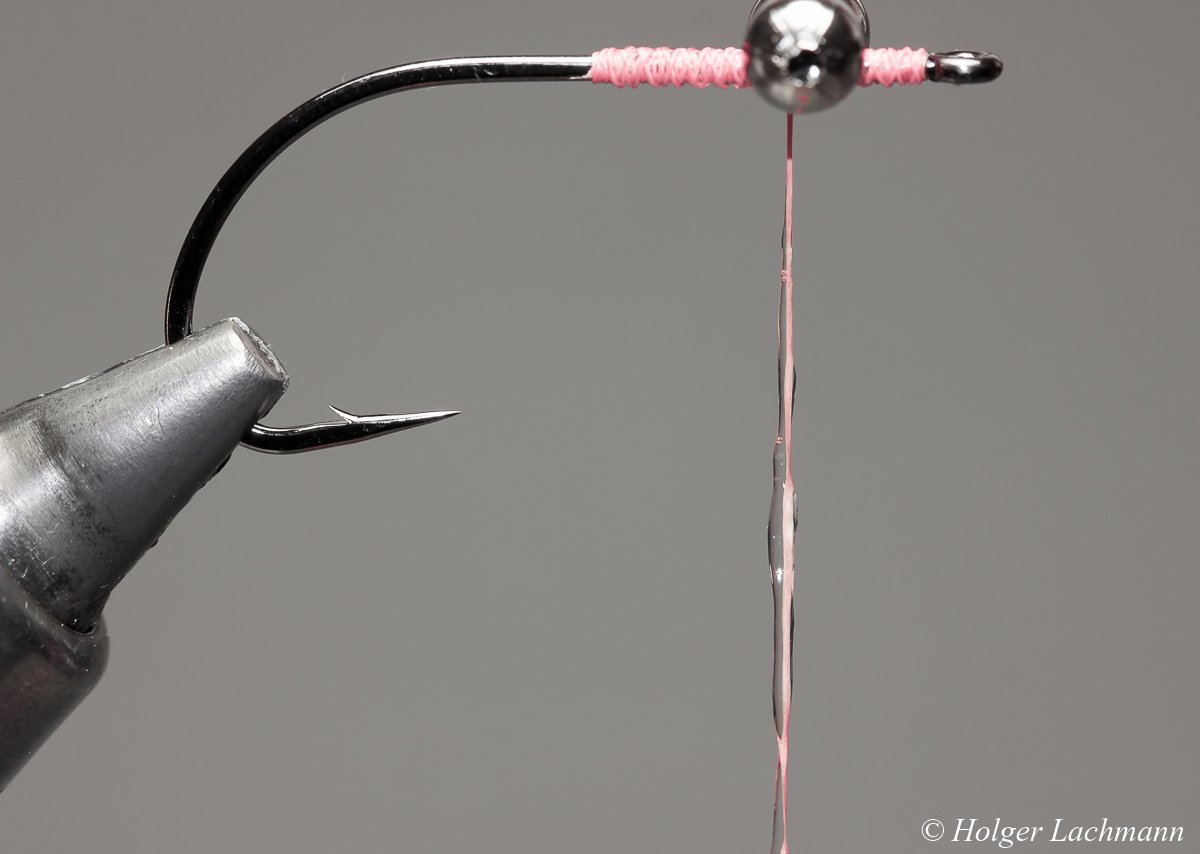
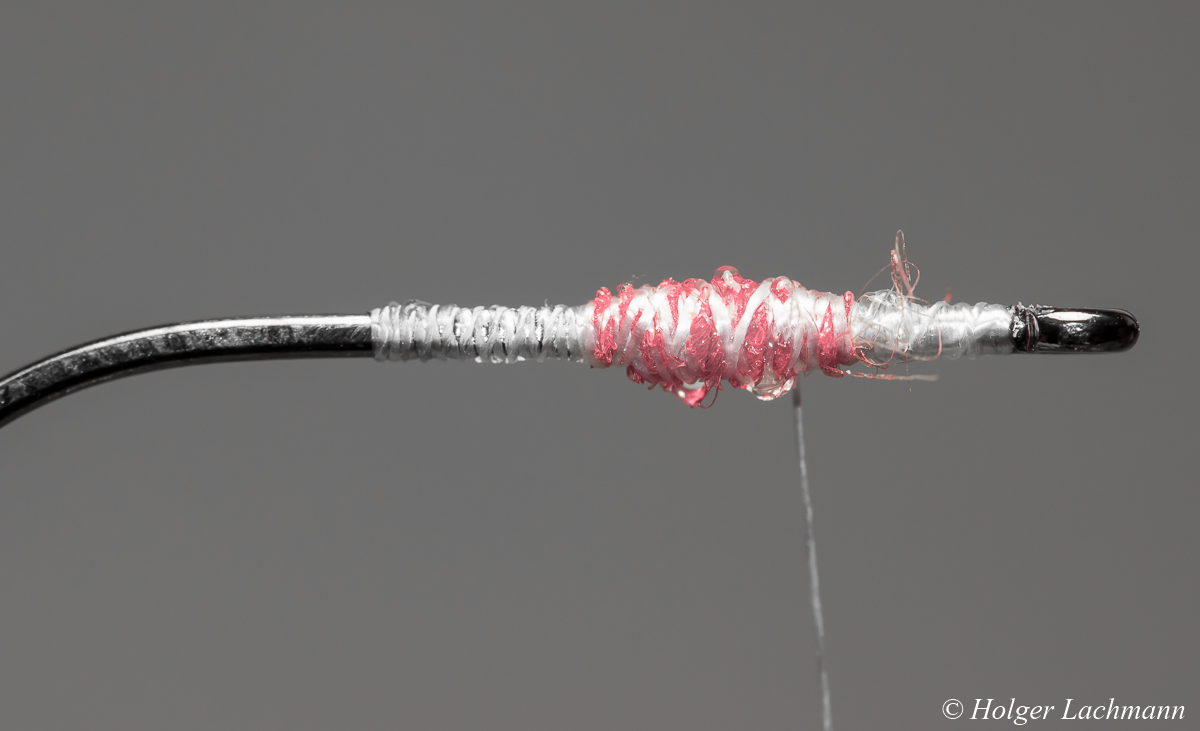
Ok, let’s start with the bead chain eyes: First, brush some super glue onto the hook shank. I like to use super glue gel.
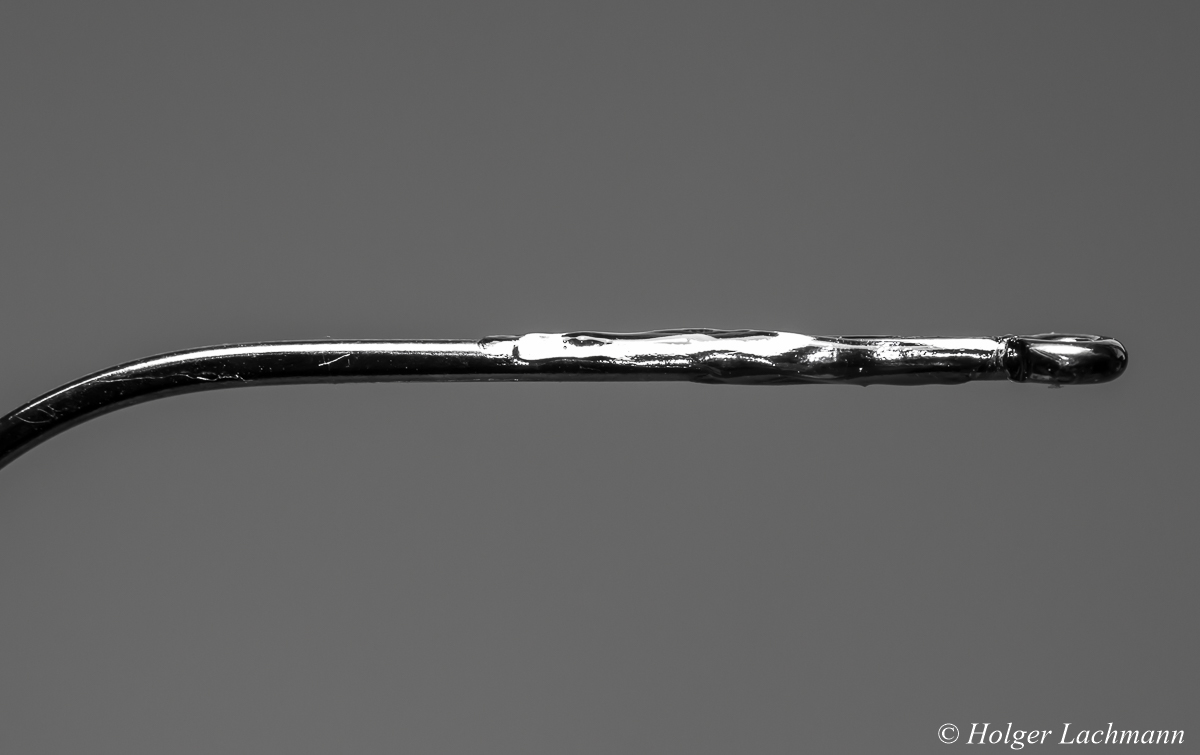
Twist the tying thread and do a nice layer of thread as a basement. Some glue will be pushed out between the windings of the thread. Don’t whip the glue away.
Go with thread in open windings from the back to the front and then to the back again. Then, wind the thread to the position, where you want to tie in the eyes. You can see, why you shouldn’t wipe off the super glue from the first tying step. You should tie with maximun thread-tension ALL THE TIME!
Tie in the bead chain eyes with only 2-3 turns of thread, not more!
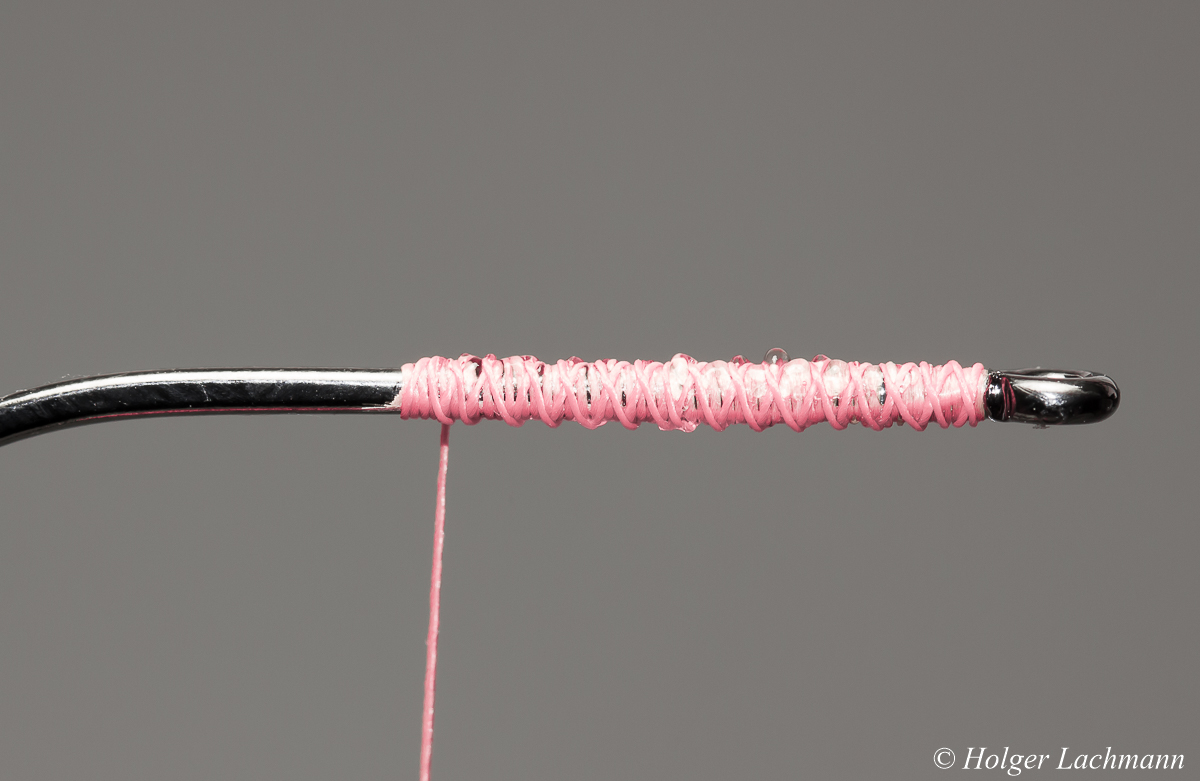
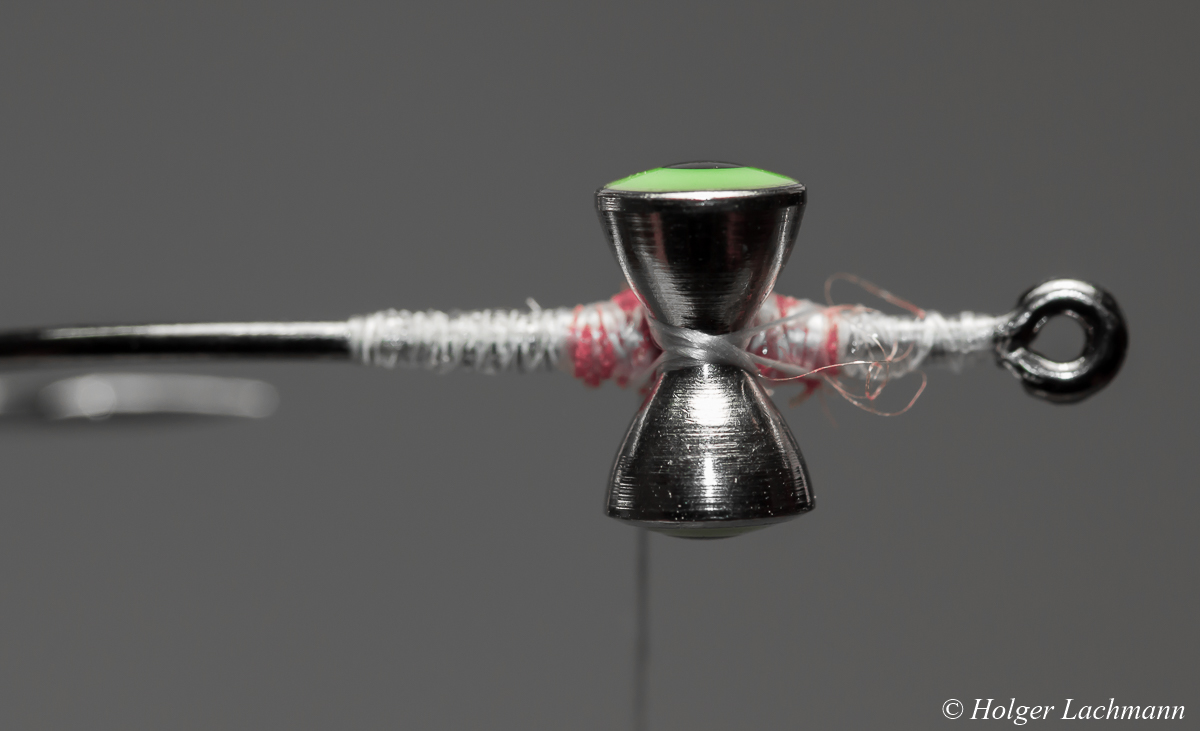
Now comes the „trick“: Brush some super glue on your tying thread like shown on the pictures.
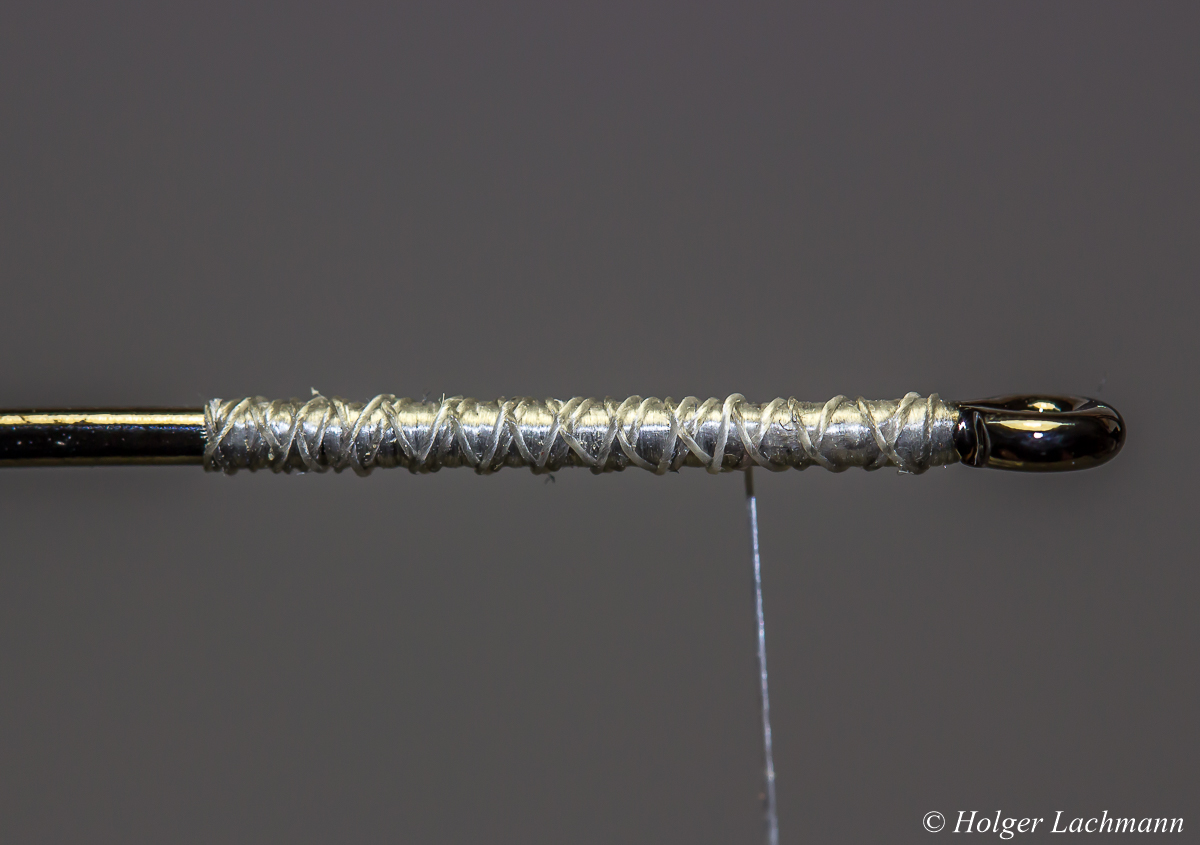
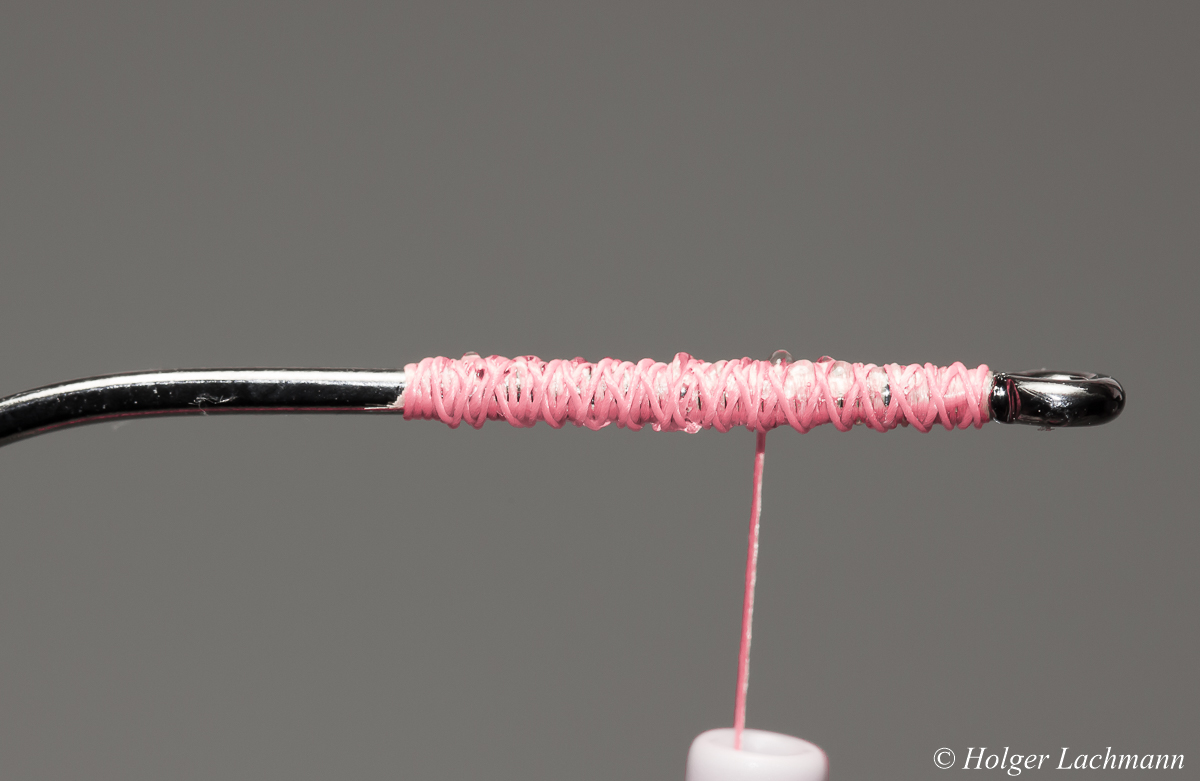
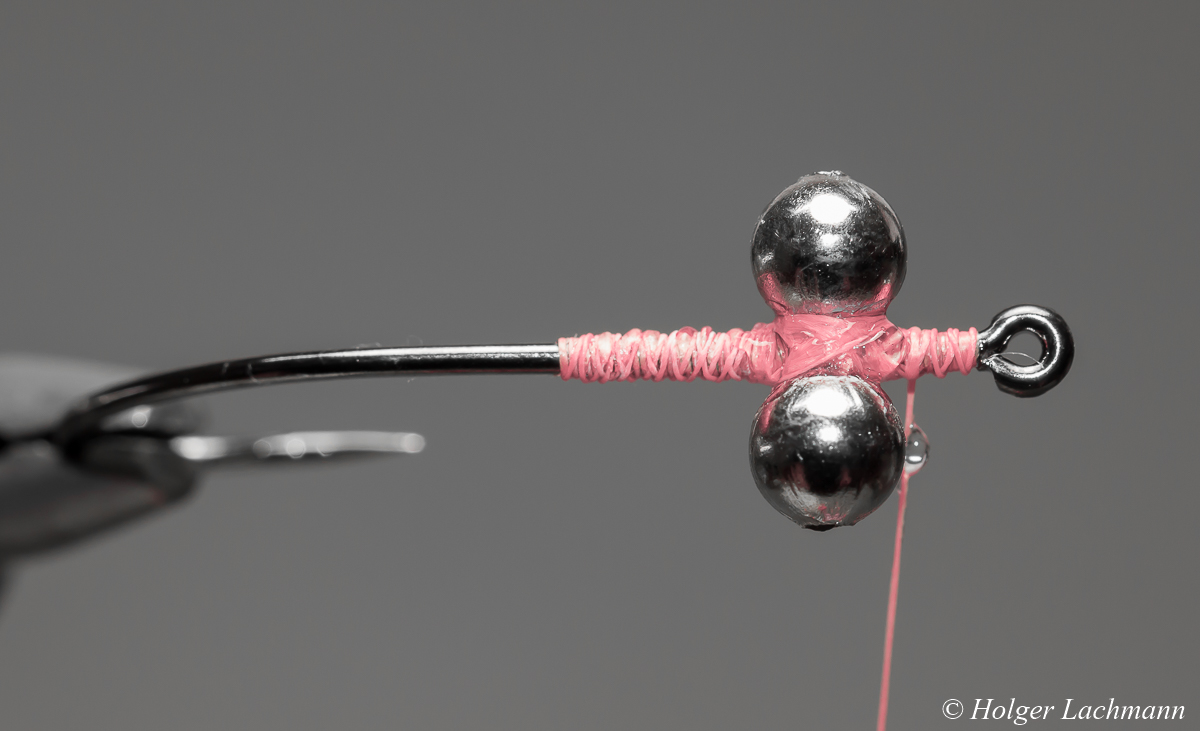
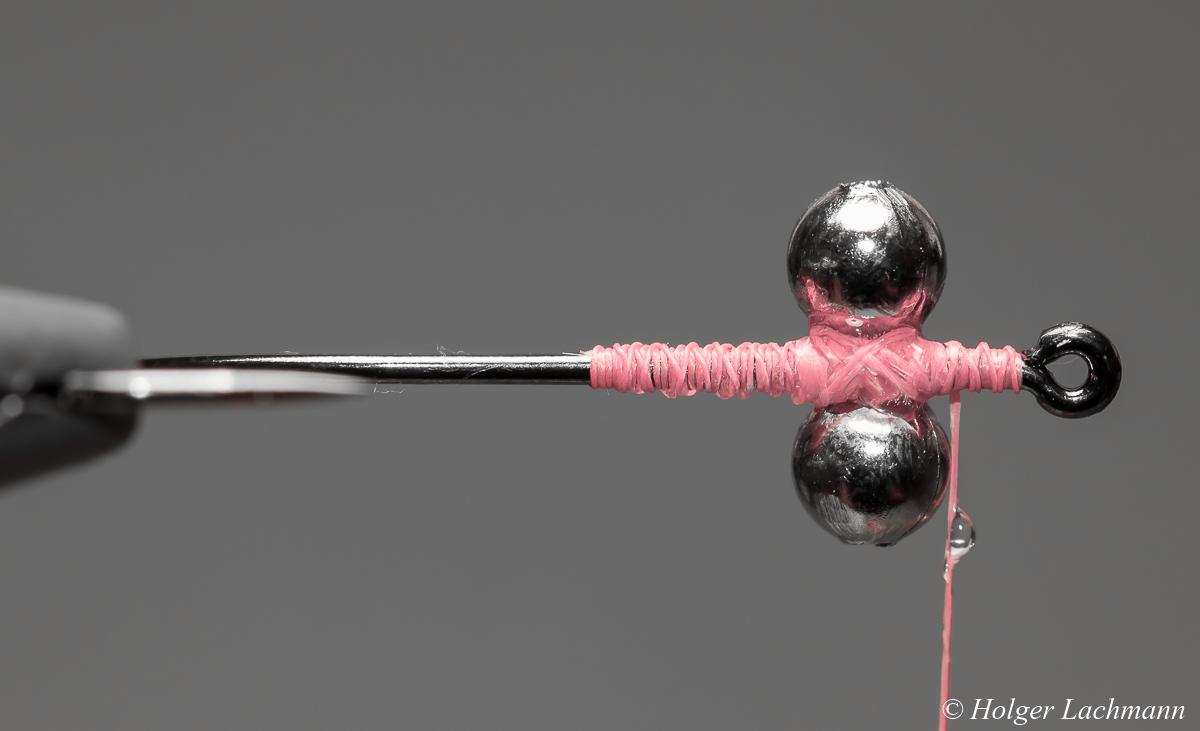
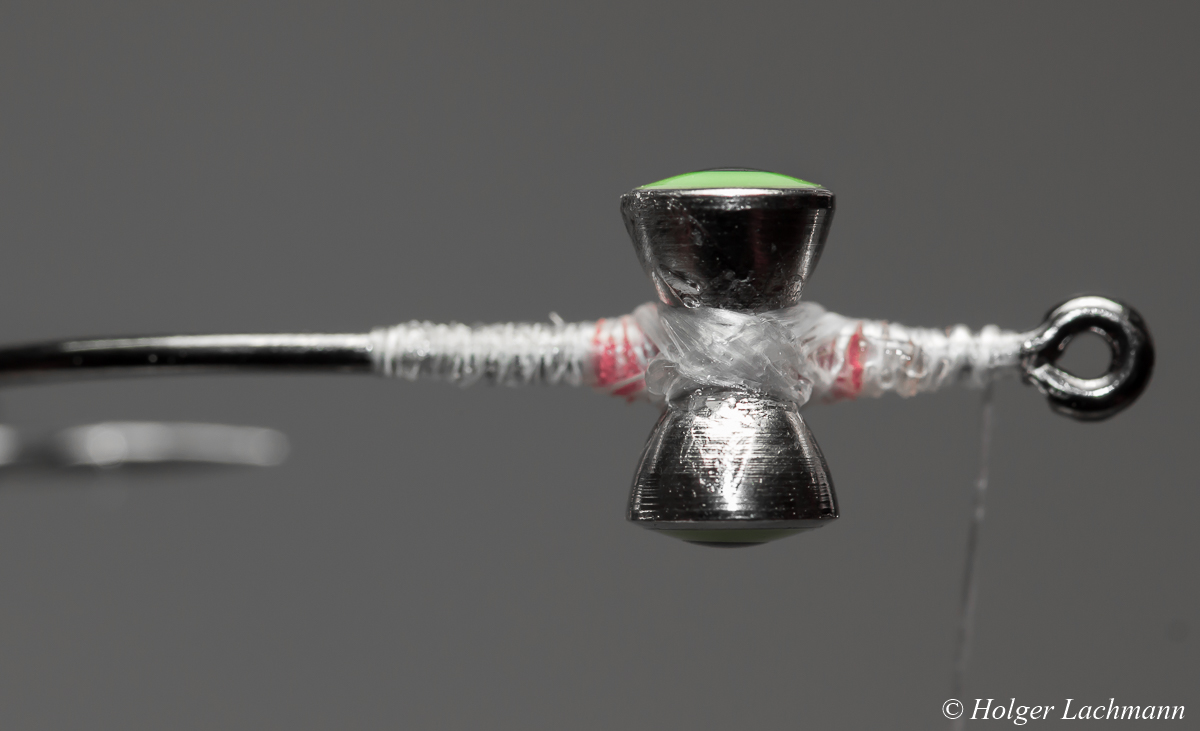
Wind the thread with the super glue in figure-8-turns around the eyes and the shank, like you normally do. Make sure, that the glue is everywhere. That’s the most important thing. The glue is not only on the top of the windings, it secures every single turn of thread and so it creates a perfect connection between hook shank, bead eyes and thread.
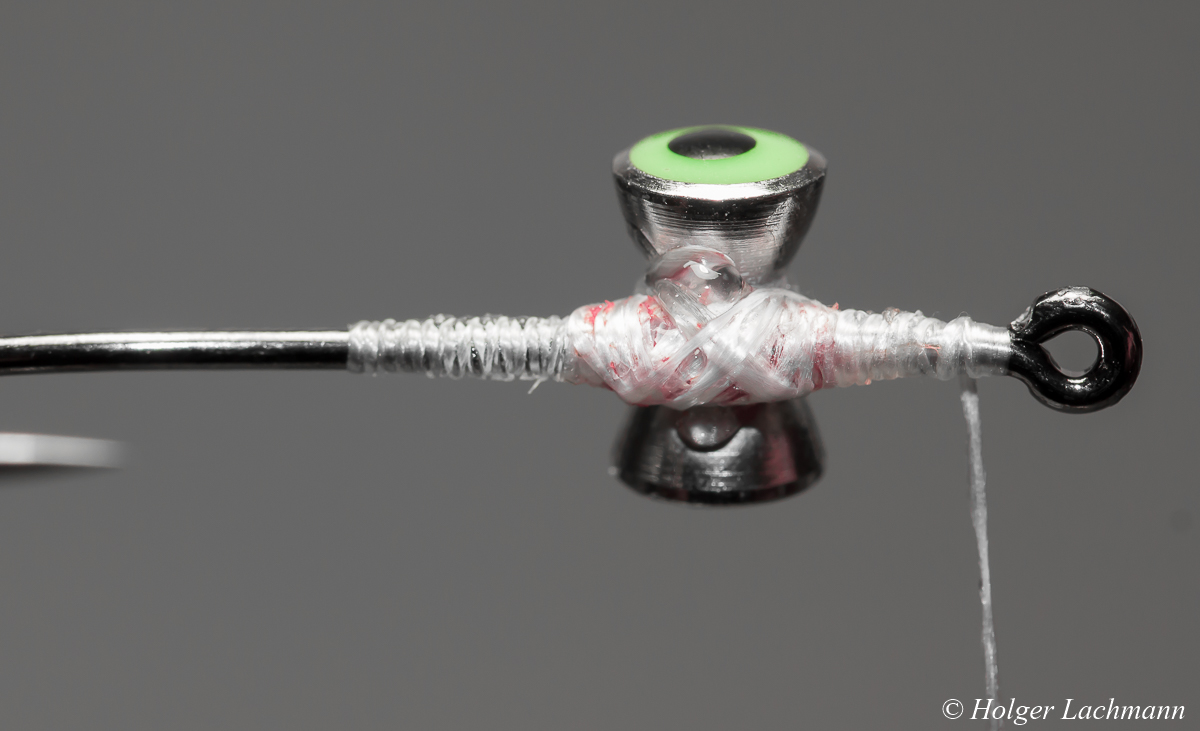
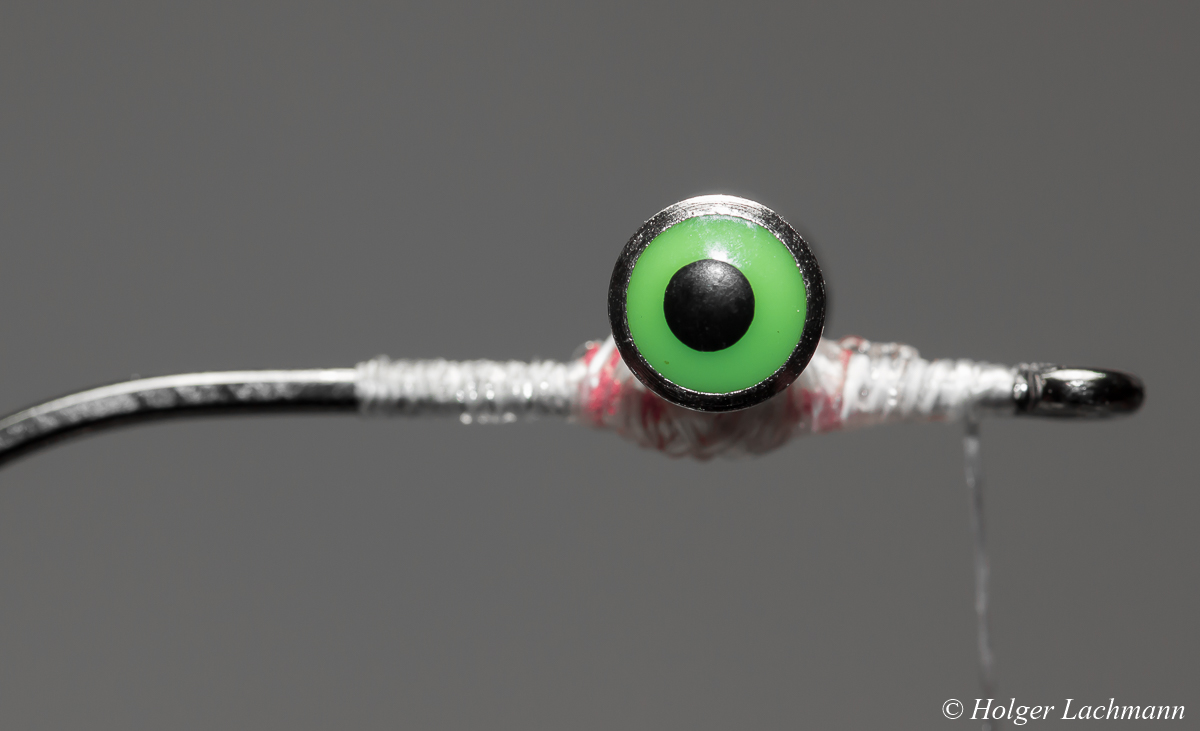
View on the underside of the eyes. You can see how the glue is pushed from one turn of thread to the next to create rock-solid bead eyes which won’t move, twist or slip no matter what you are doing to them during fishing. If you did it right, you will need pliers to twist them. The only way to connect them even more solid to the hook is to weld them onto the hook shank….! ;-)
Dumbbell Eyes
When you like to use dumbbell eyes, you may need a larger basement to secure them. 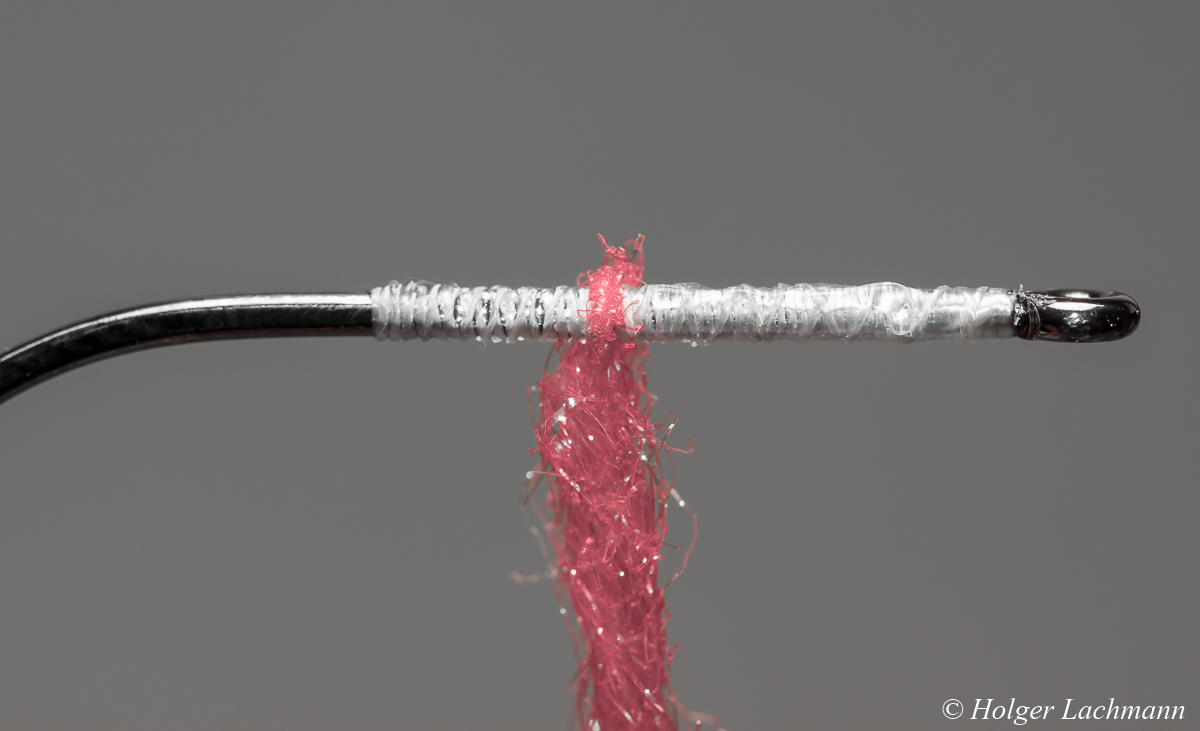
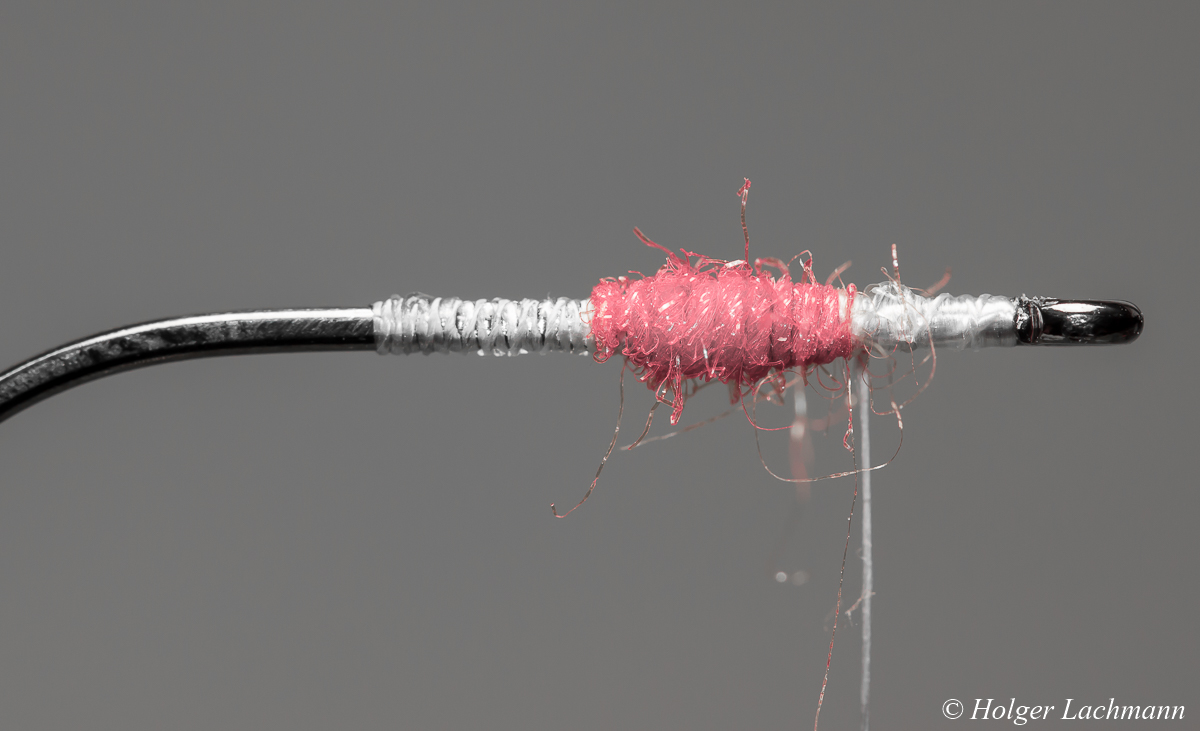
Tie the thread on the hook shank in the same way, like shown before with the bead chain eyes. Then take some dubbing (no matter what kind of dubbing, but synthetic works best), make a first turn.
Twist the dubbing around the thread to create a little dupping rope and wind it around the hook shank.
Put some super glue on the thread and do some open turns with your glue-thread back and forth over the dubbing with HIGH THREAD TENSION! Now, you got a larger solid basement for the dumbbell eyes.
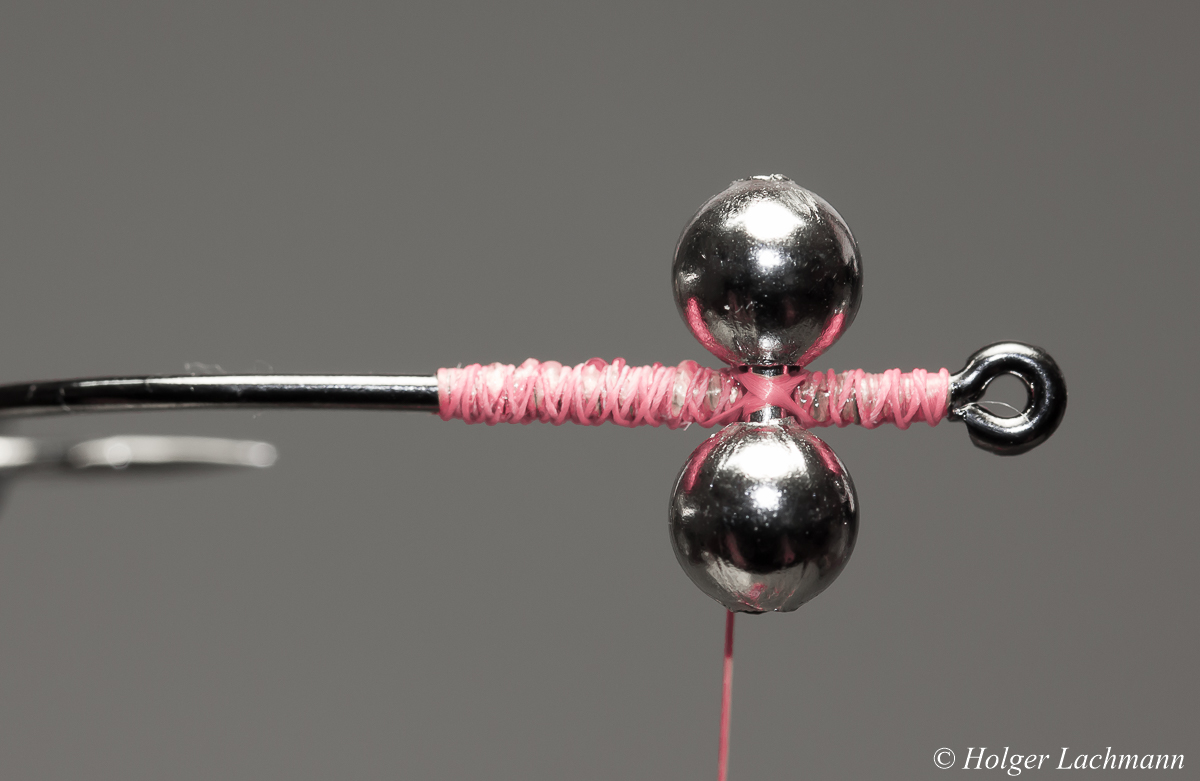
The next steps are the same like with the bead chain eyes. Attach the dumbbell eyes with 2-3 turns on the hook, put some super glue on the thread and wind it figure-8-like around the dumbbell eyes.
That’s it! The dumbbell eyes will stay there forever! Now throw them to the toothy beasts ! :-D
Fishing For Chub At Noon
I didn’t got a lot of time today, but I was able to drive at noon for an hour to the river to look for the chubs. On the 5th or 6th cast, I hooked a really nice fish. It fought very hard, like it was on steroids… I was sure, that the chub ruined the pool, but after some minutes I caught some more fish. A really nice short trip. The nymph I’ve used was tied 20 minutes befor I went to the river. ;-)
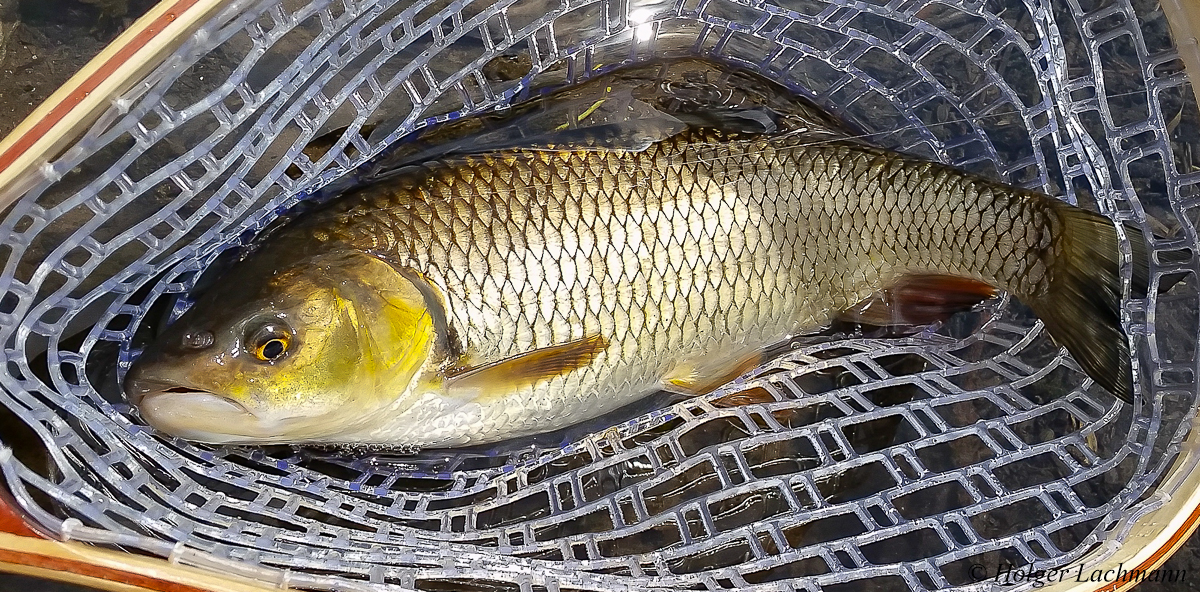
A perfect big chub in top condition! Flawless! It doesn’t have to be trout or grayling all the time. Sometimes, the big chubs are harder to catch than trouts!
Jigkowskis
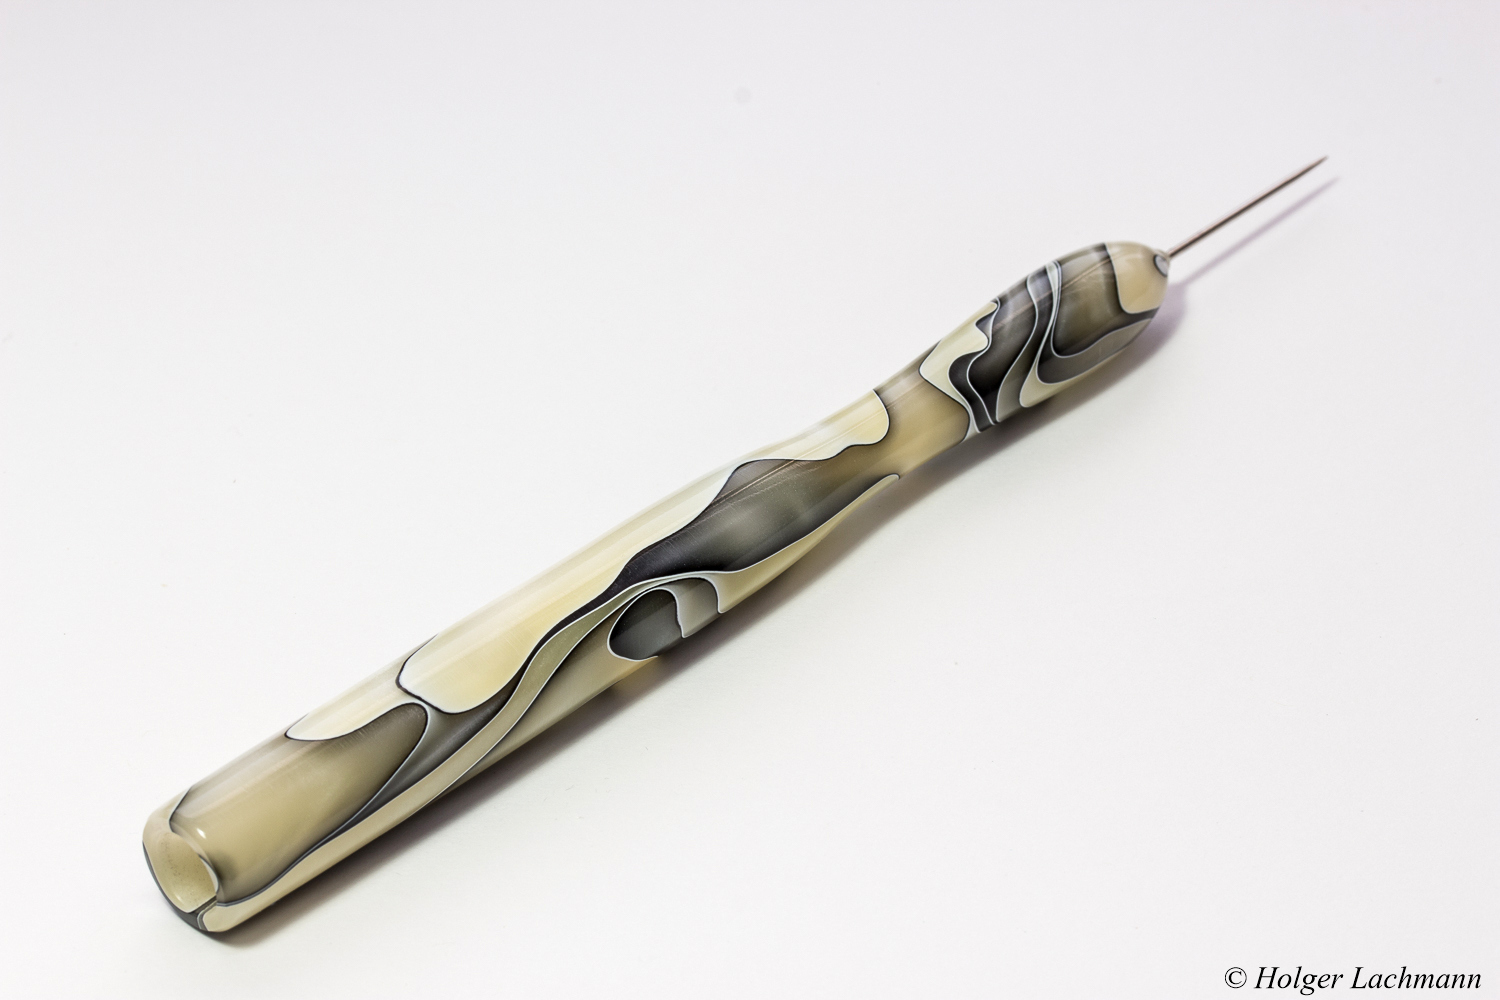
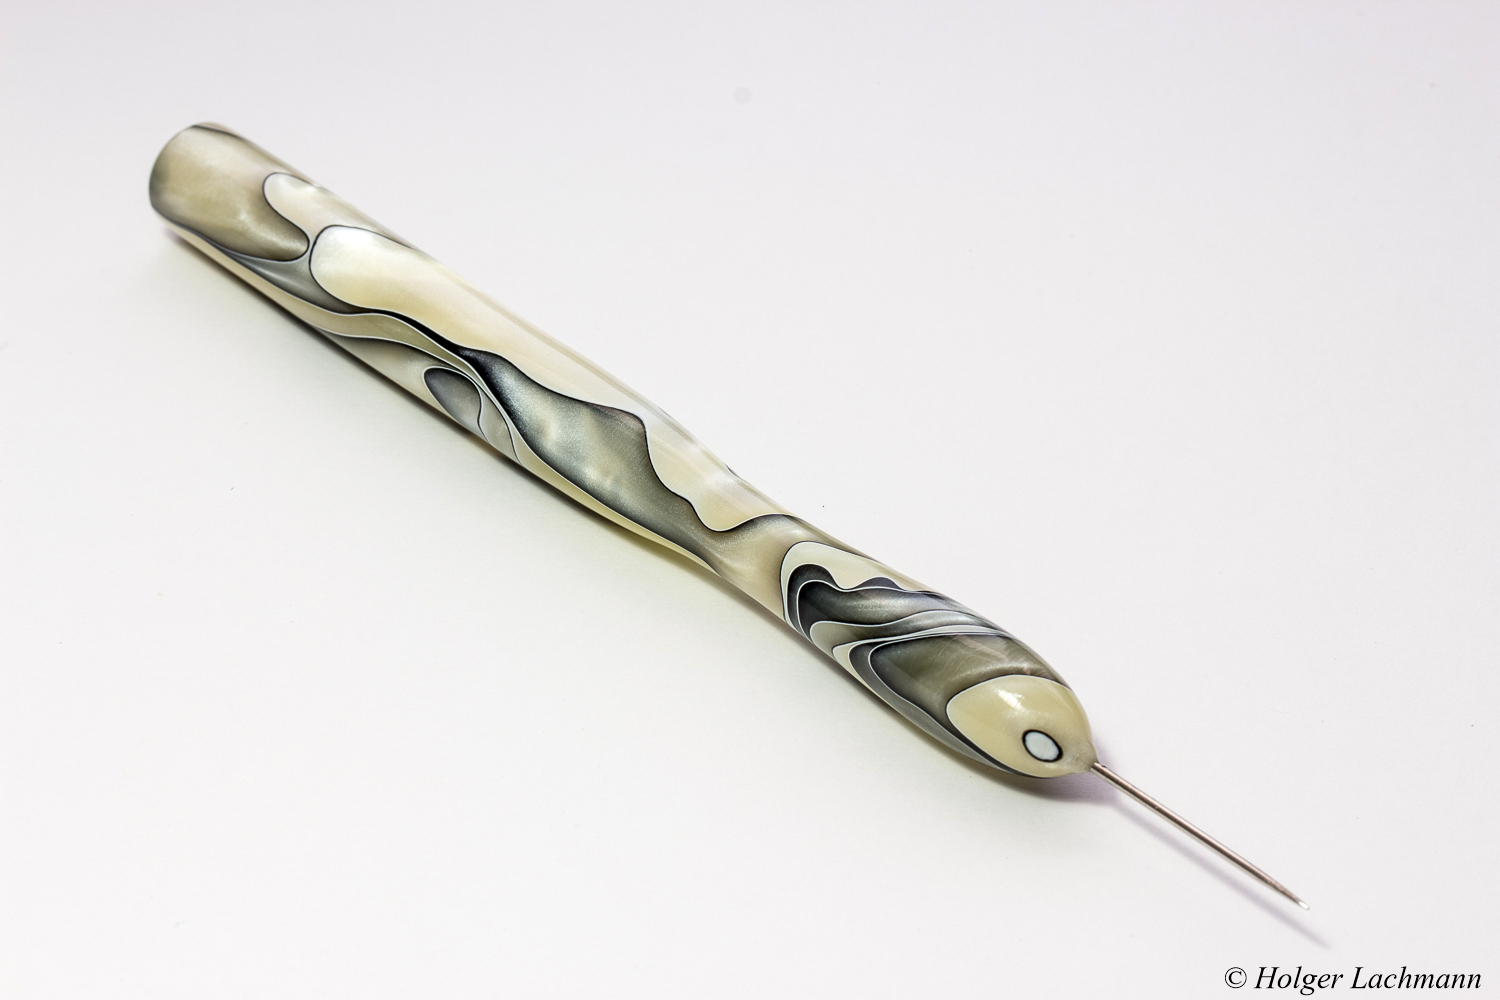
Fly Tier’s Little Helper – Part 4 – Dubbing Needle Deluxe
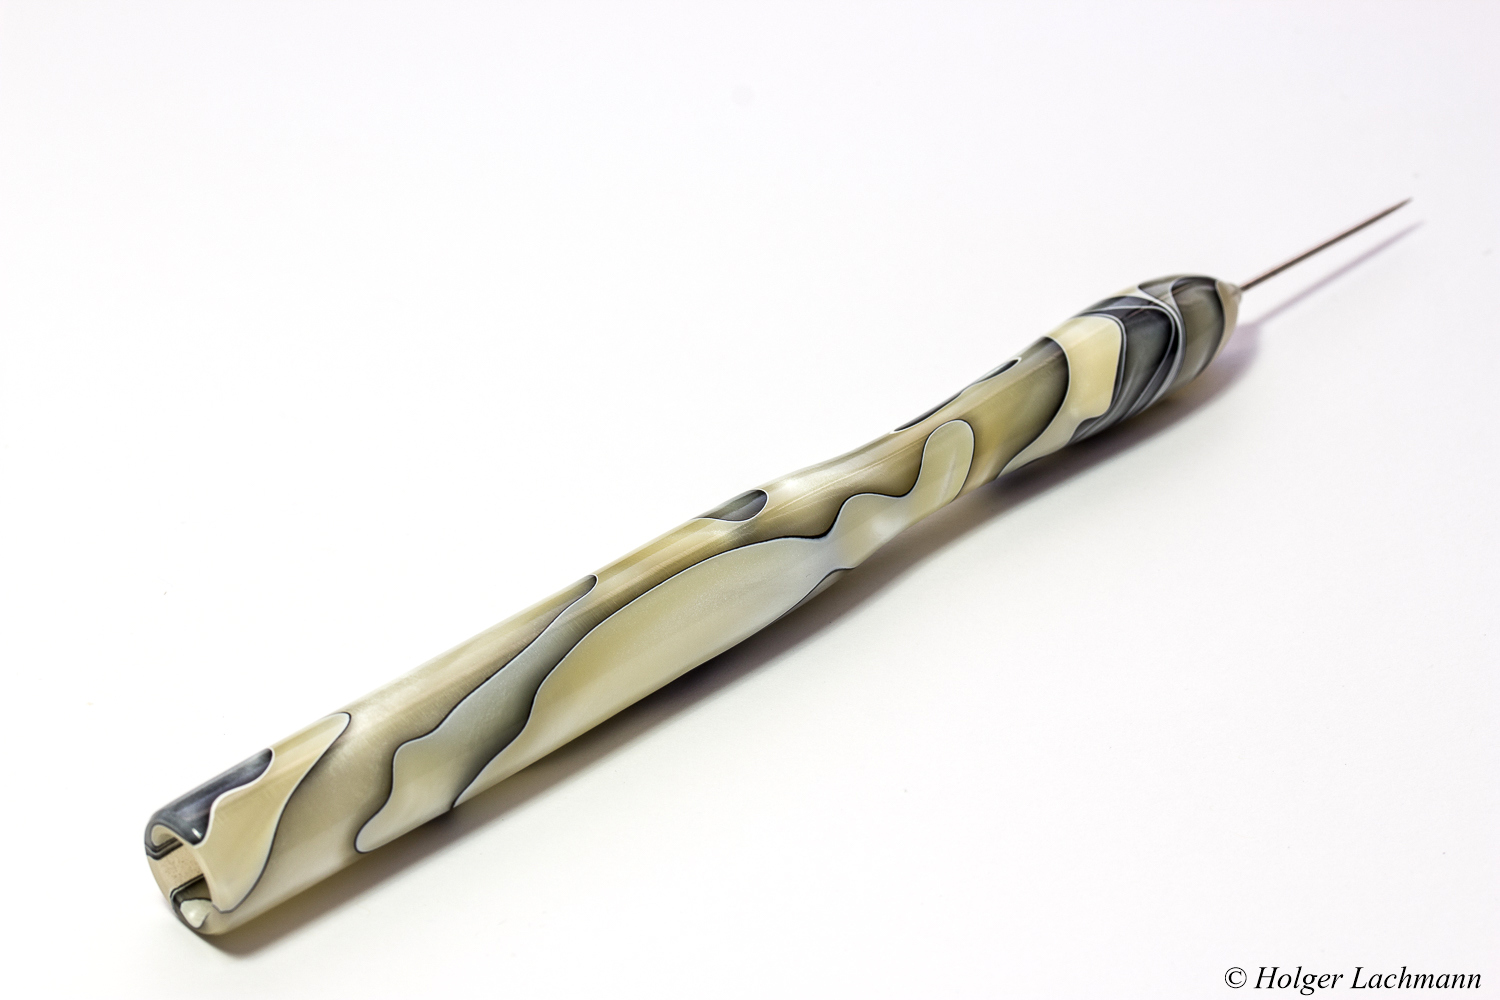 Every fly tier needs a dubbing needle. There’s a wide range of uses, like picking out dubbing, to apply varnish, uv resin, epoxy, for splitting materials…
You can use cheap ones for just some cents, they’ll maybe work. You can make one by yourself, or you got an awesome friend like master tier André Miegies from the Netherlands. :-)
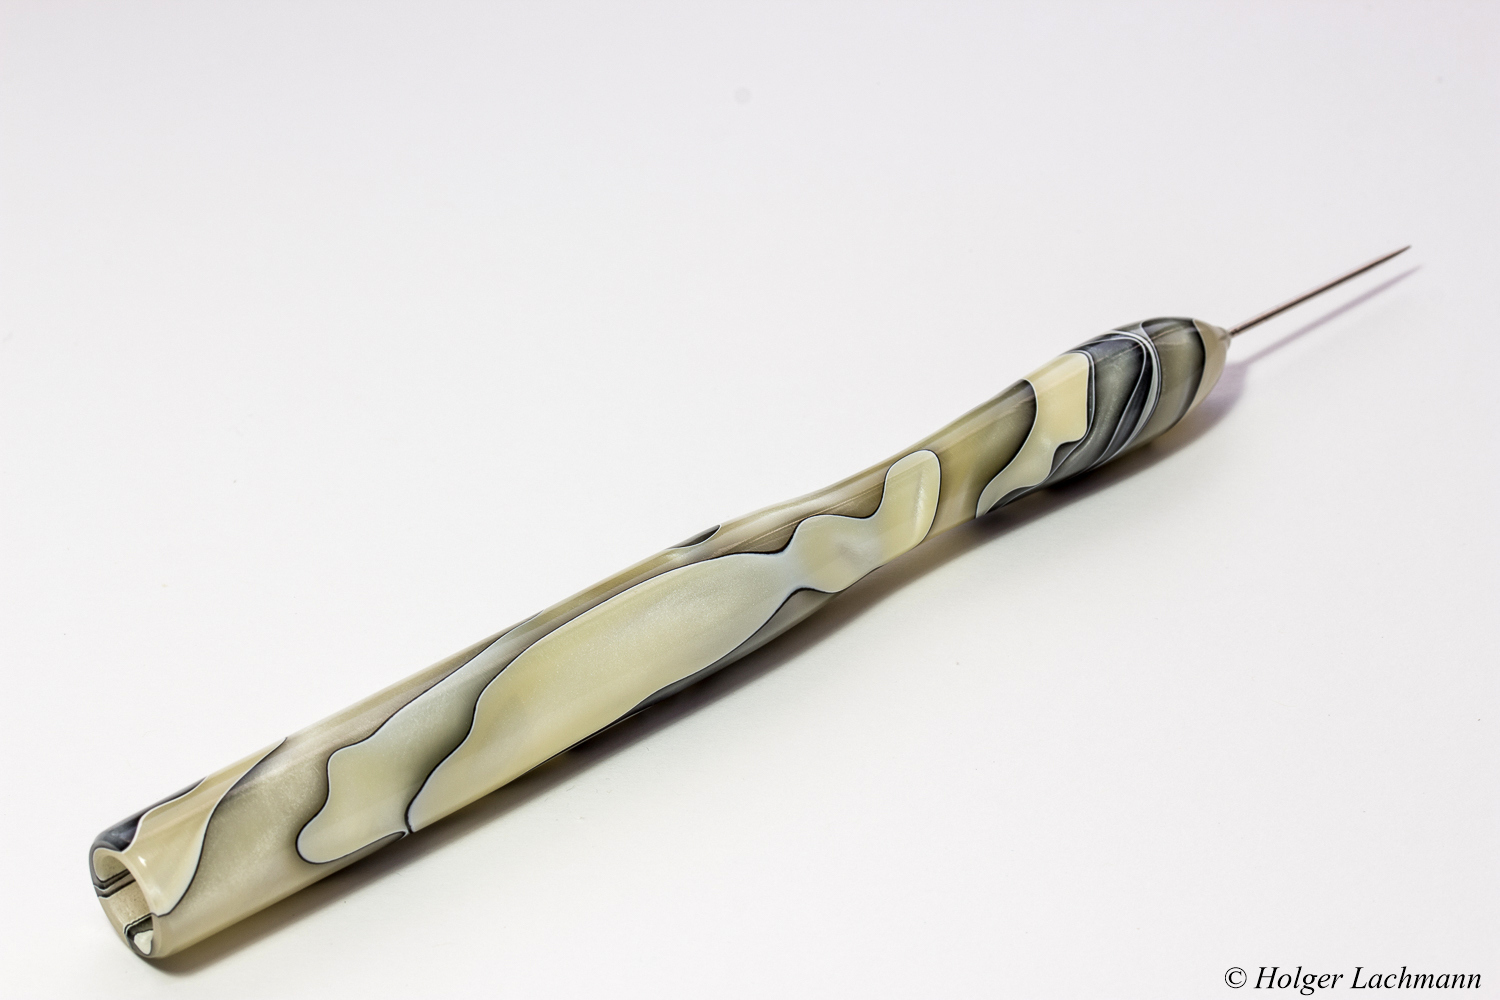
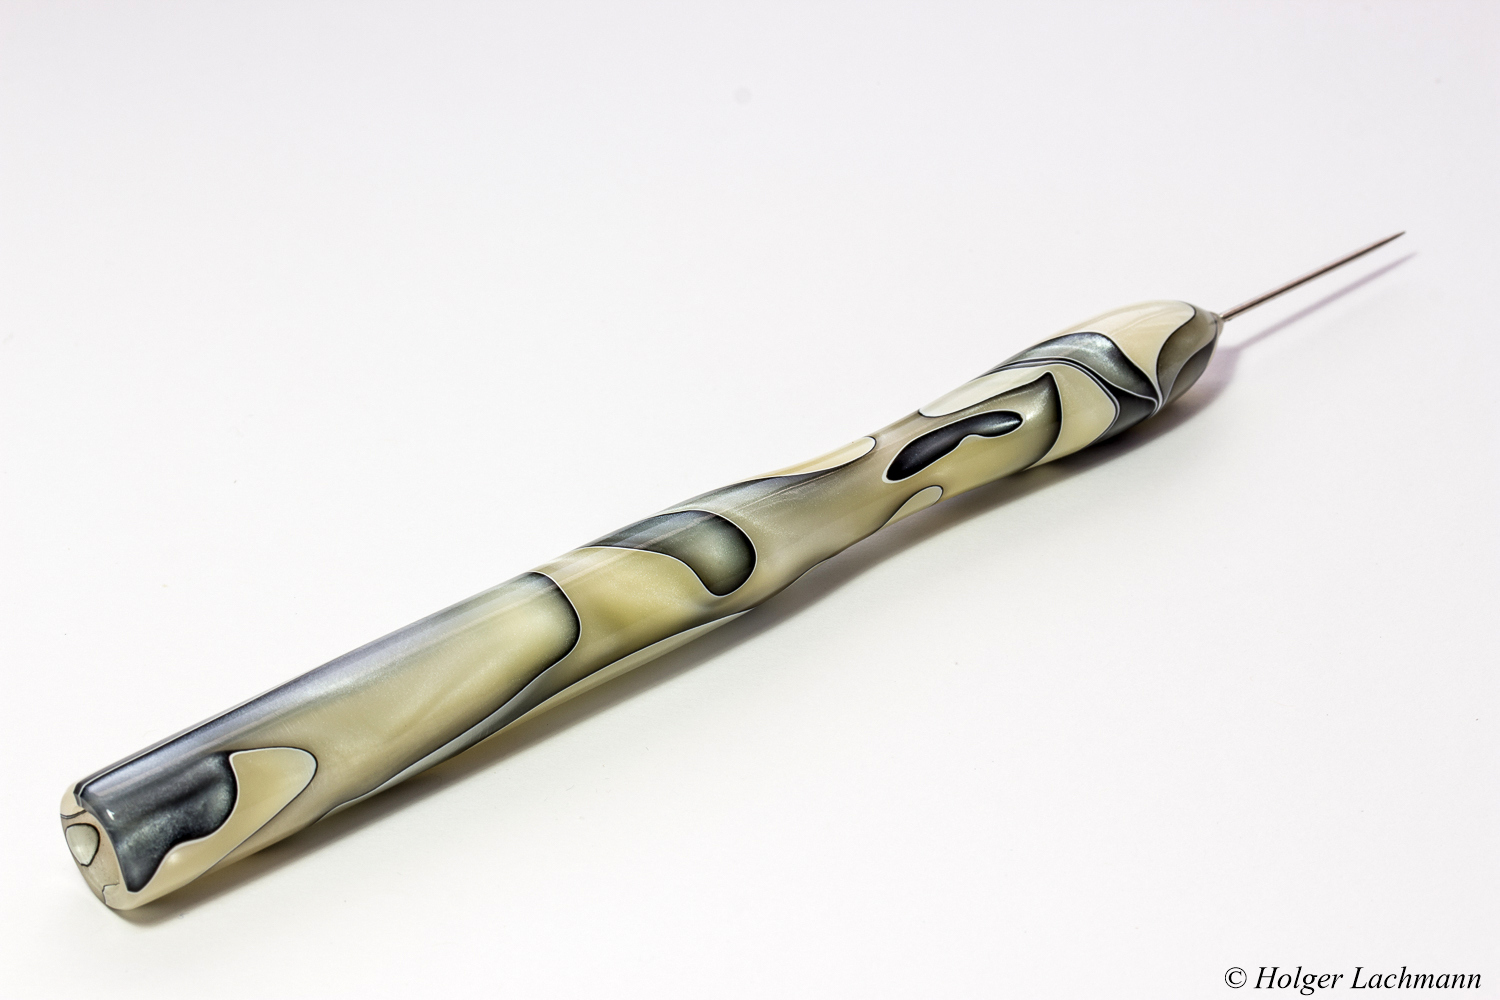
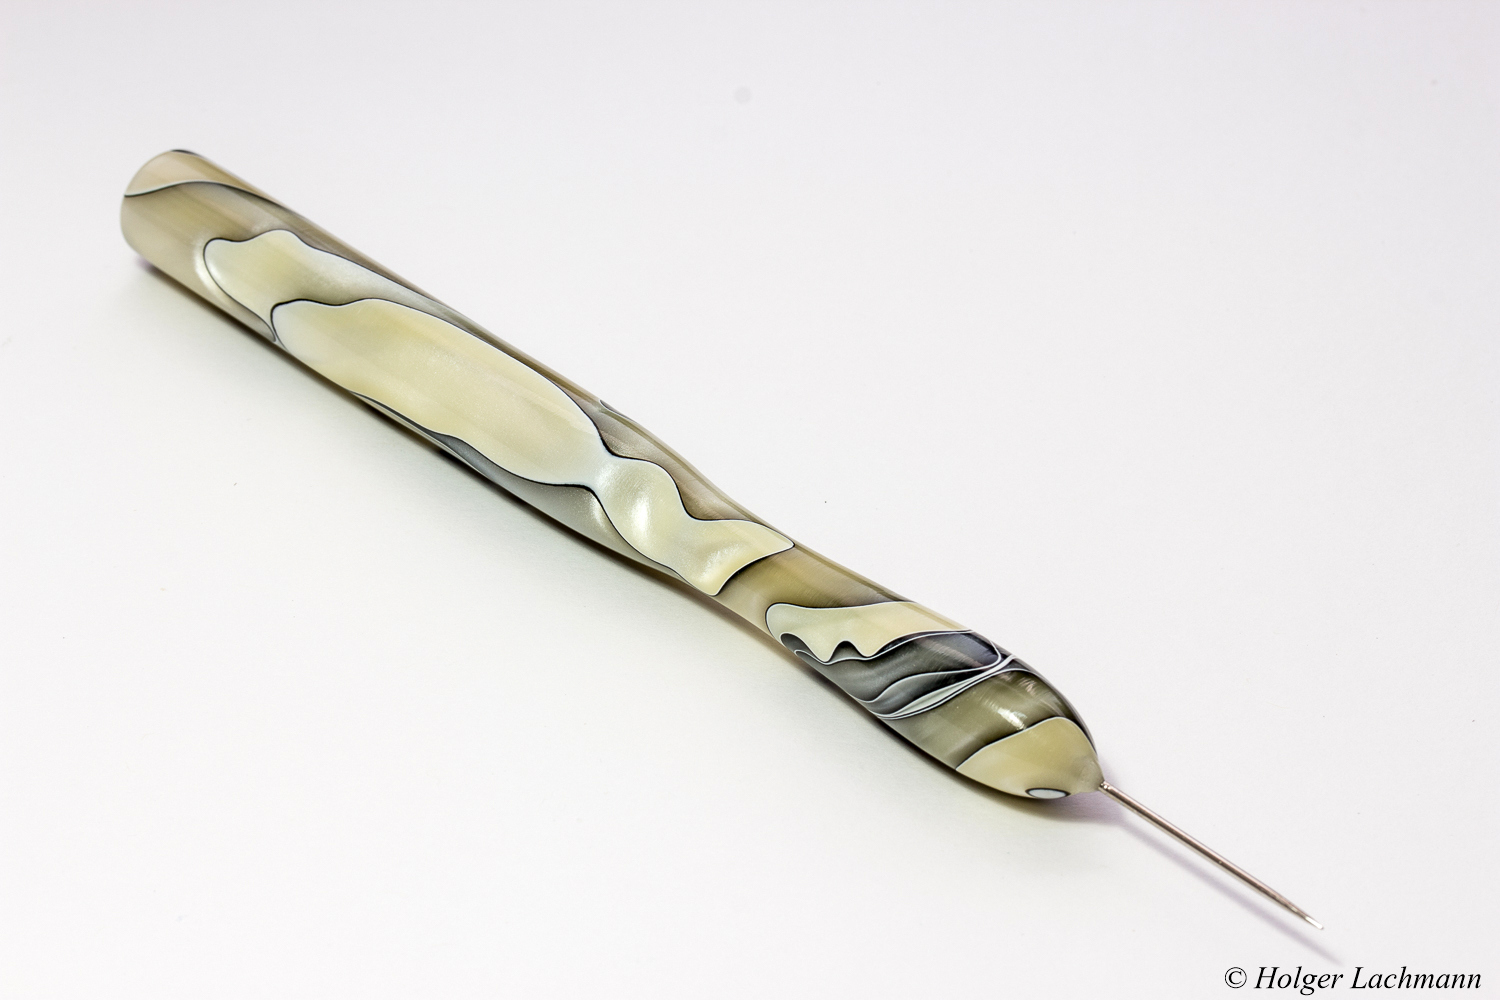
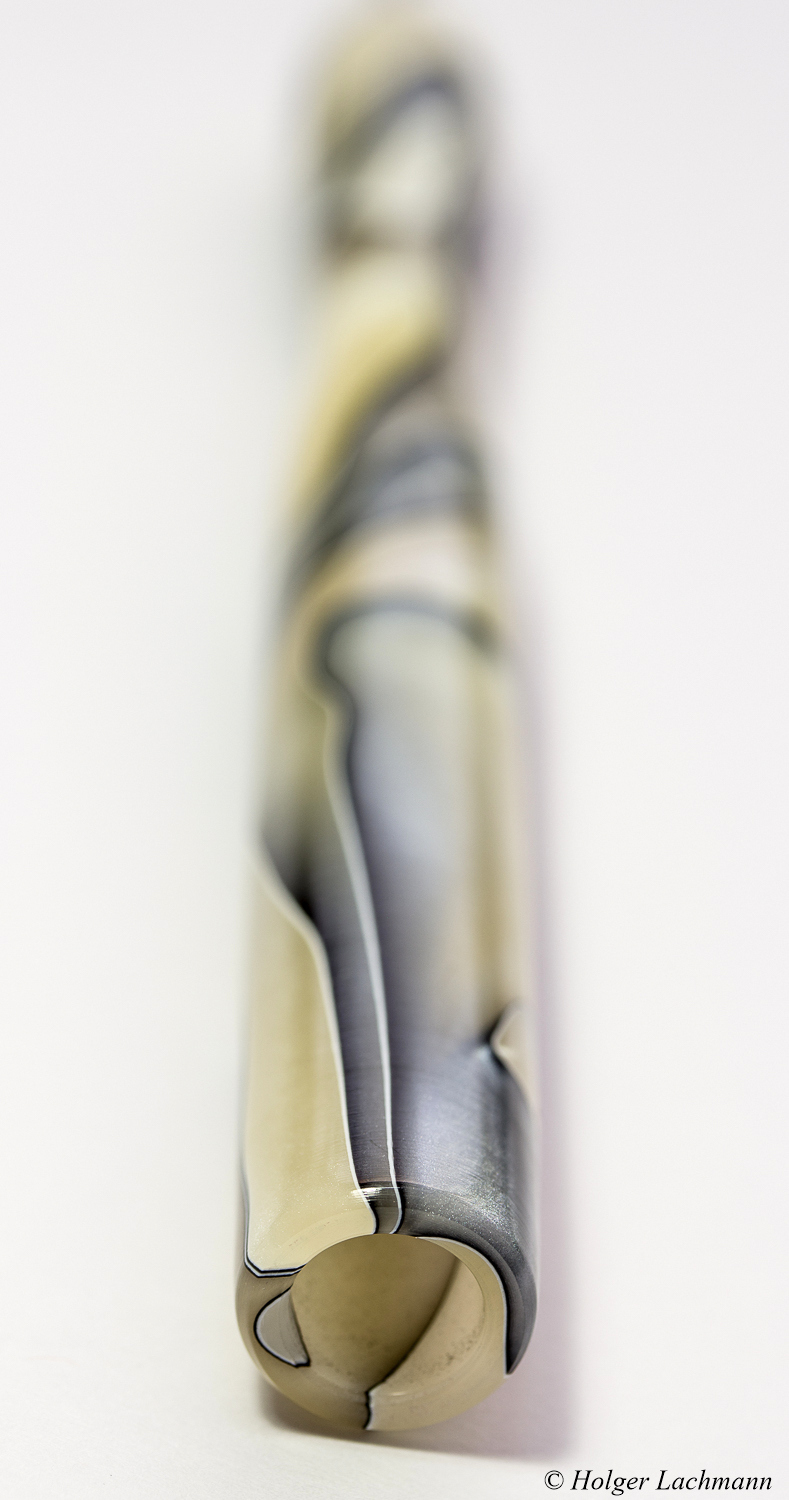
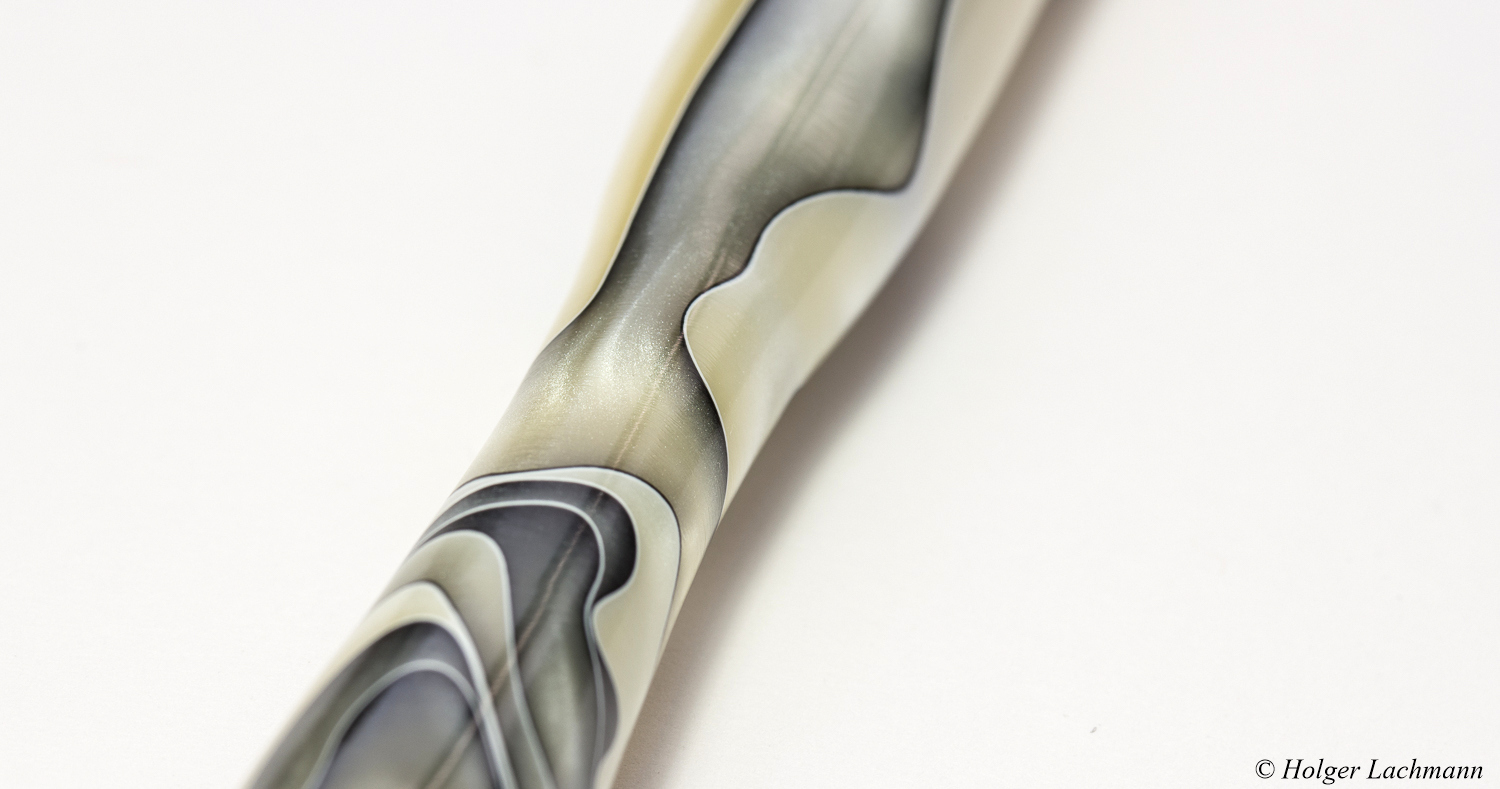
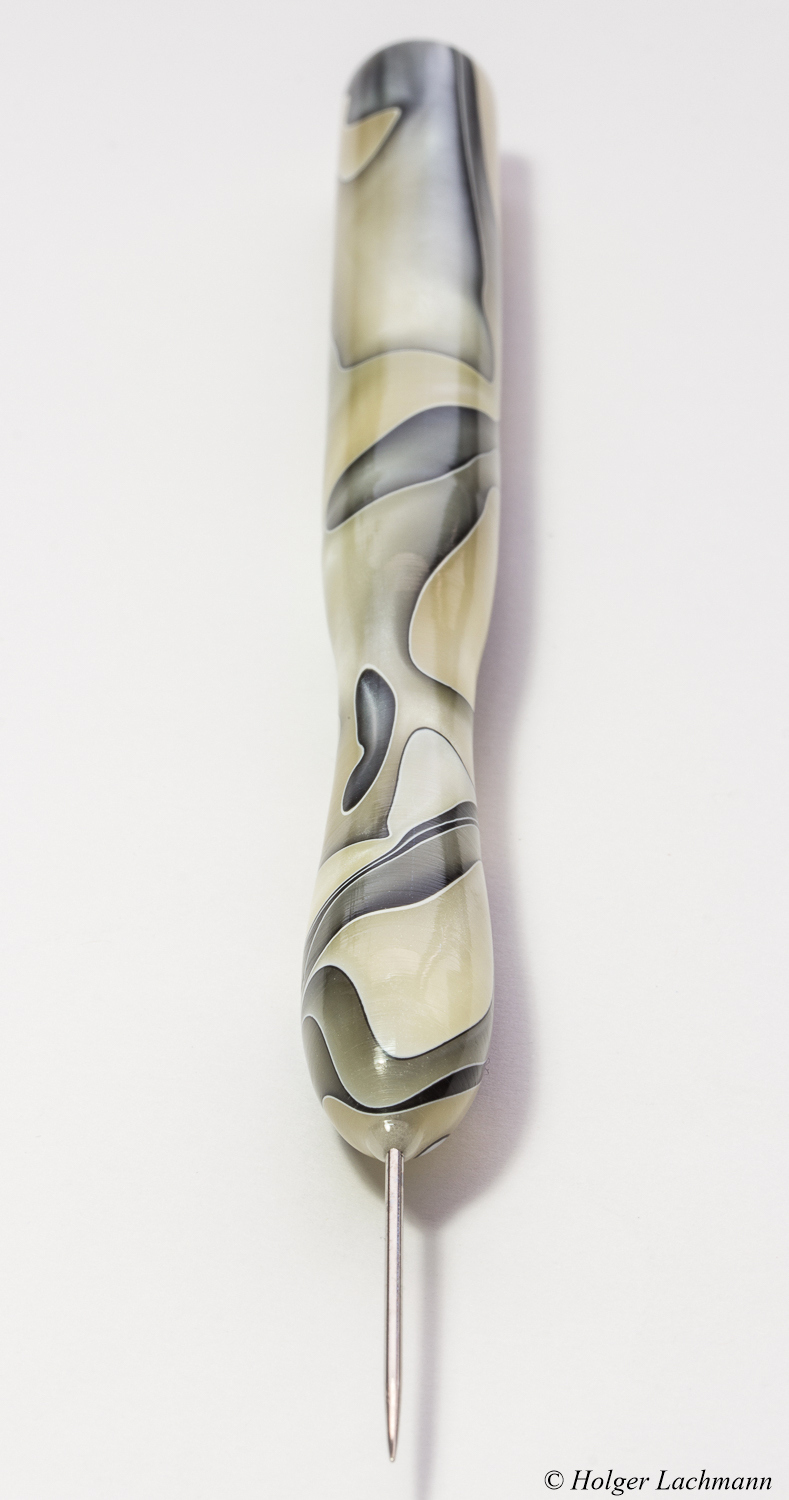
André is a very good craftsman and he made me this awesome dubbing needle. It’s not just a dubbing needle, it’s also a bucktail reverse tool. At the end is a recess, so you can use the dubbing needle to push back bucktail when you tie Hollow Flies, Pike Tubes or big Streamer. Works awesome!
The dubbing needle looks in reality even better, than on the pictures! The brighter parts are shimmering like mother or pearl. So nice! I really love it and I will use it for many, many years!
If you also want such a beautiful dubbing needle, you can ask André to make one for you, too. The possibilities of color and shape are almost endless.
Just visit his homepage www.andremiegies.nl
Or write him an e-mail andremiegies@gmail.com or visit his Facebook page https://www.facebook.com/andre.miegies
Thanks a lot André! I really appreciate your skills! The next beer is on me! :-)
Cased Caddis 2.0
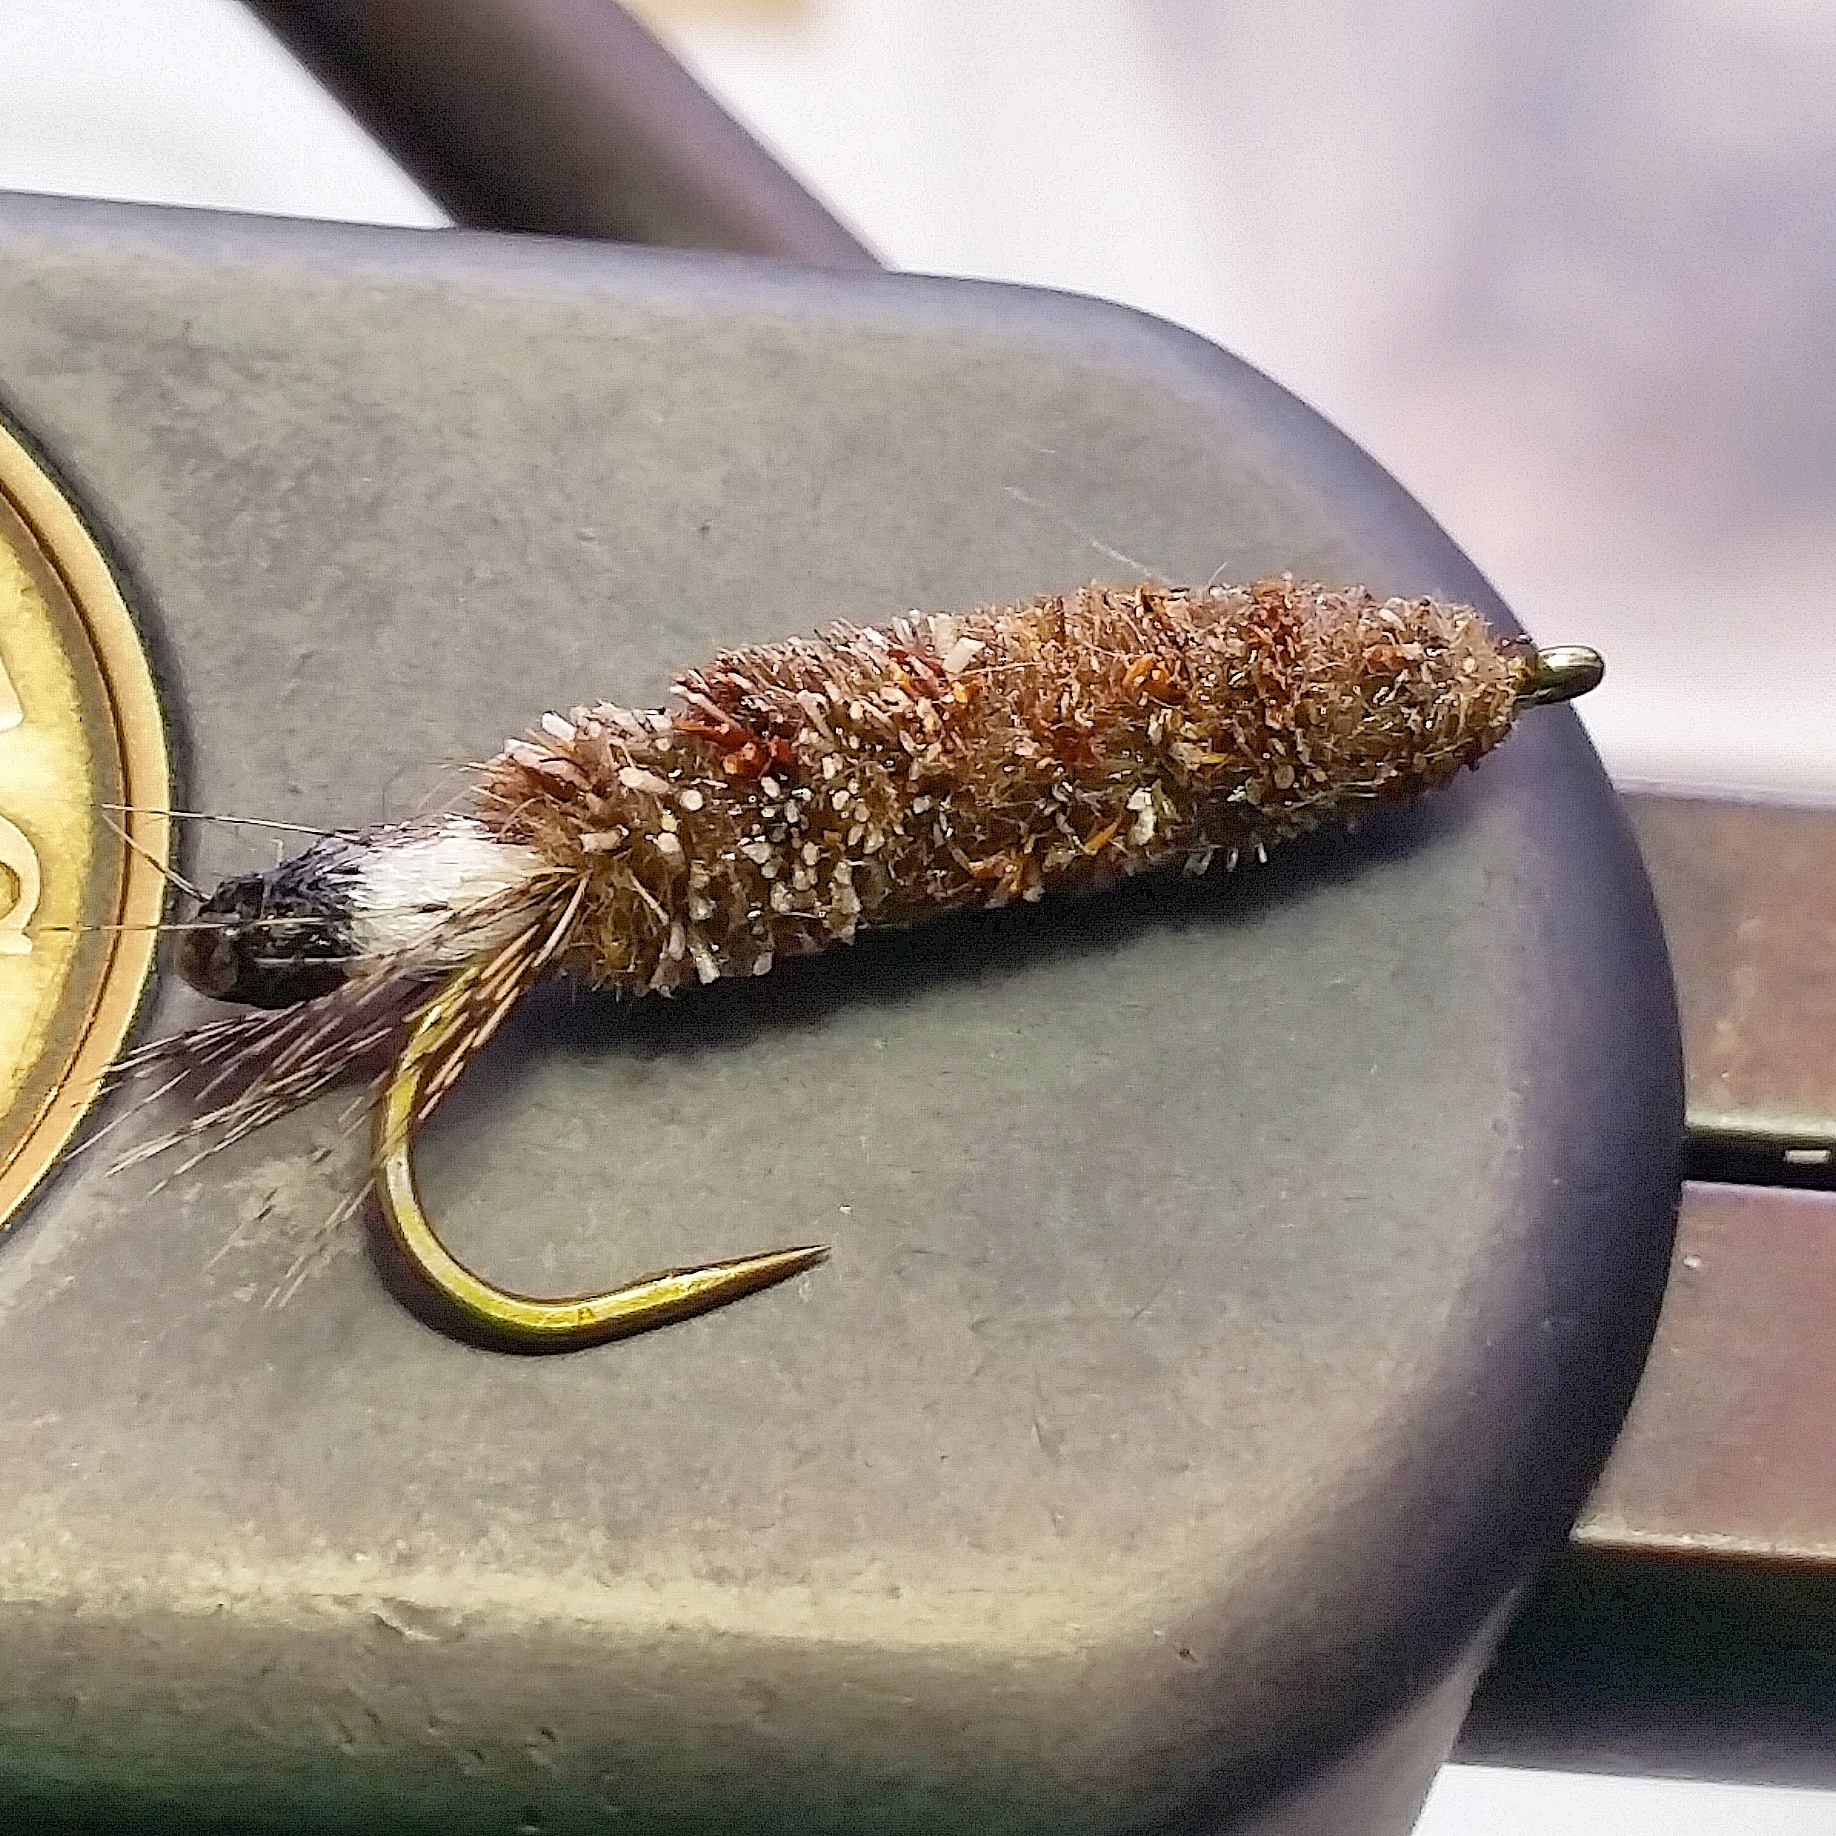
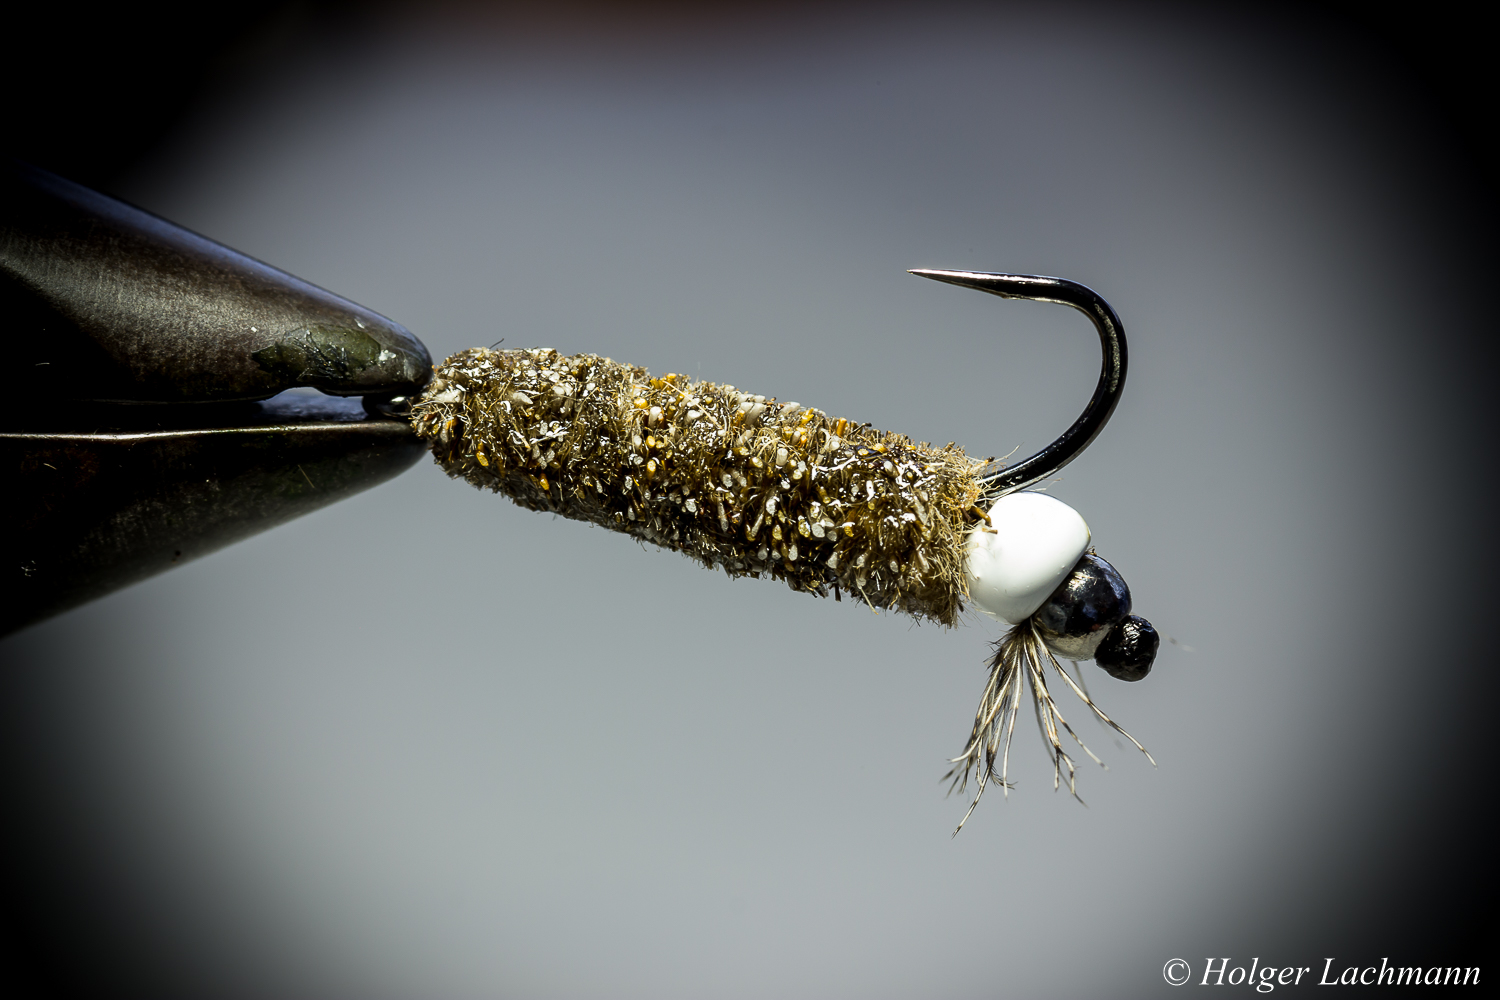
Cased Caddis
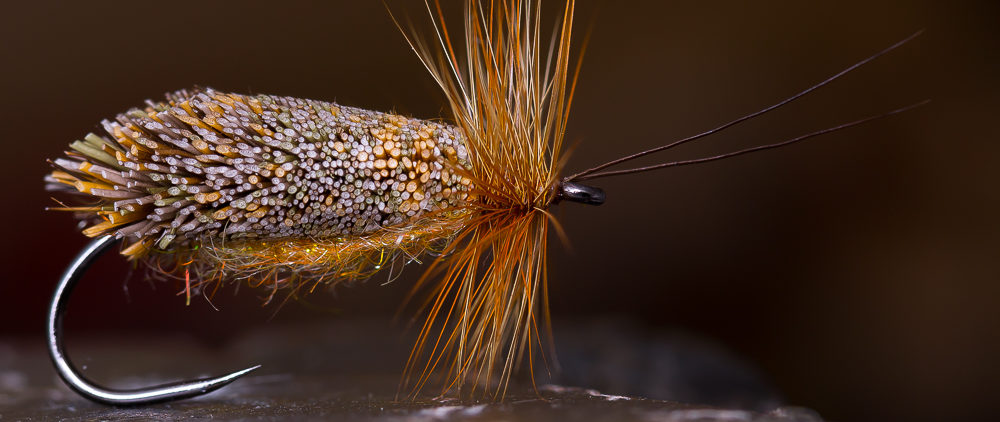
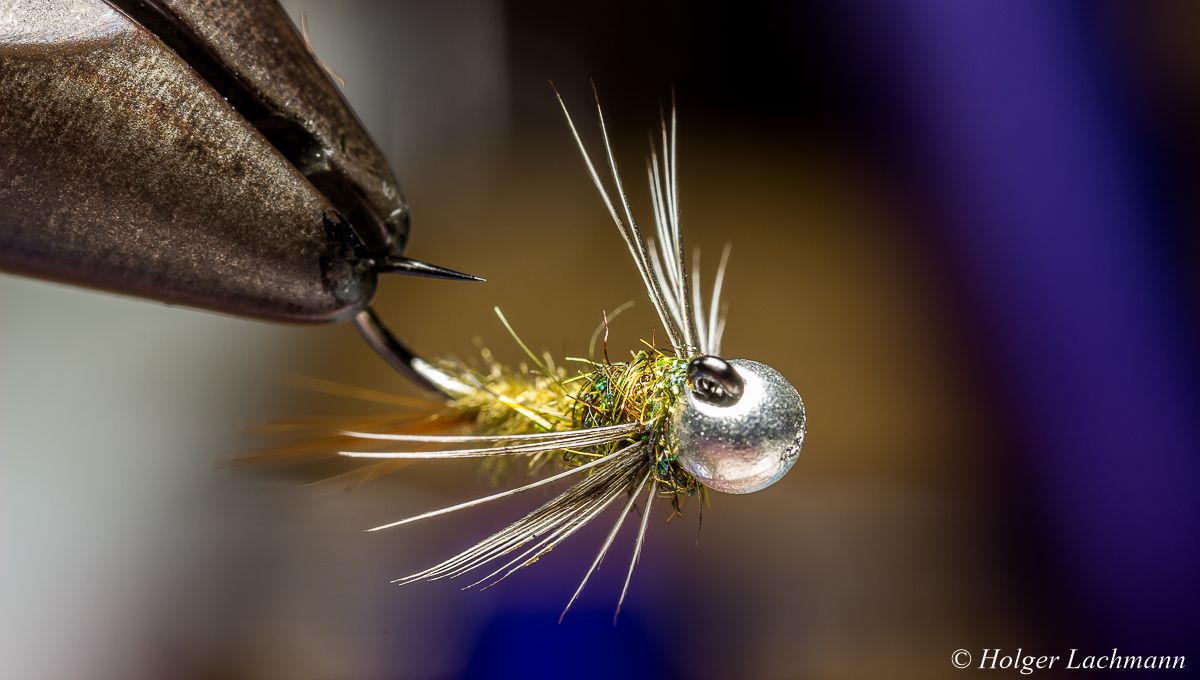
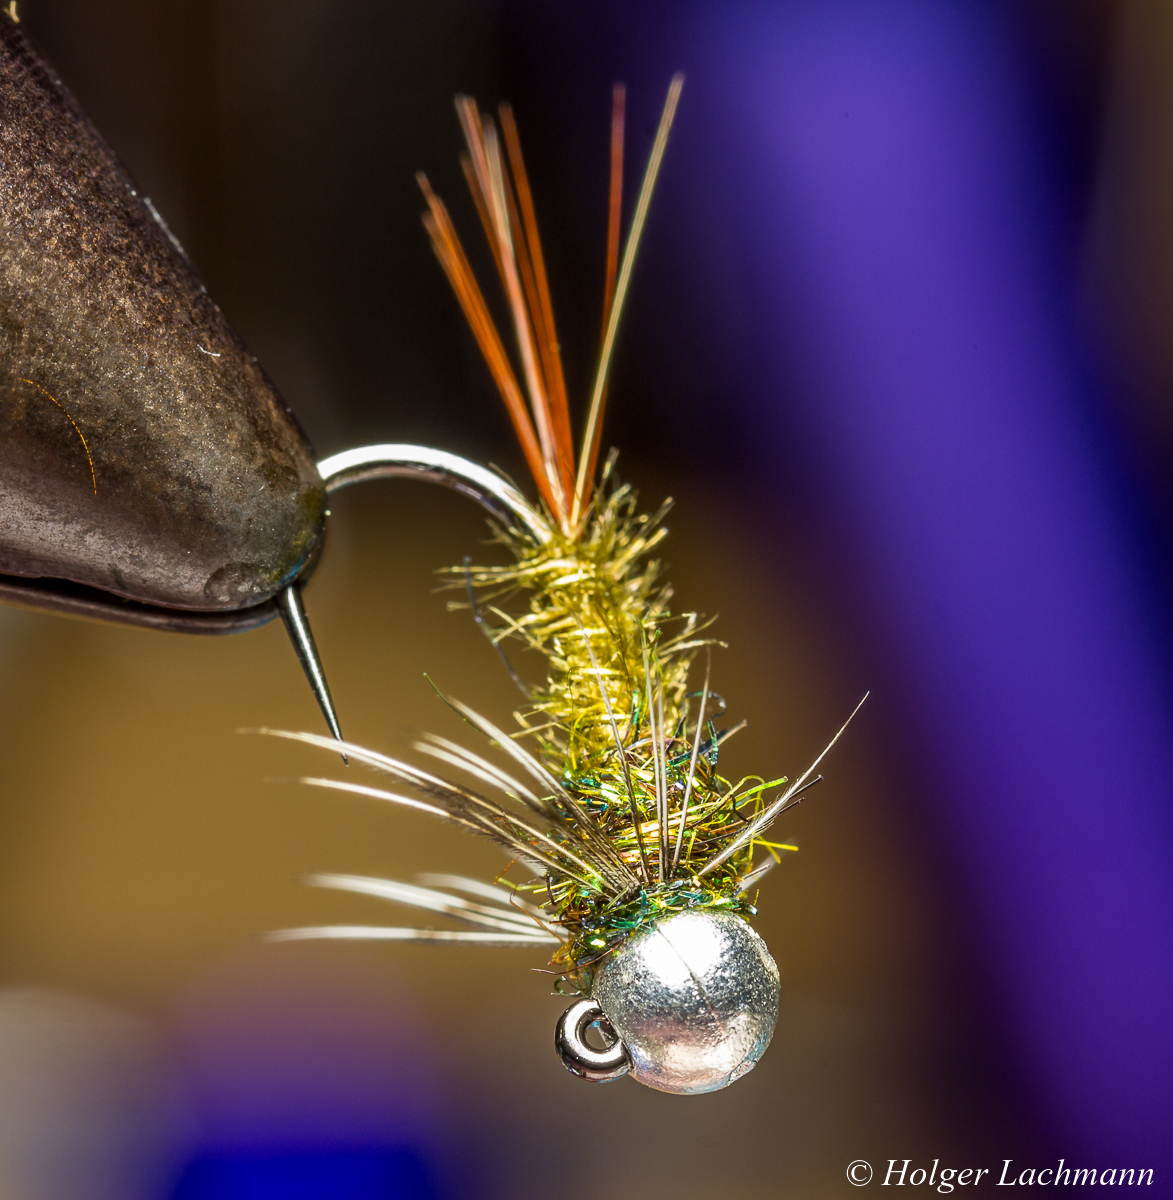
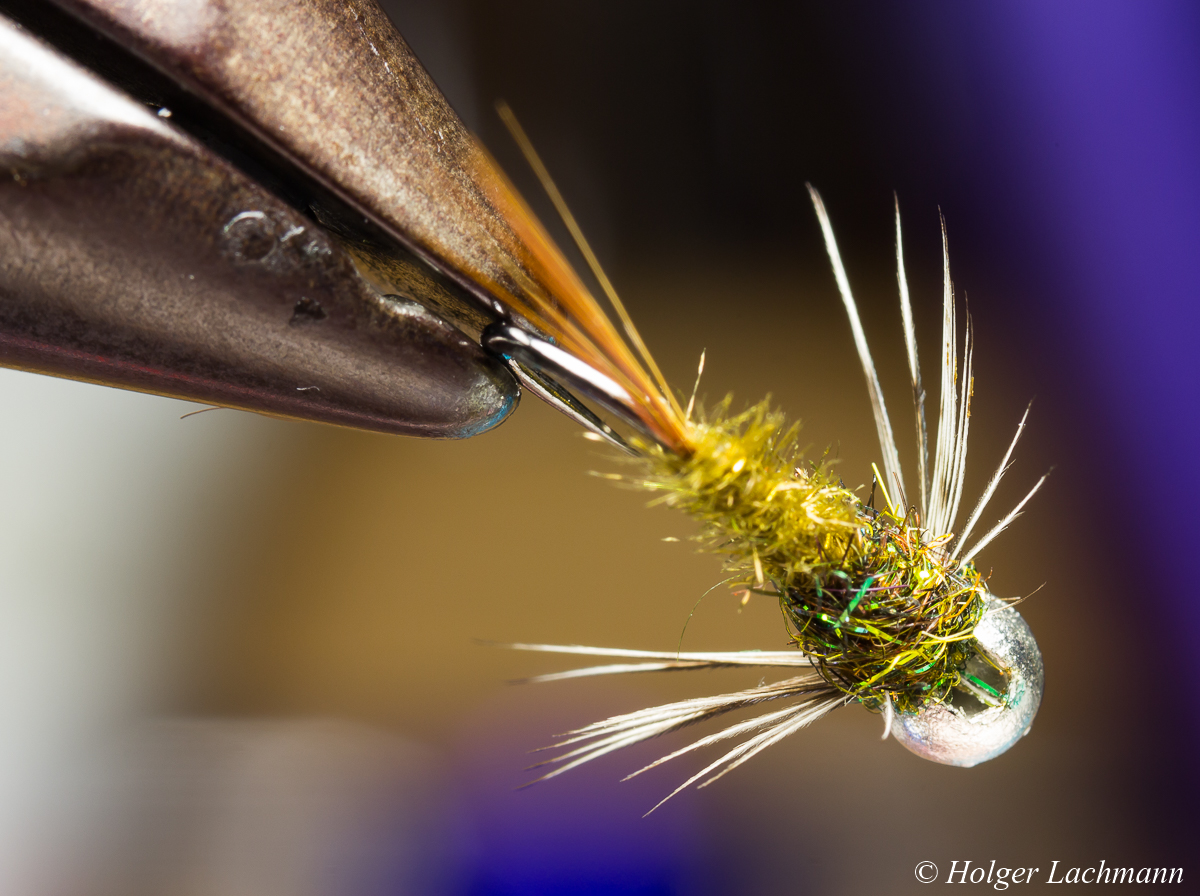
I didn’t tie a cased caddis since a looooooooooong time, but the nice flies of my buddy Thomas inspired me to think about a new pattern. To be honest, this is a mean fly because of the two tungsten beads. It sinks really fast. The case is secured with Bug Bond Lite, so it’s super durable and hard as the original. I will tie some more with less weight and different weight balances…
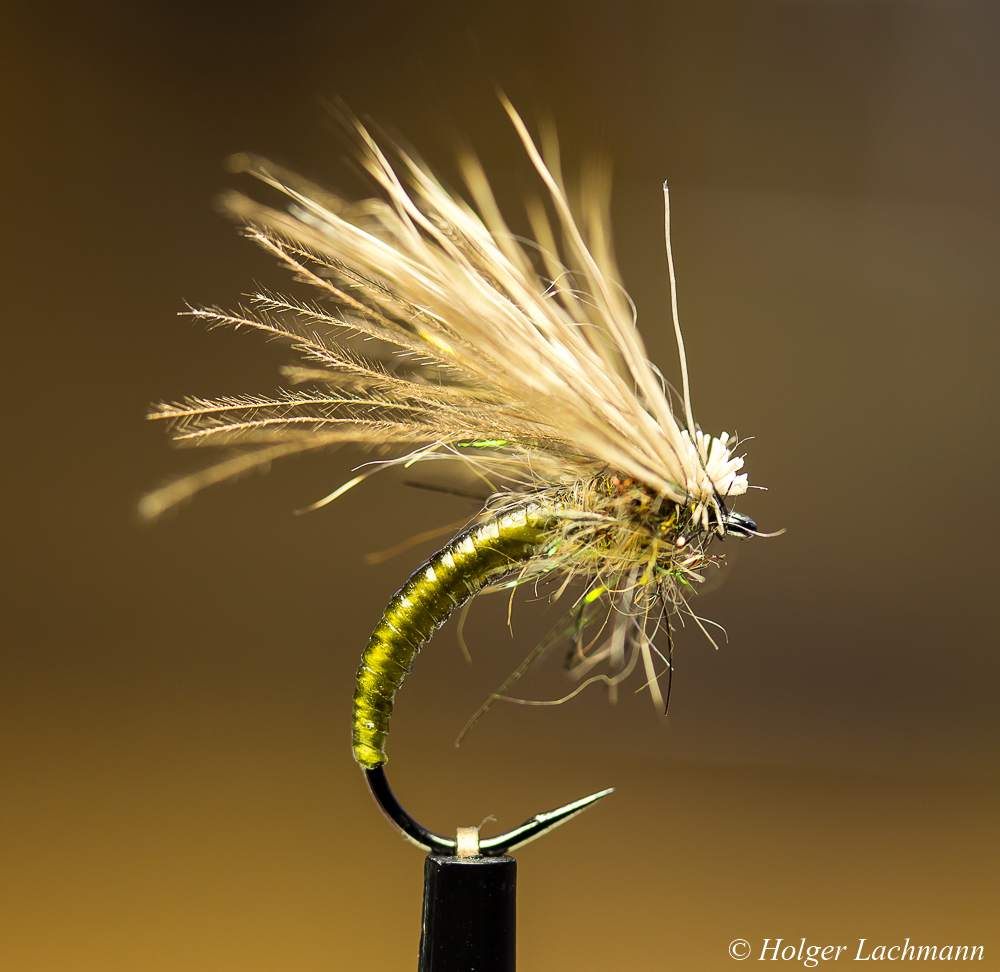
Fuzzy Emerger
Tied on a Tiemco 212y #15, the nice segmented body made out of Stretch Flex is hanging in the surface. The dubbing, a mix of Hare’s Ear and Peacock Dubbing is imitating the legs and the CDC and Deer Hair makes this emerger float quite well. Just don’t put floatant on the body.
Good during mayfly hatches and works on a caddis hatch, too.
