Fuzzy May Fly Nymph
Antworten


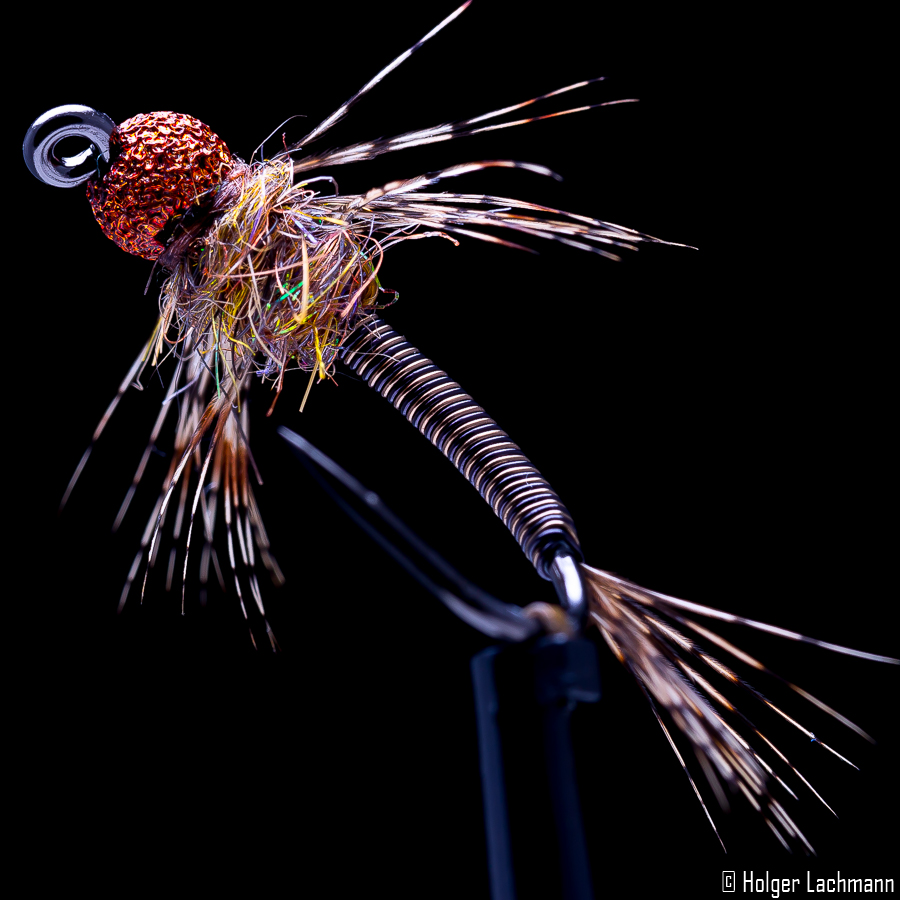

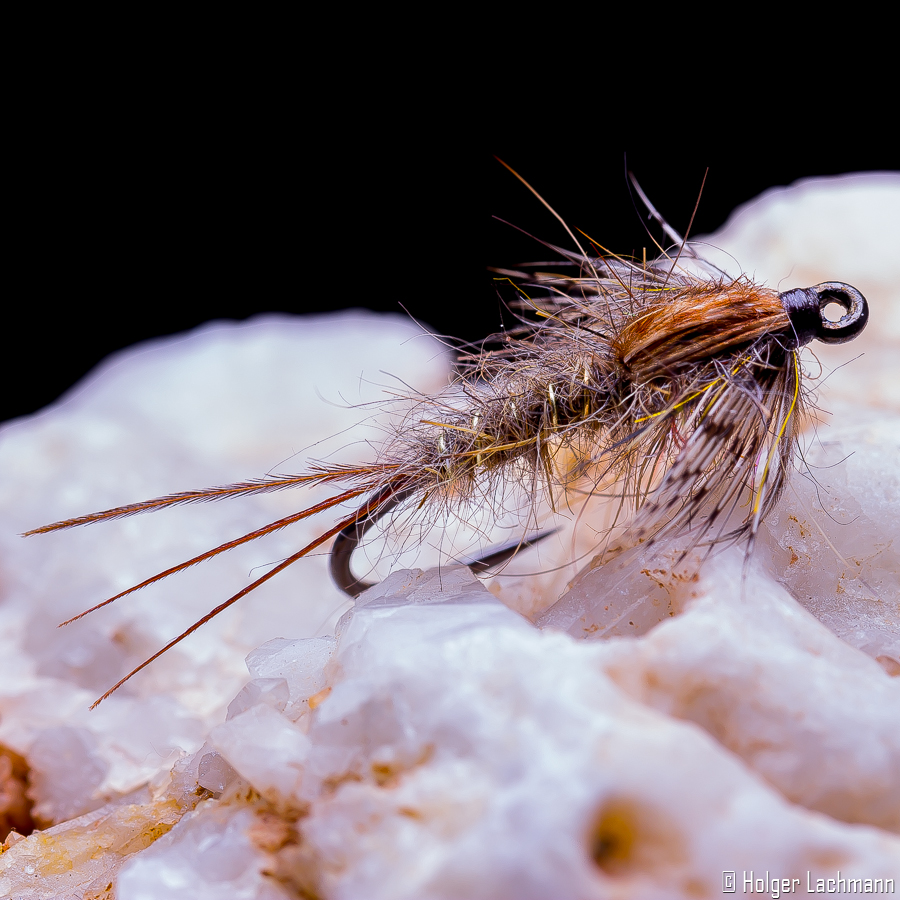
I like those kind of nymphs. Easy to tie, very durable and it sinks extremely fast, because of the weight and the slim profile. Top fishing fly.

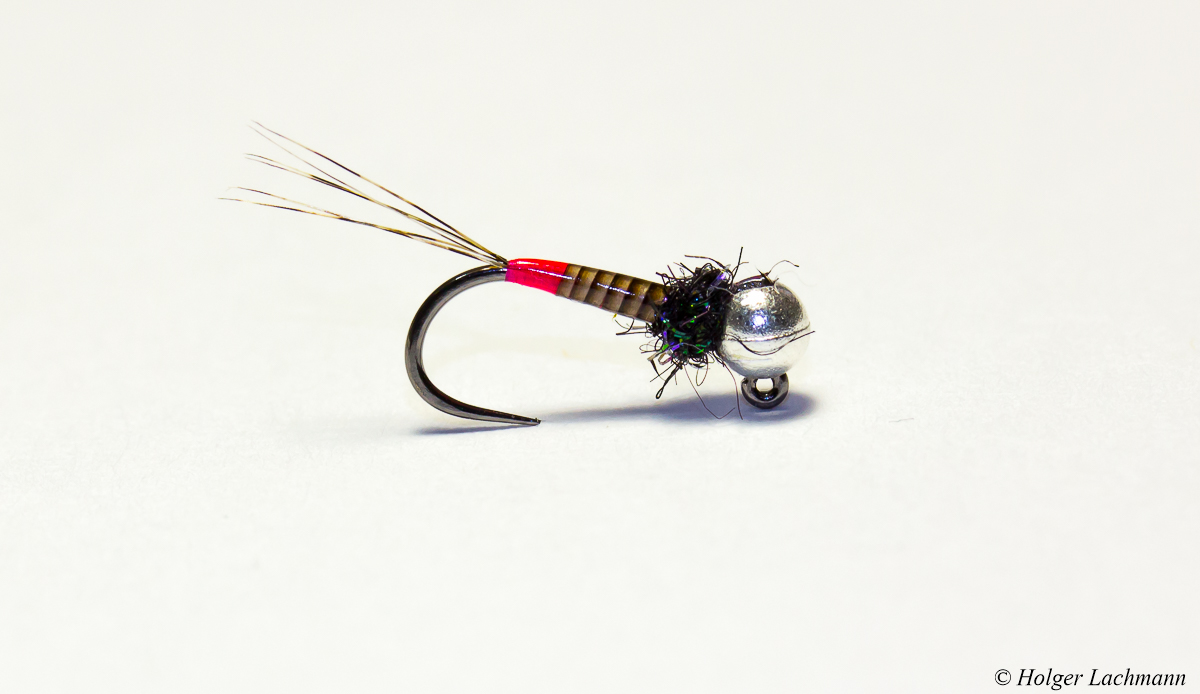
Click to enlarge for a better quality of the picture
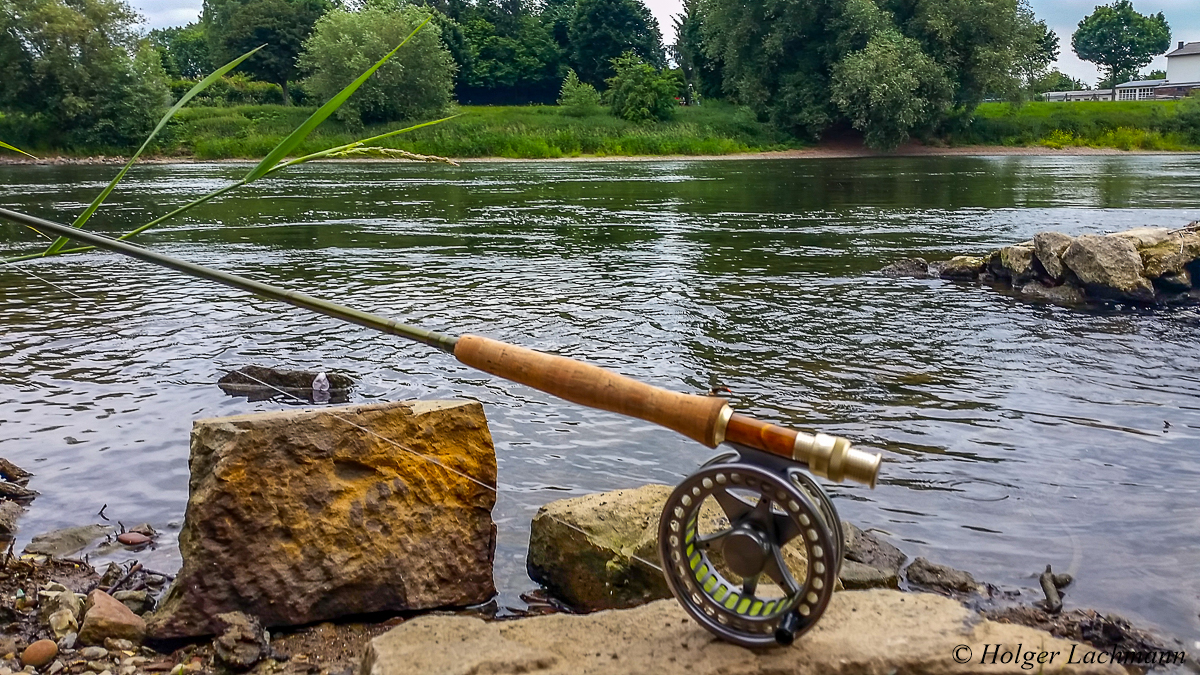
I didn’t got a lot of time today, but I was able to drive at noon for an hour to the river to look for the chubs. On the 5th or 6th cast, I hooked a really nice fish. It fought very hard, like it was on steroids… I was sure, that the chub ruined the pool, but after some minutes I caught some more fish. A really nice short trip. The nymph I’ve used was tied 20 minutes befor I went to the river. ;-)
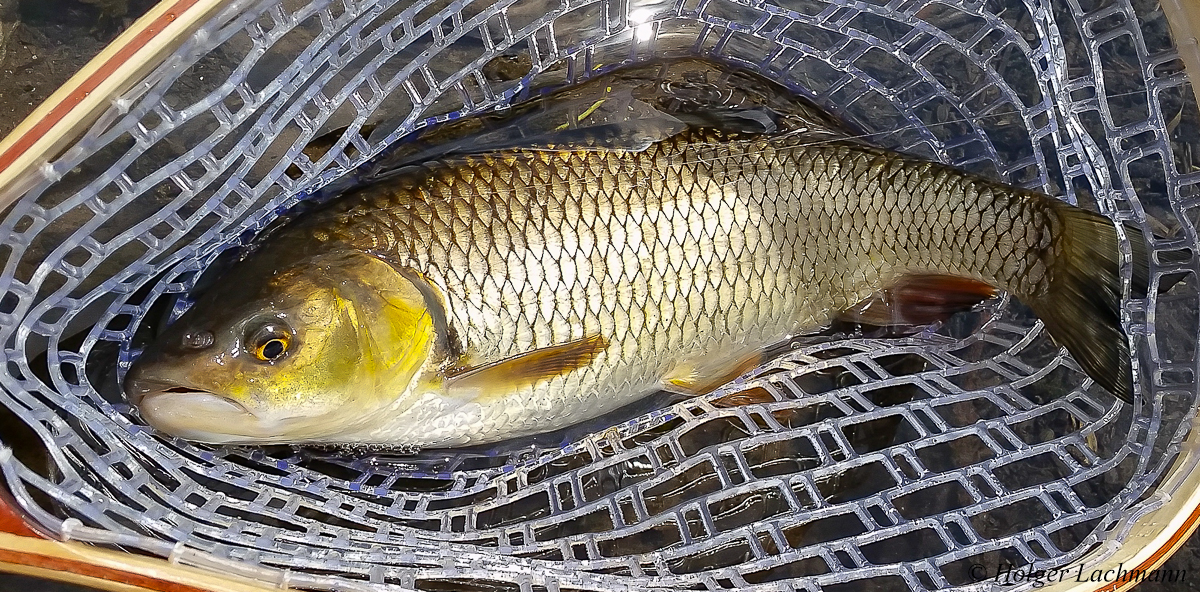
A perfect big chub in top condition! Flawless! It doesn’t have to be trout or grayling all the time. Sometimes, the big chubs are harder to catch than trouts!
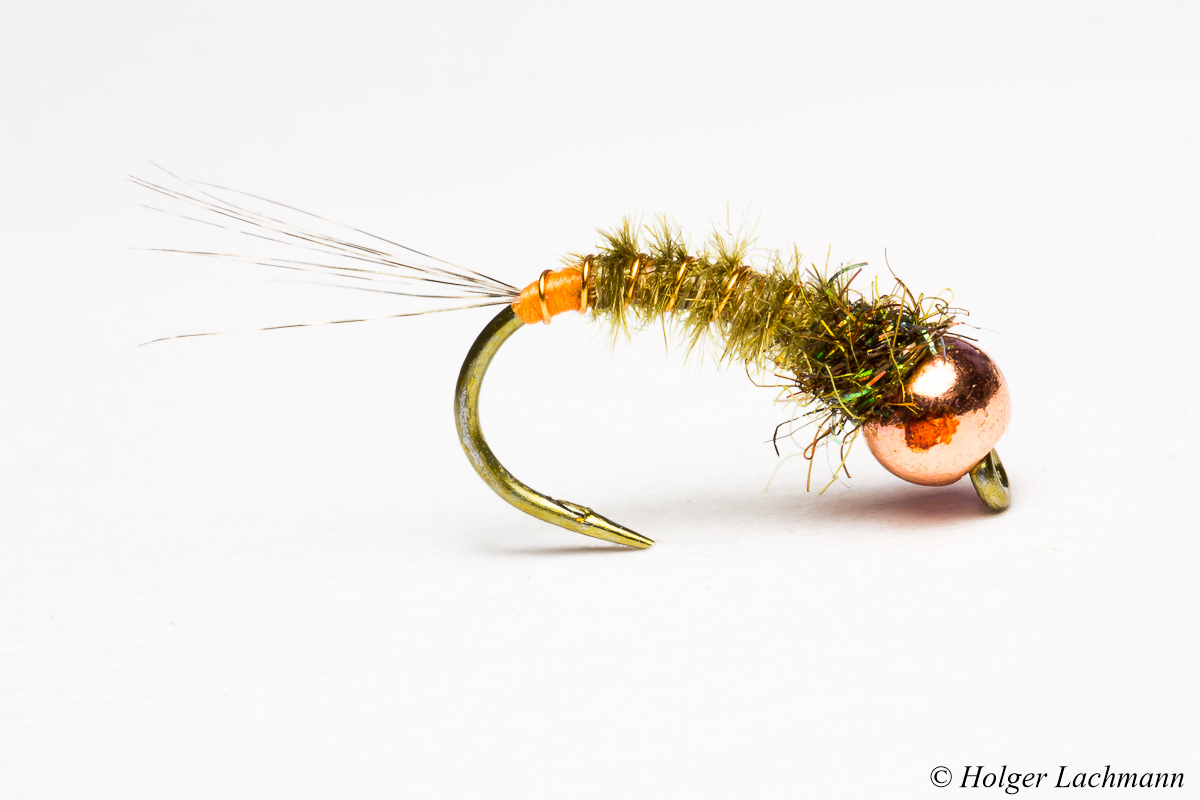
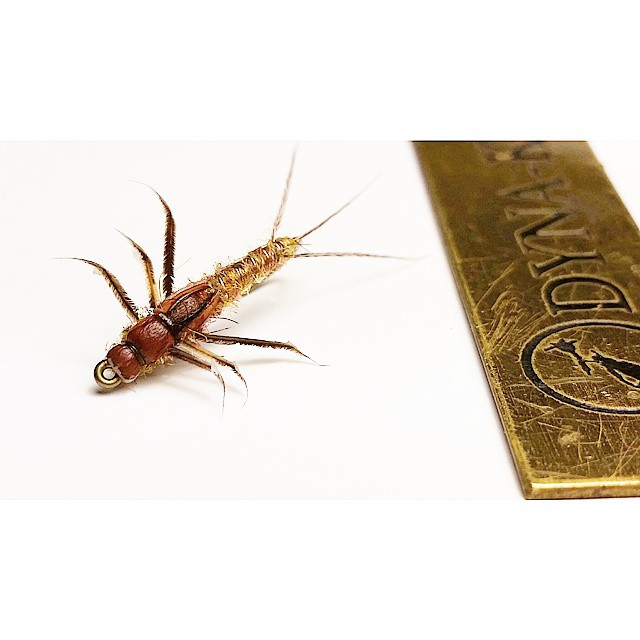
This is my first try on Martin Rudin’s very nice „Leftover Nymph“. It looks very realistic und is not as complicated to tie, as you may think.
Martin did a nice step by step tutorial on his website. It’s in swedish, but you can see clearly how he ties his fly.
Here is the direct link:
There you will find also other nice patterns! It’s worth to check them out!
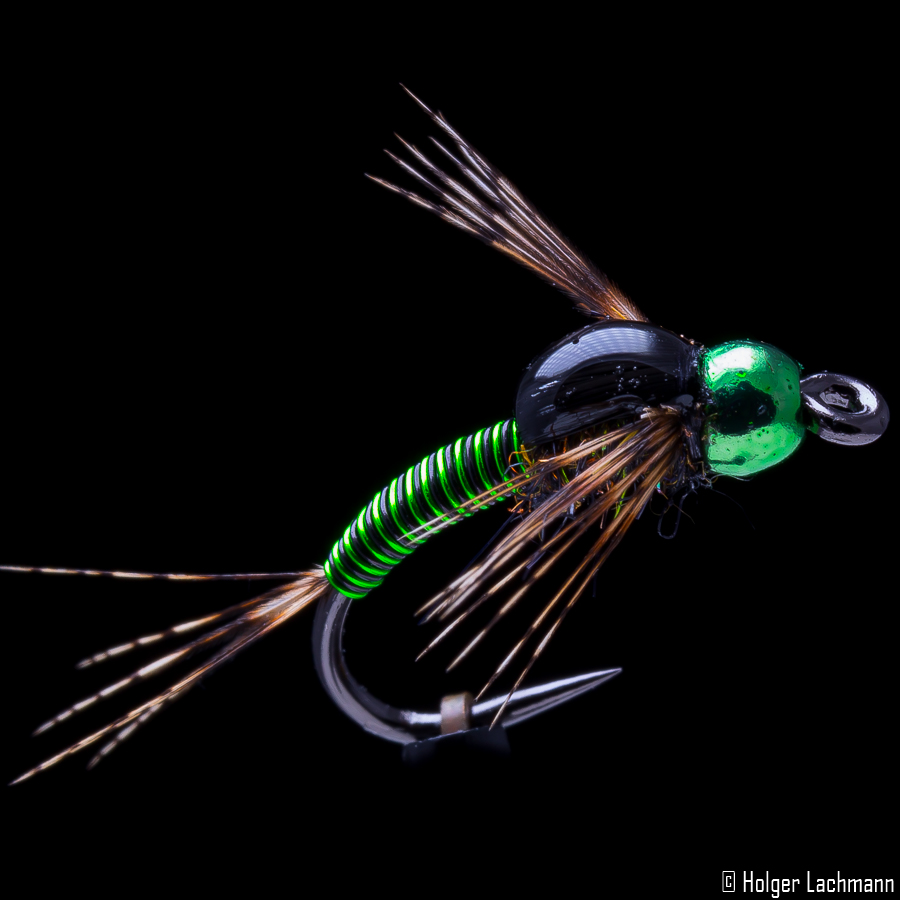
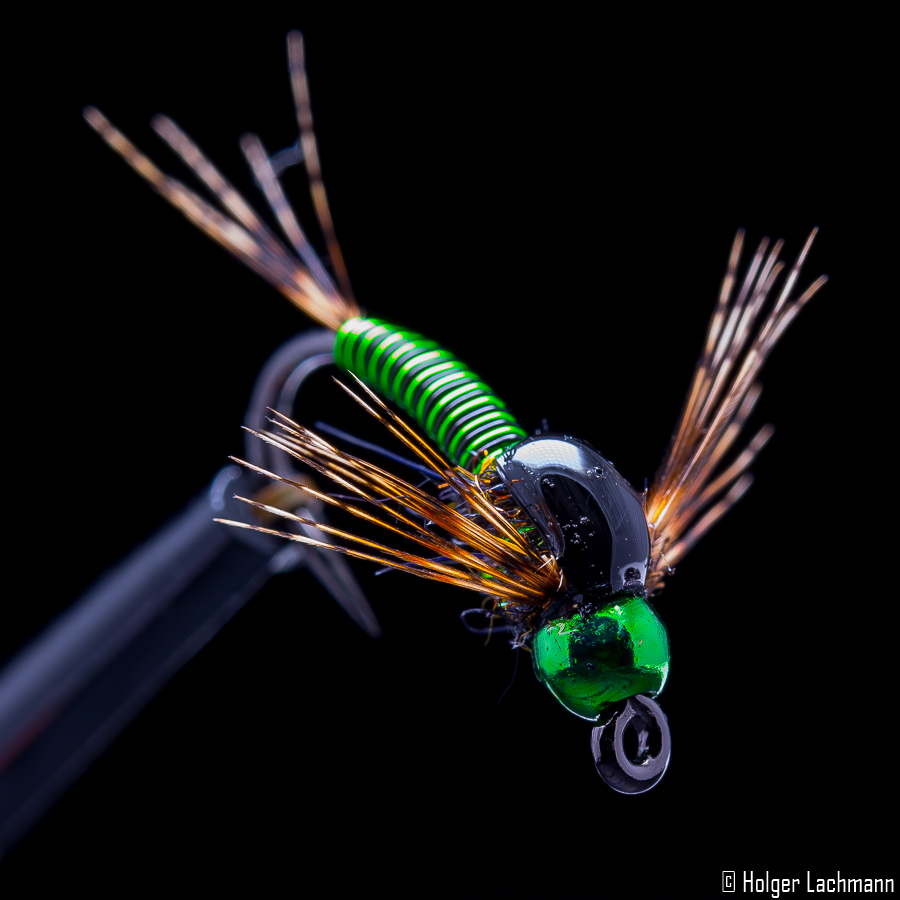
To be honest, I’m not a fan of czech nymphing. I just love to cast with a flyrod. Czech nymphing is super effectiv, no doubt about that. It’s just too less casting for my liking… ;-)
The Czech Nymphs on the other hand are pretty cool flies. I didn’t fish them much in the past, but I want to try them in the next season, especially the ones with a little hot spot. This is quite hard for me, because I got a lot more faith in natural colors. Maybe I was wrong all the time, we’ll see….
Czech Nymphs should be weighted AND as slim as possible to sink fast. That’s not the easiest task. You have to find the right amount of dubbing. Less is more!
I look forward testing them in a nice stream for trout and grayling. :-)

This Caddis Pupa, tied on a Daiichi Klinkhamer hook # 14 was the last fly I tied in 2013.

")
Here’s the step by step tutorial for a mayfly nymph pattern, to imitate the BWO for example. This pattern is durable and looks quite like the natural, when drifting through the river. Don’t use too much material when tying these kind of nymphs. You should always keep the slim original in your mind.
This pattern is another example, how usefull uv-resin could be, when tying even small flies for trout and graylig. For this fly I used Clear Cure Goo Hydro, which is highly fluid like water. It’s perfect for smaller patterns and is soacked up by dubbing and feathers, what makes the flies really durable.
Materials:
")
")
")
Put the hook into the vise and wind the flat lead on the hook shank. Do a second layer of lead on the front part like shown on the foto.
")
Tie in three pheasant tail fibres to imitate the tail of the mayfly.
")
")
Tie in a small piece od stretch flex and wind it aroung the hook shank.
")
")
Cut a piece out of a pheasant tail feather and tie it in for the wing case.
")
")
Take a partridge feather and cut a little piece out of the tip. Then tie the partridge feather in with the tip first.
")
")
Dub the thorax, then fold the partridge to the front and catch it with your thread next to the hook eye.
")
")
Put a little drop of Clear Cure Goo Hydro on the stem of the partridge feather to join the dubbing with the feather. Cure the CCG Hydro with the uv torch. The hackle stem and the dubbing are joined together now. Nothing will ever slip and the legs will stay as shown on the photo.
")
")
")
")
Fold the pheasant to the front and catch it with your tying thread. Put a little drop of Clear Cure Goo Hydro on the wing case and cure it with the uv torch.
")
")
The wing case is now very durable after curing the CCG Hydro. If you want a shiny wing case, that’s what I prefer, put a second drop of CCG Hydro on the wing case and cure it. Now, the mayfly nymph is ready for fishing.
tight lines
Holger Lachmann
")
Put a tungsten bead on the hook (here it’s a TMC 2312 #12)
")
Tie in some fibres from a Coq de Leon hackle as tail.
")
Tie in stripped peacock quill.
")
Create a tapered body with the tying thread.
")
Wind the quill around the hook shank. The dark side of the quill should point to the hook bend.
")
Put a small drop of uv-resin on the body and cover the quill with a small coat.
")
The uv-resin after curing. Now, the quill body looks really nice and it’s secured against the trouts teeth. A tack free uv-resin works best.
")
Tie in some pheasant tail fibres for the wing case.
")
")
Tie in a hen hackle with the tip first. The hackle will create the legs of the nymph.
")
Dub the thorax with a dubbing of your choice. I used SLF-Spicky-Dubbing.
")
Fold the hen hackle first and then the pheasant tail fibres to the hook eye and catch it with the thread close to the tungsten bead.
")
Cut the hen hackle and the pheasant tail fibres close to the tungsten head and make a whip finish.
")
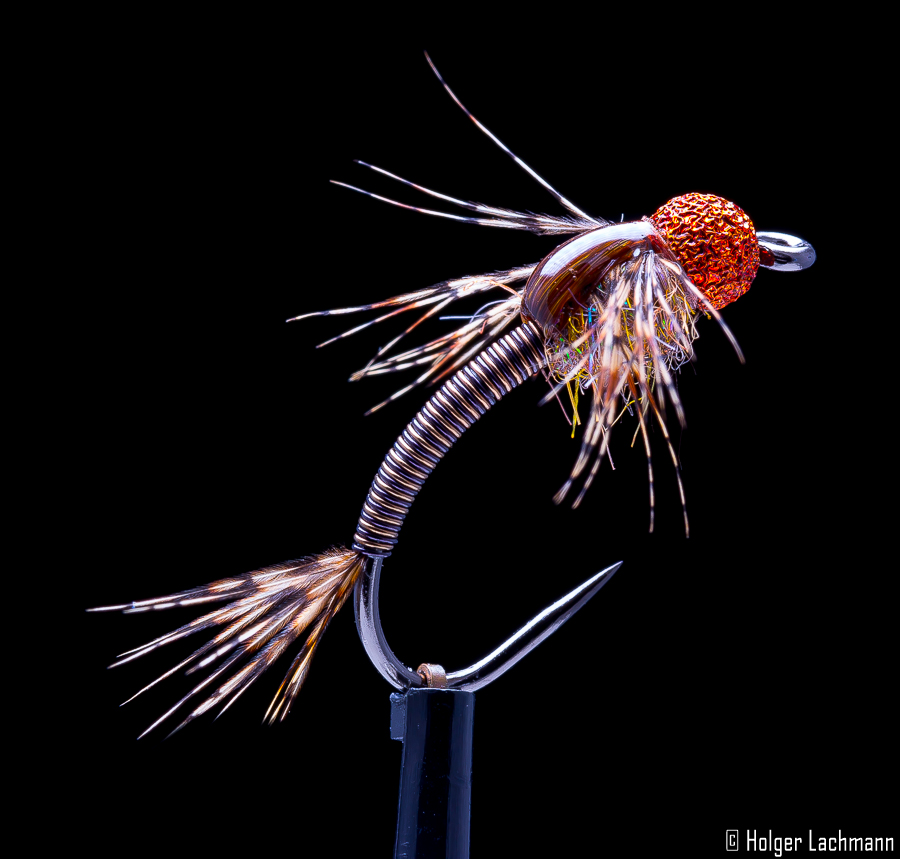
Finish the fly with a drop of uv-resin on the wing case.
A heavy nymph with quiet a real shape, nice colours and very durable.
Holger