Caddis Pupa
1


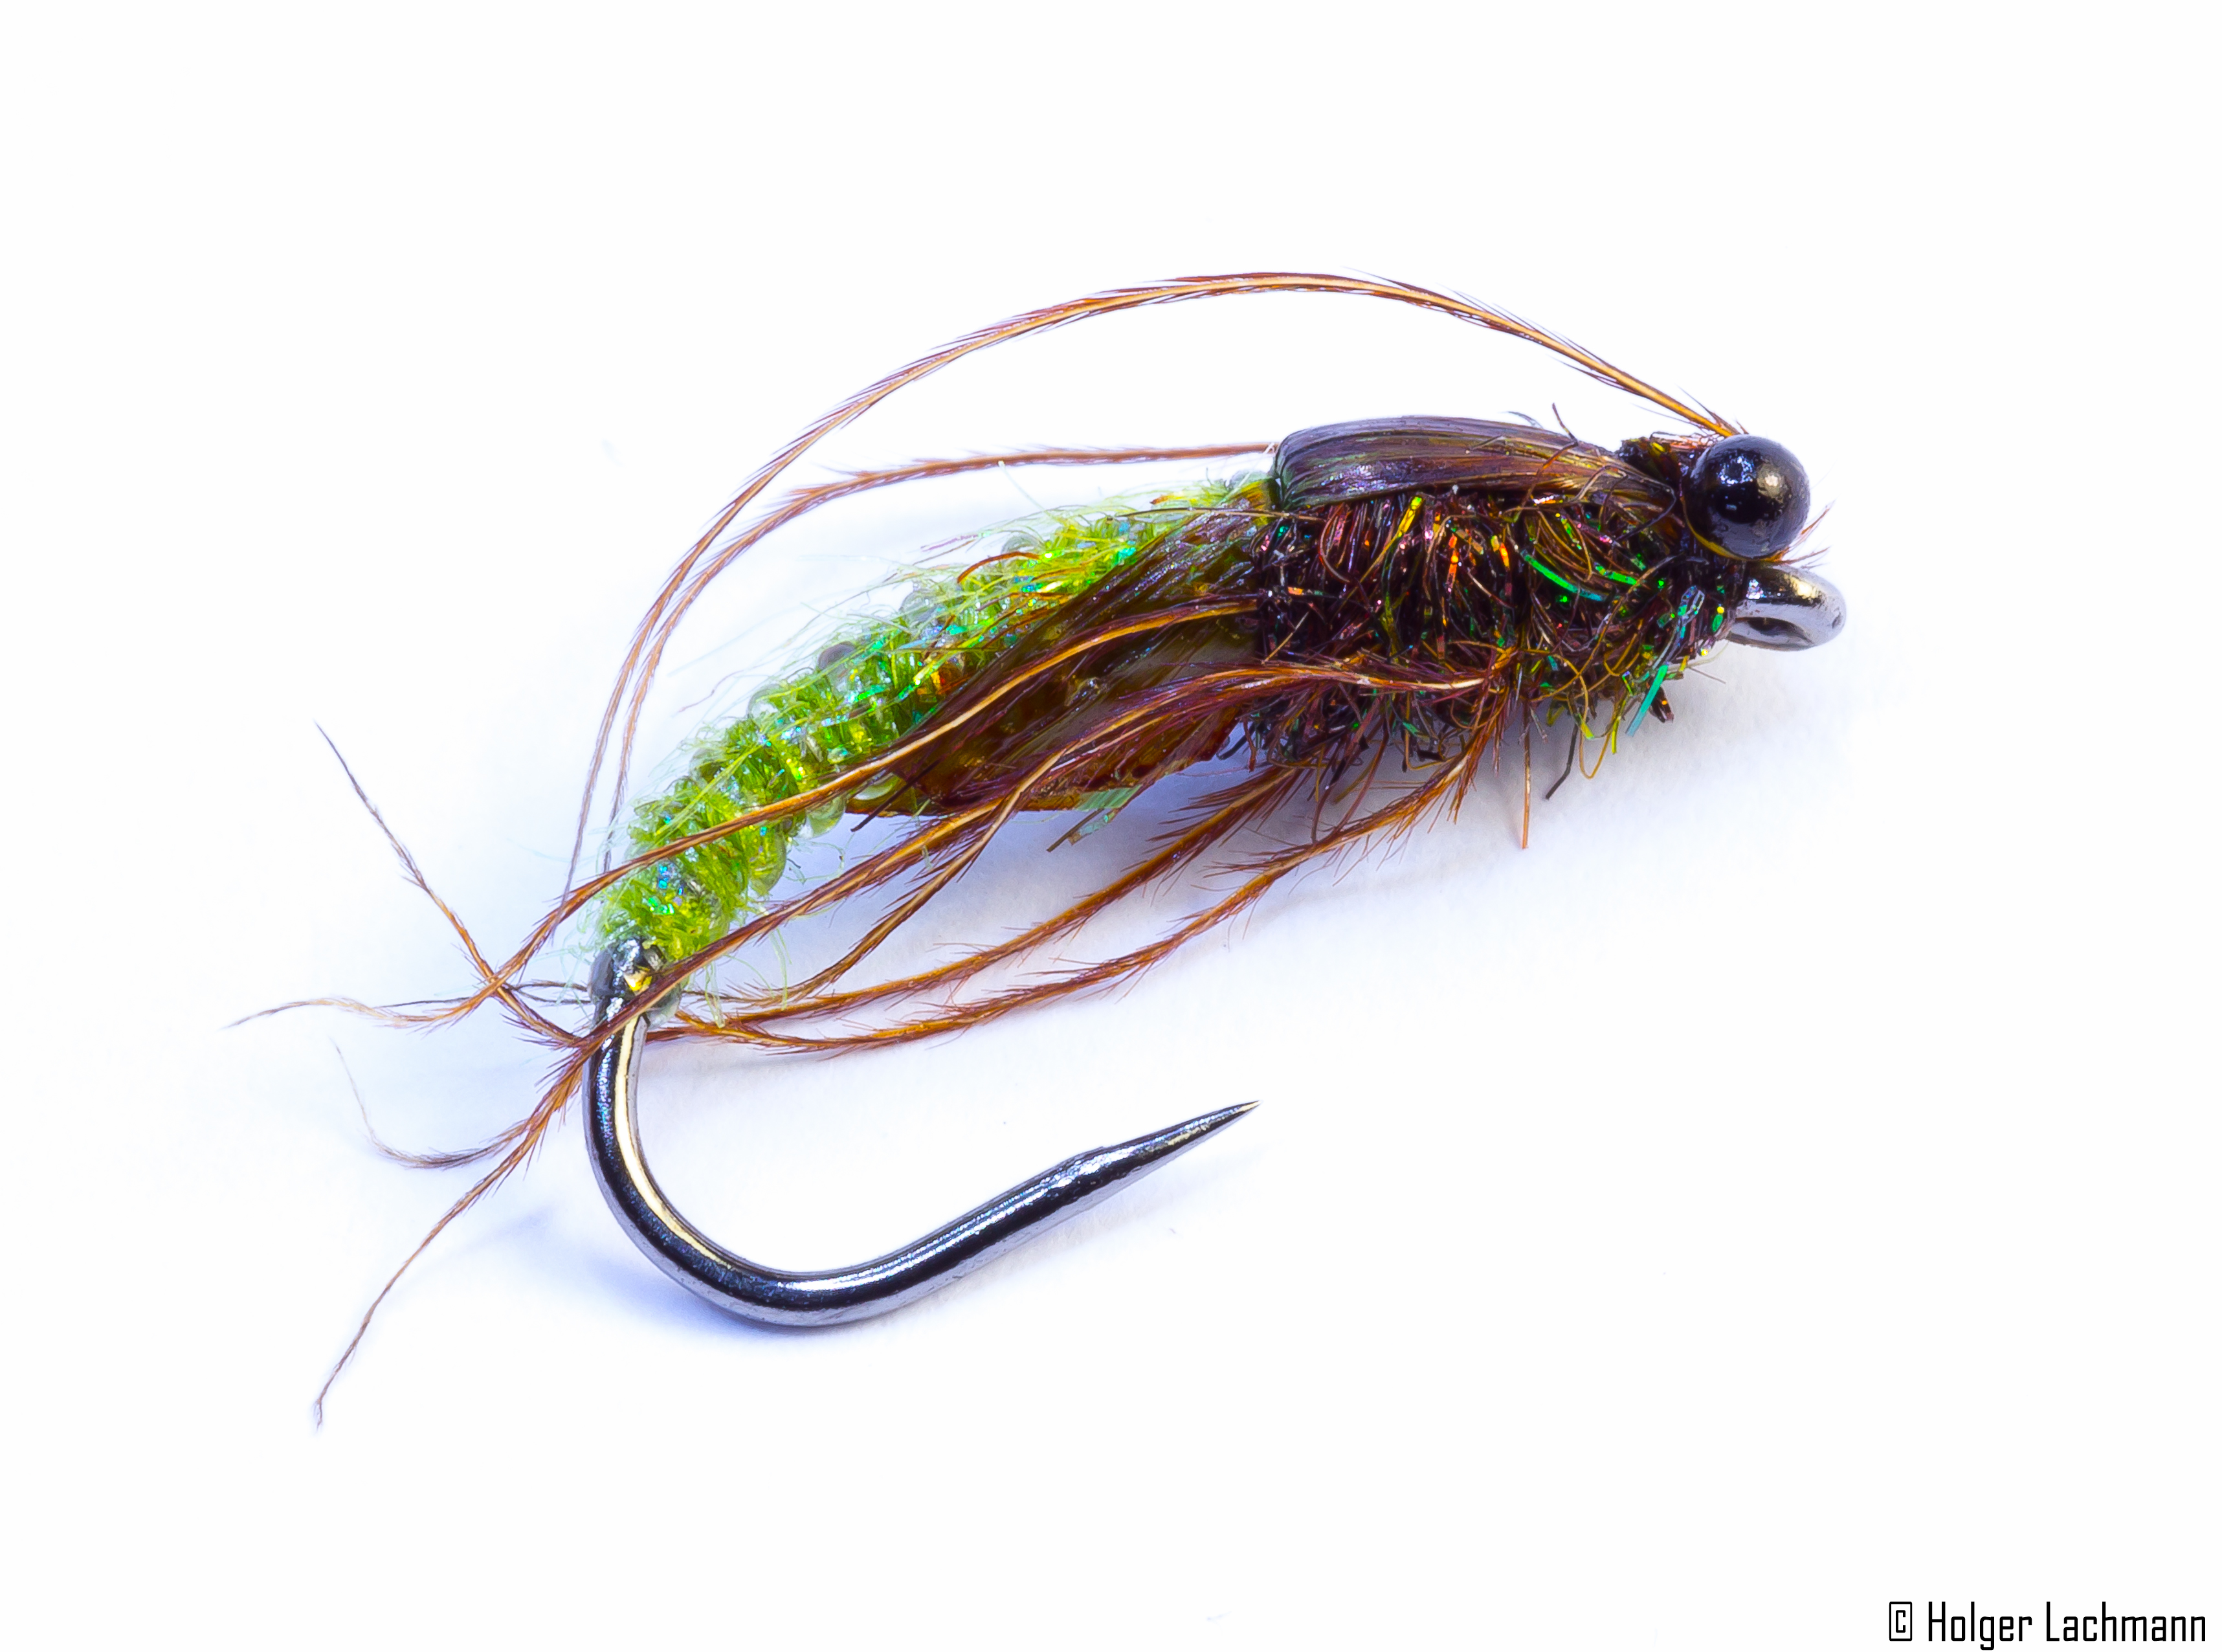
Tungsten Bead Caddis Pupa. This Pupa looks quite natural, but it is not to complicated to tie.
Materials:
This is a good all around nymph to imitate caddis pupa. The vague looking nymph seems eatable to the fish. It’s a nice combination of a semi-transparent body and the mix of cdc, soft fibres and the dubbing mix of natural hare’s ear and ice dub. Not to flashy. Just that kind of nymph I personally like to fish.
The tying steps are self-explanatory, I guess. So here are just the materials.
If you got questions, just feel free to ask.


I posted this pattern some weeks ago on my blog and on Facebook and I was asked, if I could do a step by step tutorial about it. So, here it is. I hope you like it as much as I do.
Materials:

Put the hook with the tungsten bead in the vise.


Form the unterbody with your thread and tie in the Flashabou and Polish Quill.


Color the underbody with an olive marker pen and wind the Flashabou and then the Polish Quill around the body and secure it with your tying thread.


Put some Bug Bond Lite on the body and cure the resin with your Bug Bond torch. Then, tie in some strands from a pheasant tail feather as shown.

Dub some SLF light olive on the fly and tie in the brown colored Flashabou Mirage. Cut the Mirage like shown on the photo.

Dub the rest with SLF in cinnamon till you reach the tungsten bead.

Cut a „V“ out of a partridge feather and tie in the fibres of the partridge as legs. Then fold the pheasant strands to the front to create the wing case and catch it with your tying thread. Put a drop of Bug Bond Lite on the wing case incl. the thread with which you catch the pheasant. Cure the Bug Bond Lite with your Bug Bond torch and cut the thread. You’re done! The Bug Bond Lite makes it super strong! You don’t need to do whip finish!

That’s it! Now grab your fly rod and catch some nice trout or grayling or whatever you like to catch with nymphs and pupas!
tight lines!
Holger