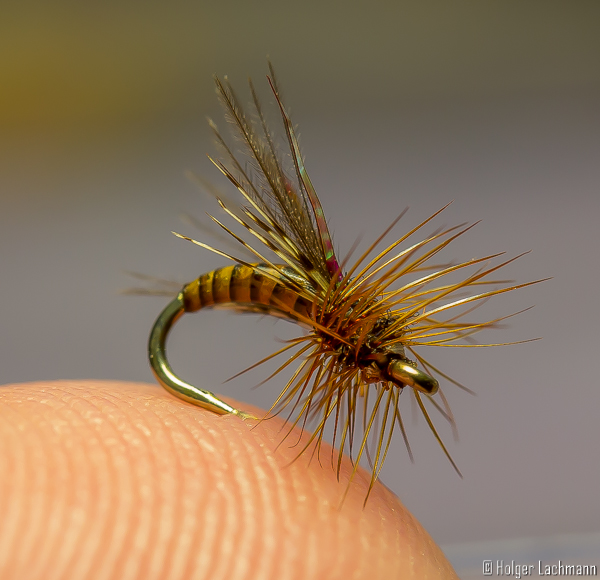
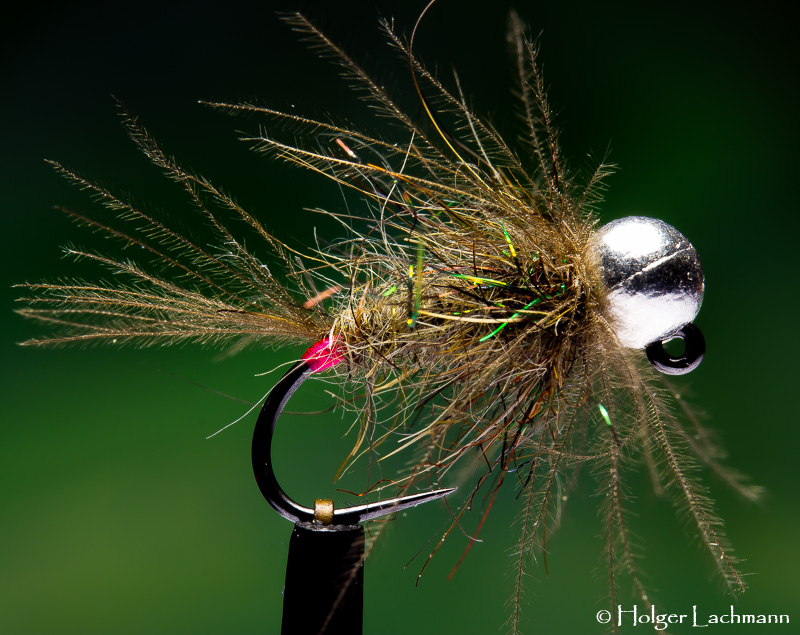
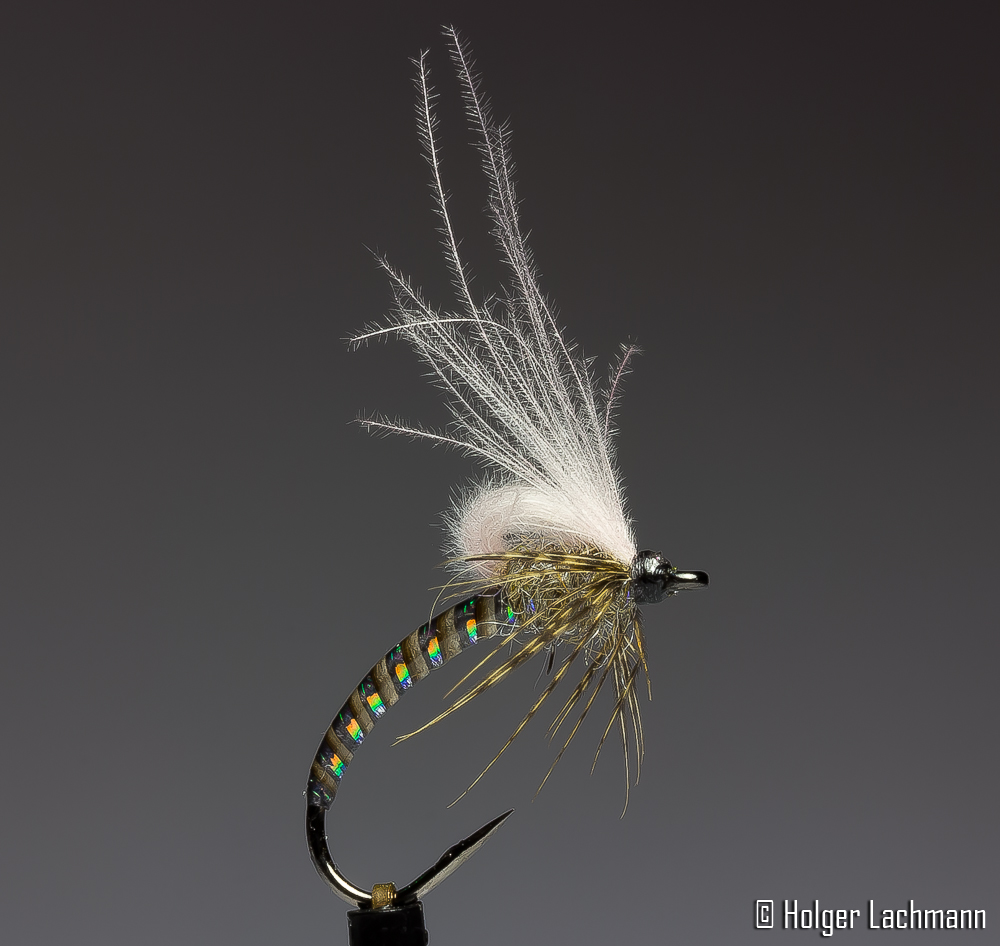
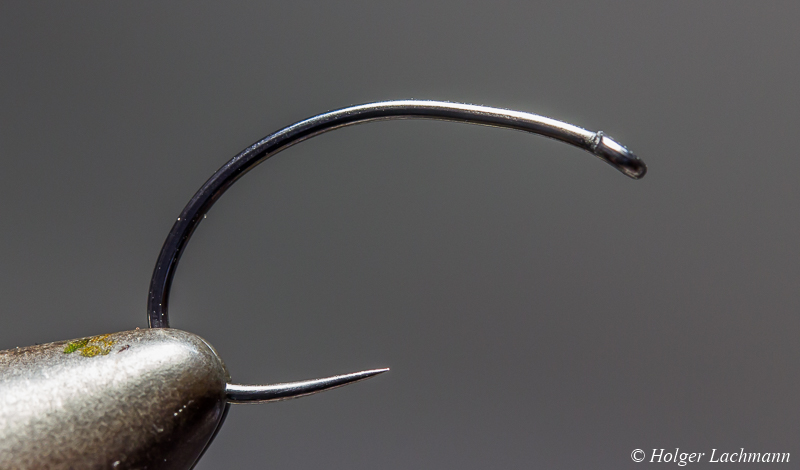
- Hook: Daiichi 1140 #18
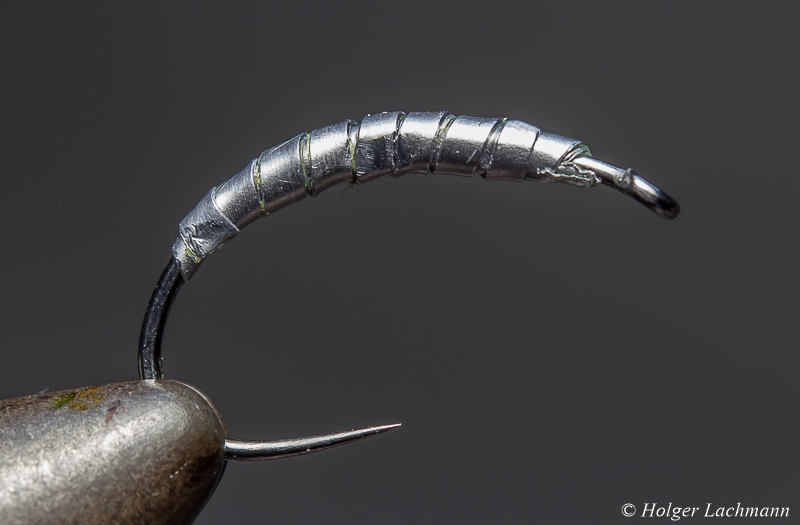
- Abdomen: Polish Quill secured with Bug Bond Lite UV Resin
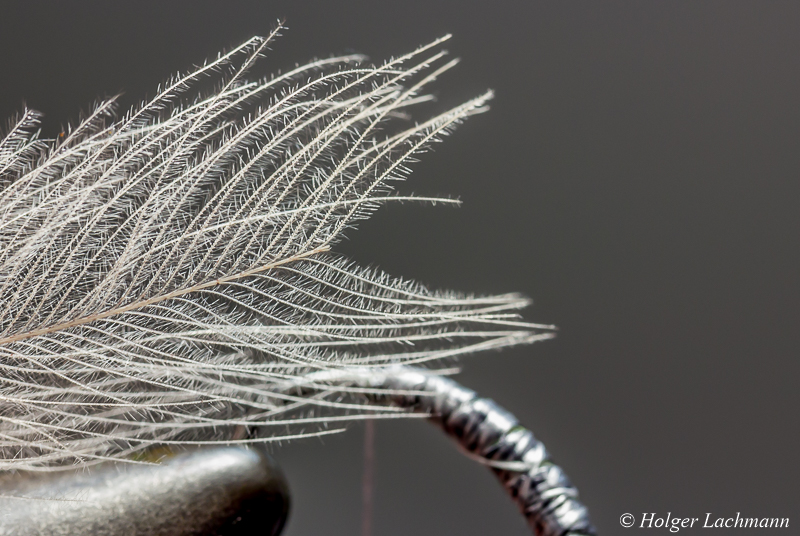
- Legs: Partridge
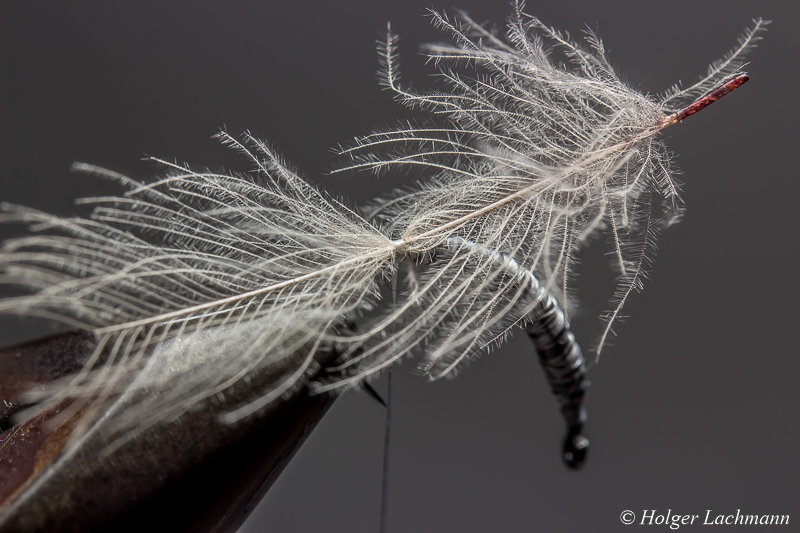
- Wing: CDC and Krinkle Mirror Flash
- Thorax: Oliver Edwards Masterclass Dubbing
- Hackle: Whiting Dry Fly Hackle
- Thread: Semperfli 30D

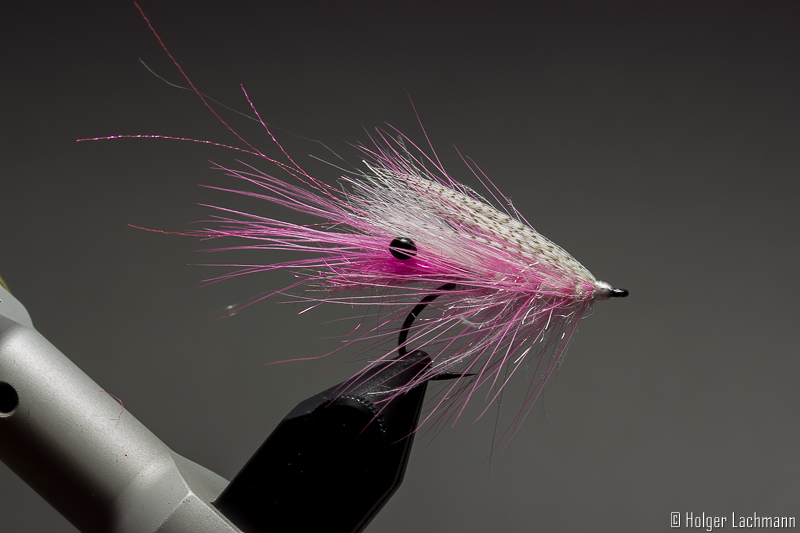
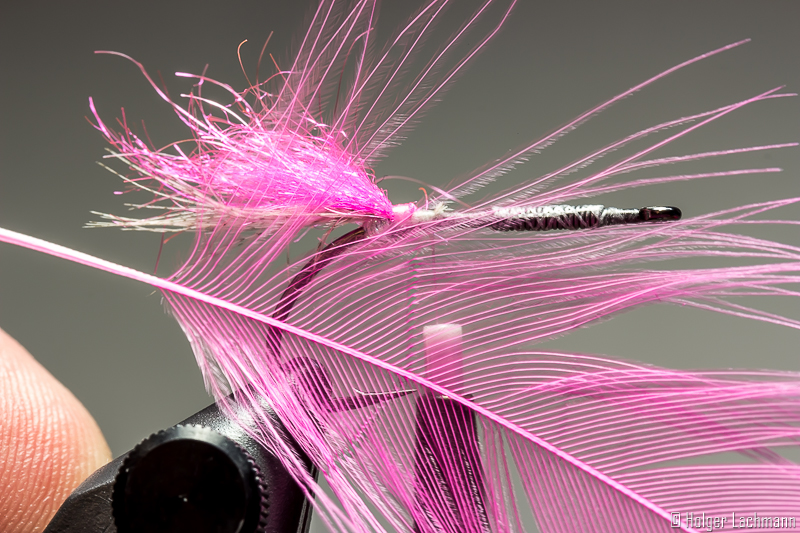
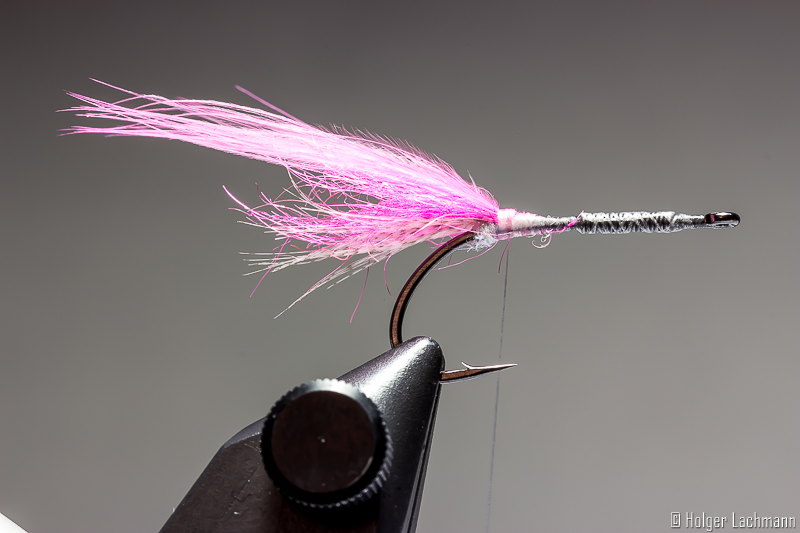
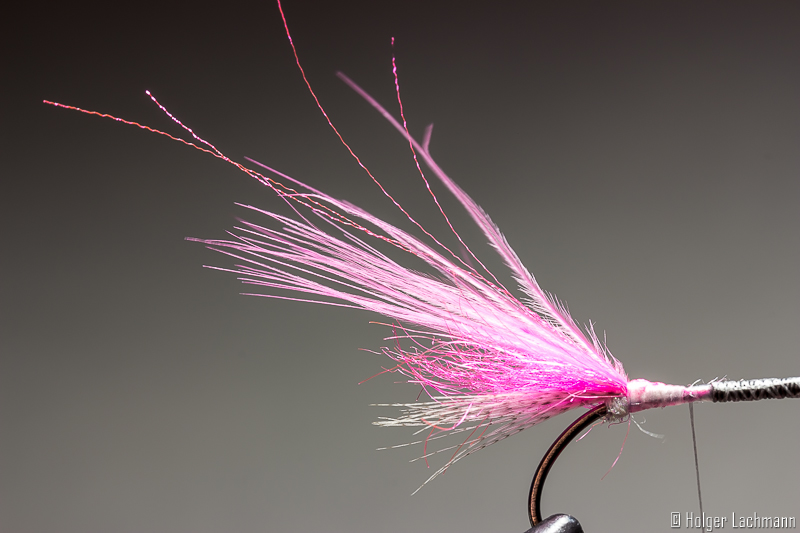
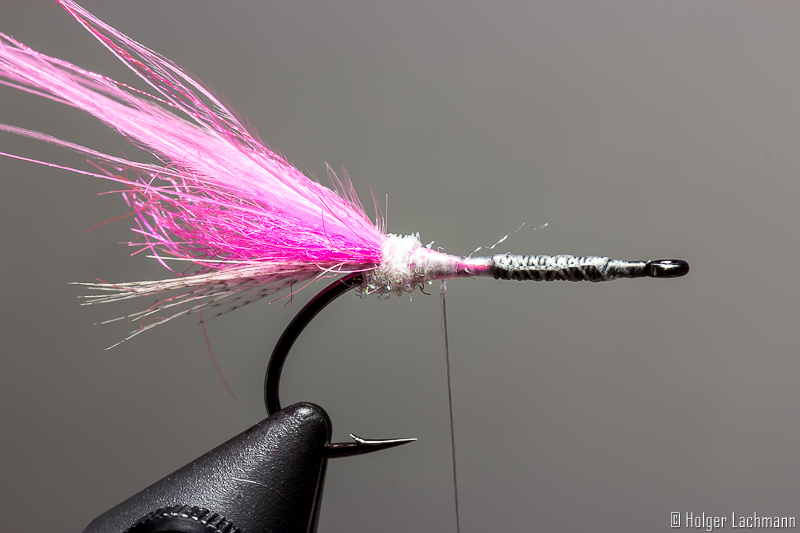
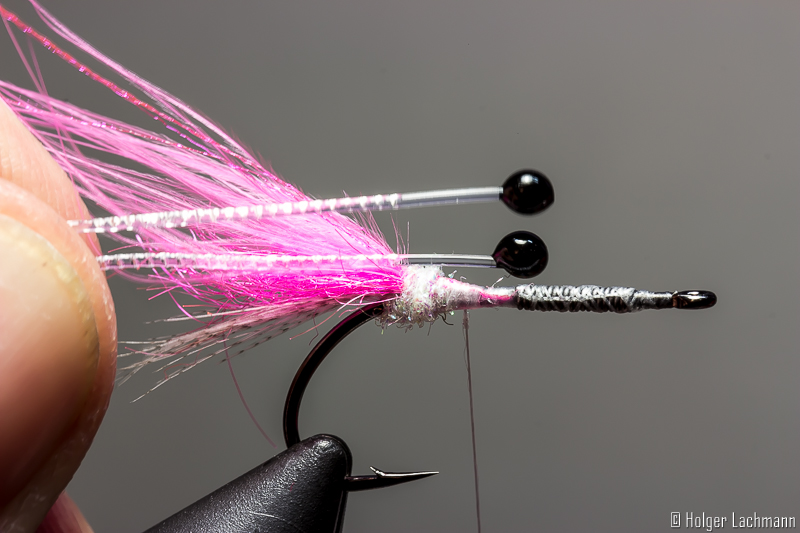
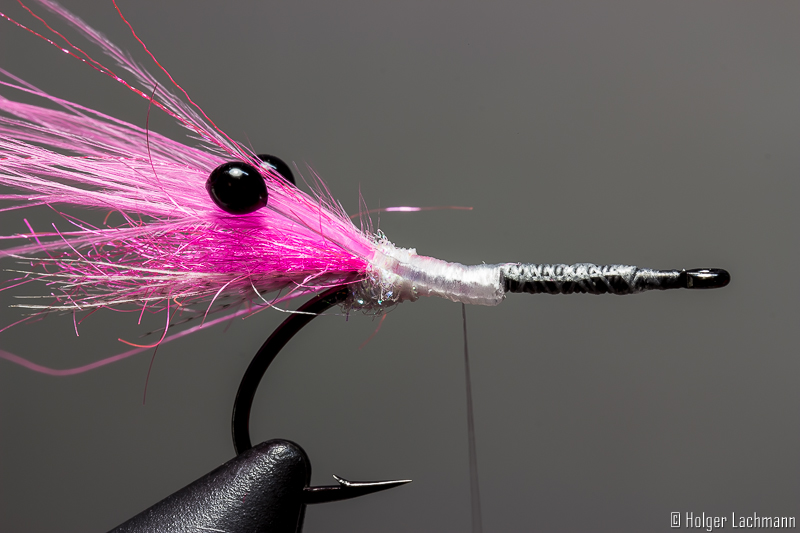
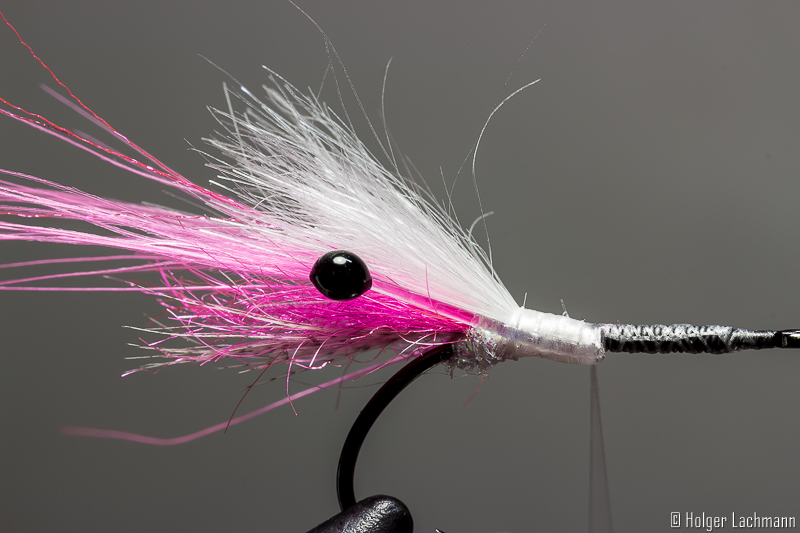
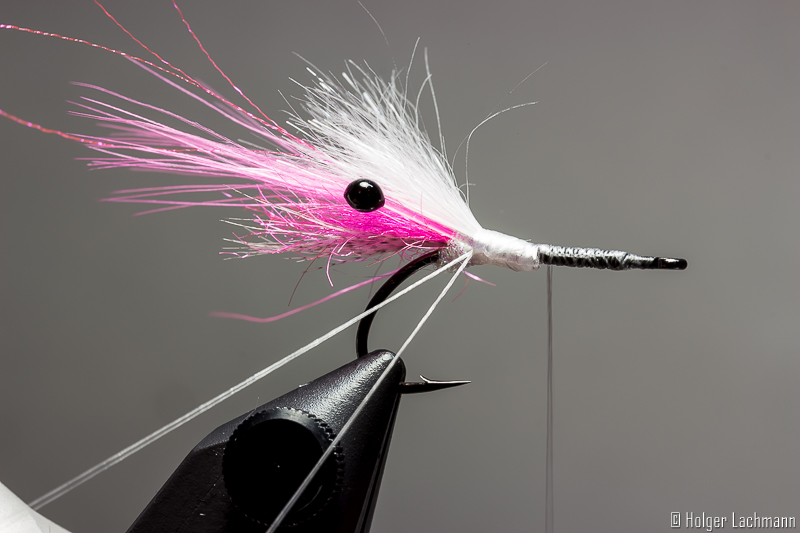
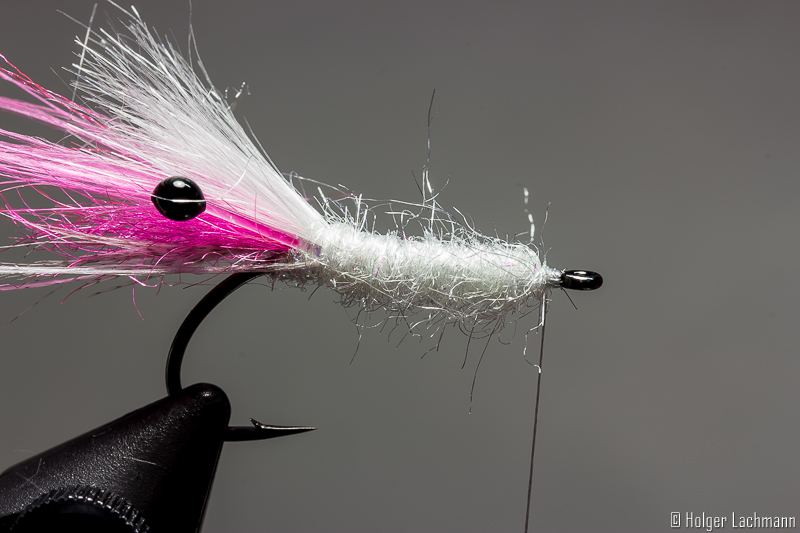
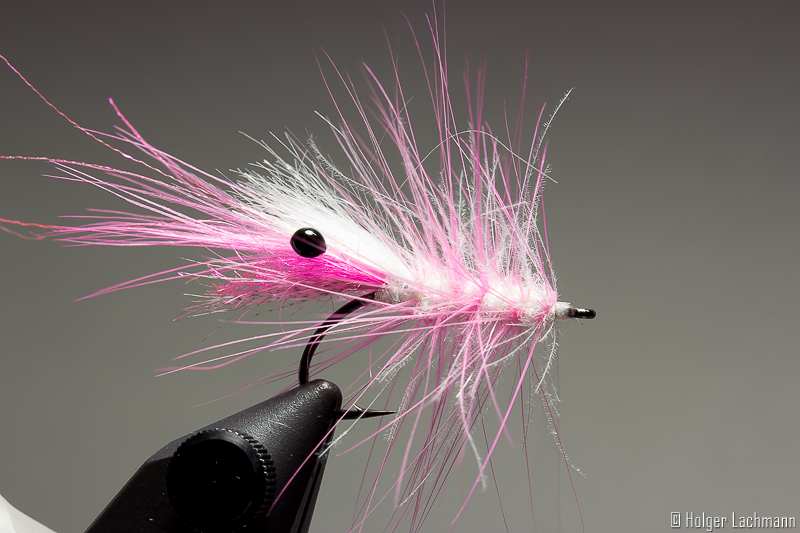
The step by step tutorial about the PINK FLUFFY is destroyed. It don’t know why, but it was not shown right on the blog. So I did it again and I gave the fly a new name, because I didn’t like Pink Fluffy anymore.
So I called the fly „DETLEF“ – also known as the fly formerly known as PINK FLUFFY. Why? Don’t know , it just fits.
[vimeo]https://vimeo.com/150781439[/vimeo]
You can fish for sea trout even in the winter time. It’s a very hard kind of fishing with temperatures sometimes under 0°C, but there is a chance to catch an awesome „Silberbarren“. It’s common knowledge, that sea trouts like the color pink, especially in the cold season. It’s also common knowledge, that sometimes, the sea trouts like a very slow retrieve. For that situations, the DETLEF is a really good choise. The soft materials move very nice in the water, even if you strip the fly in very slowly. On the other hand, it’s not very complicated to tie and when you use other colors like beige, tan and brown, you got a very nice shrimp pattern for the rest of the year.
One very important point: Don’t use too much material! Less is more!
Materials used for this fly:
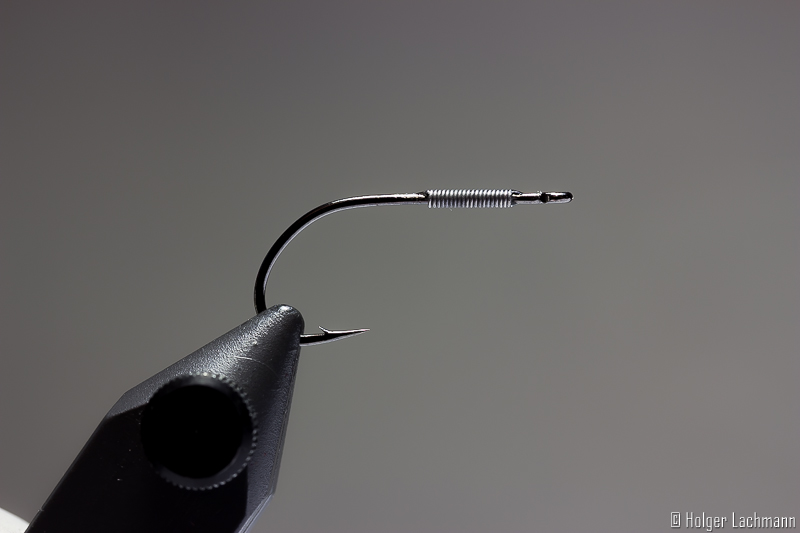
Do a little drop of superglue on the shank and wind on some fine lead wire.
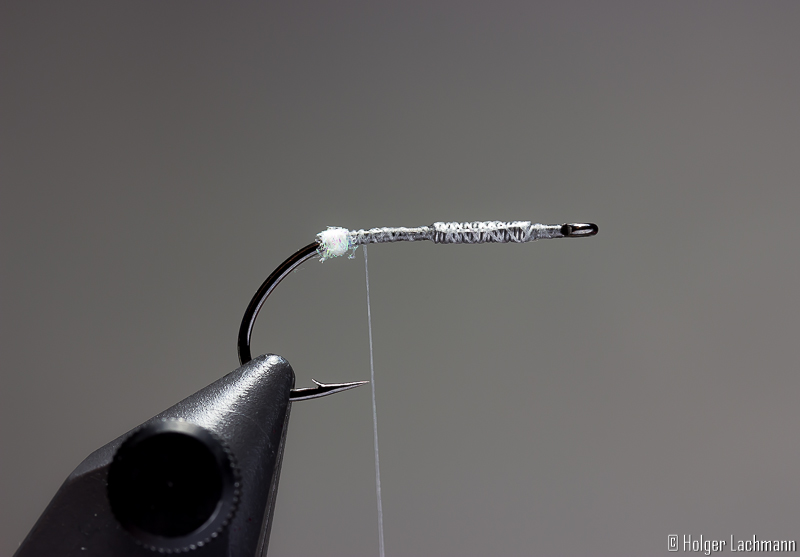
Form a little dubbing ball with the ice dub at the end and tie in some fibres of Mallard.
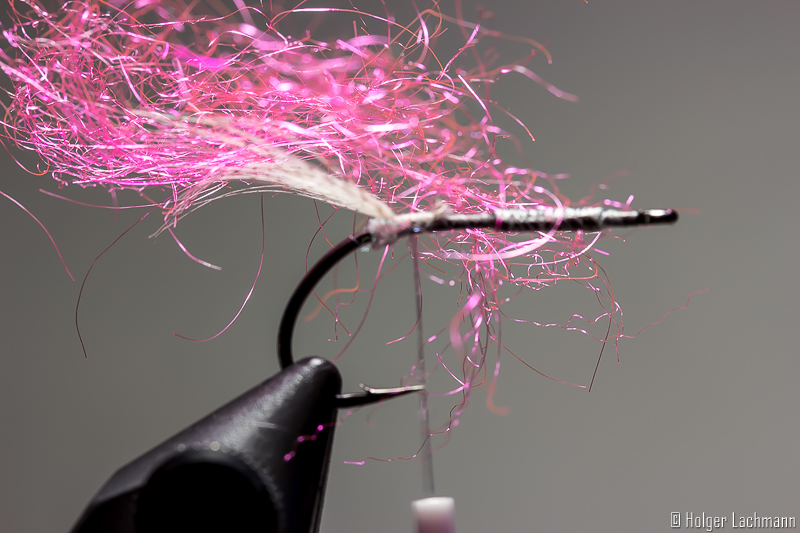
Take a bit of pink SLF and tie it in.
Take some long soft fibres from a pink hackle and tie them in as shown. Add some strands of pink Fluoro Fibre antennas.
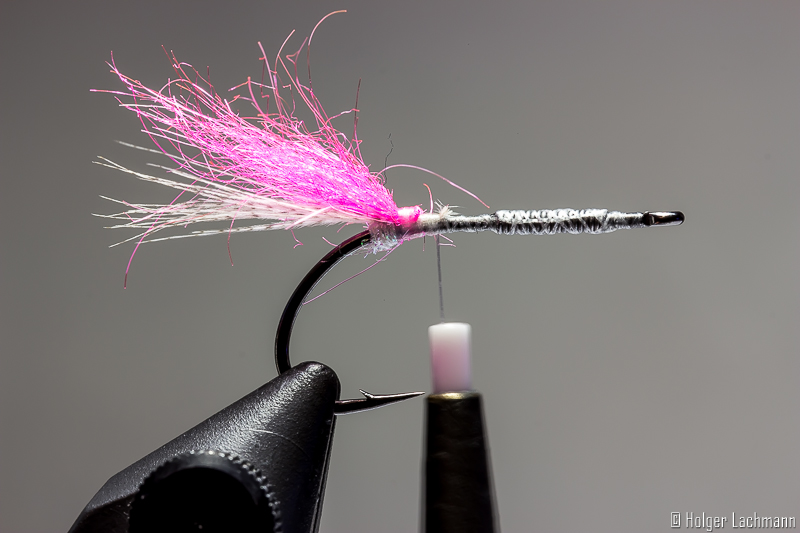
Dub a little ball with Ice Dub and tie in the shrimp eyes. The dubbing ball will seperate the eyes in a nice way.
Take some Polar Dub in white and tie it in as a horn.
Form a thread loop and then dub the body with the SLF.
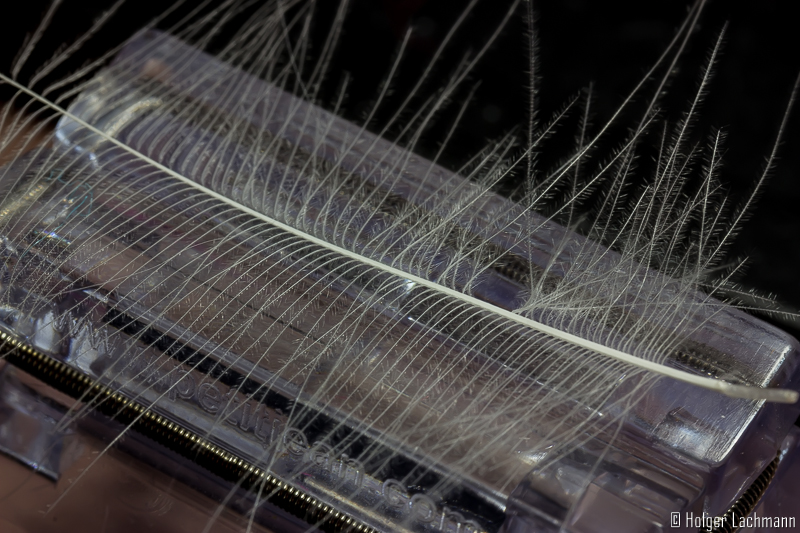
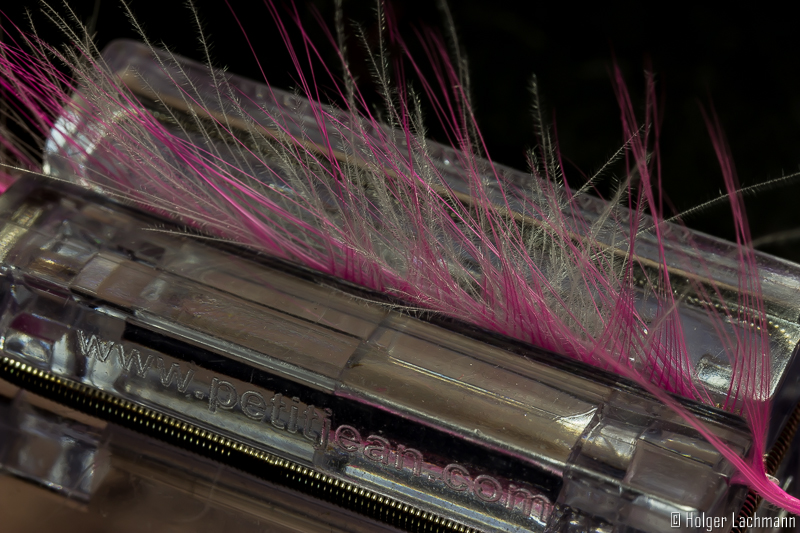
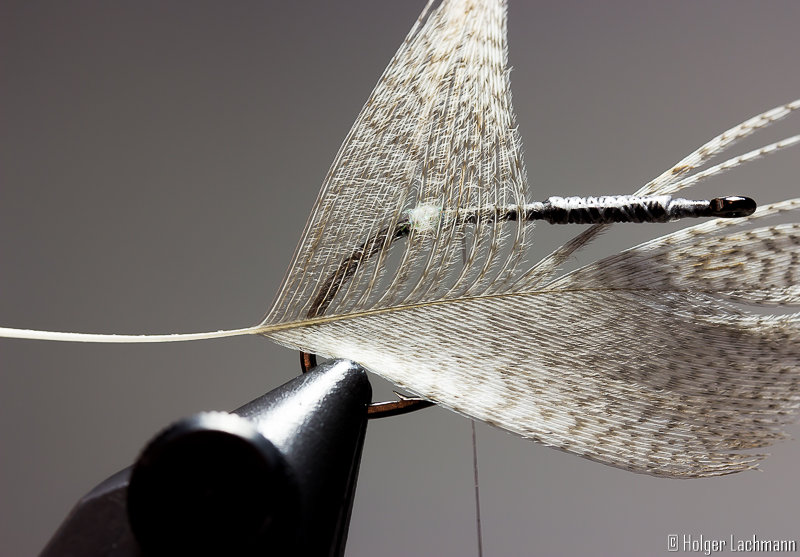
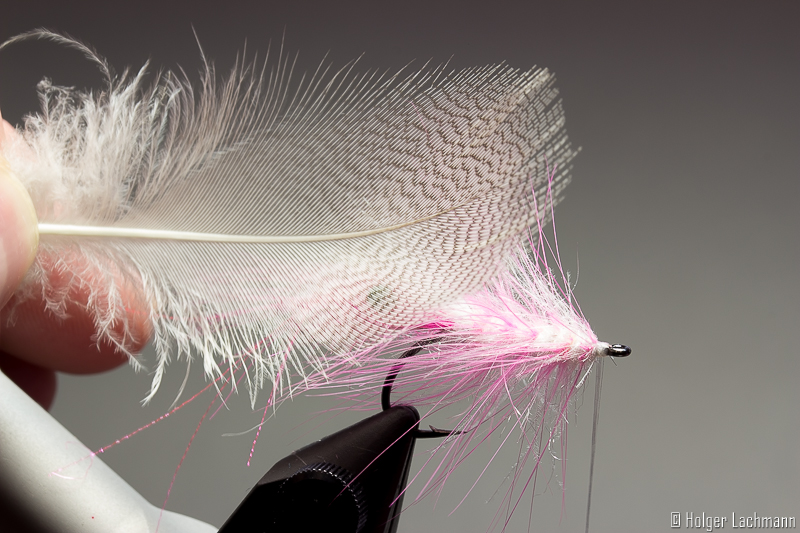
Put a big white CDC feather on the Petitjean Magic Tool and push it in by using a pink hackle.
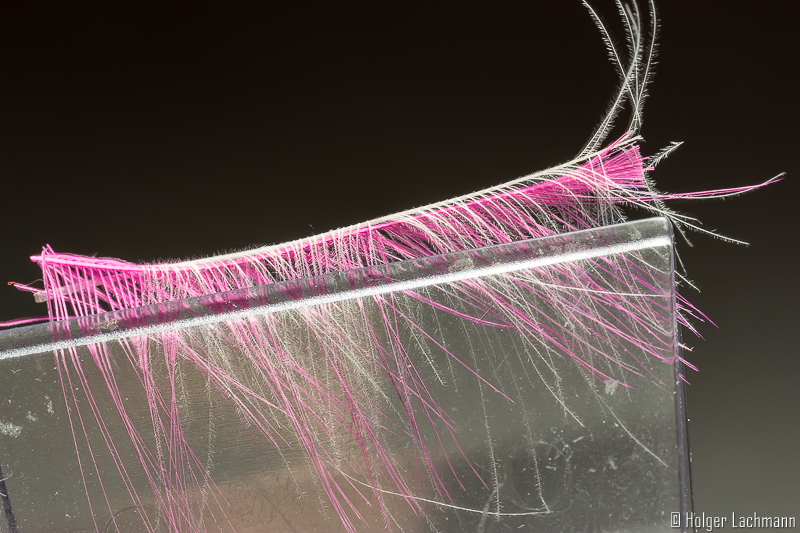


Grab the fibres with the clamp of the Magic Tool and and cut off the stems. Then put the fibres in the waxed thread loop and twist the loop.
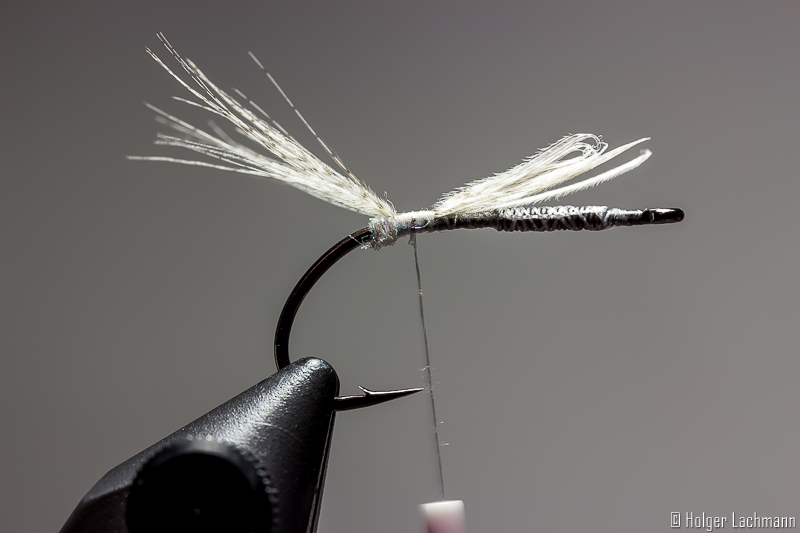
Wind the hackle fibres-CDC-Mix around the body and catch it with your thread.
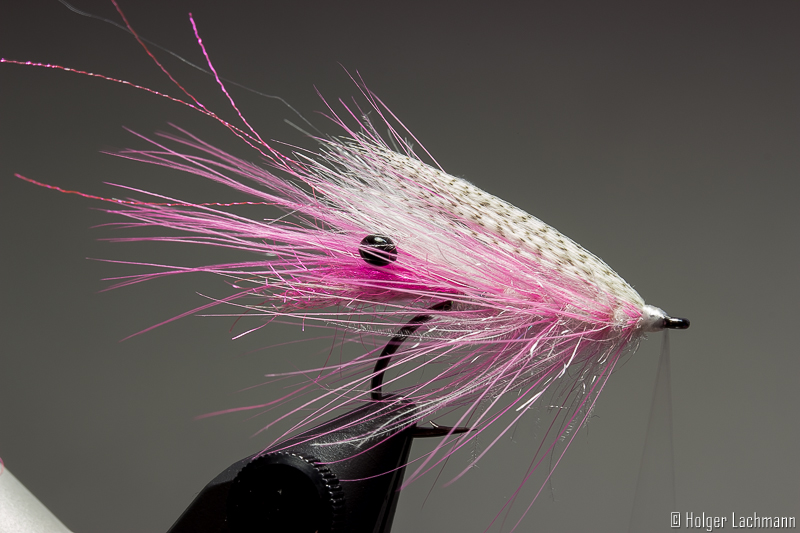
Some fibres from a Mallard feather will be used for the back of the fly. So, the fly swims in the right position and the black/white gives a great extra contrast. Do one or two whip finish and use some varnish to secure the knot. That’s it! Detlef is ready!
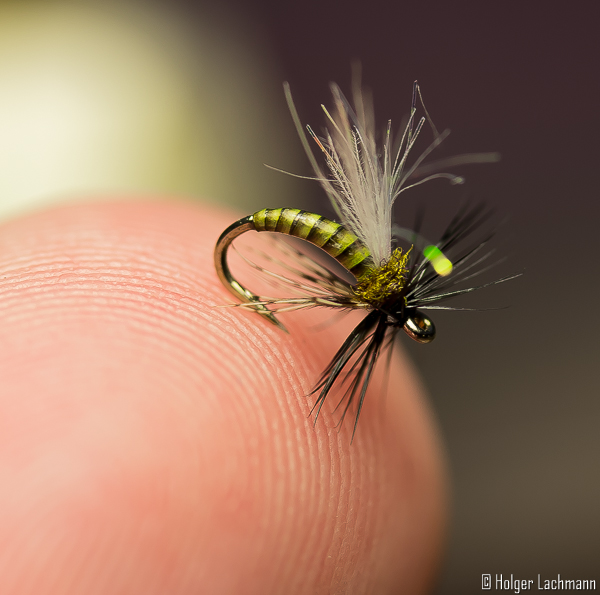
Sometimes, I tie flies without a special purpose. I just think „I want to tie a fly, maybe an emerger would be cool.“ I open some drawers and take a look at my hooks, thinking how the fly (or in this case the ermerger) could look like. Then, I’m thinking about the tail, the ribbing, the abdomen, …., step by step until the fly is finished. I believe when you go this way, you often try something different and that’s the way you improve your skills and knowledge. There are errors, of course, but even errrors improve your knowledge.
A short example: You are sitting in front of your vise and you’ve tied a beautiful mayfly with awesome natural foil wings. Looking really good. You go to the river with the beautiful winged mayfly on the end of your leader. You do the first cast and….. the wings made a propeller out of your fly. Impossible to cast, impossible to fish. The leader is totally twisted after just one cast. Error. You’ve learned something, next time, you will tie your fly different and so you improve your knowledge.
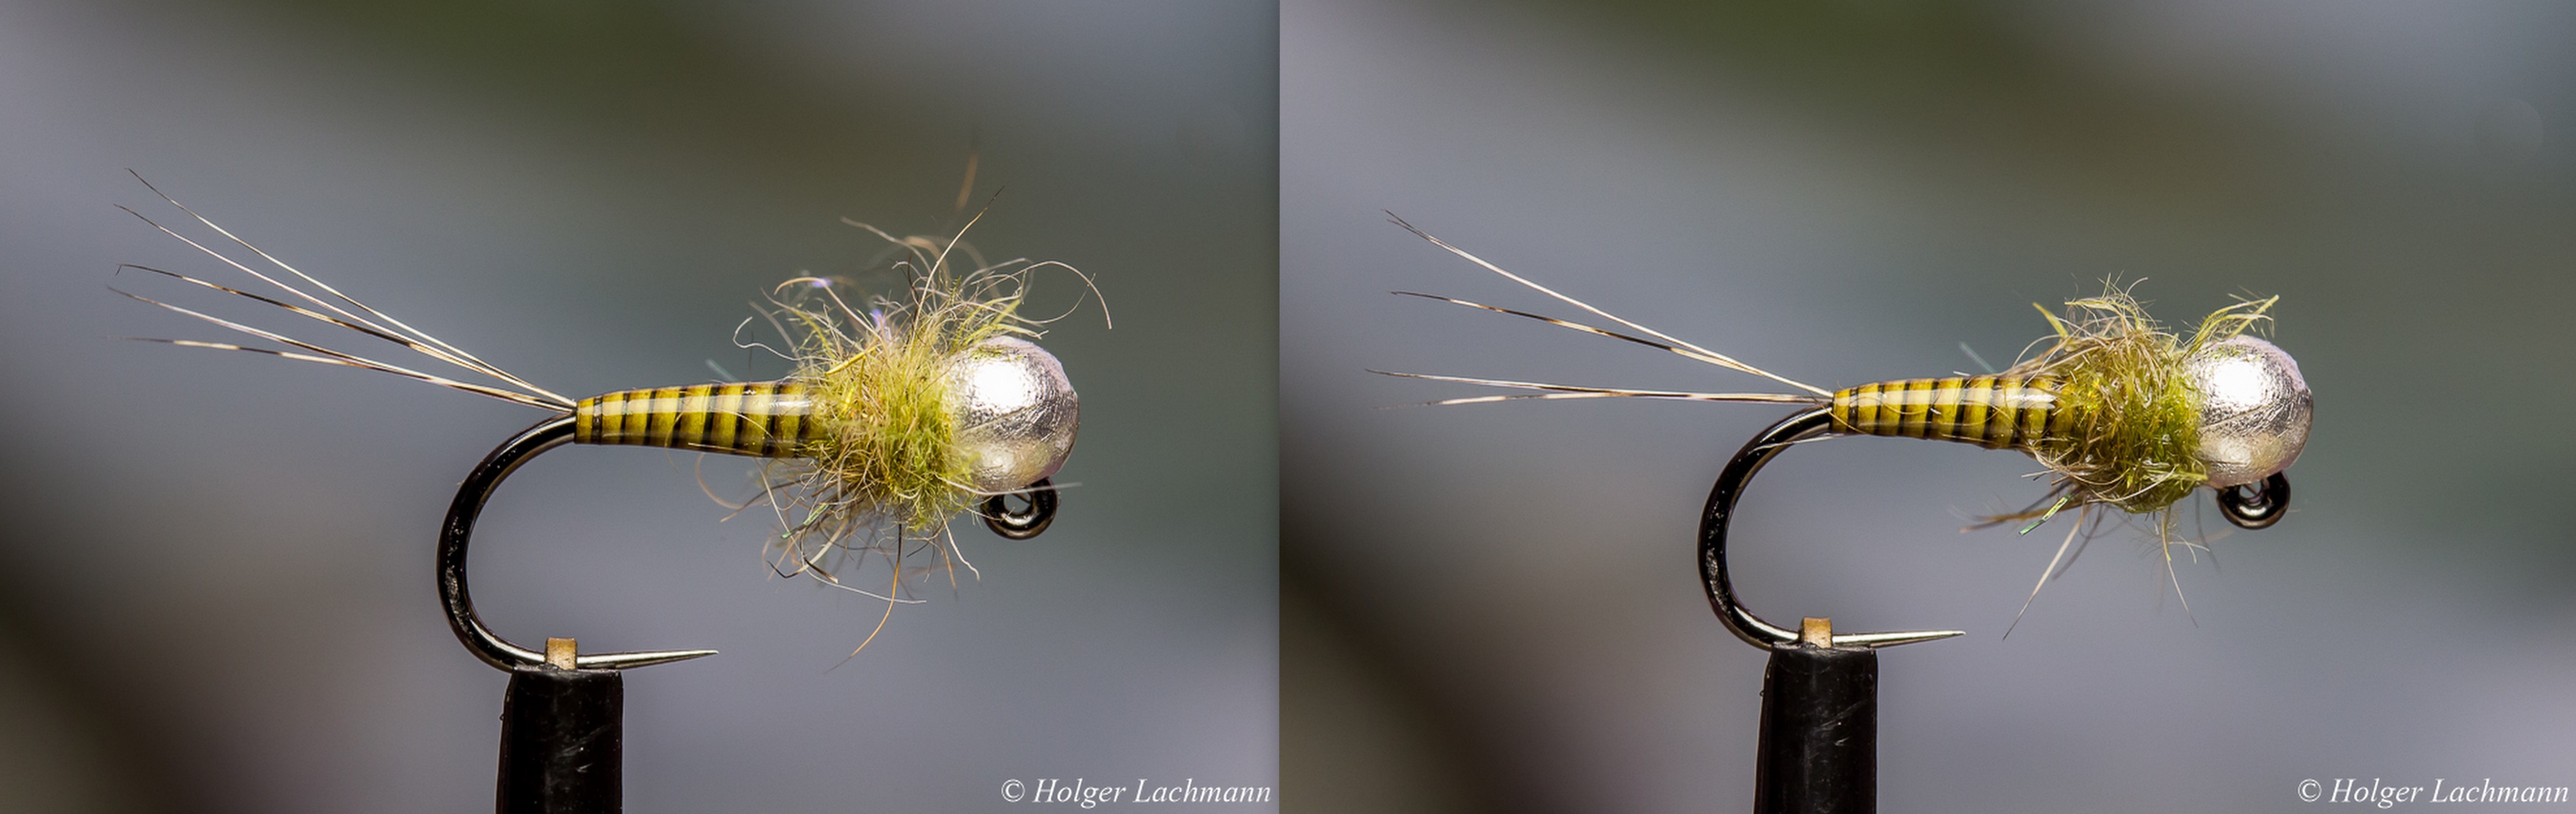
I just love these sexy bodies. Easy to tie and the result is awesome.
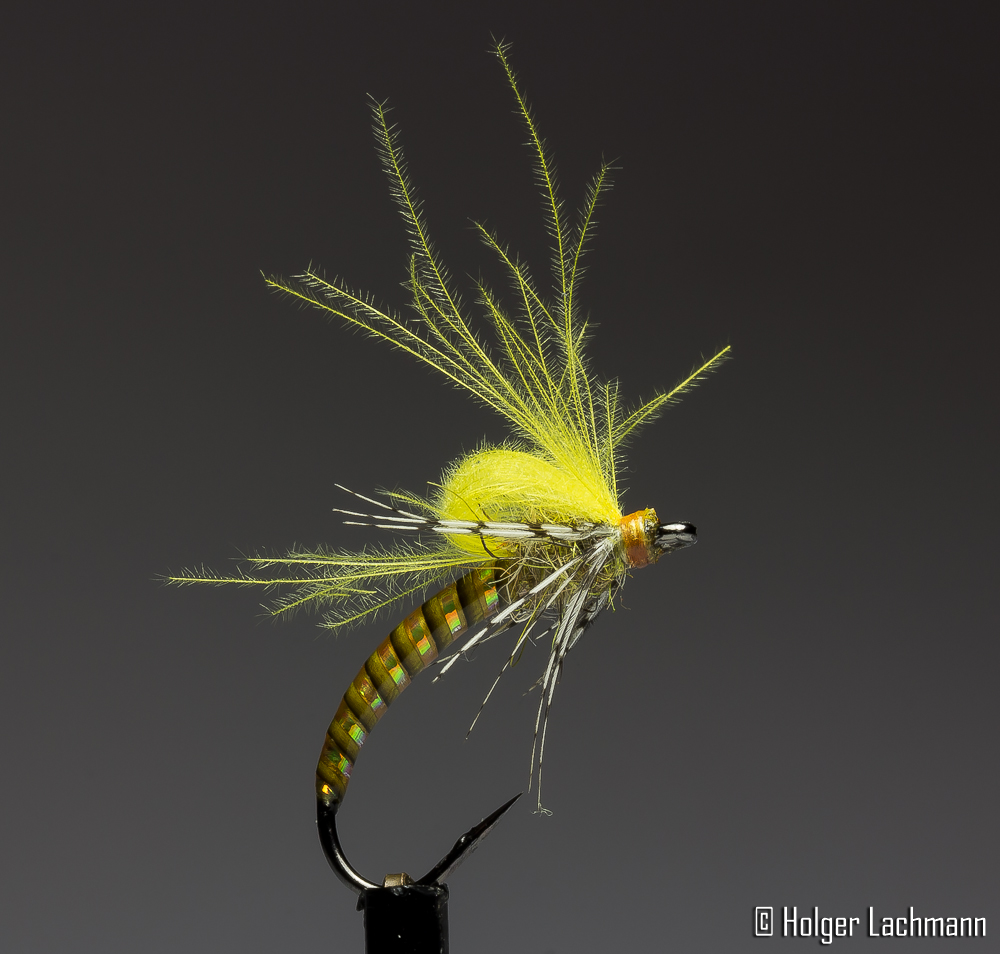
I tied this emerger on a D1160 Daiichi Klinkhammer hook and gave it a nice fancy look for the abdomen. Great fly for grayling on cloudy days with not to much light. 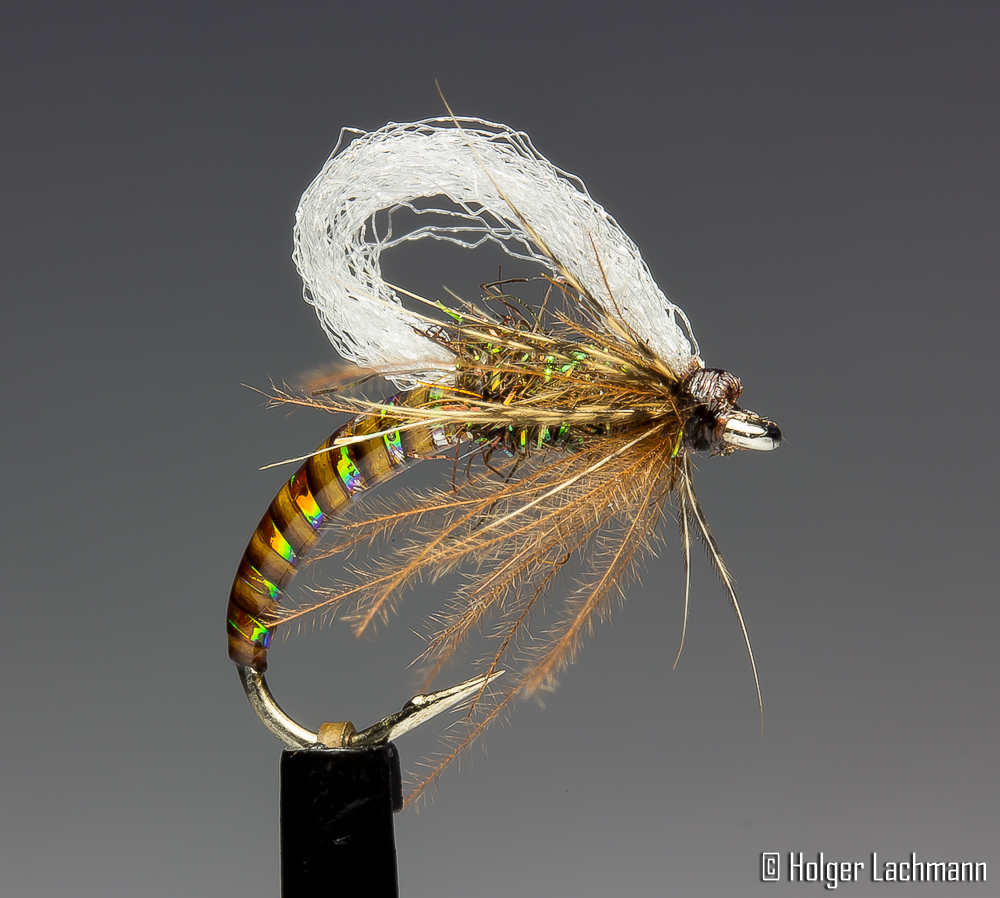

Some Spinner #16
Materials:
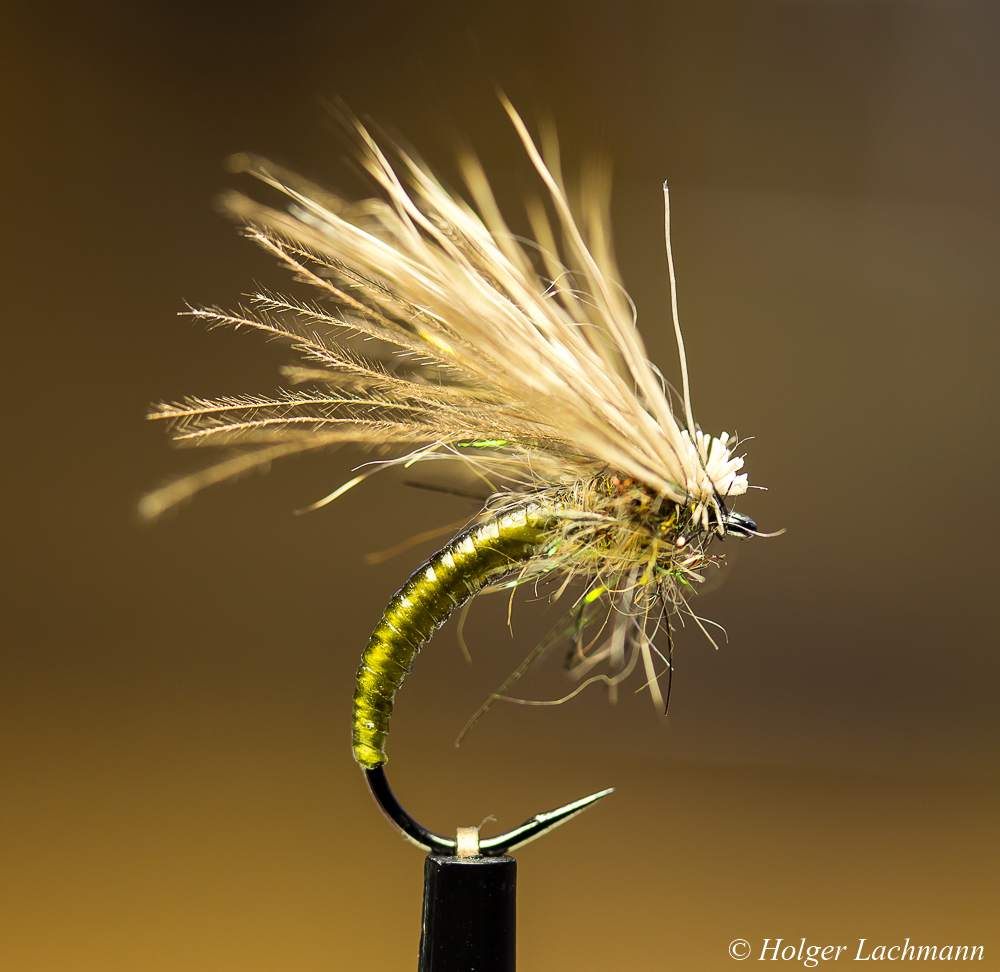
Tied on a Tiemco 212y #15, the nice segmented body made out of Stretch Flex is hanging in the surface. The dubbing, a mix of Hare’s Ear and Peacock Dubbing is imitating the legs and the CDC and Deer Hair makes this emerger float quite well. Just don’t put floatant on the body.
Good during mayfly hatches and works on a caddis hatch, too.
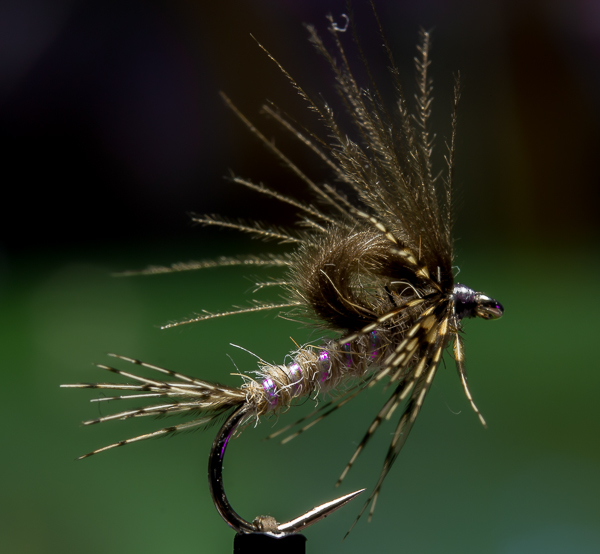
Is it a wetfly? Is it a nymph? Is it a flymph? – It’s CAPTAIN FUZZYBUG!
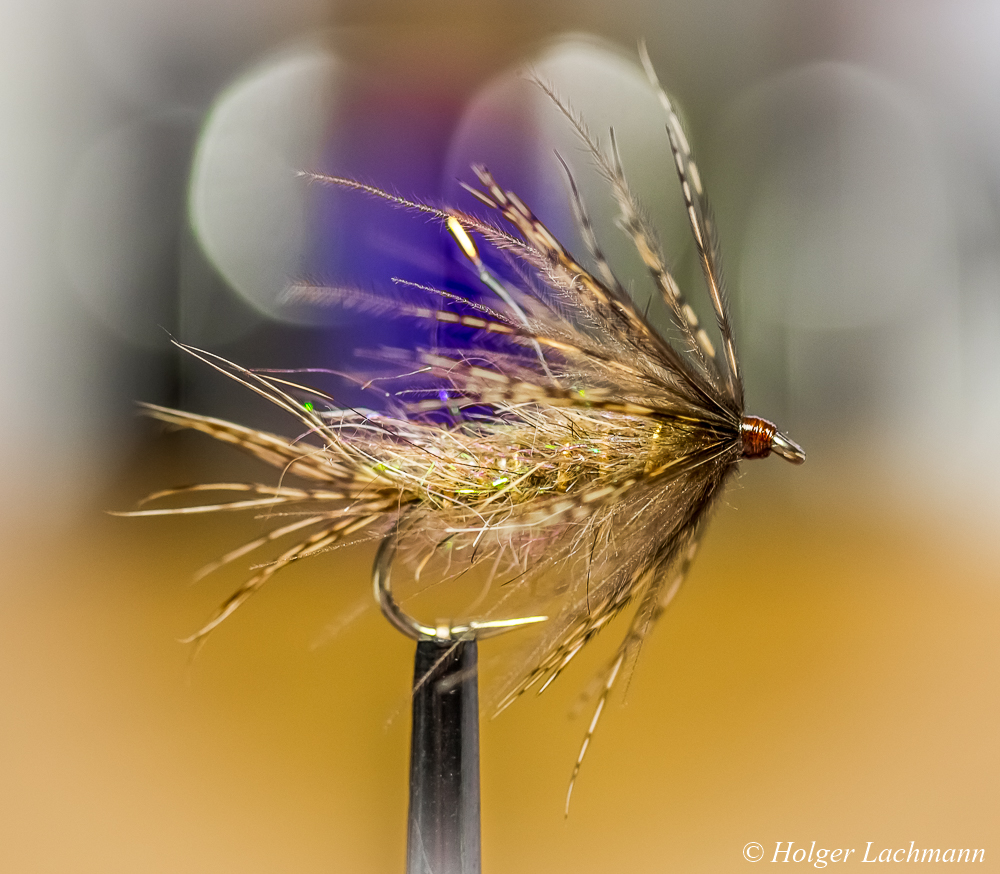
Sometimes trout like flies, which are presented actively. That happend to me the last time at the river. Dead drift was not what they liked. The „Leisenring Lift“ brought fish and wet fly swing with a little bit shaking.
Normal wetflies often fish to high in the water, especially in spring, when the water is still very cold and the fish are not willing to rise. CAPTAIN FUZZYBUG is weighted and swings deeper in the water column.
The mix of partridge, hare’s ear, ice dub, tinsel and CDC gives this fly the fuzziness and the trouts the illusion of something eatable. It’s a „in case of“-fly which produces takes even if the normal patterns won’t work.
It’s also not complicated to tie, so tie 3-4 and put them in your fly box. You’ll never know when you’ll need the help of CAPTAIN FUZZYBUG! ;-)
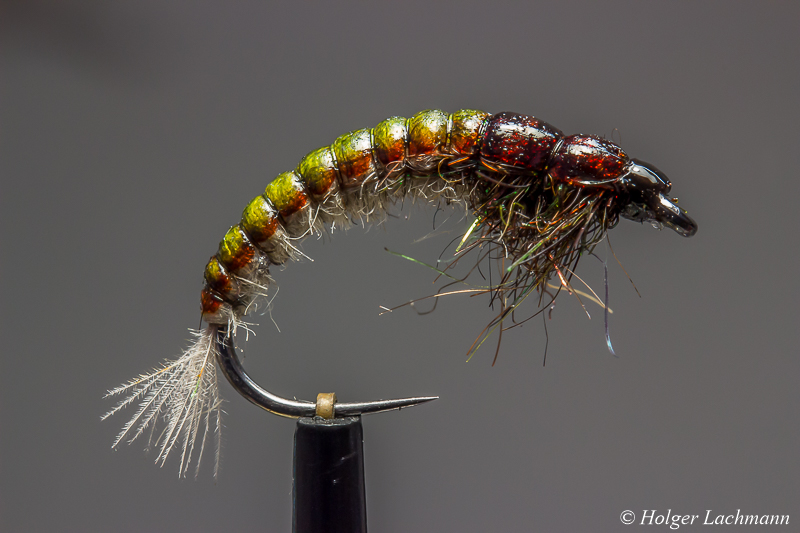
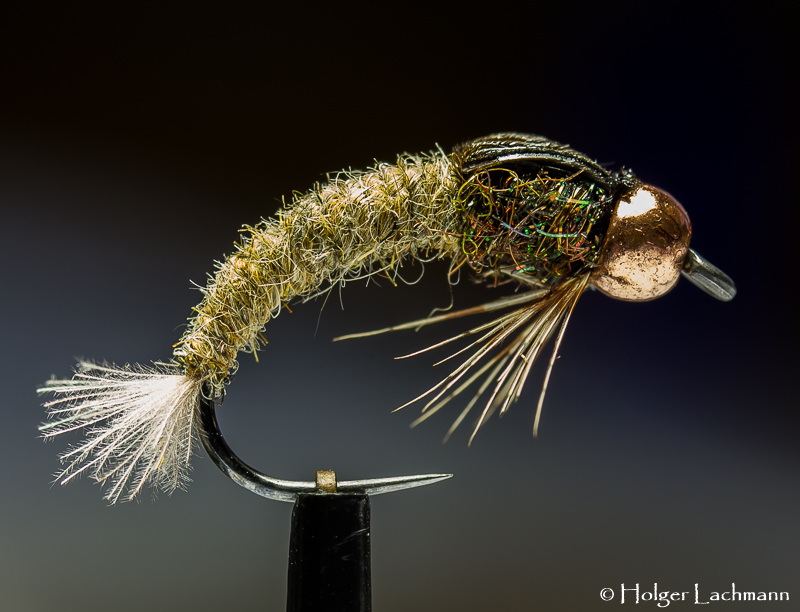
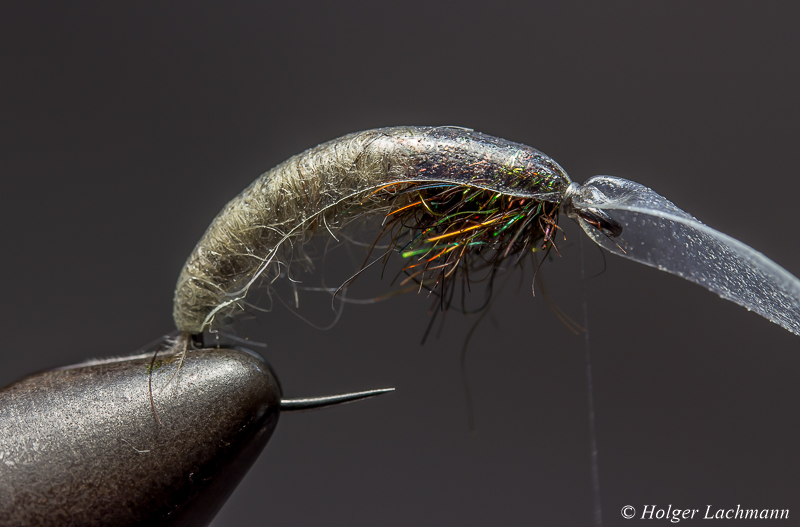
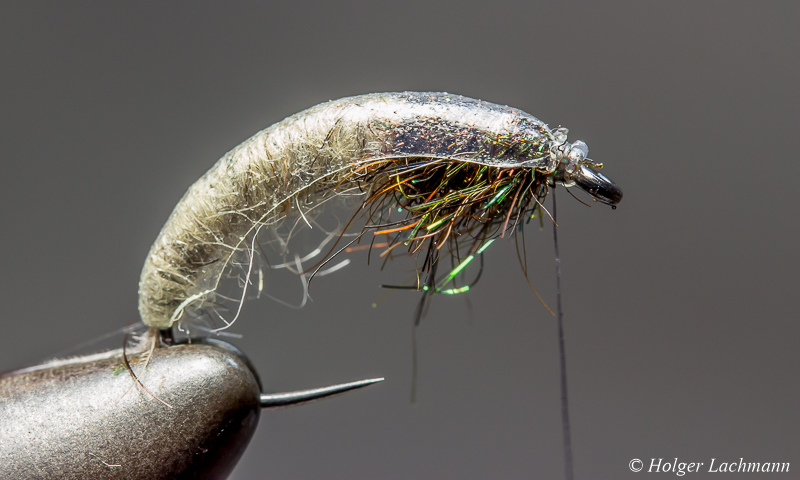
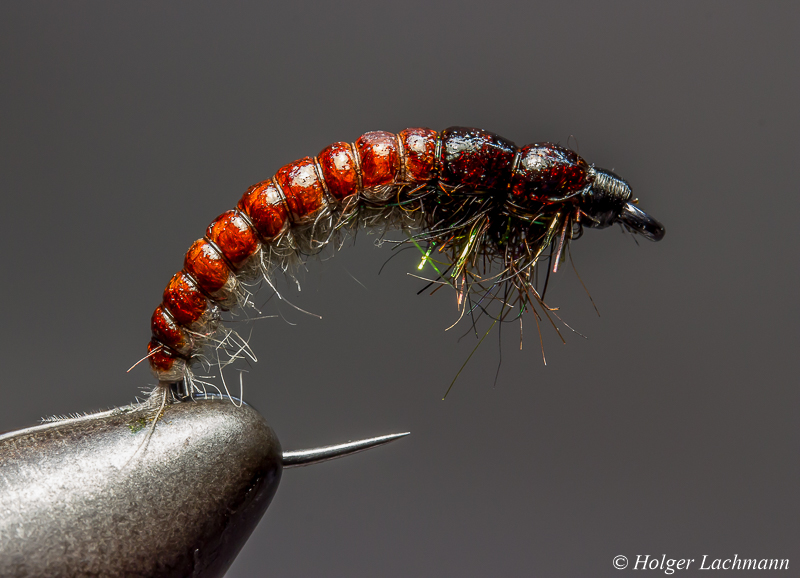
Here we go again! After moving to a new server, it’s time for a new step by step tutorial. This Caddis Larva is a very nice imitation of the original and it’s still quite easy to tie. So, it’s not a drama, when you lose it on the river bottom.
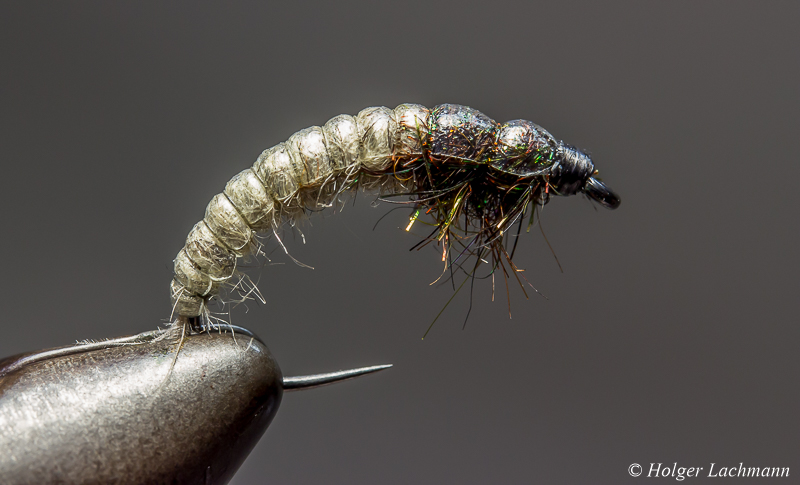
You have to fish this larva deep, that’s why there is a lot of weight in it. It still got a slim body, so it sinks fast to the ground. You will find Caddis in almost every river and it’s an important part of the fish’s menu.The coloration with the brown line on the abdomen is not a must. I just did it to show you what for possibilities you have with ordinary marker pens. It’s tied on a # 10 hook, which sounds pretty big, but the body length is close to the original, just try to keep a slim, natural looking body. Ok, let’s start!
Materials:
Wind the lead foil in multiple layers around the hook.
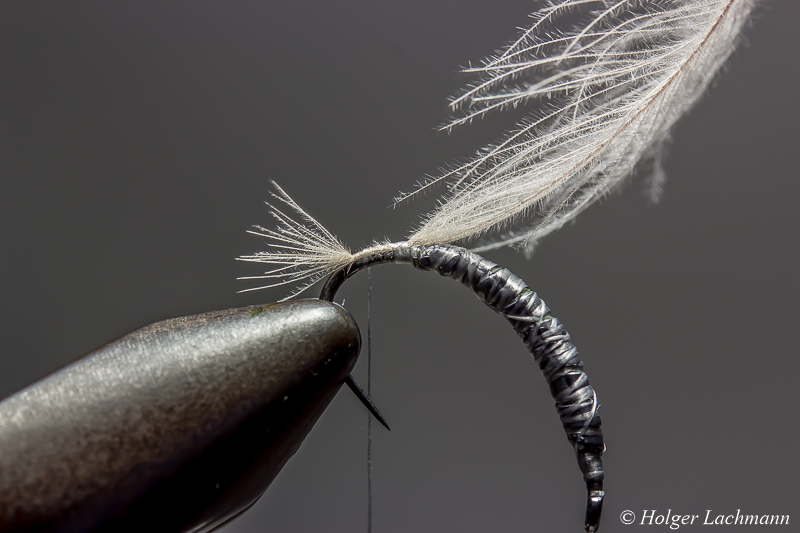
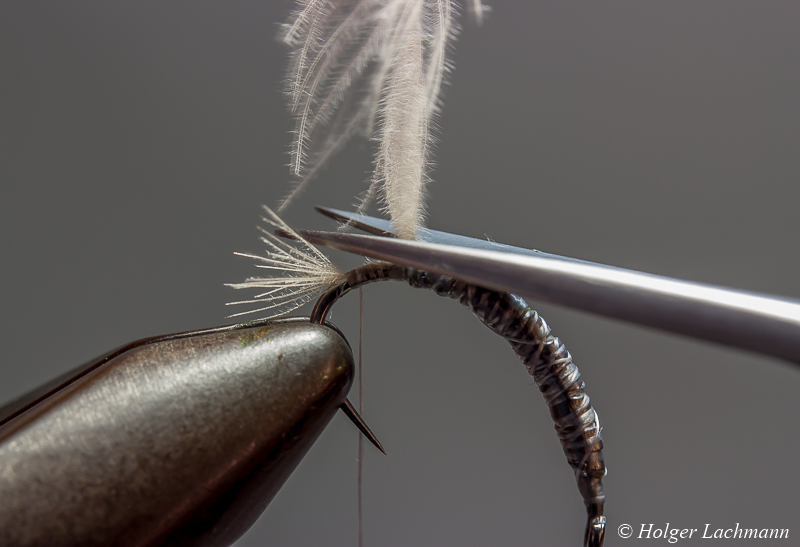
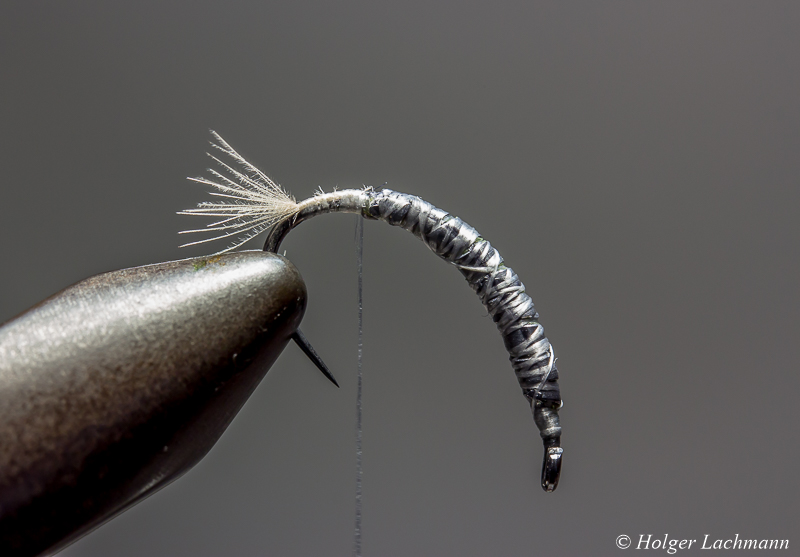
Take a CDC feather and cut out the feather steam on the top and tie the feather in like shown on the pictures to create the little tail.
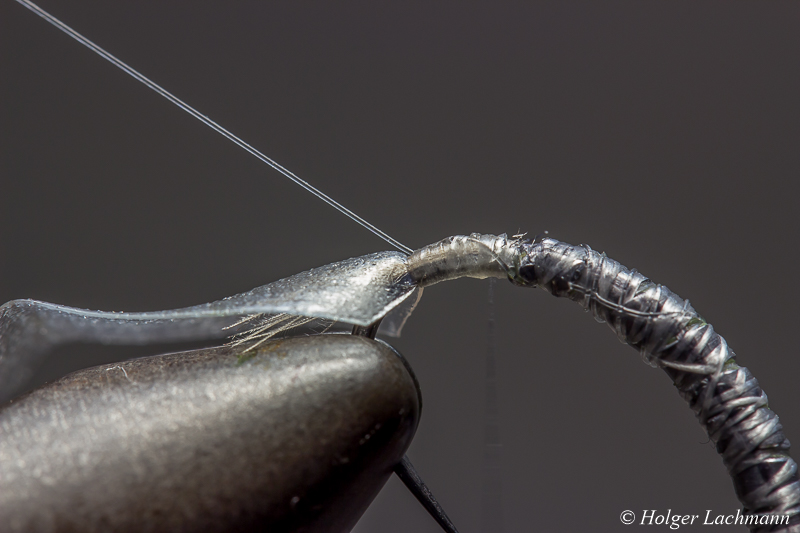
Take the stretch flex and tie it in at the back of the fly. Do the same with the mono for ribbing.
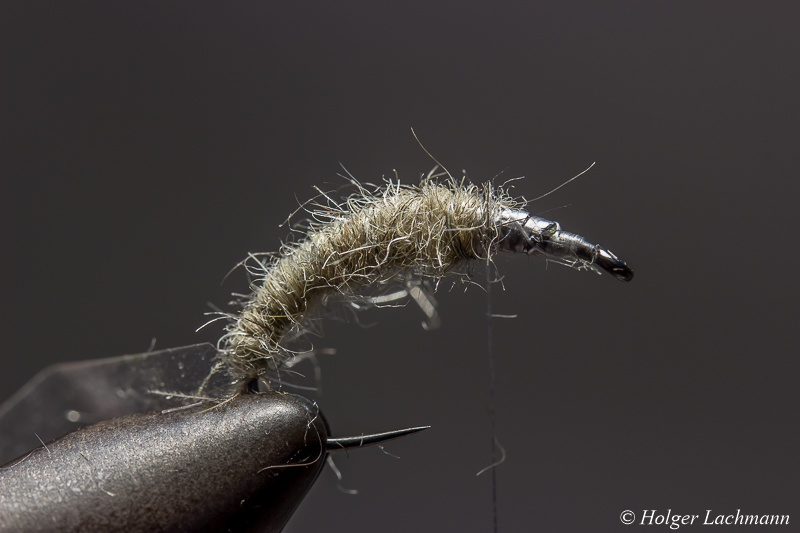
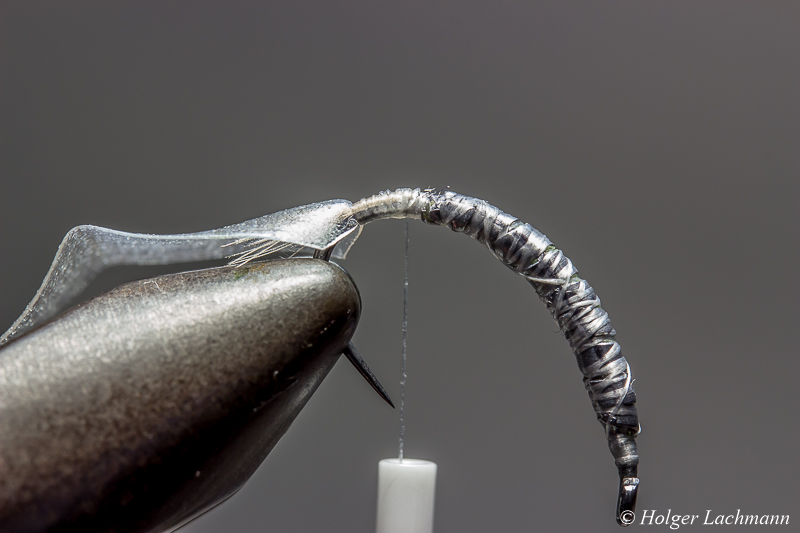
Dub the abdomen on 3/4 of the hook shank with a nice tapering.

Split the thread with your dubbing needle, put the peacock dubbing in the gap, rotate your bobbin to spin the dubbing and wind it around the hook to create the thorax and the legs in on step. Leave a little bit space for the head next to the hook eye.
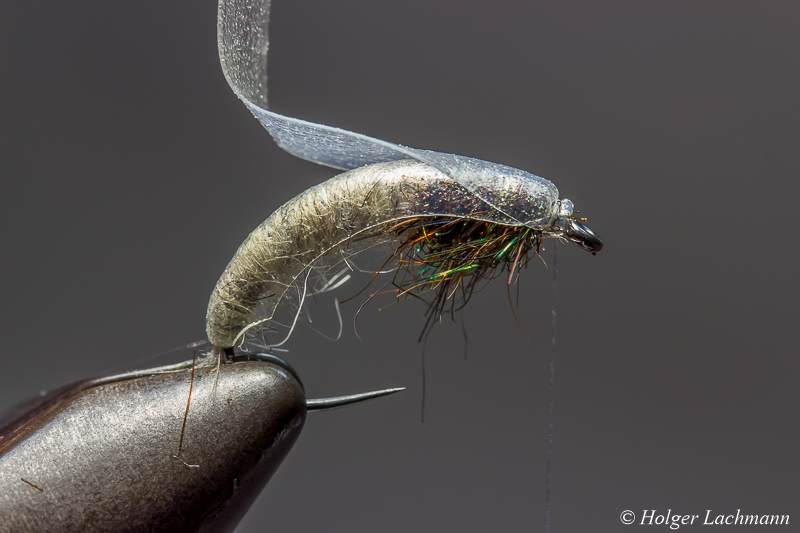
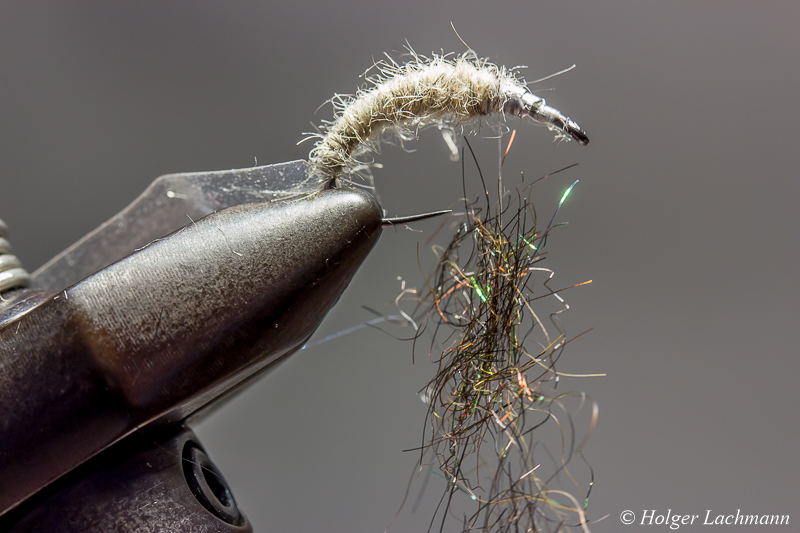
Fold the stretch flex to the front and catch it with your tying thread next to the hook eye. Fold it back, catch it again with your thread and cut away the excess. That’s the easiest way to form a nice head.

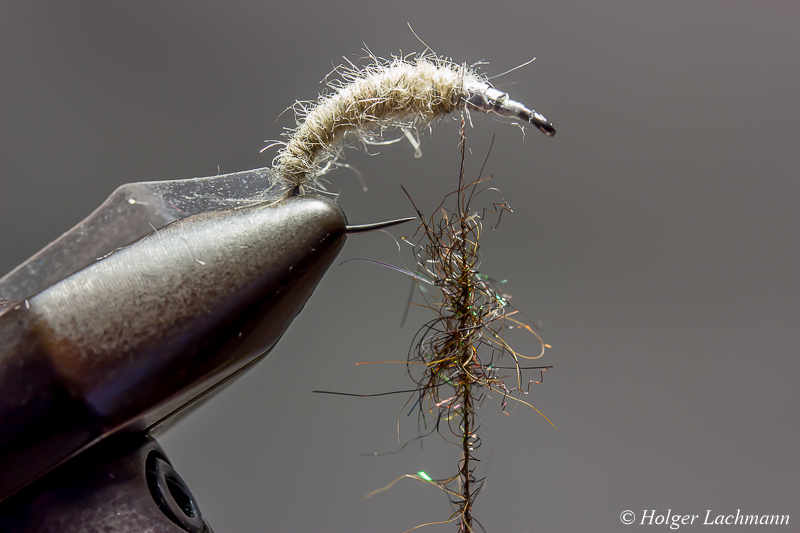
Take the mono and ribb the abdomen in small segments and the thorax in two bigger segments. Catch the ribbing with your tying thread and cut it off. Do two whip finish, cut the tying thread and the tying is done.

With the marker pens, you can give the larva the coloration of your liking or the spicific colors of the originals in your home waters. Put a drop of varnish on the head and the fly is finished, ready to be presented to the fish of your dreams! :-)
Tight lines!
That is a simple weighted Caddis Larva. Not too many materials, just a few tying steps and no expensive materials. Just a good fishing fly.
Materials:
