- Tungsten Bead
- Hanak # 14
- Coq de Leon
- Fluo Thread
- Polish Quills
- Peacock Dubbing
- Bug Bond UV Resin
Schlagwort-Archive: Quill Body
Jigkowskis
From Big To Small
After tying some streamers, I thought I need a break and should tie some smaller stuff. This is a fully dressed parachute dry fly size 22 with a quill body secured with Bug Bond Lite. For the tail I used Coq de Leon and the hackle is grizzly from Whiting. The wing post is made with Tiemco Aero Dry Wing.
First fly in 2015!
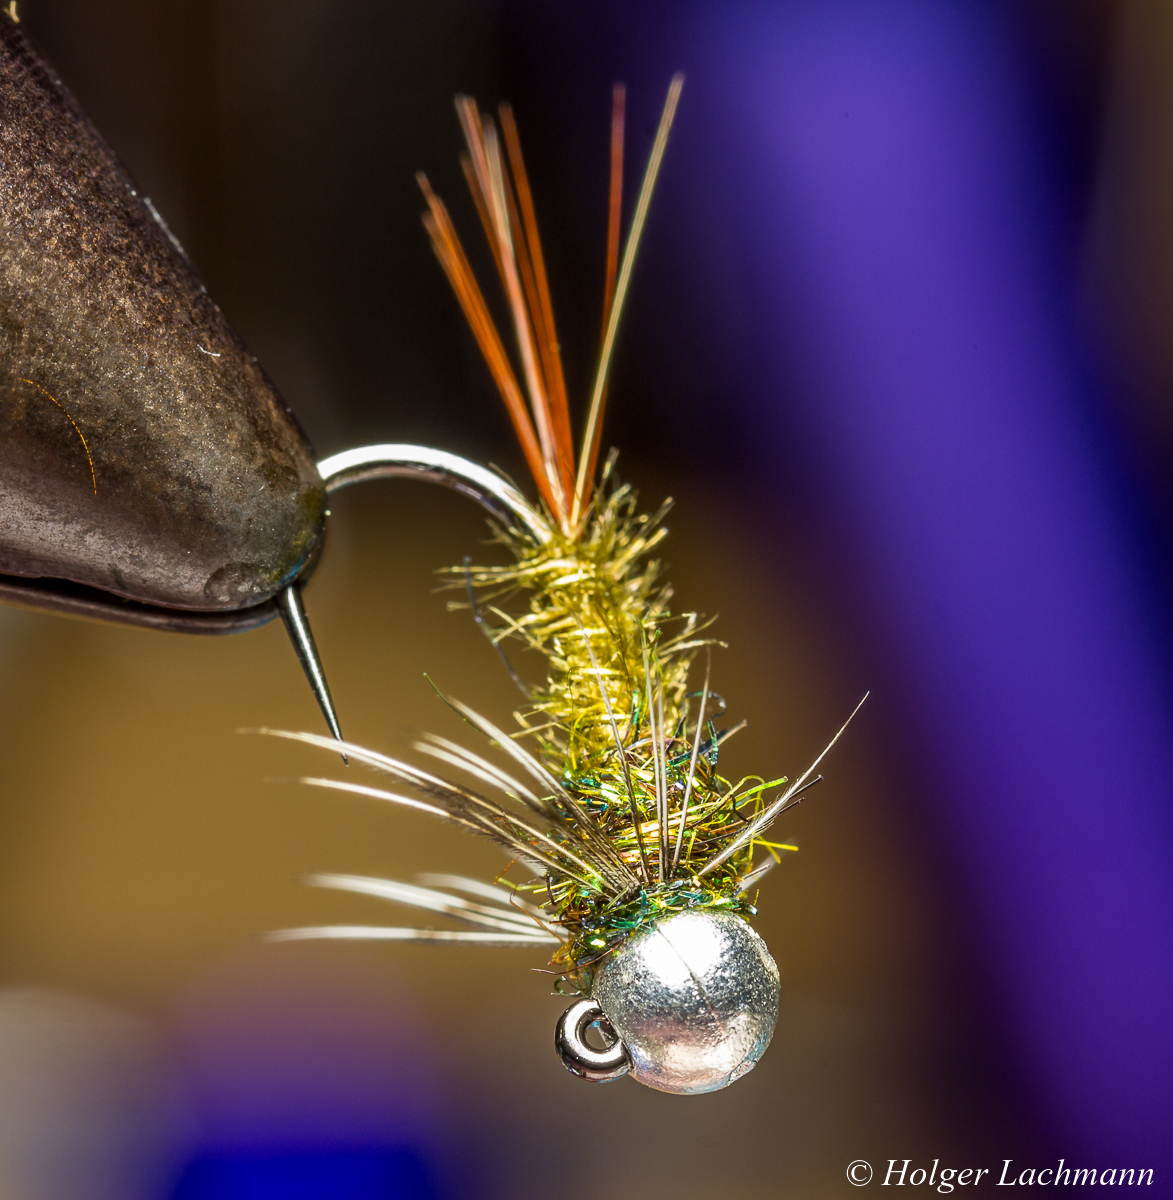
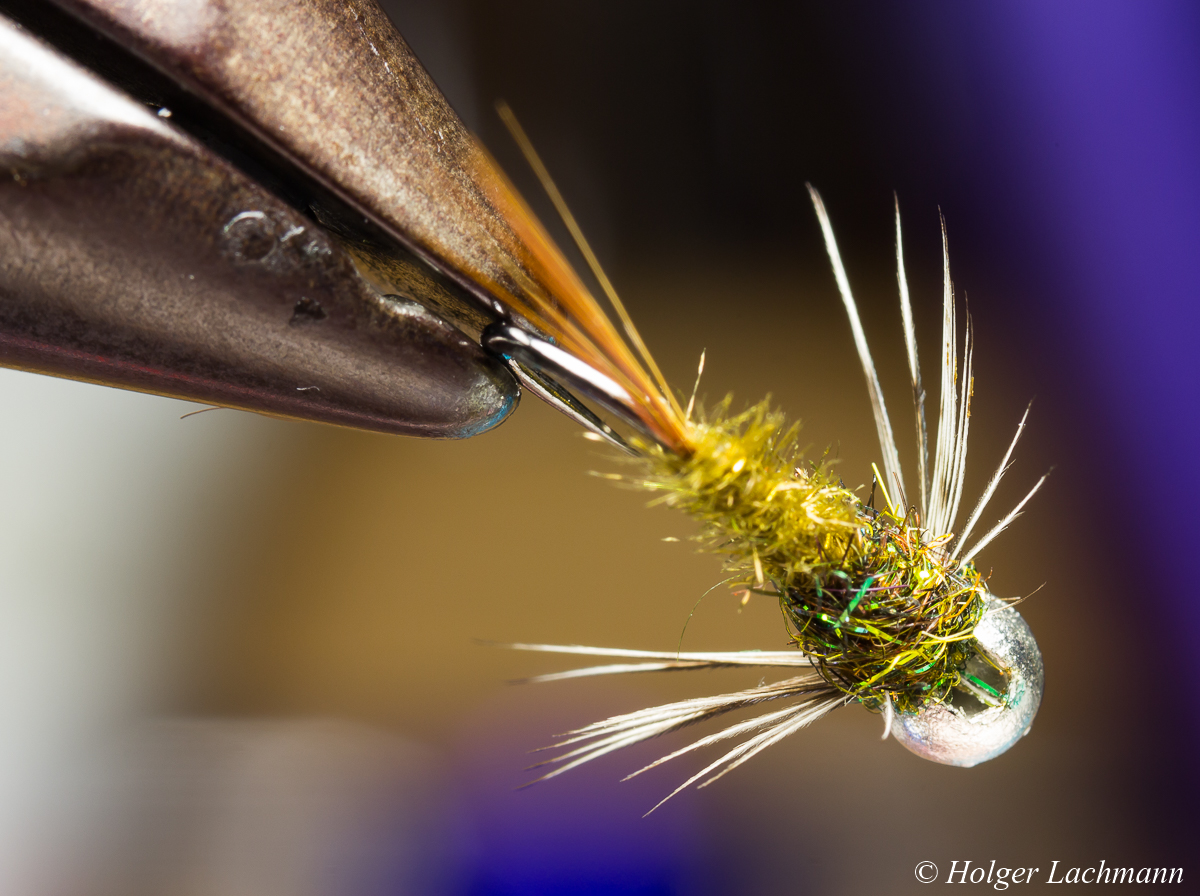
Caddis Pupa with Tungsten Bead
Fly Tier’s Little Helper – Part 1 – Bug Bond Pro Light Mains Adapter
There are a lot of tools for the fly tier on the market. Some are good, some are useless, some are expensive but worth the money, some are cheap and still super usefull.
I used a lot of different tools and gimmicks in the last 20 years, and in this series I want to show things, which worked well for me and I’ll try to tell you why.
I begin with something very special, the Bug Bond Pro Light Mains Adapter.
When you look at my flies, you’ll see that I work a lot with uv resin. No matter if I tie dries and nymphs or streamer and flies for pike, seatrout, asp, …
Working with uv resin means, you have to use a uv torch with maximun battery power to harden the resin. I often saw people using a torch with low power, wondering, why the resin won’t cure like it should.
Bug Bond offers a nice solution for the power problem: An adapter for your pro torch to connect it with your power supply at home. You just have to screw the adapter into the torch and you have a super strong uv torch every time.
To connect the adapter with the torch, you have to screw off the switch at the end.
Maybe you’re asking yourself how to switch on the torch without the switch at the end? With the Kit comes a solid foot switch like you know them from sewing machines. Just put your foot on the pedal and the torch will do it’s job.
The torch is always hanging from on of my lamps on my tying desk ready for some action.
I f you like to use uv resin for your tying, then I can recommend you the Mains Adapter. It’s super nice to use, you got always maximum curing power and you don’t have to care about the batteries.
I use the Adapter now several months and I don’t want to miss it.
Caddis Pupa with tungsten head – step by step
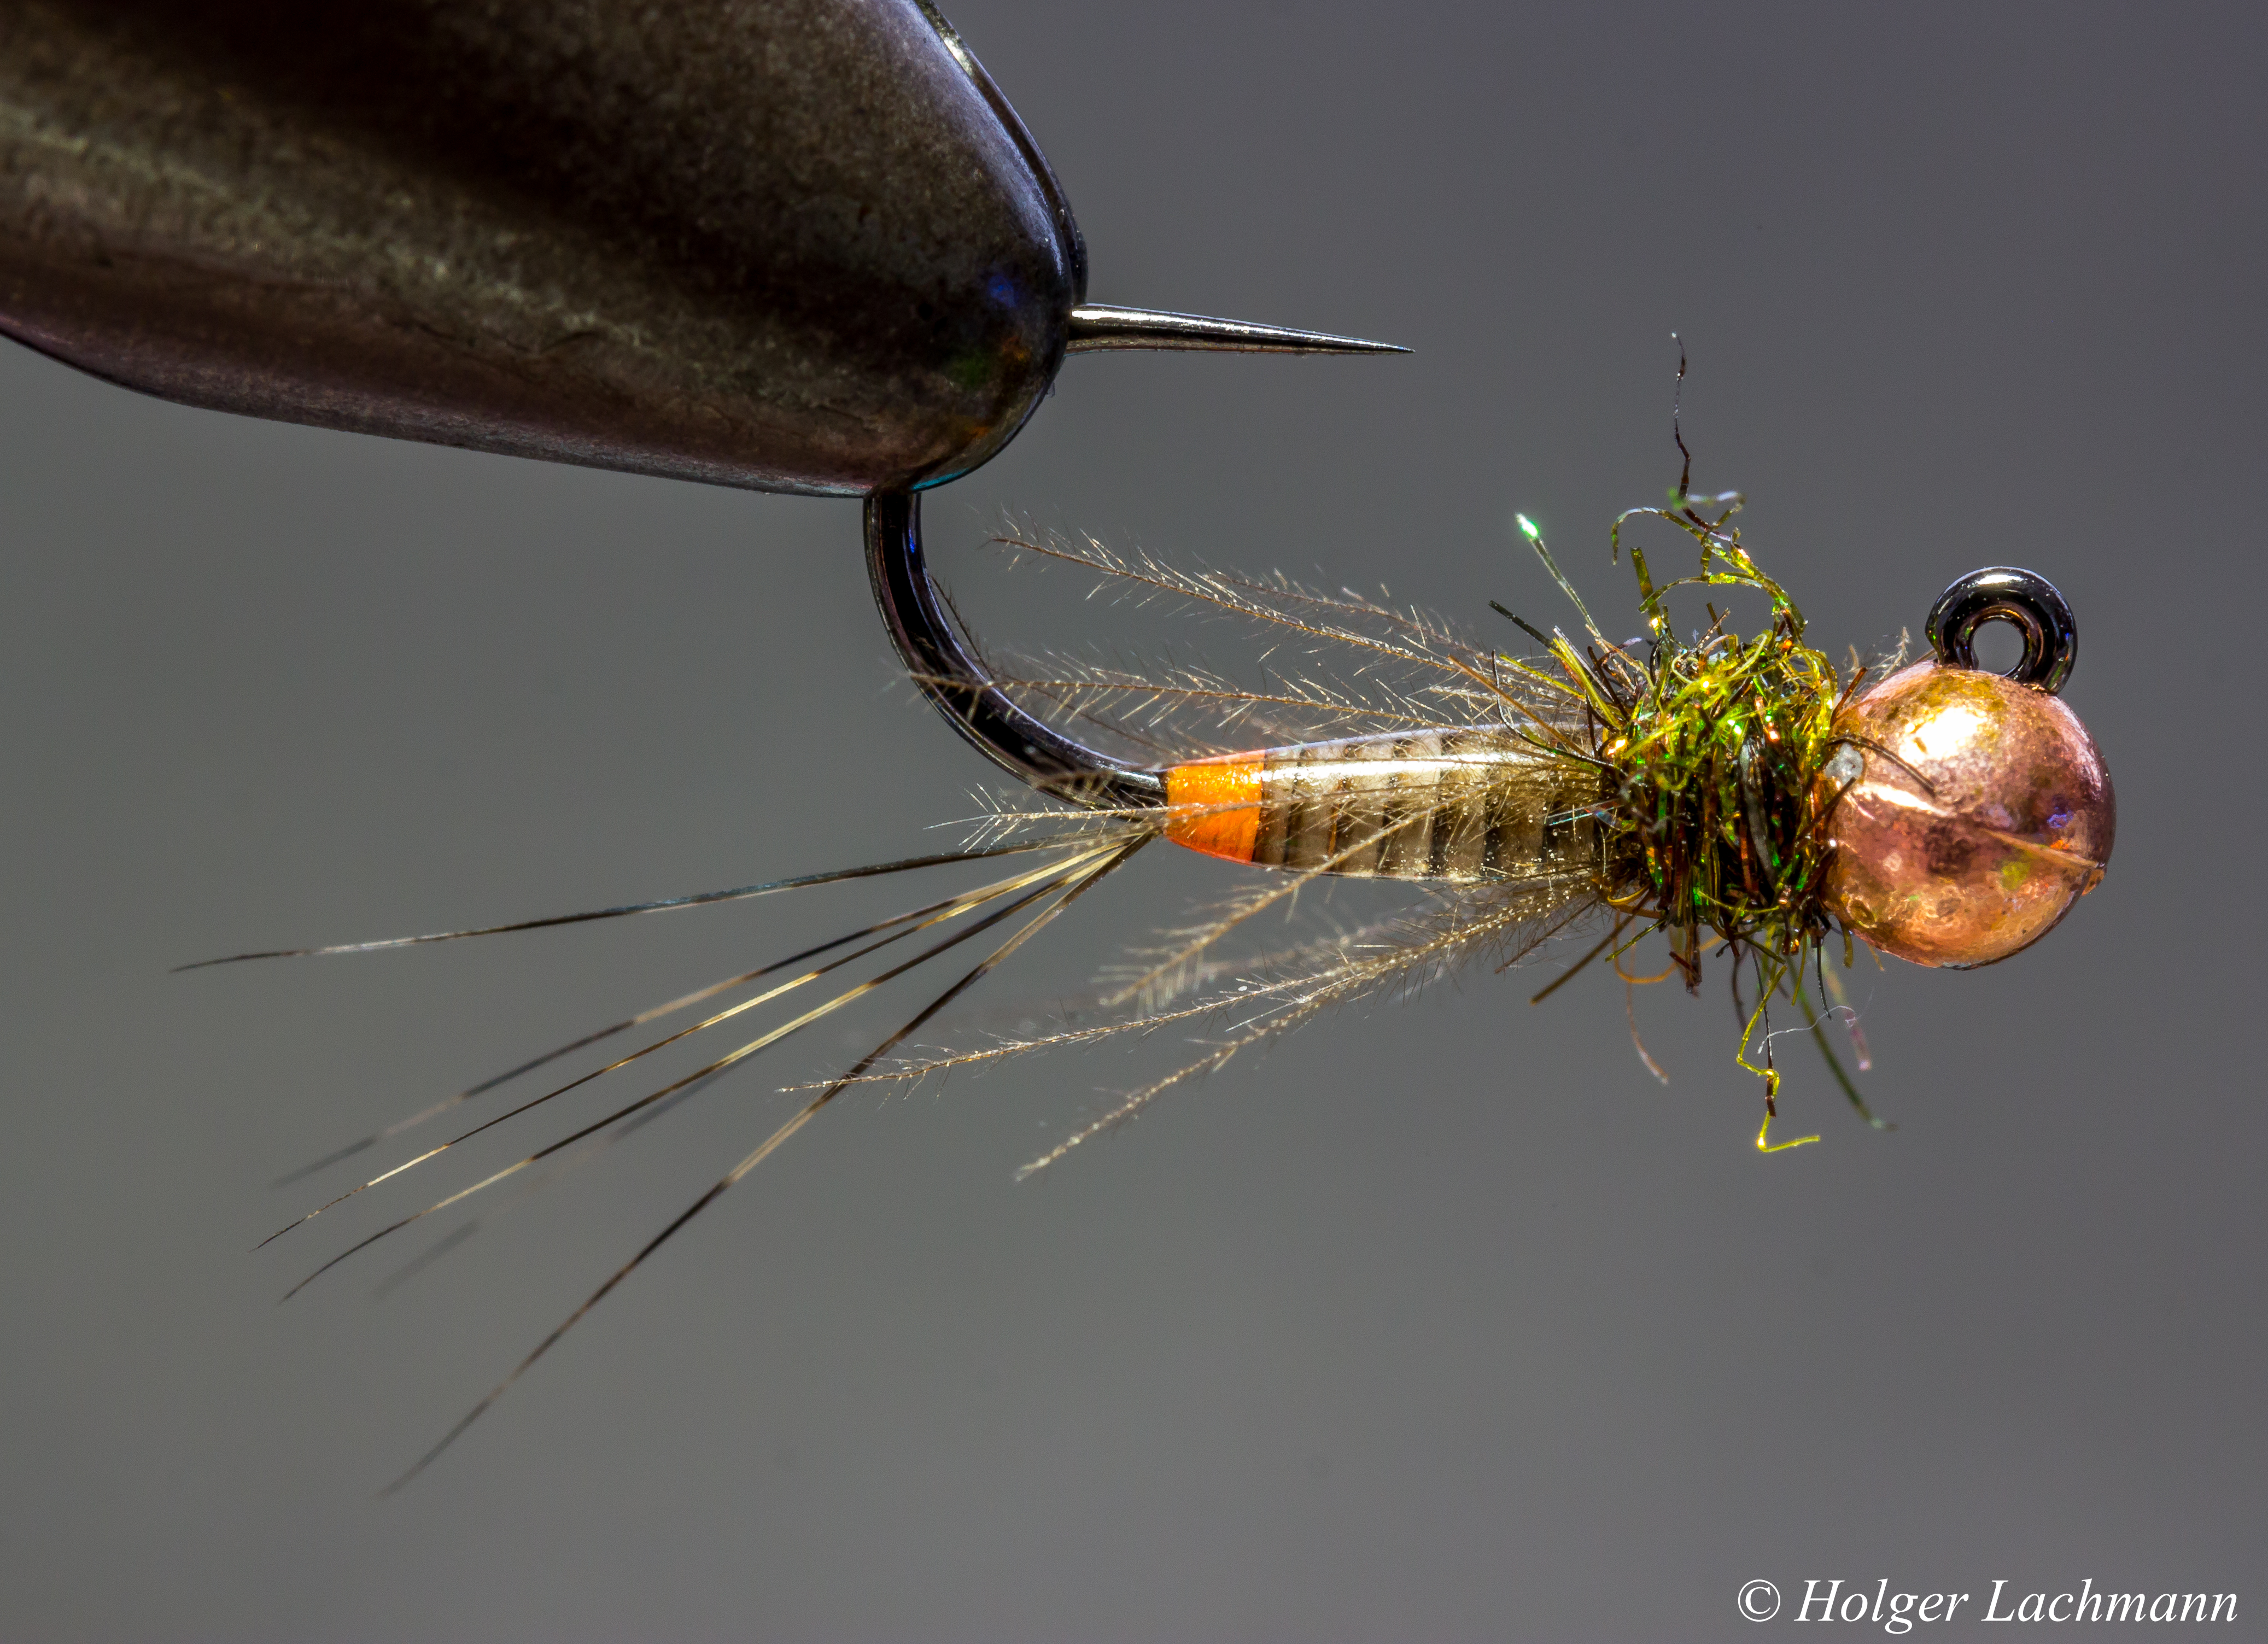
This is a good all around nymph to imitate caddis pupa. The vague looking nymph seems eatable to the fish. It’s a nice combination of a semi-transparent body and the mix of cdc, soft fibres and the dubbing mix of natural hare’s ear and ice dub. Not to flashy. Just that kind of nymph I personally like to fish.
The tying steps are self-explanatory, I guess. So here are just the materials.
If you got questions, just feel free to ask.
- Hook: Tiemco 2488 #12
- Weight: Tungsten bead
- Body: greenish-yellow strands of a present bag, Polish Quill olive, Bug Bond Lite
- Wing: CDC Puff from Troutline
- Legs: Fibres of a Hen Hackle
- Thorax: Dubbing Mix Hare’s Ear and Ice Dub, secured with Bug Bond Lite
mayfly nymph
Glitter Wet Flies
Sedge Pupa Step By Step Tutorial
I posted this pattern some weeks ago on my blog and on Facebook and I was asked, if I could do a step by step tutorial about it. So, here it is. I hope you like it as much as I do.
Materials:
- Hook: Maruto C47 BL # 12
- Weight: Tungsten Bead Black Nickel
- Thread: Dyneema
- Body: Thread-Underbody, olive marker pen, Flashabou, Polish Quills green
- Resin: Bug Bond Lite
- Dubbing: SLF light olive and cinnamon
- Wings: Flashabou Mirage colored with a brown marker pen
- Wing Case: Pheasant
- Legs: Partridge
Put the hook with the tungsten bead in the vise.
Form the unterbody with your thread and tie in the Flashabou and Polish Quill.
Color the underbody with an olive marker pen and wind the Flashabou and then the Polish Quill around the body and secure it with your tying thread.
Put some Bug Bond Lite on the body and cure the resin with your Bug Bond torch. Then, tie in some strands from a pheasant tail feather as shown.
Dub some SLF light olive on the fly and tie in the brown colored Flashabou Mirage. Cut the Mirage like shown on the photo.
Dub the rest with SLF in cinnamon till you reach the tungsten bead.
Cut a „V“ out of a partridge feather and tie in the fibres of the partridge as legs. Then fold the pheasant strands to the front to create the wing case and catch it with your tying thread. Put a drop of Bug Bond Lite on the wing case incl. the thread with which you catch the pheasant. Cure the Bug Bond Lite with your Bug Bond torch and cut the thread. You’re done! The Bug Bond Lite makes it super strong! You don’t need to do whip finish!
That’s it! Now grab your fly rod and catch some nice trout or grayling or whatever you like to catch with nymphs and pupas!
tight lines!
Holger
